K8S安装准备工作
docker安装内核优化
net.bridge.bridge-nf-call-ip6tables = 1
net.bridge.bridge-nf-call-iptables = 1
net.ipv4.ip_forward = 1
vm.swappiness=0
kernel.pid_max=4194303
vm.max_map_count=262144
fs.file-max=1048576
net.ipv4.tcp_syncookies = 1
net.ipv4.tcp_syn_retries = 1
#net.ipv4.tcp_tw_recycle = 1
net.ipv4.tcp_tw_reuse = 1
net.ipv4.tcp_fin_timeout = 1
net.ipv4.tcp_keepalive_time = 1200
net.ipv4.ip_local_port_range = 10000 65535
net.ipv4.tcp_max_syn_backlog = 16384
net.ipv4.tcp_max_tw_buckets = 36000
net.ipv4.route.gc_timeout = 100
net.ipv4.tcp_syn_retries = 1
net.ipv4.tcp_synack_retries = 1
net.netfilter.nf_conntrack_max=2097152
net.core.somaxconn = 16384
net.core.netdev_max_backlog = 16384
net.ipv4.tcp_max_orphans = 16384
net.ipv4.tcp_rmem = 4096 4096 16777216
net.ipv4.tcp_wmem = 4096 4096 16777216
net.ipv4.tcp_mem = 786432 2097152 3145728
#kernel.pty.max = 4
资源限制调优
- 文件路径:/etc/security/limits.conf
root    soft    nofile    1048576
root    hard    nofile    1048576
root    soft    nproc     1048576
root    hard    nproc     1048576
root    soft    stack     10240
root    hard    stack     32768
root    hard    memlock   unlimited
root    soft    memlock   unlimited
*    soft    nofile    1048576
*    hard    nofile    1048576
*    soft    nproc     1048576
*    hard    nproc     1048576
*    soft    stack     10240
*    hard    stack     32768
*    hard    memlock   unlimited
*    soft    memlock   unlimited
关闭swap分区
sed -i 's@\(.*swap.*\)@#\1@g' /etc/fstab
sudo swapoff -a
              total        used        free      shared  buff/cache   available
Mem:          1.9Gi       869Mi       103Mi       1.0Mi       981Mi       929Mi
Swap:            0B          0B          0B
docker警告WARING:No swap limit support 处理
sed -i 's@\(^GRUB_CMDLINE_LINUX=.*\)"$@\1 cgroup_enable=memory swapaccount=1"@g' /etc/default/grub

# 更新grub
sudo update-grub
# 重启
reboot
# docker info 检查
docker info
Docker安装与基础命令
1、Ubuntu 14.04/16.04(使用 apt-get 进行安装)
# step 1: 安装必要的一些系统工具
sudo apt-get update
sudo apt-get -y install apt-transport-https ca-certificates curl software-properties-common
# step 2: 安装GPG证书
curl -fsSL https://mirrors.aliyun.com/docker-ce/linux/ubuntu/gpg | sudo apt-key add -
# Step 3: 写入软件源信息
sudo add-apt-repository "deb [arch=amd64] https://mirrors.aliyun.com/docker-ce/linux/ubuntu $(lsb_release -cs) stable"
# Step 4: 更新并安装Docker-CE
sudo apt-get -y update
sudo apt-get -y install docker-ce

# 安装指定版本的Docker-CE:
# Step 1: 查找Docker-CE的版本:
# apt-cache madison docker-ce
#   docker-ce | 17.03.1~ce-0~ubuntu-xenial | https://mirrors.aliyun.com/docker-ce/linux/ubuntu xenial/stable amd64 Packages
#   docker-ce | 17.03.0~ce-0~ubuntu-xenial | https://mirrors.aliyun.com/docker-ce/linux/ubuntu xenial/stable amd64 Packages
# Step 2: 安装指定版本的Docker-CE: (VERSION例如上面的17.03.1~ce-0~ubuntu-xenial)
# sudo apt-get -y install docker-ce=[VERSION]
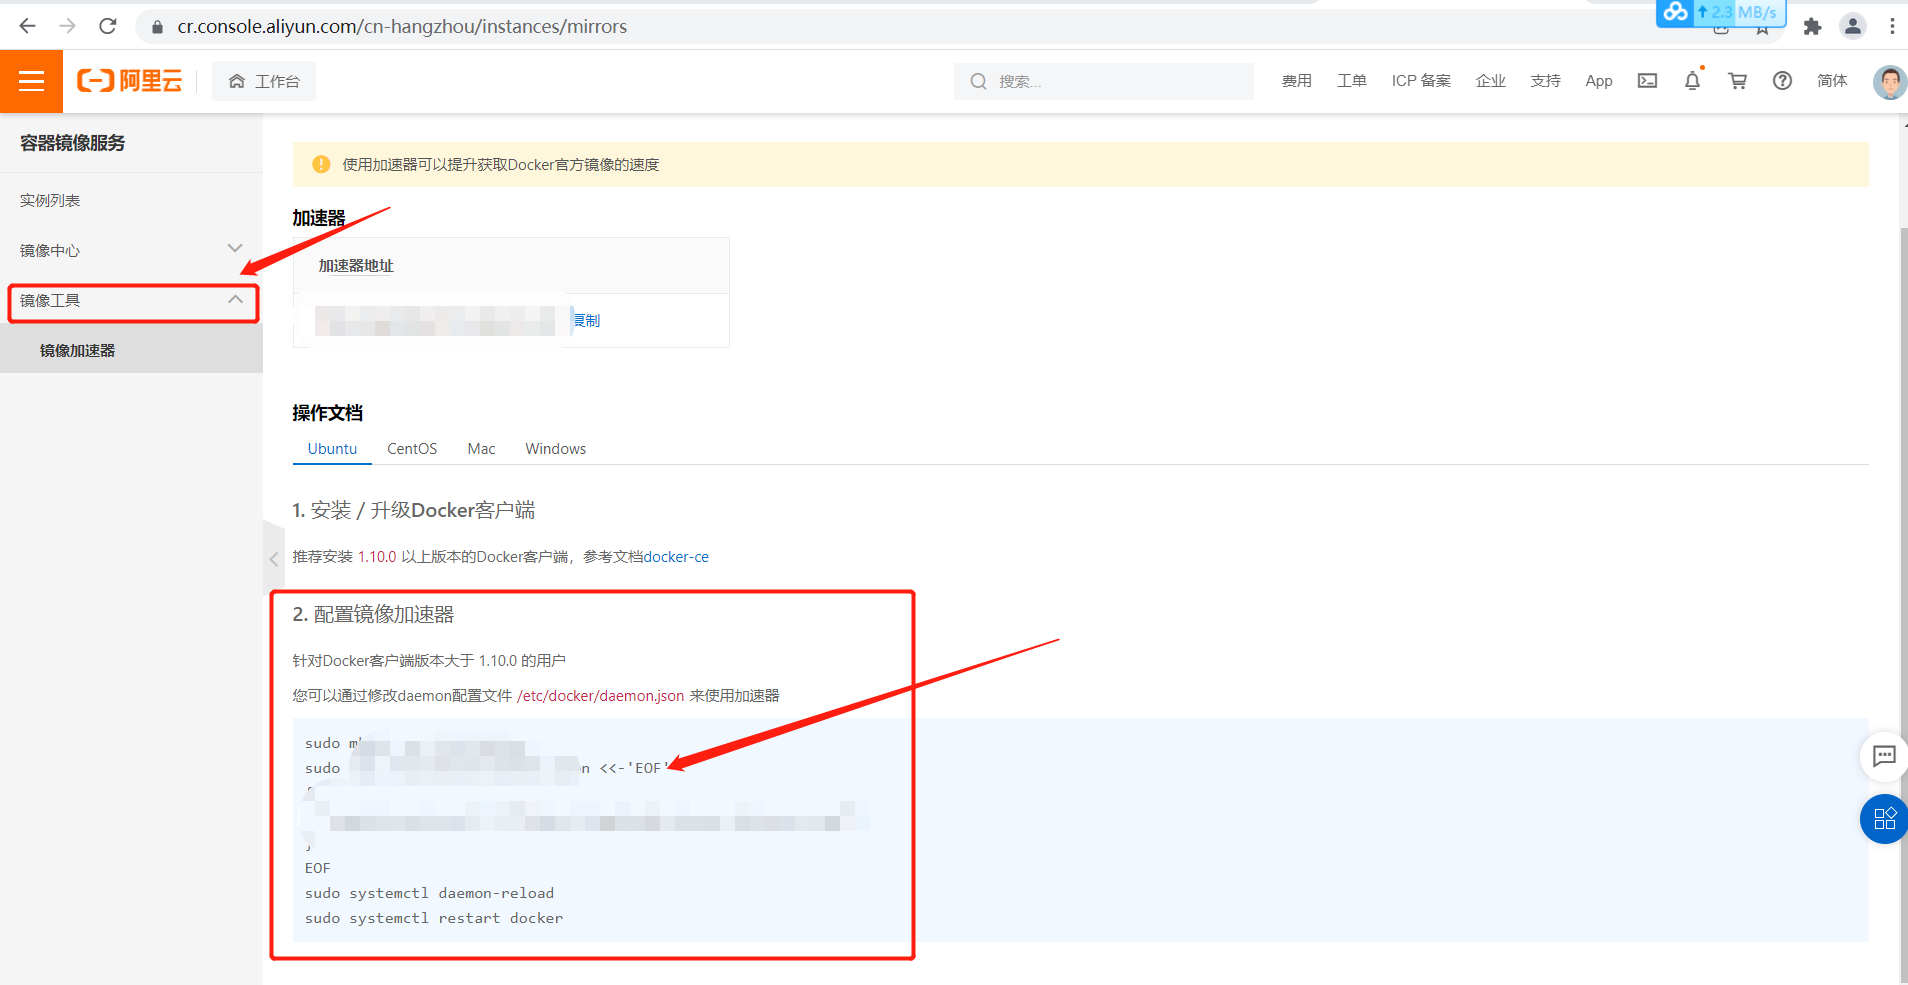
2、配置镜像加速:
Docker基础命令:
- 下载镜像
- 上传镜像
- 搜索镜像
- 查看镜像
- 删除镜像
- 导出镜像
- docker save ngixn:latest -o nginx_latest.tar.gz
- 指定导入名称
- docker import nginx_latest.tar.gz
- 导入镜像
- docker load -i nginx_latest.tar.gz
- 镜像打标签
- 查看指定镜像的创建历史
- 获取镜像元数据信息
- docker image inspect nginx
- 清理镜像

 浙公网安备 33010602011771号