3dContactPointAnnotationTool开发日志(十)
要是那几个状态栏不能拖动的话岂不是显得太呆板了,于是我又参考Unity官方视频教程学习了如何实现拖动状态栏的功能,还挺简单的。
比如说要拖动这个PanelStatus面板,我只让使用者通过拖动其Text组件来实现拖动整个面板移动的效果。
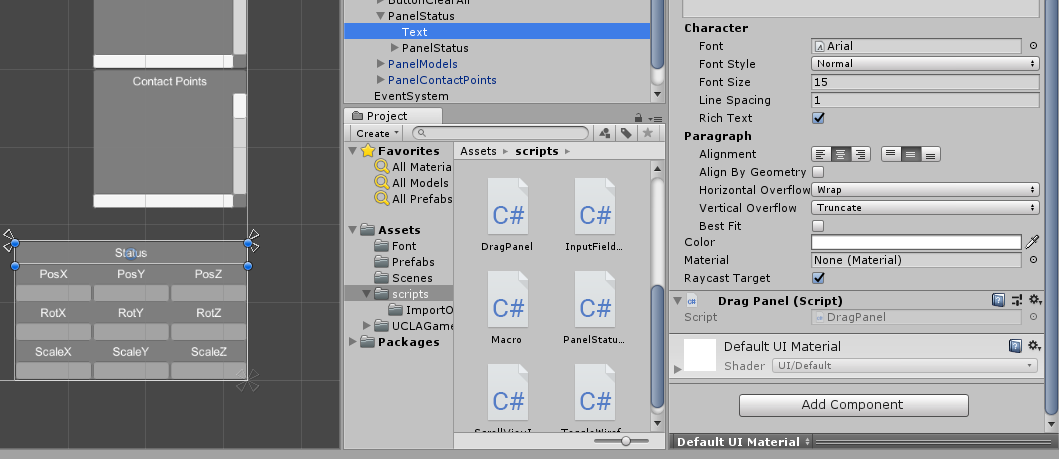
只要为其Text绑定一个DragPanel.cs脚本,代码如下:
using System.Collections;
using System.Collections.Generic;
using UnityEngine;
using UnityEngine.UI;
using UnityEngine.EventSystems;

public class DragPanel : MonoBehaviour, IPointerDownHandler, IDragHandler
{
    private Vector2 pointerOffset;
    private RectTransform rectTransformCanvas;
    private RectTransform rectTransformPanel;
    void Awake()
    {
        rectTransformCanvas = GetComponentInParent<Canvas>().transform as RectTransform;
        rectTransformPanel = transform.parent as RectTransform;
    }
    public void OnPointerDown(PointerEventData data)
    {
        rectTransformPanel.SetAsLastSibling();//把该组件放到UI最前面
        RectTransformUtility.ScreenPointToLocalPointInRectangle(rectTransformPanel,data.position,data.pressEventCamera,out pointerOffset);
    }

    public void OnDrag(PointerEventData data)
    {
        Vector2 localPointerPosition;
        if (RectTransformUtility.ScreenPointToLocalPointInRectangle(
            rectTransformCanvas,data.position,data.pressEventCamera,out localPointerPosition))
        {
            rectTransformPanel.localPosition = localPointerPosition - pointerOffset;
        }
    }

}
大概意思就是在OnPointerDown里获取按下鼠标时鼠标指针相对于panel的位置pointerOffset,在OnDrag中获取鼠标指针相对于canvas的位置localPointerPosition,然后localPointerPosition - pointerOffset就是panel的位置了。
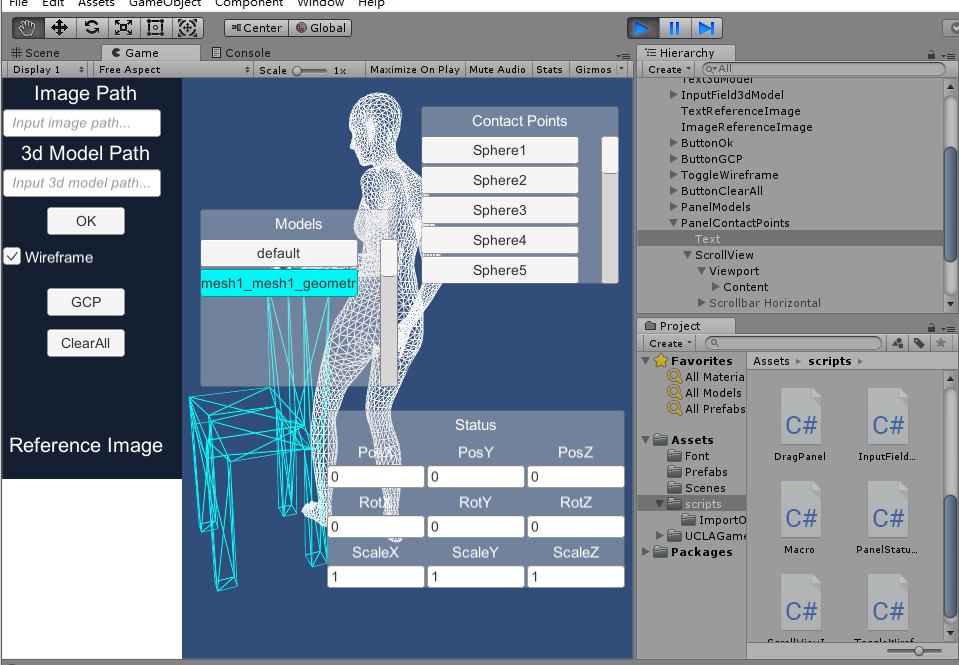
固定位置的组件可以被拖动了,效果如下:
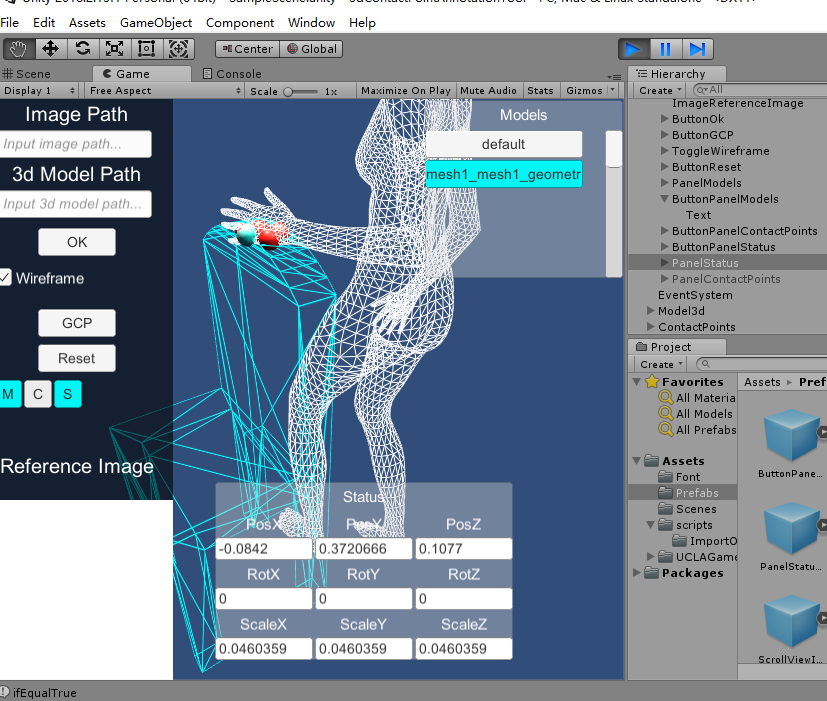
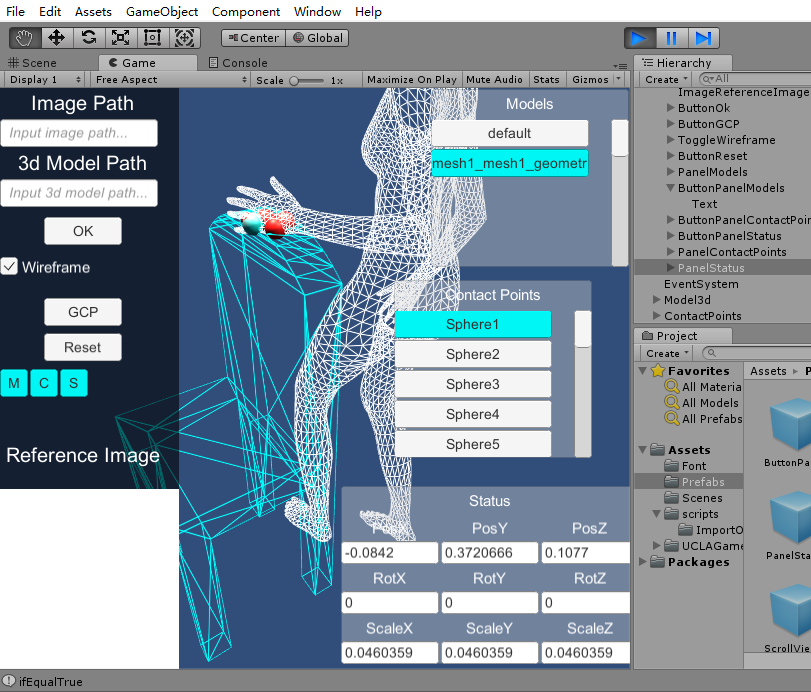
有时候可能还想将这些面板给隐藏起来,于是又添加了三个按钮来控制这三个面板是否显示。直接调用控制对象的setActive即可,代码如下:
using System.Collections;
using System.Collections.Generic;
using UnityEngine;
using UnityEngine.UI;

public class ButtonPanelControllerOnClick : MonoBehaviour {
    public GameObject panel;//对应的面板
    private bool active;//对应的面板是否被激活
    private void Start()
    {
        active = true;
        panel.SetActive(active);
        GetComponent<Image>().color = Color.cyan;
    }
    public void OnClick()
    {
        active=!active;
        if (active)
        {
            GetComponent<Image>().color = Color.cyan;
        }
        else {
            GetComponent<Image>().color = Color.white;
        }
        panel.SetActive(active);
    }
}
效果如下,还挺好玩的:
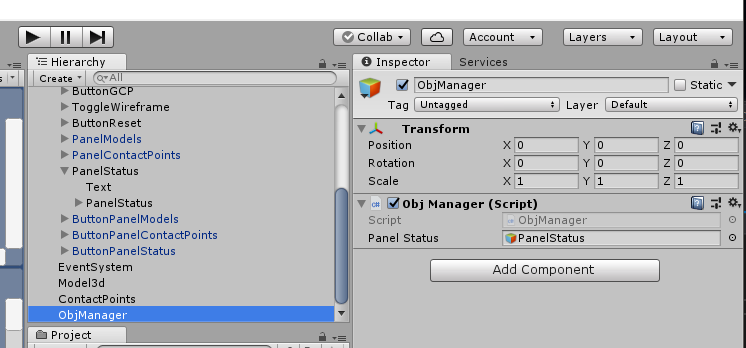
由于之前的代码里用到了FindWithTag函数,然而这个函数是找不到active为false的对象的。为了避免这种尴尬情况,我又创建了一个ObjManager对象来管理那些需要被查找的对象,将它们丢到ObjManager的脚本中存起来,以后谁要取就直接从这个脚本实例中拿就好了。


 浙公网安备 33010602011771号