Unity3d学习日记(六)
今天在研究怎么在unity中将image上的图片保存到本地,主要参考下面两个链接:Unity Texture2D缩放、UNITY存储图片到本地
结合上述两个链接,我写了如下代码来将缩放后或者改变了透明度的image组件的图片保存到.png文件中:
public static Texture2D GetModifiedTexture2D(Texture2D source,int newWidth,int newHeight,float alpha) {
    var re = new Texture2D(newWidth,newHeight,source.format,false);
    for (int i = 0; i < newWidth; i++)
        for (int j = 0; j < newHeight; j++) {
            var nc = source.GetPixelBilinear((float)i/(float)newWidth,(float)j/(float)newHeight);
            nc.a = alpha;
            re.SetPixel(i, j, nc);
        }
    re.Apply();
    return re;
}
用的话就像下面这样调用就行了,s是缩放大小,a是透明度:
var texture = Instantiate(objManager.imageBackground.GetComponent<Image>().mainTexture) as Texture2D;
var nt = ObjManager.GetModifiedTexture2D(texture, (int)(s*texture.width), (int)(s * texture.height), a);
var bytes= nt.EncodeToPNG();
File.WriteAllBytes(path,bytes);
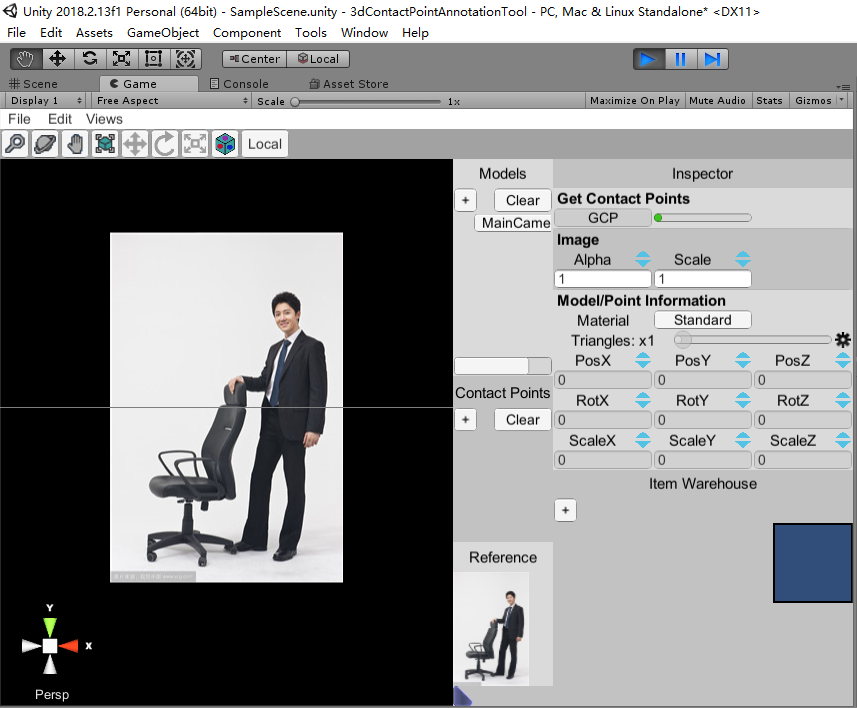
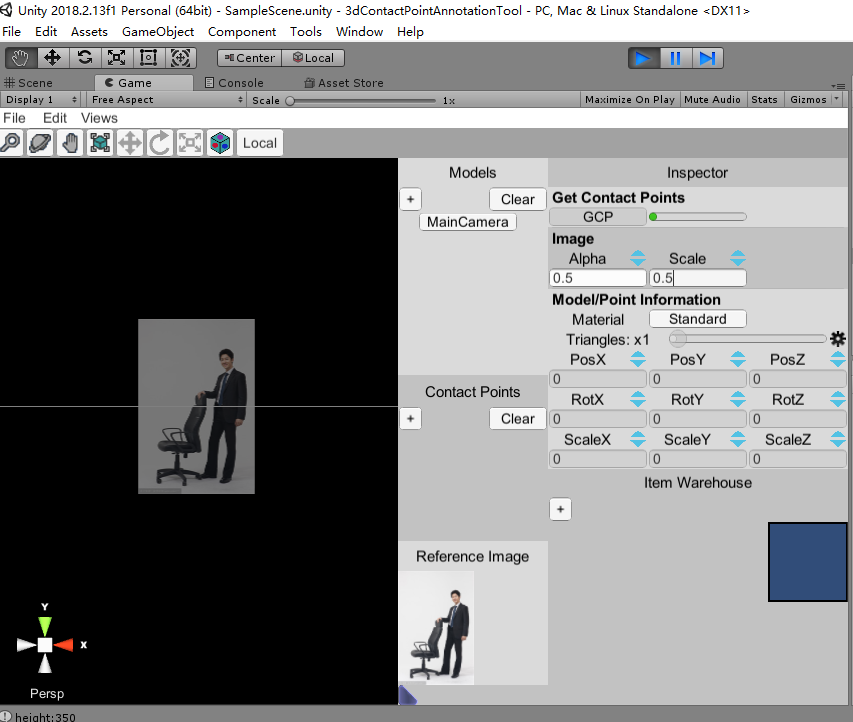
最后来看下效果:
读入原图:

缩放为原来的0.5倍,再把透明度调为0.5:

原图:

保存后的图片:


