linux 利用dnsmasq搭建局域dns服务器
在CentOS和RHEL Linux中安装dnsmasq
1. dnsmasq软件包在默认存储库中可用,使用yum安装,如图所示。
# yum install dnsmasq
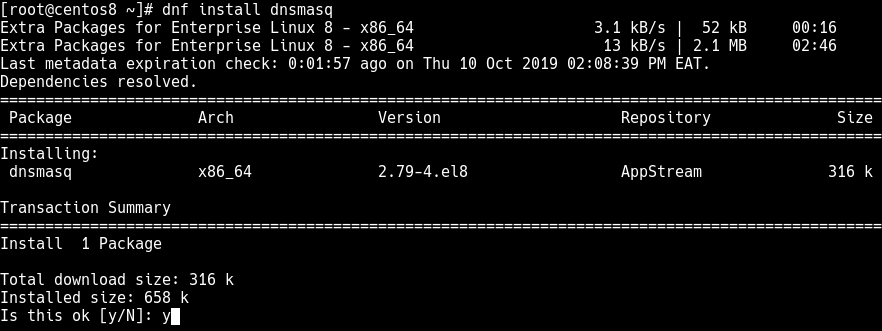
在CentOS中安装dnsmasq
2. 启动并设置开机自启。
# systemctl start dnsmasq
# systemctl enable dnsmasq
# systemctl status dnsmasq
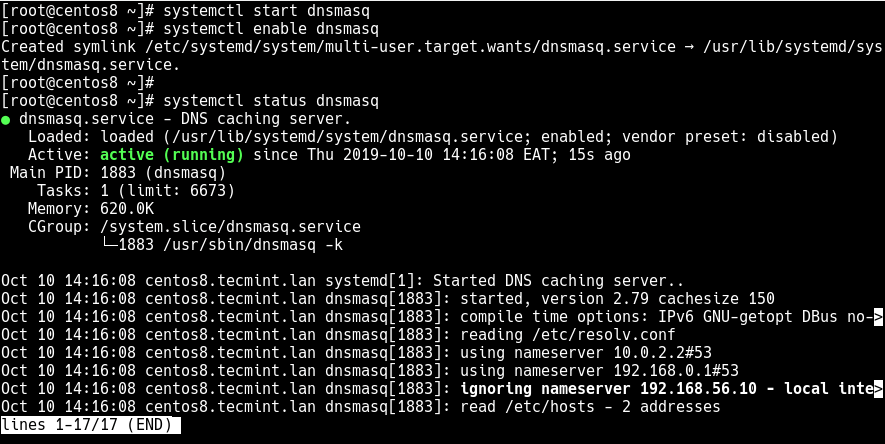
启动并验证dnsmasq状态
在CentOS和RHEL Linux中配置dnsmasq服务器
3.可以通过/etc/dnsmasq.conf文件(包含注释和解释清楚的选项)来配置dnsmasq服务器,也可以将用户定义的配置文件添加到/etc/dnsmasq.d目录中。
创建/etc/dnsmasq.conf文件的备份。
# cp /etc/dnsmasq.conf /etc/dnsmasq.conf.orig
4.修改配置文件。
# vi /etc/dnsmasq.conf
listen-address选项用于设置dnsmasq监听的IP地址。
listen-address=::1,127.0.0.1,192.168.56.10
与上述相关,您可以使用interface选项限制dnsmasq监听的接口(为多个接口添加更多行)。
interface=eth0
5.接下来,还如图所示,使用server选项(以server = dns_server_ip的形式)为非本地域定义上游DNS服务器。
# Google's nameservers
resolv-file=/etc/resolv.dnsmasq.conf
strict-order

# 自定义域名解析文件
addn-hosts=/etc/hosts
6.保存文件,并检查配置文件语法中的错误,如图所示。
# dnsmasq --test

检查dnsmasq配置
使用/etc/resolv.conf文件配置dnsmasq
7.在此步骤中,您需要通过将localhost地址添加为/etc/resolv.conf文件中的唯一Nameservers,来使所有查询都发送到dnsmasq。
# vi /etc/resolv.conf

在/etc/resolv.conf文件中设置Localhost地址
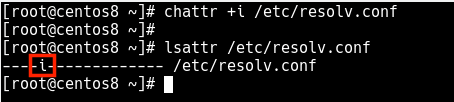
8. /etc/resolv.conf文件由本地守护程序(尤其是NetworkManager )维护,因此任何用户进行的更改都将被覆盖。 为了防止这种情况,请使用chattr命令通过设置不可变文件属性 (禁用对文件的写访问)来对其进行写保护。
# chattr +i /etc/resolv.conf
# lsattr /etc/resolv.conf
10.重新启动dnsmasq服务。
# systemctl restart dnsmasq
11.如果正在运行Firewalld服务,则需要在防火墙配置中打开DNS和DHCP服务,以允许来自LAN上主机的请求传递到dnsmasq服务器。
# firewall-cmd --add-service=dns --permanent
# firewall-cmd --add-service=dhcp --permanent
# firewall-cmd --reload
测试本地DNS
15.要测试本地DNS服务器或转发是否工作正常,您需要使用dig或nslookup之类的工具来执行DNS查询。 这些工具是由bind-utils软件包提供的,该软件包可能未预先安装在CentOS / RHEL 8上 ,但是您可以如图所示进行安装。
# yum install bind-utils
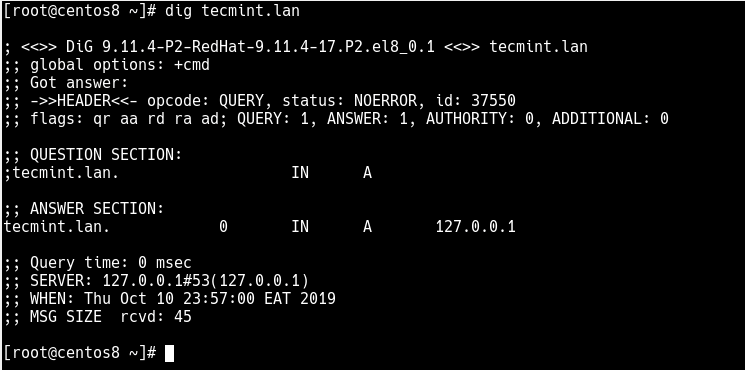
16.安装后,您可以在本地域上运行一个简单查询,如图所示。
# dig howtoing.lan
OR
# nslookup howtoing.lan
###################################################dnsmasq##############################################################
vim /etc/dnsmasq.conf
resolv-file=/etc/resolv.dnsmasq.conf # 定义上游dns服务器 ,一般是外网的,如nameserver 8.8.8.8
strict-order # 严格按照顺序解析
interface=ens33 # 网卡
listen-address=::1,127.0.0.1,192.168.226.130 # 局域网内的其他电脑都能使用本机dns解析
addn-hosts=/etc/hosts # 定义域名解析文件
file have Time-To-Live set as zero, which conventionally means
conf-dir=/etc/dnsmasq.d,.rpmnew,.rpmsave,.rpmorig

 浙公网安备 33010602011771号