springboot项目数据库链接 + 控制台输出log + mybatis驼峰命名映射 + 配置文件上传大小 + yml取代properties配置 + 热部署
springboot项目数据库链接
application.properties
# 配置数据库的链接信息
# 驱动类名称
spring.datasource.driver-class-name=com.mysql.cj.jdbc.Driver
# 数据库链接的url
spring.datasource.url=jdbc:mysql://localhost:3306/db01
# 数据库链接的用户名
spring.datasource.username=root
# 连接数据库的密码
spring.datasource.password=mysql26331
#配置端口号
server.port=8081
#mybatis log ,并在控制台输出

mybatis.configuration.log-impl=org.apache.ibatis.logging.stdout.StdOutImpl


#mybatis驼峰命名映射,a_b ——》aB,但要求ab完全一致

mybatis.configuration.map-underscore-to-camel-case=true


#配置单个文件最大上传大小
spring.servlet.multipart.max-file-size=10MB

#配置单个请求最大上传大小(一次请求可上传对各文件

spring.servlet.multipart.max-request-size=100KB
或者在yml中配置
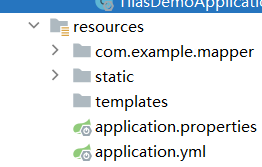
application.yml
spring:
  # 数据库链接信息
  datasource:
    driver-class-name: com.mysql.cj.jdbc.Driver
    url: jdbc:mysql://localhost:3306/tlias
    username: root
    password: 'mysql26331'
    # 文件上传配置
  servlet:
    multipart:
      # 单个文件上传大小
      max-file-size: 10MB
      # 单个请求上传大小
      max-request-size: 100MB

# mybatis
mybatis:
  configuration:
    # 输出到控制台
    log-impl: org.apache.ibatis.logging.stdout.StdOutImpl
    # 驼峰映射
    map-underscore-to-camel-case: true
application.properties 和 application.yml 选中一个进行配置就可以
其中,application.yml 的后缀名可以使用yaml
创建yml文件的方法参考创建xml文件的方法,只是后缀名不同 https://www.cnblogs.com/yansans/p/18315005
——————————关于 properties、yml、yaml的优先级
properties 》yml 》 yaml
(主流是在yml中配置)
____________________________________________________
yml中补充配置
# 开启事务管理日志
logging:
  level:
    org.springframework.jdbc.support.JdbcTransactionManager: debug
application.properties中补充
————配置热部署(感觉比较慢…………)
#热部署生效
spring.devtools.restart.enabled=true
#设置重启目录
spring.devtools.restart.additional-paths=src/main/java
#设置class path目录下的web-inf文件夹内容不重启
spring.devtools.restart.exclude=static/**
同时还需要在pml中导入依赖
<!--    开发环境热部署    -->
        <dependency>
            <groupId>org.springframework.boot</groupId>
            <artifactId>spring-boot-devtools</artifactId>
            <optional>true</optional>
        </dependency>
    </dependencies>
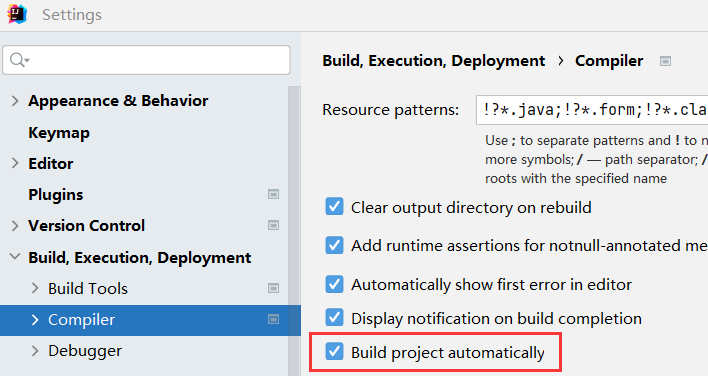
(idea还需要两步操作,2021及以上)
1.setting——》build、execution,deployment——》compiler——》build project automatically
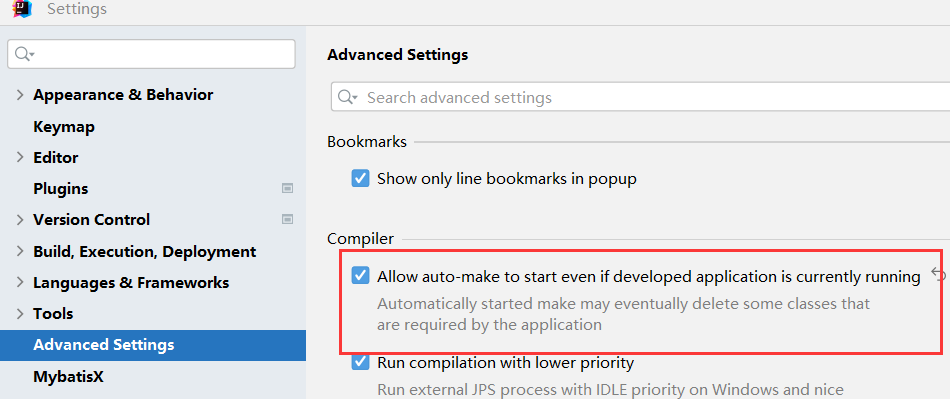
2.setting——》advances setting ——》allow auto-mark
生成接口文档(这篇太长啦,放在另一篇了)——
https://www.cnblogs.com/yansans/p/18340405

 浙公网安备 33010602011771号