

|NO.Z.00082|——————————|^^ 部署 ^^|——|Linux&ELK日志分析&.V03|——|Kibana|Nginx|
一、配置kibana
### --- 配置kibana
~~~     打开Kibana配置文件/usr/local/kibana-6.2.3-linux-x86_64/config/kibana.yml,
~~~     找到下面这行并修改
~~~     这样其他电脑就能用浏览器访问Kibana的服务了;

[root@server11 ~]# vim /usr/local/kibana-6.2.3-linux-x86_64/config/kibana.yml
server.host:"localhost"
#修改为
server.host: "10.10.10.11"
### --- 进入Kibana的目录:
~~~ 执行启动命令:nohup bin/kibana &
~~~ 查看启动日志:tail -f nohup.out 等于:tailf nohup.out
~~~ 查看端口是否启动:netstat -antp |grep 5601
[root@server11 ~]# cd /usr/local/kibana-6.2.3-linux-x86_64/
[root@server11 kibana-6.2.3-linux-x86_64]# nohup bin/kibana &
[2] 12537### --- 系统自动执行
[root@server11 kibana-6.2.3-linux-x86_64]# nohup: ignoring input and appending output to ‘nohup.out’
[root@server11 kibana-6.2.3-linux-x86_64]# netstat -antp |grep 5601
tcp 0 0 10.10.10.11:5601 0.0.0.0:* LISTEN 12537/bin/../node/b ### --- 测试:
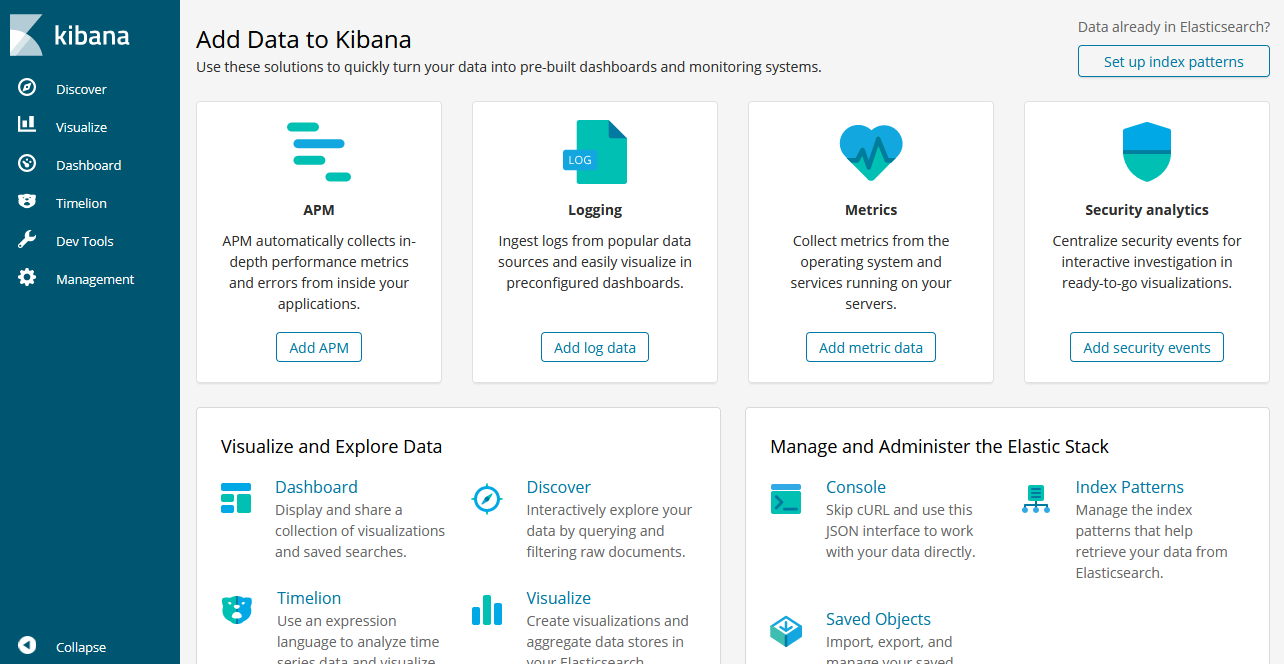
~~~ 在浏览器访问http://10.10.10.11:5601/app/kibana#/home?_g=()
~~~ 到此,ELK部署完成http://10.10.10.11:5601/app/kibana#/home?_g=()(Kibana默认界面)
二、nginx客户端配置
### --- yum 安装二进制nginx软件包

[root@server11 ~]# yum install -y nginx
[root@server11 ~]# systemctl start nginx
[root@server11 ~]# systemctl enable nginx
### --- 验证nginx是否配置成功http://10.10.10.11/
### --- 下载Filebeat并解压到/usr/local/
[root@server11 ~]# cd /elk/
[root@server11 elk]# wget https://artifacts.elastic.co/downloads/beats/filebeat/filebeat-6.2.3-linux-x86_64.tar.gz
[root@server11 elk]# tar -xf filebeat-6.2.3-linux-x86_64.tar.gz -C /usr/local/### --- 打开文件/usr/local/filebeat-6.2.3-linux-x86_64/filebeat.yml找到如下位置:修改三处
[root@server11 elk]# vim /usr/local/filebeat-6.2.3-linux-x86_64/filebeat.yml
enabled: true // 修改为true
paths:
- /var/log/nginx/*.log // 修改为/var/log/nginx/*.log
#output.elasticsearch: // 将此行注释掉
# hosts: ["localhost:9200"]
output.logstash: // 将此行注释掉
hosts: ["10.10.10.11:5044"] // 取消此行注释并修改IP地址为ELK服务器地址### --- 切换到/usr/local/filebeat-6.2.3-linux-x86_64目录下
~~~ cd /usr/local/filebeat-6.2.3-linux-x86_64
~~~ 后台启动filebeat:nohup./filebeat -e -c filebeat.yml &
~~~ 查看日志:tailf nohup.out
[root@server11 elk]# cd /usr/local/filebeat-6.2.3-linux-x86_64
[root@server11 filebeat-6.2.3-linux-x86_64]# nohup ./filebeat -e -c filebeat.yml &
[3] 13105
[root@server11 filebeat-6.2.3-linux-x86_64]# nohup: ignoring input and appending output to ‘nohup.out’ #指令自动执行
[root@server11 filebeat-6.2.3-linux-x86_64]# tailf nohup.out
me":212},"total":{"ticks":220,"time":224,"value":220},"user":{"ticks":10,"time":12}},"info":{"ephemeral_id":"5365e498-e87f-445d-8707-68d2784b0bea","uptime":{"ms":30128}},"memstats":{"gc_next":4856576,"memory_alloc":2888320,"memory_total":4500456,"rss":12713984}},"filebeat":{"events":{"added":8,"done":8},"harvester":{"open_files":2,"running":2,"started":2}},"libbeat":{"config":{"module":{"running":0},"reloads":1},"output":{"events":{"acked":6,"batches":1,"total":6},"read":{"bytes":6},"type":"logstash","write":{"bytes":788}},"pipeline":{"clients":1,"events":{"active":0,"filtered":2,"published":6,"retry":6,"total":8},"queue":{"acked":6}}},"registrar":{"states":{"current":2,"update":8},"writes":4},"system":{"cpu":{"cores":2},"load":{"1":0.02,"15":0.09,"5":0.05,"norm":{"1":0.01,"15":0.045,"5":0.025}}}}}}### --- 通过浏览器多访问几次nginx服务,这样能多制造一些访问日志,
~~~ 访问地址:https://10.10.10.11
~~~ 多刷新几次nginx然后访问http://10.10.10.11:5601/app/kibana#/management/kibana/index?_g=():
~~~ 监控到日志
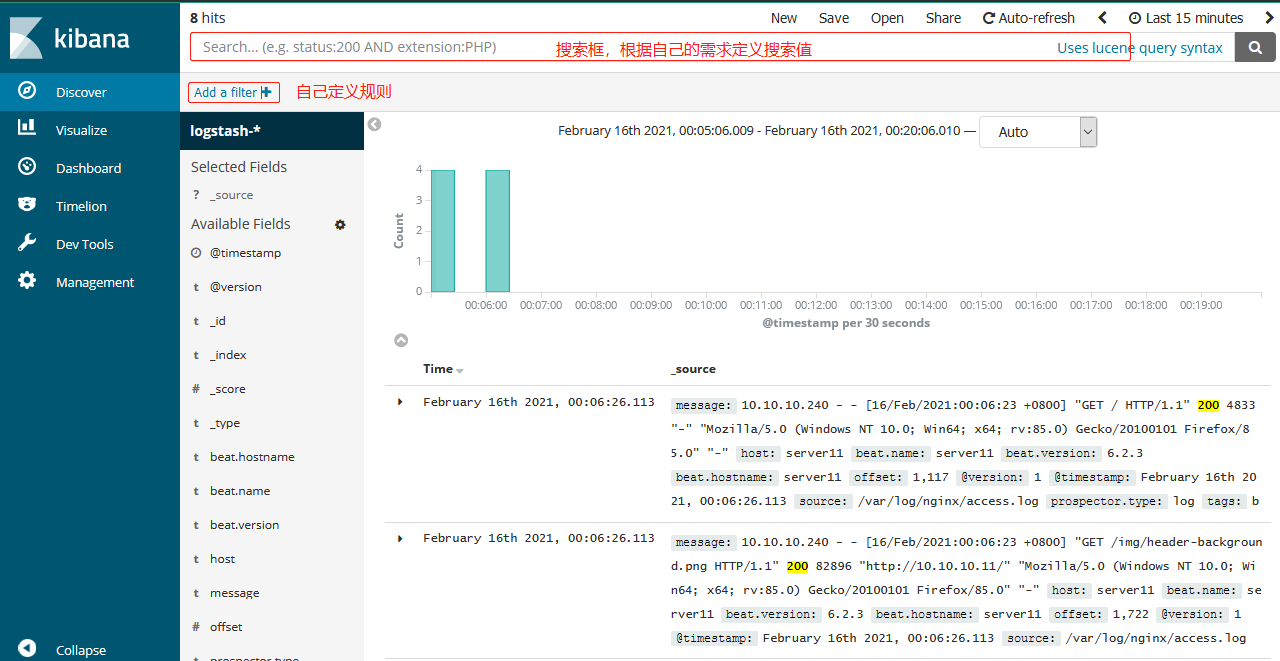
### --- 访问Kibana:https://10.10.10.11:5601,点击左上角的Discover,
~~~ 就可以看到访问日志已经被ELK搜集了,然后按照下列步骤完成设置
~~~ 输入logstash-*, 点击"Next step"
~~~ 选择Time Filter,再点击"Create index pattern"
~~~ 然后可自行创建日志内容查询规则
~~~ #实际上就是:将logstash-*从filebeat接收过来的日志发送给了ELK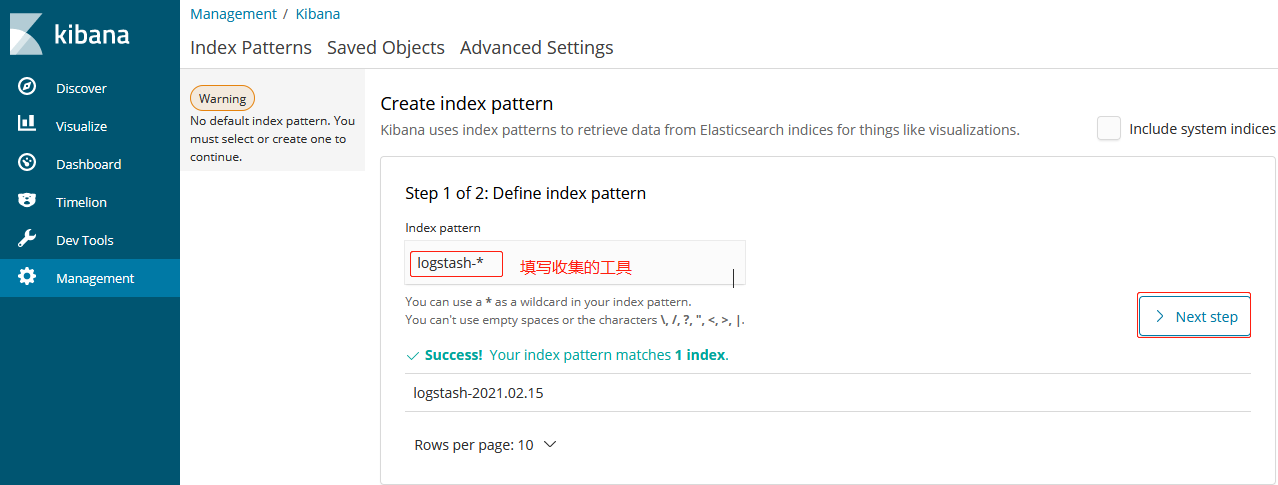
### --- 点击:Discover——>Index pattern:logstash-*
### --- ——>Next step:@timestamp——>Create index pattern——>END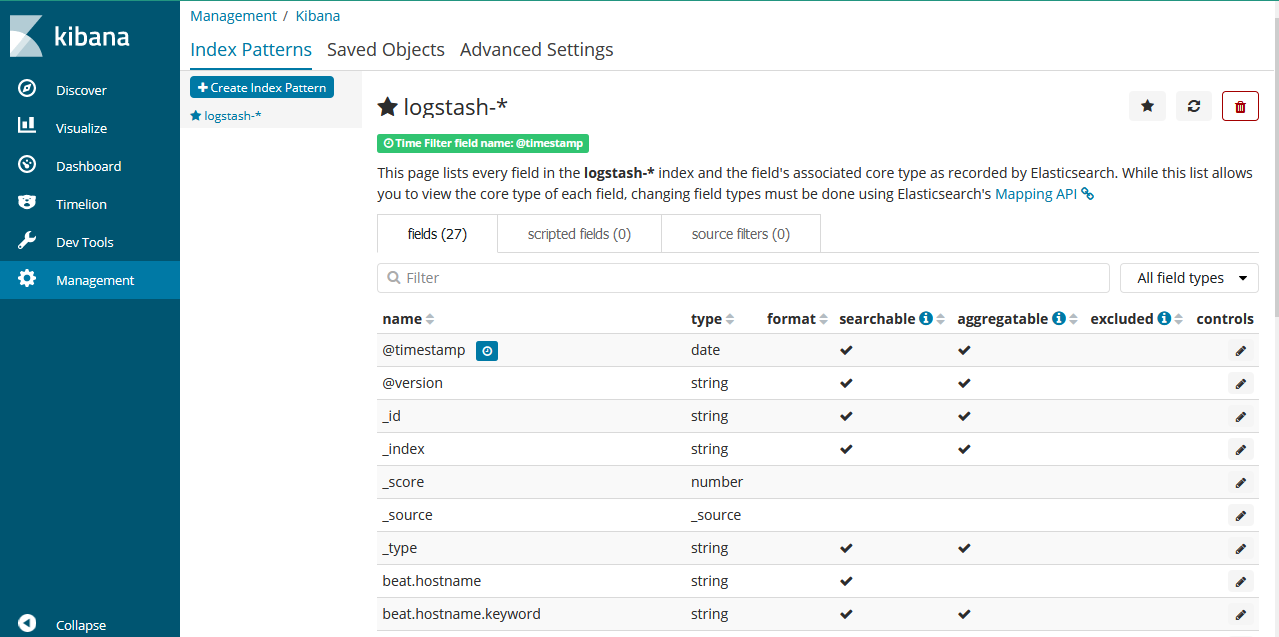
### --- Discover——>右上角时间修改为15s
### --- ——>可以查看到日志(说明ELK已经监控到了nginx服务的日志)——>END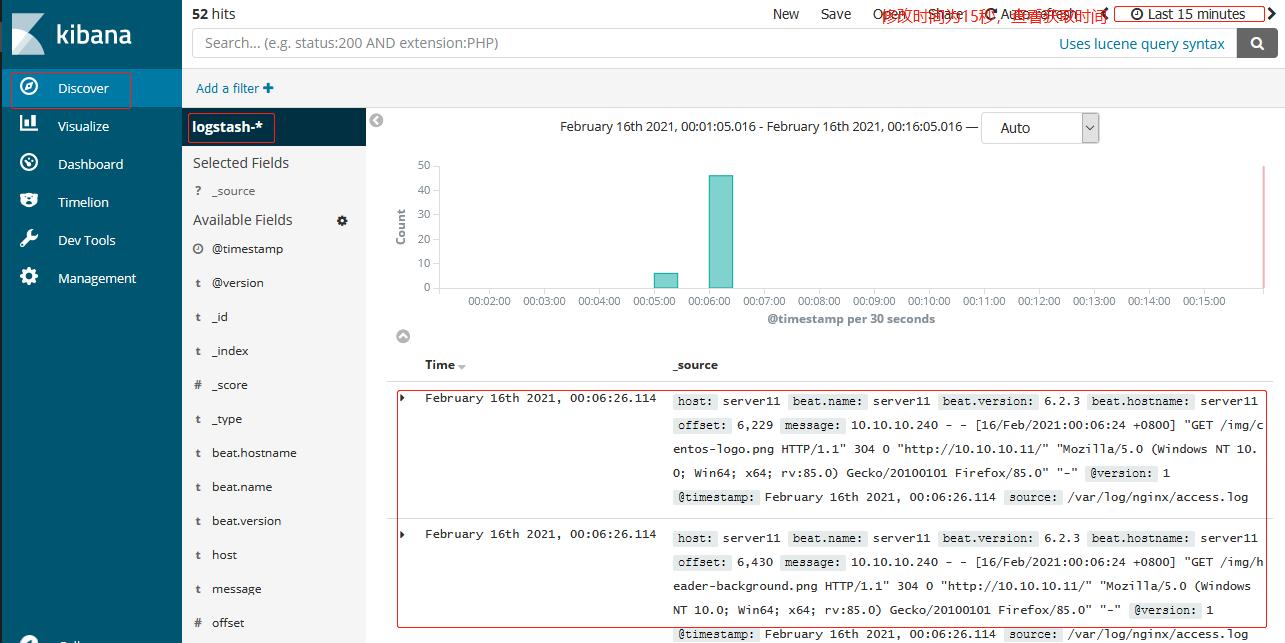
——>search——>END
Walter Savage Landor:strove with none,for none was worth my strife.Nature I loved and, next to Nature, Art:I warm'd both hands before the fire of life.It sinks, and I am ready to depart
——W.S.Landor
分类:
cdv007-network


【推荐】国内首个AI IDE,深度理解中文开发场景,立即下载体验Trae
【推荐】编程新体验,更懂你的AI,立即体验豆包MarsCode编程助手
【推荐】抖音旗下AI助手豆包,你的智能百科全书,全免费不限次数
【推荐】轻量又高性能的 SSH 工具 IShell:AI 加持,快人一步
· 无需6万激活码!GitHub神秘组织3小时极速复刻Manus,手把手教你使用OpenManus搭建本
· C#/.NET/.NET Core优秀项目和框架2025年2月简报
· Manus爆火,是硬核还是营销?
· 终于写完轮子一部分:tcp代理 了,记录一下
· 【杭电多校比赛记录】2025“钉耙编程”中国大学生算法设计春季联赛(1)