zabbix--yum安装zabbix4.2
yum部署zabbix-server4.2#
前面写到过在已有的lnmp环境下源码部署zabbix-server4.0,这次就写一篇yum部署zabbix-server+mysql的结合。
环境说明:
1.这里我所使用的MySQL版本为8版本,系统版本为CentOS7.4系列操作系统
部署MySQL#
1、配置MySQL yum源,由于官网源下载很慢,所以这里使用清华大学的镜像源
# cat > /etc/yum.repos.d/mysql-community.repo <<EOF
[mysql-connectors-community]
name=MySQL Connectors Community
baseurl=https://mirrors.tuna.tsinghua.edu.cn/mysql/yum/mysql-connectors-community-el7/
enabled=1
gpgcheck=1
gpgkey=file:///etc/pki/rpm-gpg/RPM-GPG-KEY-mysql

[mysql80-community]
name=MySQL 8.0 Community Server
baseurl=https://mirrors.tuna.tsinghua.edu.cn/mysql/yum/mysql80-community-el7/
enabled=1
gpgcheck=1
gpgkey=file:///etc/pki/rpm-gpg/RPM-GPG-KEY-mysql
EOF
2、更新yum源
# yum clean all
# yum makecache
3、安装MySQL
# yum install mysql-community-server -y
4、启动MySQL
# systemctl start mysqld
# systemctl enable mysqld
5、查看初始密码并修改密码
# grep password /var/log/mysqld.log
2020-03-31T08:46:17.270127Z 5 [Note] [MY-010454] [Server] A temporary password is generated for root@localhost: iwZgfDKdc1-N

# mysql -u root -p
...
mysql> ALTER USER 'root'@'localhost' IDENTIFIED BY "NewPass#123";
Query OK, 0 rows affected (0.01 sec)
6、创建zabbix数据库并创建用户及授权
mysql> create database zabbix character set utf8mb4;
Query OK, 1 row affected (0.02 sec)

mysql> create user 'zabbix'@'localhost' identified by 'Zabbix@123';
Query OK, 0 rows affected (0.01 sec)

mysql> grant all privileges on zabbix.* to 'zabbix'@'localhost' with grant option;
Query OK, 0 rows affected (0.01 sec)

mysql> alter  user 'zabbix'@'localhost' identified with mysql_native_password by "Zabbix@123";
Query OK, 0 rows affected (0.01 sec)
部署zabbix-server#
1、安装zabbix镜像源
# rpm -Uvh https://repo.zabbix.com/zabbix/4.2/rhel/7/x86_64/zabbix-release-4.2-2.el7.noarch.rpm
2、安装zabbix
# yum-config-manager --enable rhel-7-server-optional-rpms

# yum install zabbix-server-mysql zabbix-web-mysql zabbix-get -y
3、编辑zabbix-server配置文件,配置数据库账户密码
# cp /etc/zabbix/zabbix_server.conf{,.bck}
# cat > /etc/zabbix/zabbix_server.conf <<EOF
LogFile=/var/log/zabbix/zabbix_server.log
LogFileSize=0
PidFile=/var/run/zabbix/zabbix_server.pid
SocketDir=/var/run/zabbix
DBName=zabbix
DBUser=zabbix
DBPassword=Zabbix@123
SNMPTrapperFile=/var/log/snmptrap/snmptrap.log
Timeout=4
AlertScriptsPath=/usr/lib/zabbix/alertscripts
ExternalScripts=/usr/lib/zabbix/externalscripts
LogSlowQueries=3000
StatsAllowedIP=127.0.0.1
EOF
4、编辑httpd的子配置文件zabbix.conf,将时区进行更改(20行)
# grep timezone /etc/httpd/conf.d/zabbix.conf
        php_value date.timezone Asia/Shanghai
5、导入zabbix数据库文件
# zcat /usr/share/doc/zabbix-server-mysql-4.2.8/create.sql.gz |mysql -u root -pNewPass#123 zabbix

# 验证zabbix库中是否有表结构
# mysql -u root -pNewPass#123 -e "show tables from zabbix"
6、启动服务并加入开机自启动
# systemctl start zabbix-server
# systemctl start httpd
# systemctl enable zabbix-server
# systemctl enable httpd
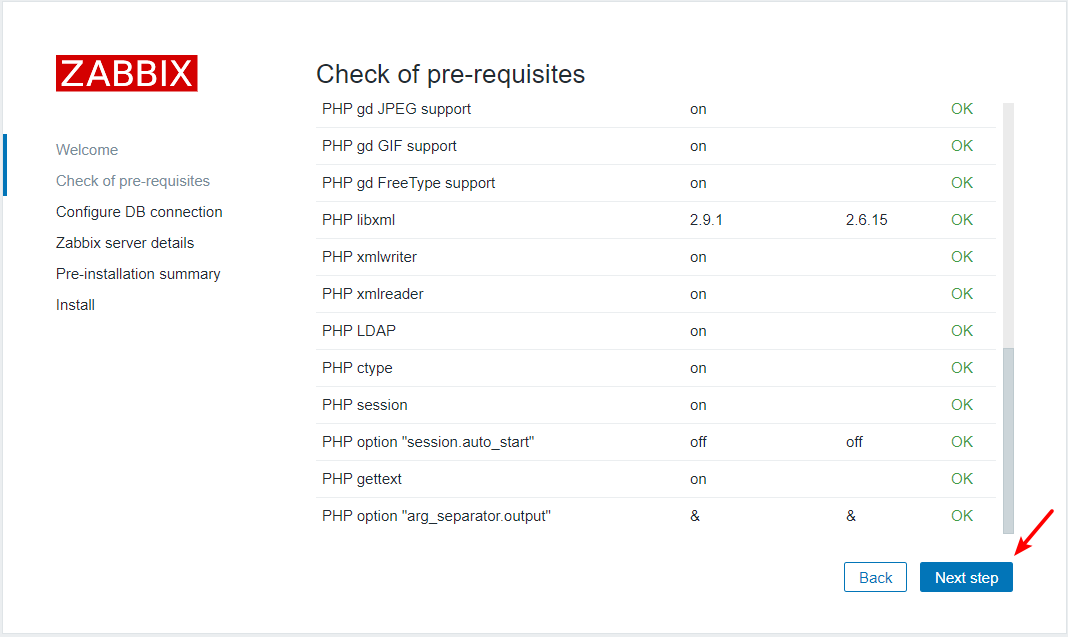
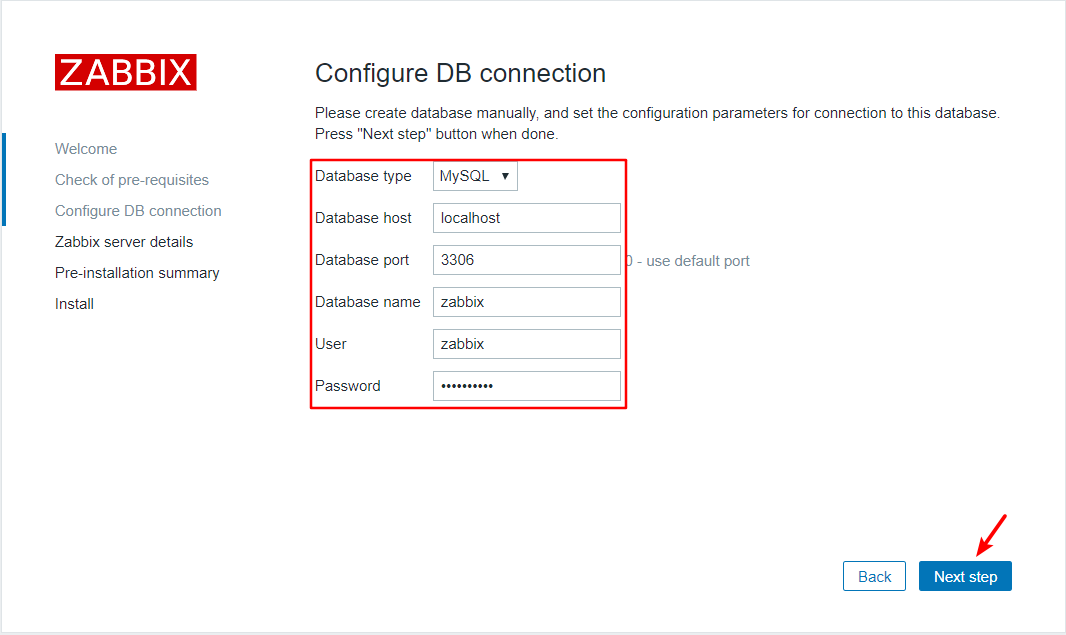
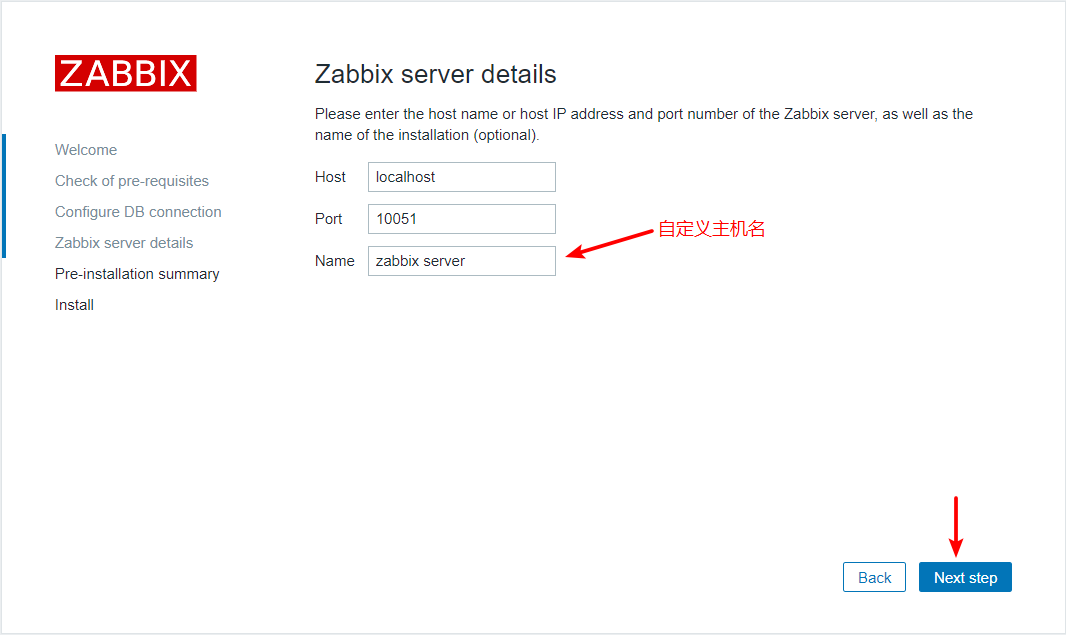
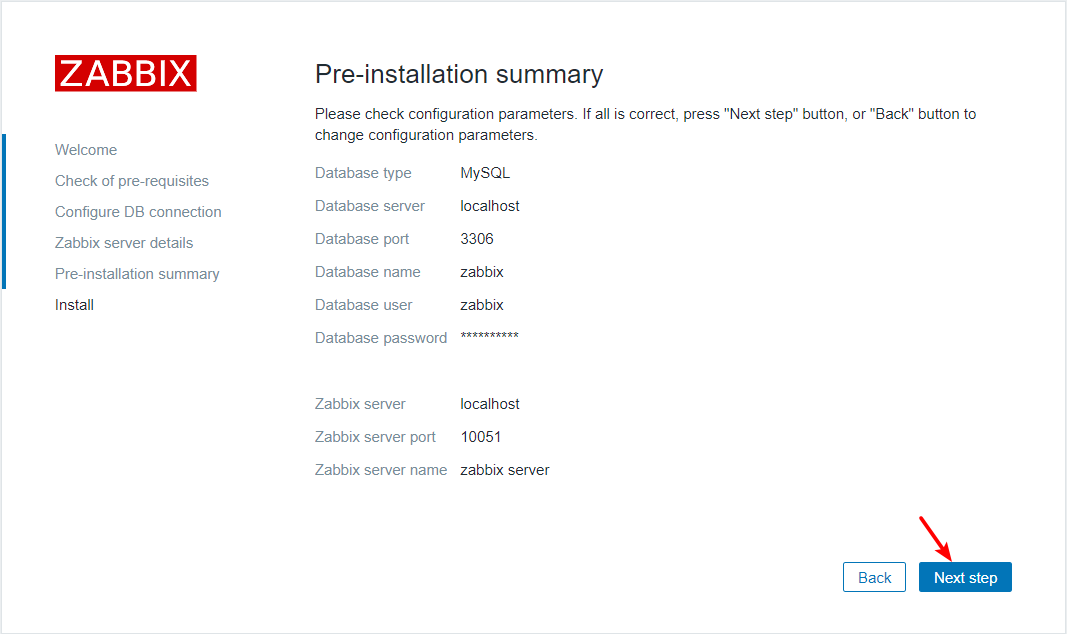
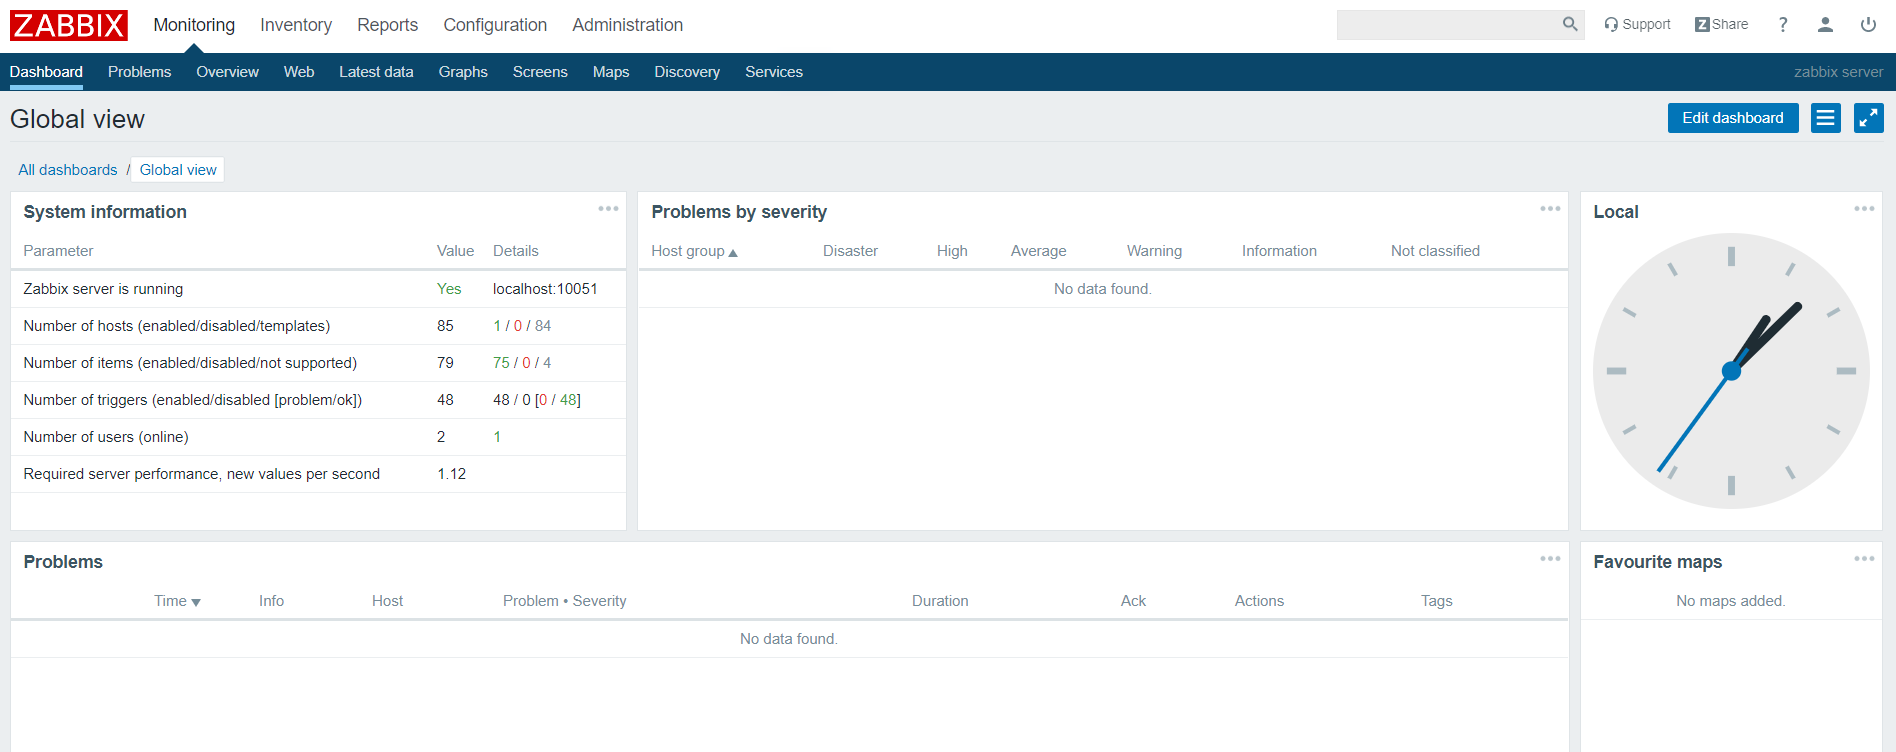
7、web访问并进行安装,默认访问:IP/zabbix
到这里,yum部署zabbix就完成了。其余配置,请参考zabbix系列文章。
作者:别来无恙-
出处:https://www.cnblogs.com/yanjieli/p/12606493.html
版权:本作品采用「署名-非商业性使用-相同方式共享 4.0 国际」许可协议进行许可。






【推荐】国内首个AI IDE,深度理解中文开发场景,立即下载体验Trae
【推荐】编程新体验,更懂你的AI,立即体验豆包MarsCode编程助手
【推荐】抖音旗下AI助手豆包,你的智能百科全书,全免费不限次数
【推荐】轻量又高性能的 SSH 工具 IShell:AI 加持,快人一步
· .NET Core 中如何实现缓存的预热?
· 从 HTTP 原因短语缺失研究 HTTP/2 和 HTTP/3 的设计差异
· AI与.NET技术实操系列:向量存储与相似性搜索在 .NET 中的实现
· 基于Microsoft.Extensions.AI核心库实现RAG应用
· Linux系列:如何用heaptrack跟踪.NET程序的非托管内存泄露
· TypeScript + Deepseek 打造卜卦网站:技术与玄学的结合
· 阿里巴巴 QwQ-32B真的超越了 DeepSeek R-1吗?
· 【译】Visual Studio 中新的强大生产力特性
· 【设计模式】告别冗长if-else语句:使用策略模式优化代码结构
· AI与.NET技术实操系列(六):基于图像分类模型对图像进行分类