关于在Vue中使用ZTree
在大数据量场景下Vue的数据监听机制决定了让渲染性能被降低,基于Vue实现的常规树组件几乎无法胜任上万条数据的高性能渲染,在IE浏览器(即便是IE11)中很容易导致页面卡死在,这个领域ztree是当之无愧最成熟的方案。
有前辈使用了vue-giant-tree组件对Ztree进行了vue的封装,但是因为没有全部将ztree的接口暴露出,无奈还是得使用原生ZTree,本来我是用npm去装ztree的 后来发现,很多东西直接上手改源码会更快,尤其是当我想借用ztree的fuzzySearch的时候,于是我用了个笨方法,我把ztree当作静态JS拿进来直接用了,当然,这种做法未必可取。
先来看一下我的结构树
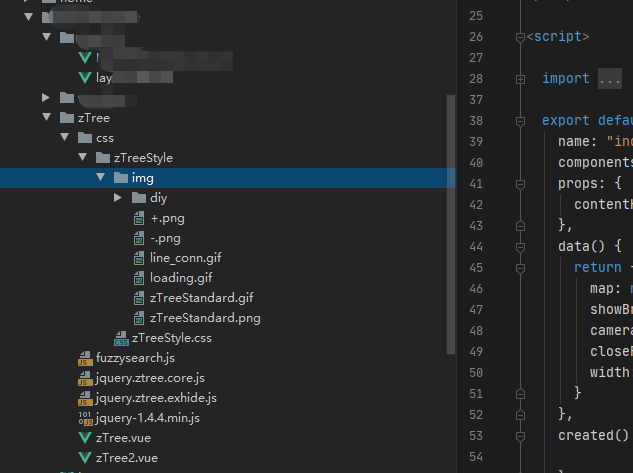
其中Ztree.vue就是我使用的组件,本来我是想写出slot形式的,但是考虑到后面的内置方法,我又放弃了,哈哈,先这么记着吧,后面可能就改掉了
代码如下
<template>
  <div class="this-tree">
    <div id="thisTree" class="ztree">
    </div>
  </div>

</template>

<script>
  import './jquery-1.4.4.min'
  import './jquery.ztree.core'
  import './jquery.ztree.exhide'
  import axios from 'axios'
  import fuzzySearch from '@/views/HomePage2D/zTree/fuzzysearch'
  import EventBus from '@/utils/EventBus'

  export default {
    name: 'zTree',
    components: {},
    data() {
      return {
        nodes: null,
        setting: {
          data: {
            simpleData: {
              enable: true
            }
          },
          view: {
            showIcon: true, dblClickExpand: false, showLine: true
          },
          callback: {
            beforeClick: this.ztpreclick,
          }
        },
        ztreeObj: null,
      }
    },
    watch: {},
    computed: {},
    methods: {
      //zTree点击节点
      ztpreclick(treeId, treeNode, clickFlag) {

        this.ztreeObj.expandNode(treeNode)

        if (this.ztreeObj.getSelectedNodes().length > 0 && (this.ztreeObj.getSelectedNodes()[0].tId === treeNode.tId)) {
          this.ztreeObj.cancelSelectedNode()
          return false
        }
        if (!(treeNode.children!==null)) {
          EventBus.$emit('zoomToMonitorDevice', `${treeNode.id}`)
        }
      },
      constructFuzzySearch(_searchkeywords, isHighLight, isExpand) {
        fuzzySearch.Search(this.ztreeObj, _searchkeywords, isHighLight, isExpand)
      }
    },
    mounted() {
      let T = this
      axios.get('/camera/menu/list').then(res => {
        if (res.data.code !== 200) {
          this.$Message.error(res.data.msg)
        } else {
          T.nodes = res.data.data
          $.fn.zTree.init($('#thisTree'), T.setting, T.nodes)
          T.ztreeObj = $.fn.zTree.getZTreeObj('thisTree')
        }
      })
      // axios.get('/static/config/dataCollections.json').then(({data}) => {
      //   T.nodes = data.nodes
      //   $.fn.zTree.init($('#thisTree'), T.setting, T.nodes)
      //   T.ztreeObj = $.fn.zTree.getZTreeObj('thisTree')
      // })

    },
    beforeDestroy() {
    }
  }
</script>

<style lang="scss" scoped>
  @import url('./css/zTreeStyle/zTreeStyle.css');
  .this-tree {

    /*> > > .ztree li a.curSelectedNode {*/
    /*  background-color: rgba(255, 230, 176, 0);*/
    /*  border: 0px #FFB951 solid;*/
    /*}*/

    /*> > > .ztree li a {*/
    /*  color: #ffffff;*/
    /*}*/

    /*> > > .ztree {*/
    /*  .button {*/
    /*    height: 25px;*/
    /*  }*/

    /*.line:before, .line:after,*/
    /*.bottom_docu:before, .bottom_docu:after,*/
    /*.center_docu:before, .center_docu:after, {*/
    /*  border-color: #0090EC;*/
    /*  border-width: 1px;*/
    /*  border-style: solid*/
    /*}*/


    /*  .root_close:before, .center_close:before, .bottom_close:before, .roots_close:before {*/
    /*    border: 0px solid;*/
    /*    background-image: url("/static/images/+.png");*/
    /*    width: 16px;*/
    /*    height: 16px;*/
    /*    transform: none;*/
    /*  }*/

    /*  .root_open:before, .roots_open:before, .center_open:before, .bottom_open:before {*/
    /*    border: 0px solid;*/
    /*    background-image: url("/static/images/-.png");*/
    /*    width: 16px;*/
    /*    height: 16px;*/
    /*    transform: none;*/
    /*  }*/


    /*  .ico_open, .ico_docu, .ico_close {*/
    /*    background-position: center !important;*/
    /*  }*/
    /*}*/
  }

</style>
然后如果你要该式样,就去
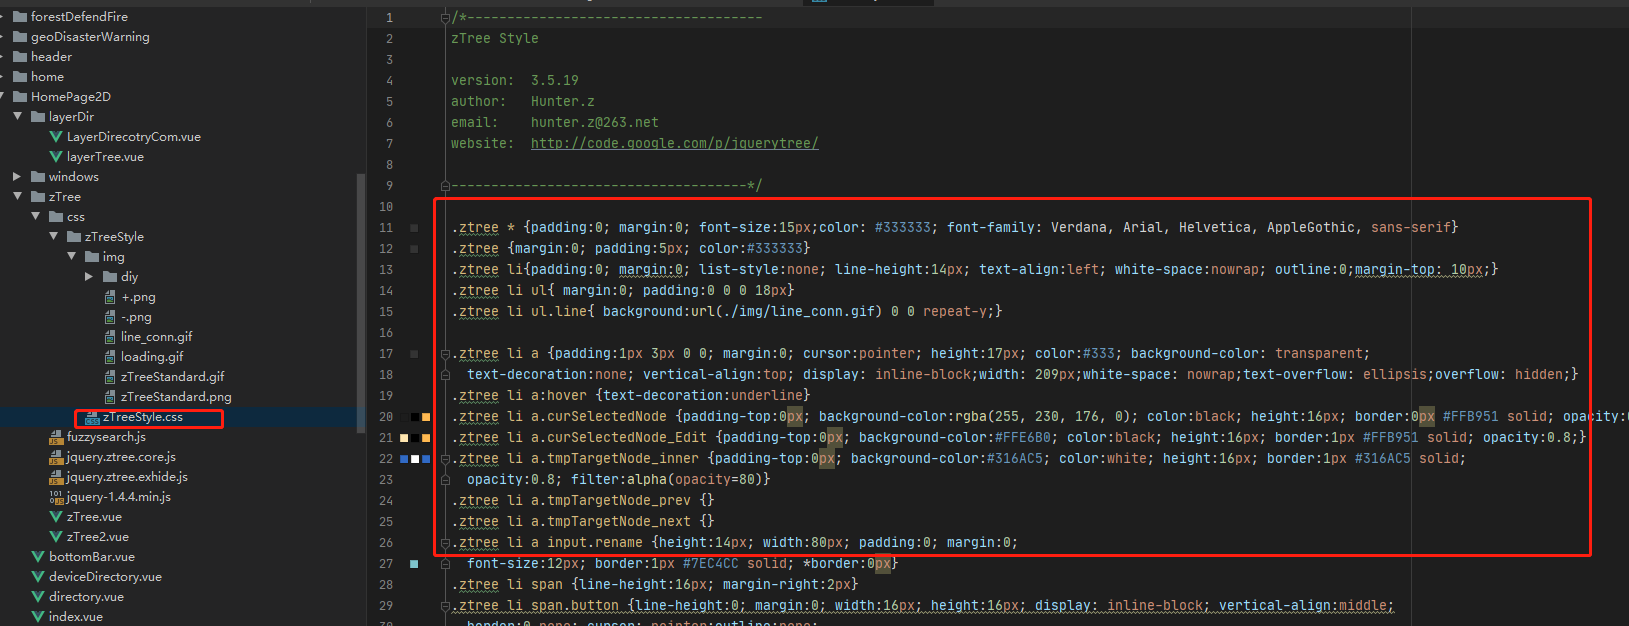
这里改他的原生的就行了,他的树结构点击+-号的变换是通过一整张图片,调整他的位置实现的
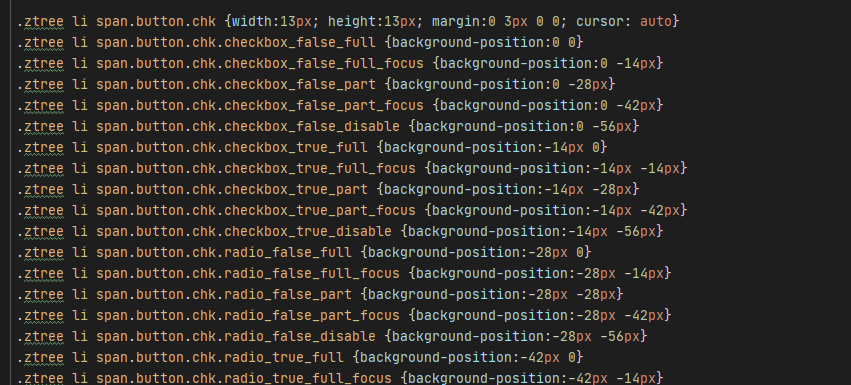
可以自己去改成想要的
然后css一定要在main.js中就要引入
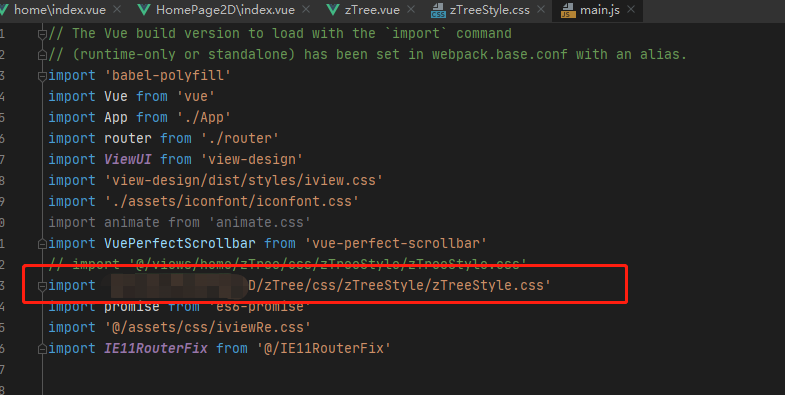
要不式样全部就没了
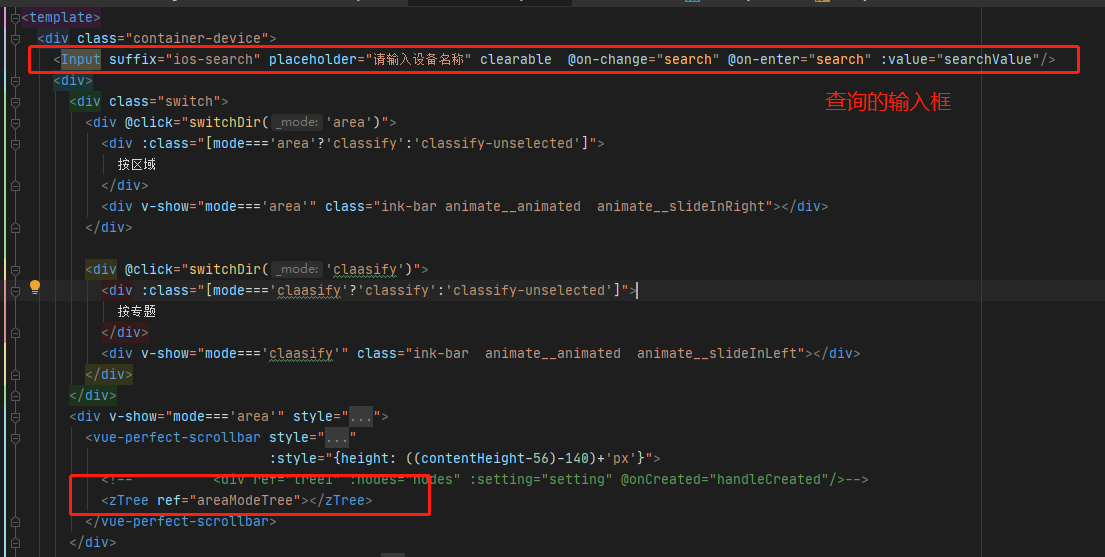
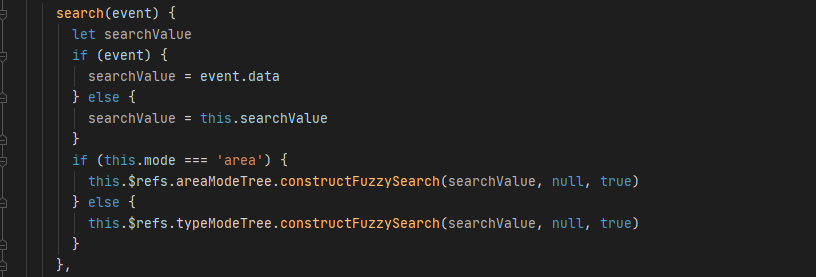
然后是Ztree的查询功能
