第九篇:DRF之分页器、ip频率限制、自动生成接口文档
第九篇:DRF之分页器、ip频率限制、生成接口文档
目录
一、分页器
当我们查看所有数据时,需要对数据进行一个分页。drf提供了三种分页方式。
我们可以是使用from rest_framework.pagination import PageNumberPagination,LimitOffsetPagination,CursorPagination导入下面三个分页器,然后分别继承这三个类,进行属性的配置,即可使用。
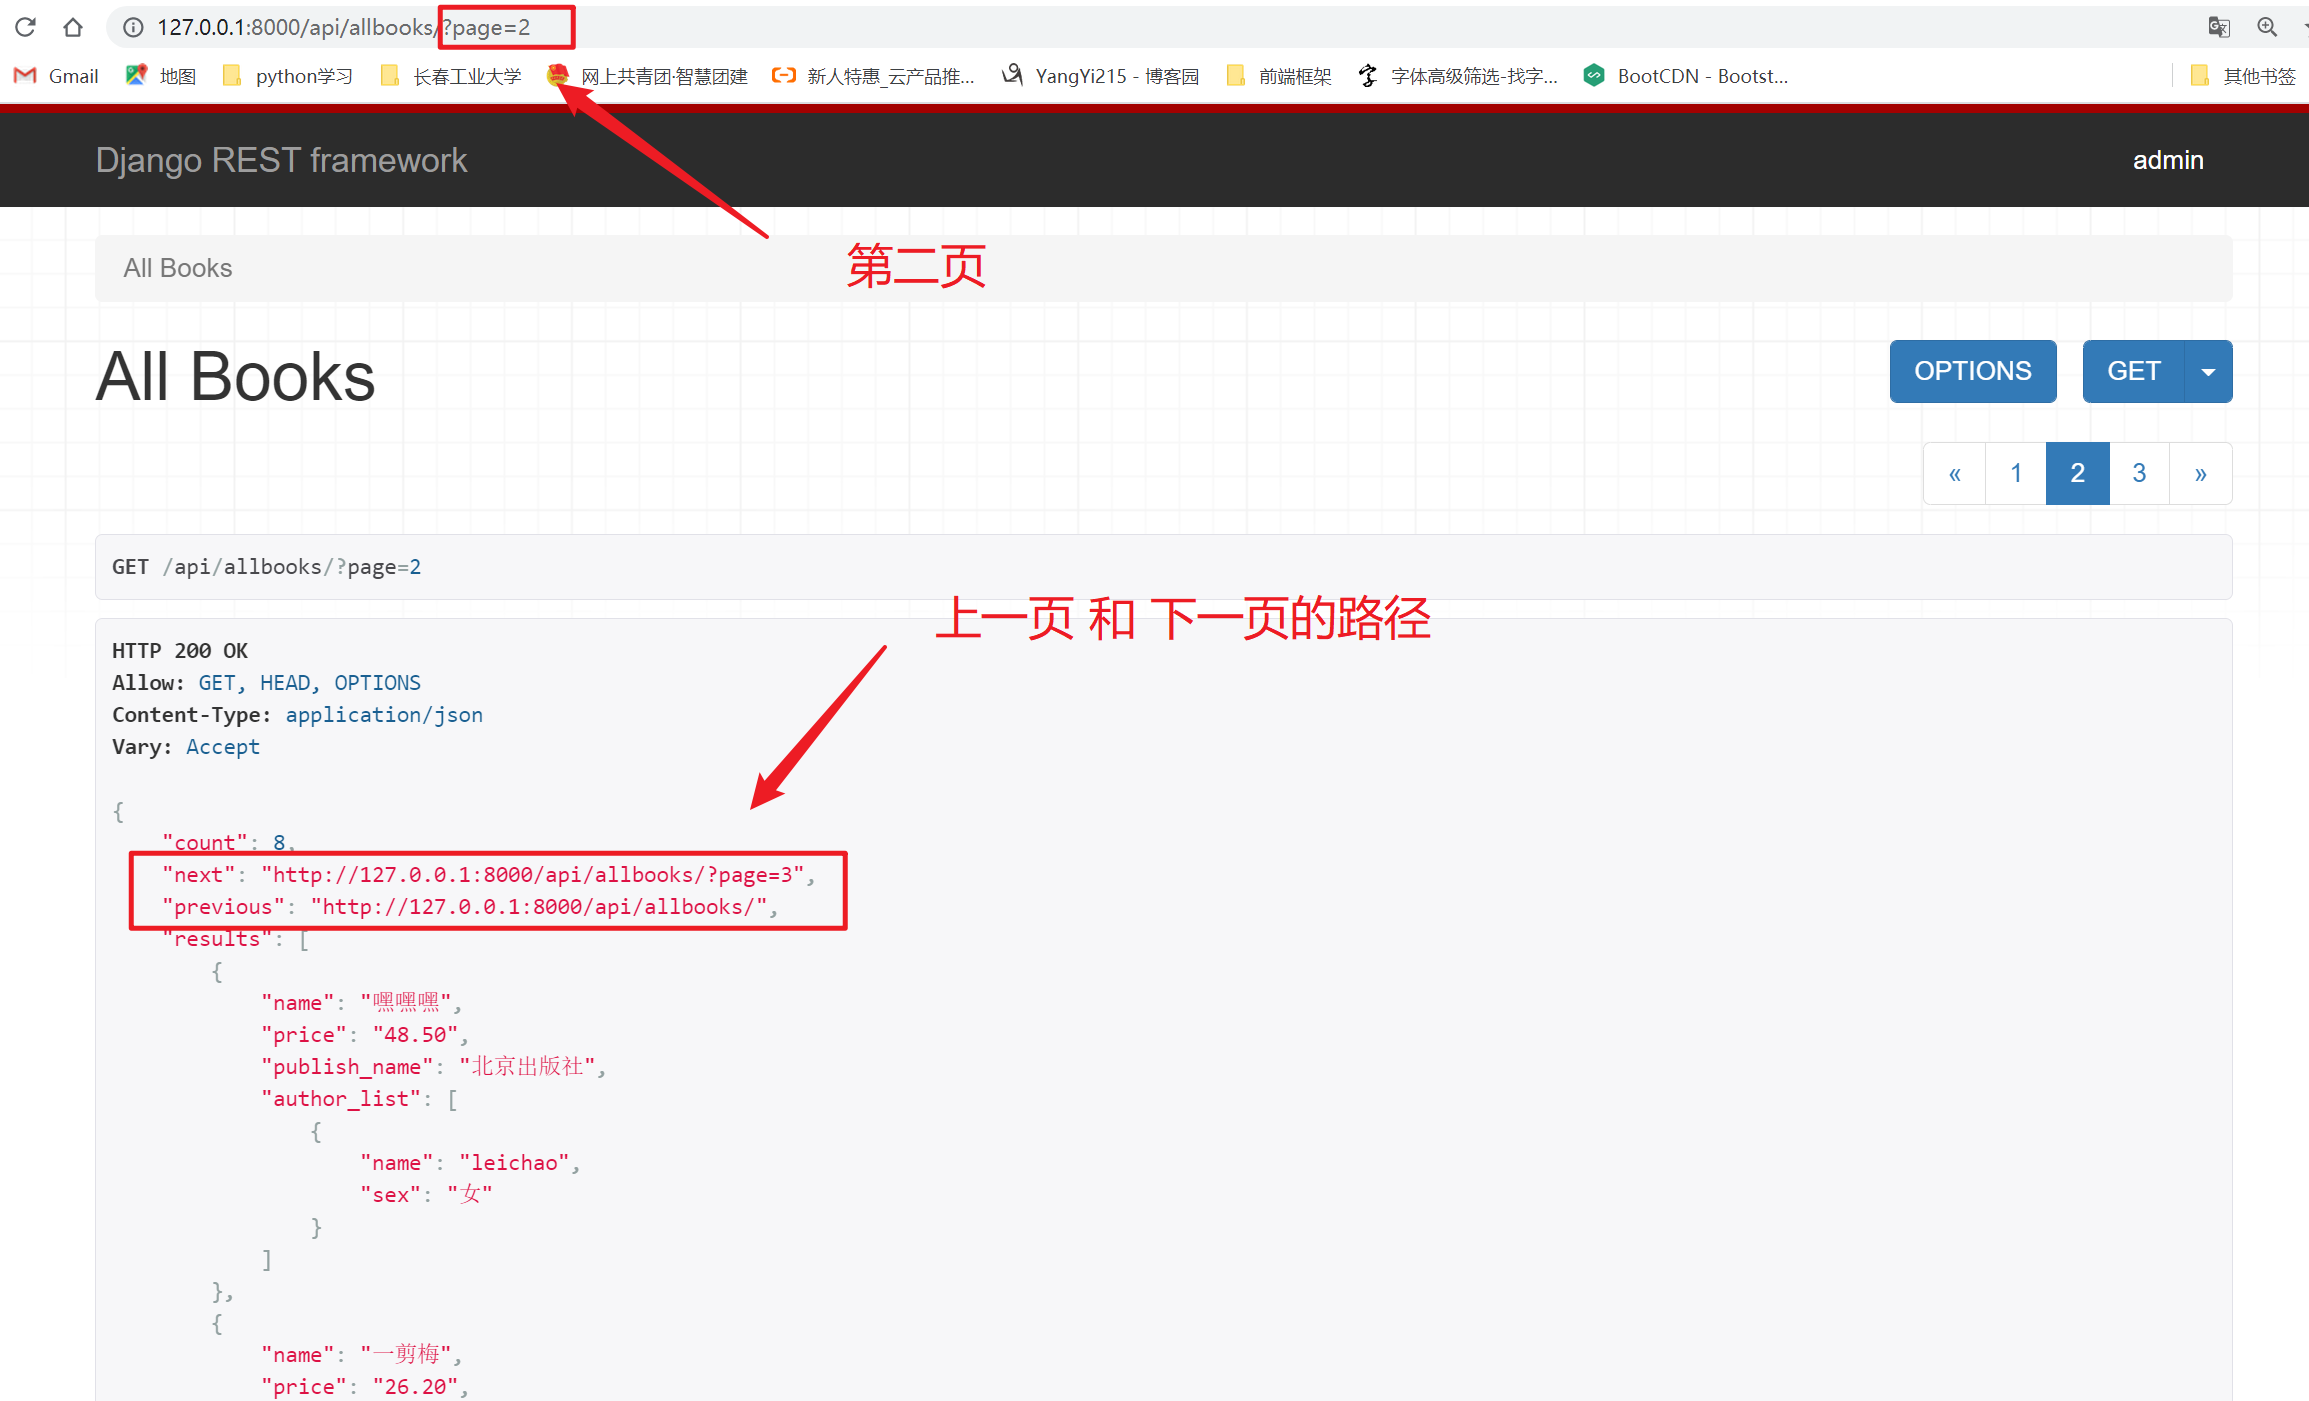
1、PageNumberPagination
使用方式如下。
from rest_framework.pagination import PageNumberPagination
# 分页器类
class MyPageNumberPagination(PageNumberPagination):
    page_size = 3  # 每页条数
    # page_query_param = 'aaa'  # 前端发送的页面关键字,默认为‘page’
    page_size_query_param = 'size'  # 前端发送的每页数目的关键字名,默认为None
    max_page_size = 5  # 前端最多能设置的每页数量


"""视图类中应用"""
# 测试分页器的使用
from rest_framework.generics import ListAPIView
class AllBooks(ListAPIView):
    # 拿到所有书籍的查询集
    queryset = models.Book.objects.all()
    # 序列组件
    serializer_class = BookModelSerializer
    # 分页器使用
    pagination_class = MyPageNumberPagination
效果如下。

2、LimitOffsetPagination
from rest_framework.pagination import LimitOffsetPagination

class MyLimitOffsetPagination(LimitOffsetPagination):
    default_limit = 3  # 每页的数目
    limit_query_param = 'limit'  # 往后拿几条数据
    offset_query_param = 'offset'  # 类似于一个标杆
    max_limit = 5  # 每页最大几条


"""视图类中应用"""
# 测试分页器的使用
from rest_framework.generics import ListAPIView
class AllBooks(ListAPIView):
    # 拿到所有书籍的查询集
    queryset = models.Book.objects.all()
    # 序列组件
    serializer_class = BookModelSerializer
    # 分页器使用
    pagination_class = MyLimitOffsetPagination


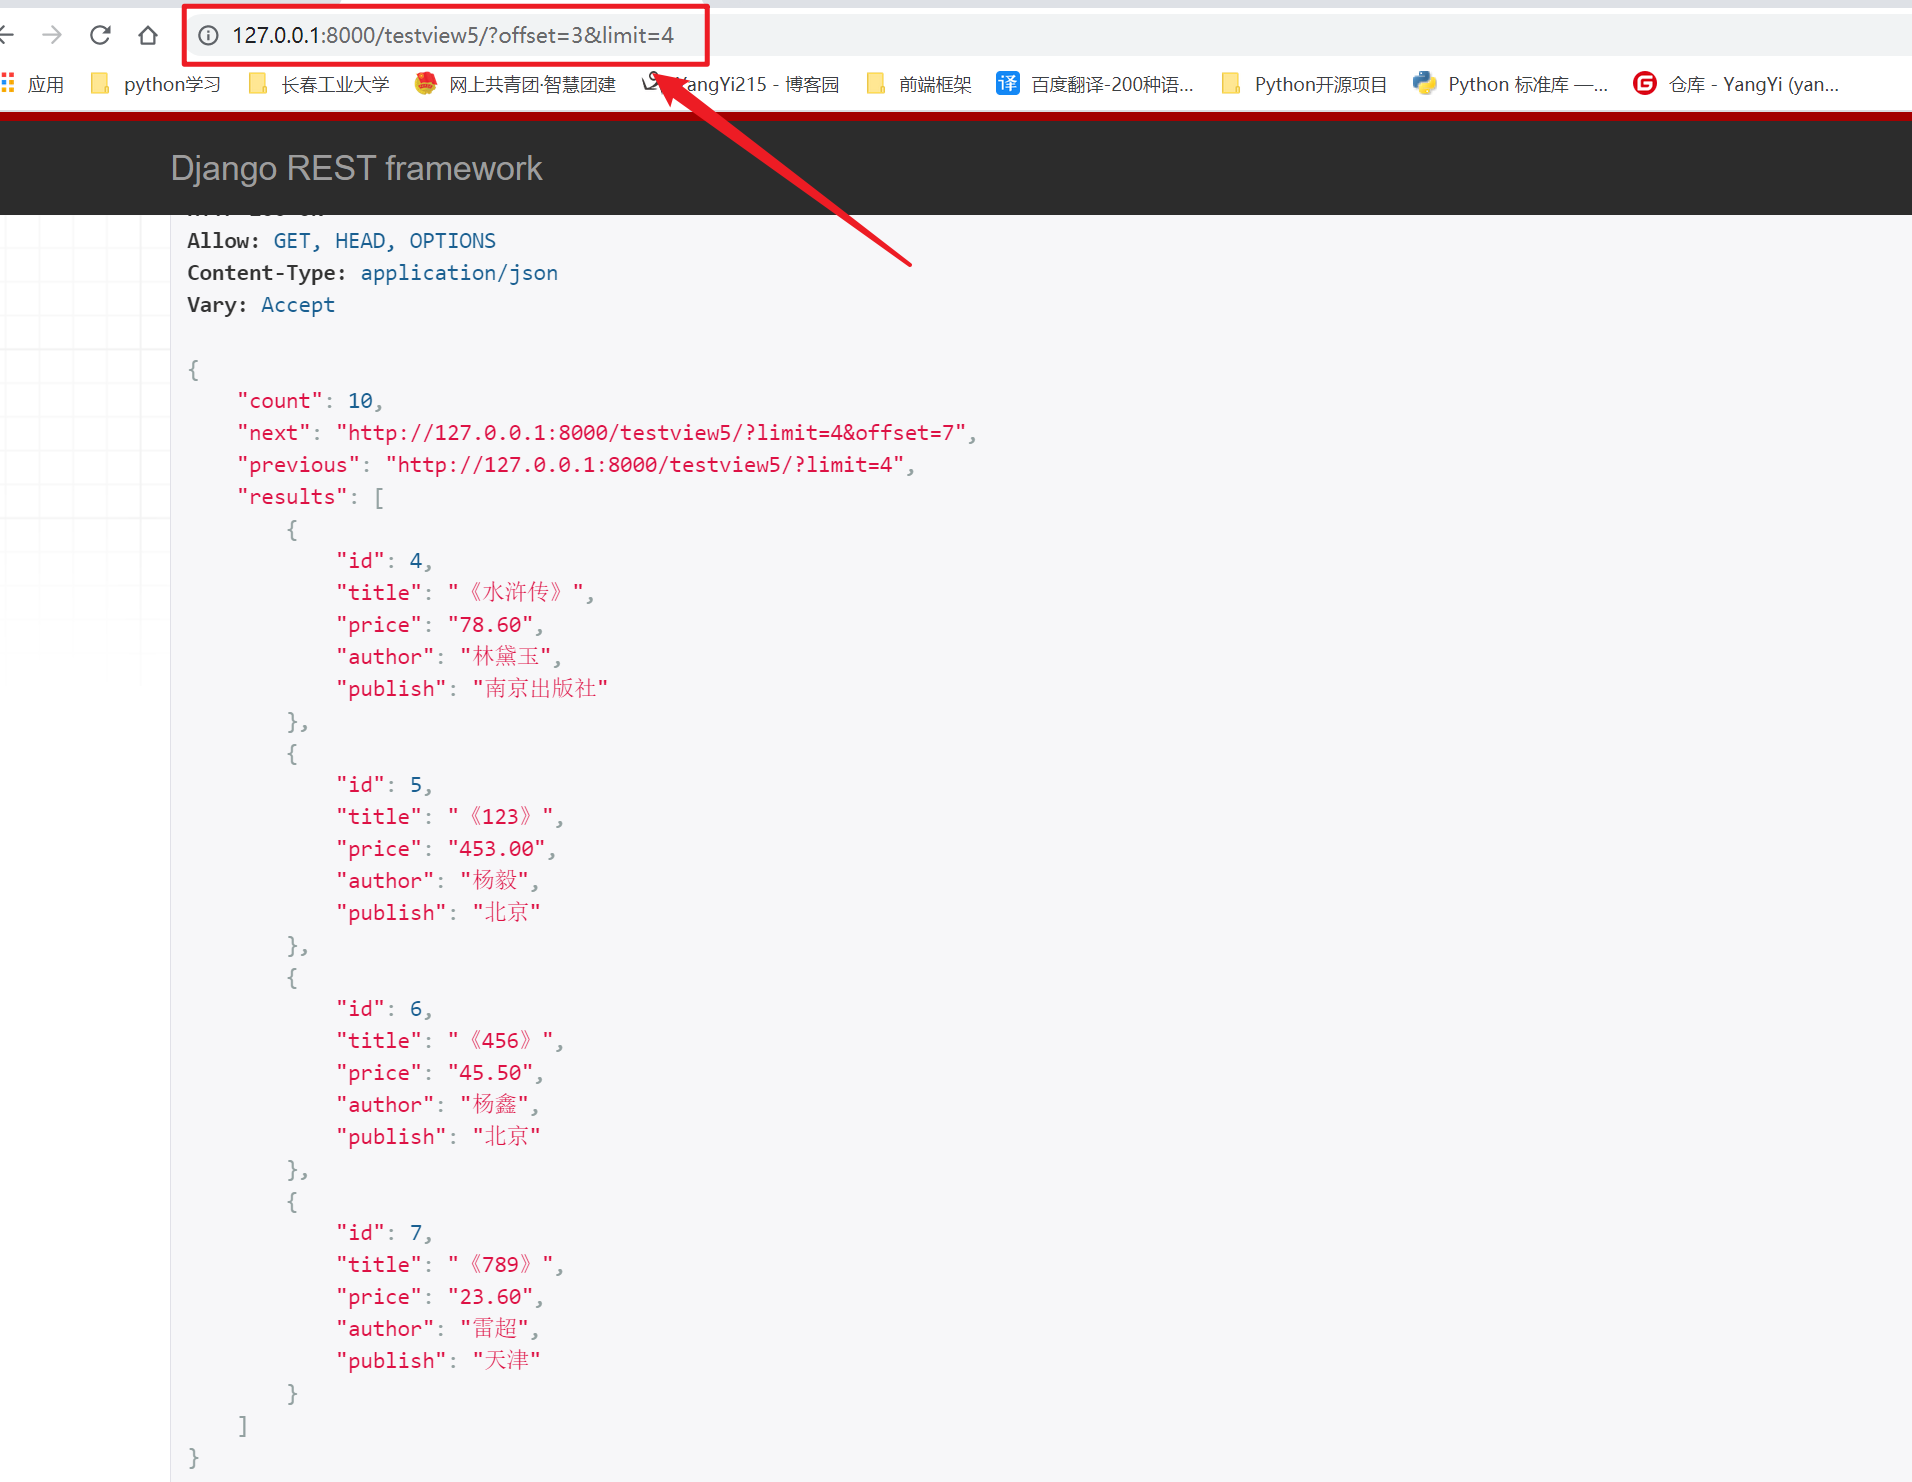
# 如 ?offset=3&limit=4 代表,以3为标杆,从pk为4往后拿4条数据[设置max_limit = 5之后最多,不能超过5条,但是能超过 default_limit = 3]

3、CursorPagination
class MyCursorPagination(CursorPagination):
    cursor_query_param = 'cursor'  # 每一页查询的key
    page_size = 2   # 每页显示的条数
    ordering = '-id'  # 排序字段【根据id逆向排序】


# 测试分页器的使用
from rest_framework.generics import ListAPIView
class AllBooks(ListAPIView):
    # 拿到所有书籍的查询集
    queryset = models.Book.objects.all()
    # 序列组件
    serializer_class = BookModelSerializer
    # 分页器使用
    pagination_class = MyCursorPagination


# 需要局部禁用过滤组件才能进行显示

4、如何使用APIView实现分页?
代码如下。
from rest_framework.pagination import PageNumberPagination
# 分页器类
class MyPageNumberPagination(PageNumberPagination):
    page_size = 3  # 每页条数
    # page_query_param = 'aaa'  # 前端发送的页面关键字,默认为‘page’
    page_size_query_param = 'size'  # 前端发送的每页数目的关键字名,默认为None
    max_page_size = 5  # 前端最多能设置的每页数量


class AllBooks(APIView):
    # 获取全部数据
    def get(self, request, *args, **kwargs):
        # 拿到所有的数据
        book_queryset = models.Book.objects.all()
        # 实例化得到一个分页器对象
        page_obj = MyPageNumberPagination()
        # 调用内部paginate_queryset方法
        book_list = page_obj.paginate_queryset(book_queryset, request, view=self)
        # 拿到上一页的url
        pre_url = page_obj.get_previous_link()
        # 拿到下一页的url
        next_url = page_obj.get_next_link()
        print(pre_url)  # http://127.0.0.1:8000/api/allbooks/   【当前位置第二页】
        print(next_url)  # http://127.0.0.1:8000/api/allbooks/?page=3
        # 将新的book_list进行序列化
        book_ser = ModelTest(book_list, many=True)
        # 渲染数据: 将book_ser.data数据进行重组
        back_data = book_ser.data
        back_data.insert(0, f'next_url: {next_url}')
        back_data.insert(0, f'pre_url: {pre_url}')
        return Response(data=back_data)
二、根据IP进行频率限制
1、继承SimpleRateThrottle
我们建立一个utils文件夹,在文件夹中创建throttling.py文件。
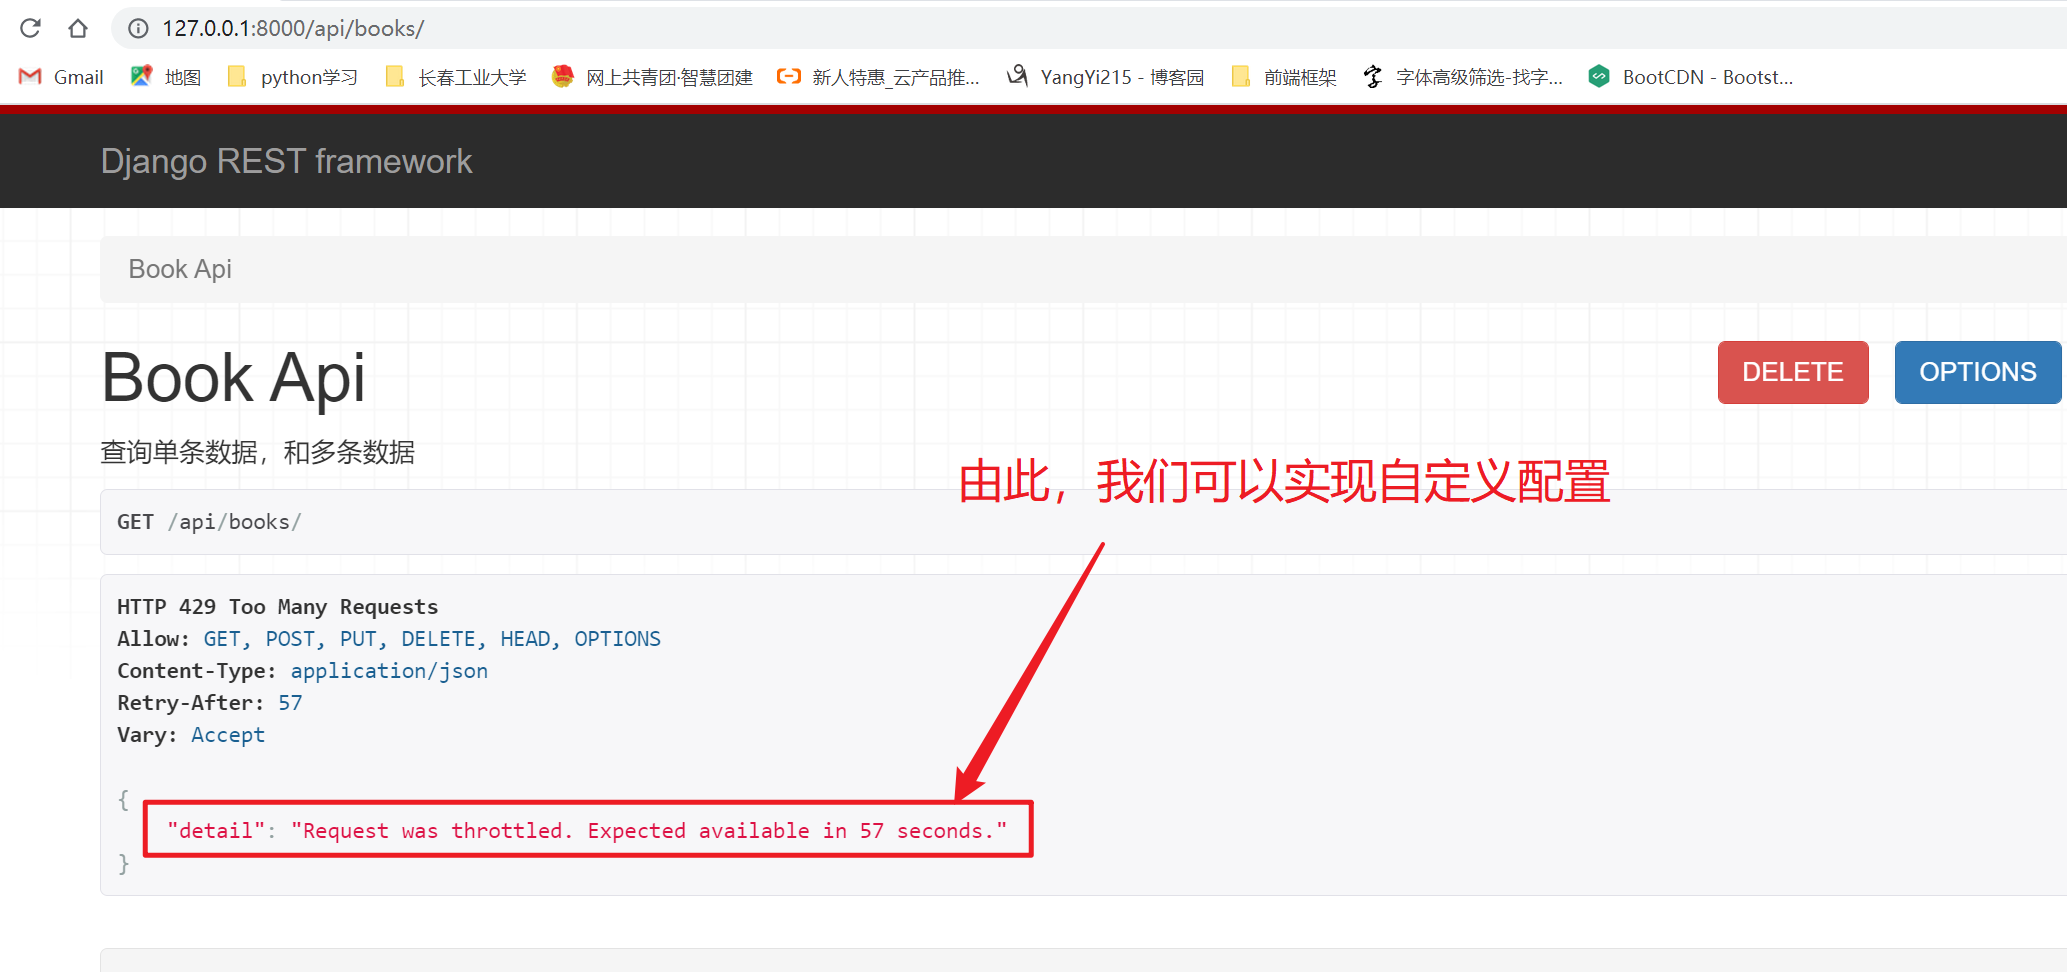
只需要写一个类,继承SimpleRateThrottle,只需要重写其中的get_cache_key 方法即可。
"""throttling.py中代码"""
from rest_framework.throttling import SimpleRateThrottle

# 继承SimpleRateThrottle
class MyThrottle(SimpleRateThrottle):
    # 确定限制频率的范围
    scope = 'testthrottle'
    # 重写其中的方法
    def get_cache_key(self, request, view):
        # 拿到客户端发来的IP地址
        print(request.META.get('REMOTE_ADDR'))
        # 返回客户端发来的IP地址
        return request.META.get('REMOTE_ADDR')
"""settings.py"""
# 全局使用方式
REST_FRAMEWORK = {
    'DEFAULT_THROTTLE_CLASSES': (
        'utils.throttling.MyThrottle',
    ),
    'DEFAULT_THROTTLE_RATES': {
        'testthrottle': '3/m'  # key要跟类中的scope相对应
    },
}
"""视图类中使用"""
from utils.throttling import MyThrottle
class AllBooks(APIView):
    # 局部使用频率限制方式
    throttle_classes = [MyThrottle]
2、自定义ip频率限制
"""throttling.py中"""
from rest_framework.throttling import BaseThrottle
import time
# 自定义ip频率限制【重写其中的allow_request和wait方法即可】
class IPThrottle(BaseThrottle):
    """定义成类属性,所有的对象用的都是这个字典"""
    VISIT_DIC = {}

    def __init__(self):
        # 表示每个请求各自的时间列表
        self.history_list = []

    # 判断是否限次,没有限次的话可以请求,返回True;限次了的话不可以请求,返回False;
    def allow_request(self, request, view):
        """
        (1)取出访问者ip
        (2)判断当前ip不在访问字典里,添加进去,并且直接返回True,表示第一次访问,在字典里,继续往下走
        (3)循环判断当前ip的列表,有值,并且当前时间减去列表的最后一个时间大于60s,把这种数据pop掉,这样列表中只有60s以内的访问时间,
        (4)判断,当列表小于3,说明一分钟以内访问不足三次,把当前时间插入到列表第一个位置,返回True,顺利通过
        (5)当大于等于3,说明一分钟内访问超过三次,返回False验证失败
        """
        # 取出访问者的ip
        ip = request.META.get('REMOTE_ADDR')
        # 取出当前的时间戳
        current_time = time.time()
        # 如果此ip从来没有访问过
        if ip not in self.VISIT_DIC:
            # 将ip值作为键,将时间列表作为值,添加到VISIT_DIC中
            self.VISIT_DIC[ip] = [current_time]
            # 返回True,可以请求
            return True
        # 将当前访问者的事件列表取出来
        self.history_list = self.VISIT_DIC[ip]
        # 判断是否超过一分钟
        while True:
            if current_time - self.history_list[-1] > 60:
                # 如果超过了一分钟,则将最早的时间取出
                self.history_list.pop()
            else:
                break
        # 1分钟内只允许访问3次
        if len(self.history_list) < 3:
            # 将当前时间插入到时间列表最前
            self.history_list.insert(0, current_time)
            # 表示可以访问
            return True
        else:
            return False

    # 限次后调用,显示还需等待多长时间才能再访问,返回等待的时间seconds
    def wait(self):
        current_time = time.time()
        # 返回限制时间
        return 60 - (current_time - self.history_list[-1])
"""settings.py中进行全局配置"""
# 局部使用,全局使用
REST_FRAMEWORK = {
    'DEFAULT_THROTTLE_CLASSES': (
        'utils.throttling.IPThrottle',
    ),
}

三、自动生成接口文档
我们需要安装coreapi模块,安装方式如下。
pip3 install coreapi
然后我们在主路由中配置如下路由即可。
from rest_framework.documentation import include_docs_urls

urlpatterns = [
    ...
    # 自动生成接口文档路由
    url(r'docs/', include_docs_urls(title='站点页面标题'))
]
新版本可能会报错。

我们需要在项目的settings.py中进行如下配置即可。
REST_FRAMEWORK = {
    # 新版的schema_class默认使用的是rest_framework.schemas.coreapi.AutoSchema
    'DEFAULT_SCHEMA_CLASS': 'rest_framework.schemas.coreapi.AutoSchema',
}
在视图类中,我们需要继续如下书写。
"""视图类:自动接口文档能生成的是继承自APIView及其子类的视图。"""
1 继承APIView的视图类
class BookAPIView(APIView):
    def get(self, request, *args, **kwargs):
        """查询单条数据,和多条数据"""
        pass

    def post(self, request, *args, **kwargs):
        """增加单条数据,和多条数据"""
        pass

2 单一方法的视图,可直接使用类视图的文档字符串,如
class BookListView(generics.ListAPIView):
    """
    返回所有图书信息.
    """

3 包含多个方法的视图,在类视图的文档字符串中,分开方法定义,如
class BookListCreateView(generics.ListCreateAPIView):
    """
    get:
    返回所有图书信息.
    post:
    新建图书.
    """

4 对于视图集ViewSet,仍在类视图的文档字符串中封开定义,但是应使用action名称区分,如
 class BookInfoViewSet(mixins.ListModelMixin, mixins.RetrieveModelMixin, GenericViewSet):
     """
     list:
     返回图书列表数据
     retrieve:
     返回图书详情数据
     latest:
     返回最新的图书数据
     read:
     修改图书的阅读量
     """
自动生成接口文档的效果如下所示。


【推荐】国内首个AI IDE,深度理解中文开发场景,立即下载体验Trae
【推荐】编程新体验,更懂你的AI,立即体验豆包MarsCode编程助手
【推荐】抖音旗下AI助手豆包,你的智能百科全书,全免费不限次数
【推荐】轻量又高性能的 SSH 工具 IShell:AI 加持,快人一步
· AI与.NET技术实操系列:向量存储与相似性搜索在 .NET 中的实现
· 基于Microsoft.Extensions.AI核心库实现RAG应用
· Linux系列:如何用heaptrack跟踪.NET程序的非托管内存泄露
· 开发者必知的日志记录最佳实践
· SQL Server 2025 AI相关能力初探
· 震惊!C++程序真的从main开始吗?99%的程序员都答错了
· winform 绘制太阳,地球,月球 运作规律
· 【硬核科普】Trae如何「偷看」你的代码?零基础破解AI编程运行原理
· 上周热点回顾(3.3-3.9)
· 超详细:普通电脑也行Windows部署deepseek R1训练数据并当服务器共享给他人