Linux环境安装postgresql
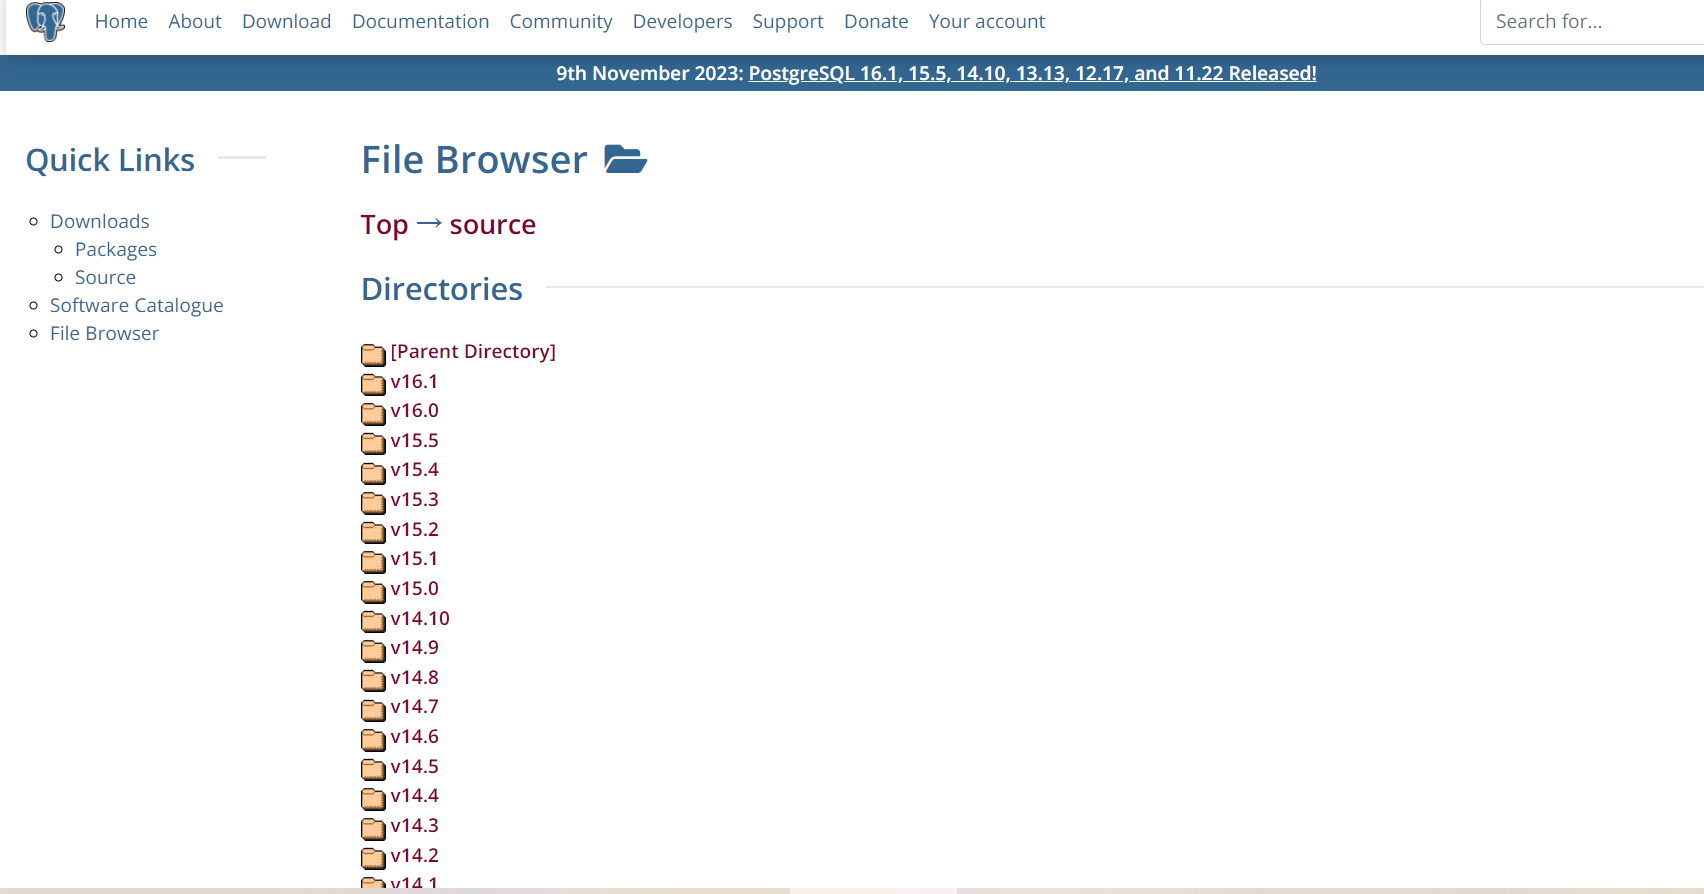
1.1、官网下载地址

1.2 上传安装包,并解压
# .tar.gz后缀:tar -zxvf 文件名 # .tar.xz后缀:tar -Jxvf 文件名 # -C 后面是解压后存放的目录 tar -xvf postgresql-15.3.tar.gz -C /data/database/postgresql/package # 重命名 mv 原文件夹名 postgresql # 软链接 ln -s 文件夹名 postgresql
二、配置环境
2.1 安装依赖
yum install -y perl-ExtUtils-Embed readline-devel zlib-devel pam-devel libxml2-devel libxslt-devel openldap-devel python-devel gcc-c++ openssl-devel cmake gcc* readline-devel
2.2 创建用户组
useradd postgres
2.3 创建目录并授权
mkdir -p /data/database/postgres/postgresql15
chown -R postgres:postgres /data/database/postgres
2.4 添加环境变量
vim /etc/profile export PATH=/data/database/postgres/postgresql15/bin:$PATH export PGHOME=/data/database/postgres/postgresql15 export PGDATA=/data/database/postgres/postgresql15/data/ export LD_LIBRARY_PATH=$LD_LIBRARY_PATH:$PGHOME/lib/ export PATH=$PGHOME/bin:$PATH:$HOME/bin #使配置生效 source /etc/profile
三、开始安装
3.1 编译
#进入解压目录执行
./configure --prefix=/data/database/postgres/postgresql15/ --with-python --with-libxml --with-libxslt
3.2 安装
make && make install
3.5 创建data和log目录
 mkdir /data/database/postgres/postgresql15/data
 mkdir data/database/postgres/postgresql15/log
3.4 初始化数据库
# 切换为自己前面创建的用户
su postgres
# 初始化数据库操作
/data/database/postgres/postgresql15/bin/initdb -D //data/database/postgres/postgresql15/data/
注:不能在 root 用户下初始数据库,否则会报错
3.5 配置远程连接
#修改postgresql.conf vim data/database/postgres/postgresql15/data/postgresql.conf # 设置所有ip可连接 listen_addresses = '*' # 设置监听端口 port = 5432 #修改pg_hba.conf # 所有数据库(all)、所有用户(all)、从本机(127.0.0.1/32)均可免密访问(trust) host all all 0.0.0.0/0 trust
3.6 启动服务
pg_ctl start -l /usr/local/postgresql/log/pg_server.log
3.7 登录数据库
psql -U postgres -d postgres
2.8 创建用户
#登录数据库,直接数据即可 psql -U postgres -d postgres #创建数据库 CREATE DATABASE test; #创建名为 zhangsan 的用户,请运行以下命令: CREATE USER zhangsan WITH PASSWORD '123456'; #修改密码 alter user test with password 'password'; #授予szja用户 kangkang 数据库的所有权限 grant all privileges on database test to zhangsan; #现在使用 zhangsan 用户登录数据库, 创建名为 test_schema 的 schema CREATE SCHEMA test_schema; ## 删除可以执行如下命令 DROP SCHEMA test_schema; #授予名为 zhangsan 用户对名为 test_schema 的 schema 下表的所有操作权限 GRANT USAGE ON SCHEMA test_schema to zhangsan; grant all privileges on all tables in schema test_schema to zhangsan; grant all privileges on all sequences in schema test_schema to zhangsan; grant select,insert,update,delete on all tables in schema test_schema to zhangsan;
四、遇到问题
4.1 无法远程连接
取消了远程访问ip的限制后,还是无法远程访问的问题
可能原因:5432端口未开放
1、直接关闭防火墙
# 关闭防火墙
systemctl stop firewalld
# 开启防火墙
systemctl start firewalld
# 查看防火墙状态
systemctl status firewalld
# 重启防火墙
systemctl restart firewalld
2、配置防火墙,开启5432端口
-
开放5432端口
firewall-cmd --zone=public --add-port=5432/tcp --permanent
-
关闭5432端口
firewall-cmd --zone=public --remove-port=5432/tcp --permanent
-
让配置立即生效
firewall-cmd --reload
-
重启防火墙
systemctl restart firewalld
-
查看已开放的端口
firewall-cmd --list-ports
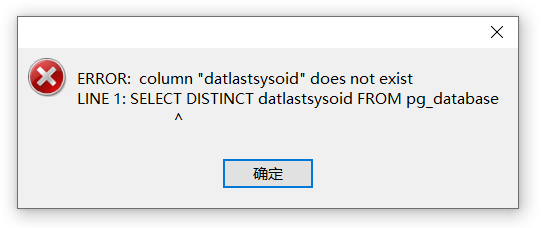
4.2 Nacicat 远程连接报错

解决方法1:升级navicat
将navicat升级到16.2以上版本
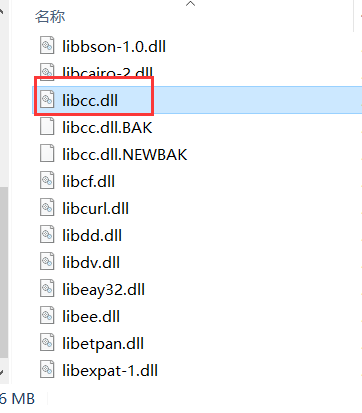
找到navicat安装目录,有一个libcc.dll文件

1.备份这个文件
2.进入网站https://hexed.it/ 打开本地的libcc.dll 文件
3.右侧点击搜索,关键词“SELECT DISTINCT datlastsysoid”
4.找到之后,把‘datlastsysoid’这几个字,改成“dattablespace”
5.然后把文件下载回来,放回原处


 浙公网安备 33010602011771号