
先来看下ckeditor编辑器的外貌
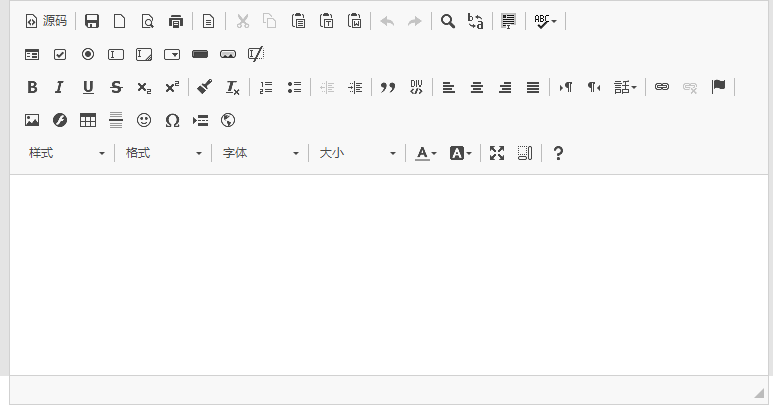
接下按照步骤讲解使用过程:
步骤一:将下图的编辑器文件拷贝到相应的静态文件目录
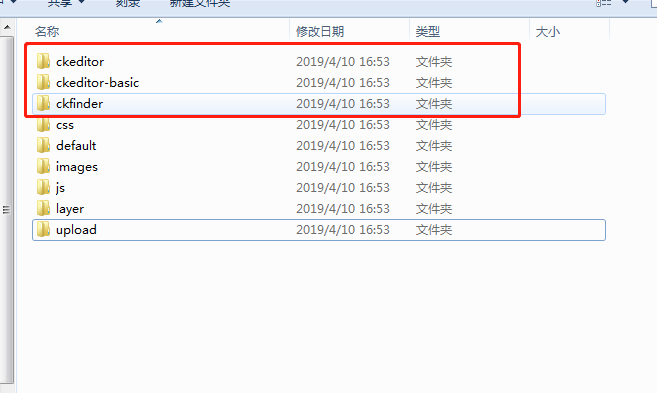
百度网盘链接:
链接:https://pan.baidu.com/s/1H_asWE8LXkOJFZ46CvW_zw 提取码:u1g9
步骤二:页面引用ckeditor编辑器,使用一个简单的表单来做实例
test.jsp
<%@ page language="java" contentType="text/html; charset=UTF-8"
         pageEncoding="UTF-8"%>
<%@ taglib prefix="c" uri="http://java.sun.com/jsp/jstl/core"%>
<%@ taglib prefix="fn" uri="http://java.sun.com/jsp/jstl/functions"%>
<%@ taglib prefix="fmt" uri="http://java.sun.com/jstl/fmt_rt"%>
<%
    String path = request.getContextPath();
    request.setAttribute("path", path);
    response.setHeader("Pragma", "No-cache");
    response.setHeader("Cache-Control", "no-cache");
    response.setDateHeader("Expires", 0);
%>
<html>
<head>
    <title>add</title>


    <link href="${path}/system/css/bootstrap.min.css" type="text/css" rel="stylesheet" />
    <script src="${path}/system/js/jquery-1.9.1.min.js"></script>
    <script src="${path}/system/js/laydate.js"></script>
    <script src="${path}/system/js/layer.js"></script>
    <script src="${path}/system/js/bootstrap.min.js"></script>

    <script type="text/javascript" src="<%=path%>/ckeditor/ckeditor.js"></script>
    <style type="text/css">
        #checkTb tr td{
            width:100px;
            padding-bottom:10px;
        }
        li{
            list-style: none;
            height: 50px;
            width: 200px;
            padding-left: 50px;
        }
    </style>
   <!-- 引入ckeditor -->
    <script type="text/javascript">
        var editor=null;
        window.onload = function()
        {
            editor = CKEDITOR.replace( 'xwckeditor' );
            //CKFinder.setupCKEditor(editor, '<%=path%>/ckfinder/');
            CKFinder.setupCKEditor(editor, '${path}/ckfinder/');
            $("#form0").validate();
        };
        $(function(){
            document.getElementById("content").style.display='none';
            var data=$("#content").val();

            if(GetWebType()=='IE'){
                CKEDITOR.instances['xwckeditor'].setData(data);
            }
            else{
                var editor = CKEDITOR.replace("xwckeditor");
                editor.setData(data);
            }

        });
        function GetWebType(){
            var userAgent = navigator.userAgent;
            if(userAgent.match(/Chrome/i) == 'Chrome') {
                return "Chrome";
            } else if(userAgent.match(/Opera/i) == 'Opera') {
                return "Opera";
            } else if(userAgent.match(/Firefox/i) == 'Firefox') {
                return "Firefox";
            } else if(userAgent.match(/Safari/i) == 'Safari') {
                return "Safari";
            } else if(!!window.ActiveXObject || "ActiveXObject" in window) {
                return "IE";
            }
        }


    </script>
</head>
<body>
    <div style="width: 850px;height: 500px;background-color: #e4e4e4">
        <div class=""modal-header style="text-align: center;">${fiction.fname}</div>
        <div class="modal-body">

            <form id="form0" class="form-horizontal form-bordered" role="form">
                <div class="form-group">
                    <input type="hidden" class="form-control" id="username" name="fid" value="${users.username}" placeholder="" />
                </div>
                <div class="form-group">
                   <label for="title1"  class="col-sm-2 control-label no-padding-right">标题</label>
                    <div class="col-sm-10">
                        <input type="text" class="form-control" id="title1" name="title1"  placeholder="" />
                    </div>
                </div>
                <div class="form-group" style="float: left;width: 760px;margin-left: 56px;">
                    <label for="chaptercontent">ckeditor内容</label>
                    <textarea id="xwckeditor" name="xwckeditor" cols="20"  rows="2" class="ckeditor"></textarea>
                    <input type="hidden" class="form-control" id="content" name="content" value="${fn:escapeXml(content)}">
                </div>
            </form>
        </div>
        <div class="modal-footer">
            <button type="button" class="btn btn-primary" id="btn_savebb">保存</button>
        </div>

    </div>


<script>

  // 序列化表单数据
    $(function () {
        $.prototype.serializeObject = function () {
            var a,o,h,i,e;
            a = this.serializeArray();
            o={};
            h=o.hasOwnProperty;
            for(i=0;i<a.length;i++){
                e=a[i];
                if(!h.call(o,e.name)){
                    o[e.name]=e.value;
                }
            }
            return o;
        }
  // 保存
    $("#btn_savebb").click(function() {
        if ($("#title1").val() == '') {
            layer.msg("标题不能为空!");
            return false;
        }
    // 获取编辑器中的内容
        var content=CKEDITOR.instances.xwckeditor.getData();
    // 内容加入到表单content之中,便于传到后端
     $("#content").val(content);
       if ($("#content").val() == '') {
            layer.msg("章节内容不能为空!");
            return false;
        }

     // form0表单序列化
        var jsonuserinfo = $('#form0').serializeObject();
        // ajax请求
        $.ajax({
            type : 'POST',
            url : "${path}/chapter/add",
            data : JSON.stringify(jsonuserinfo),
            dataType : 'json',
            contentType : "application/json; charset=utf-8",
            error : function(xhr, status, statusText) {
                //$("div#divshow").text("提交数据时错误:"+xhr.status);
                layer.msg("网络错误!" + xhr.status);
            },
            success : function(data) {
                //var json= JSON.parse(data);
                if (data.res == 'OK') {
                    layer.alert('保存成功', {icon : 6},
                        function(index){location.reload();});
                } else {
                    layer.alert('保存失败', {icon : 3});
                }
            }
        });
     });


    })
</script>


</body>
</html>
到现在基本上就ok了,下面附上后端代码:
   @RequestMapping("add")
    @ResponseBody
    public Map<String,Object> add(@RequestBody Chapter form){
        Map<String, Object> _out = new HashMap<>();
        int i1 = fictionDao.updateTogxsj(form.getFid());
        int i2 = 0;
        try {
            i2 = chapterDao.add(form);
        } catch (Exception e) {
            e.printStackTrace();
        } finally {
            System.out.println("打印:"+i2);
        }
        if (i1!=0&&i2!=0){
            _out.put("res","OK");

        }else{
            _out.put("res","error");
        }


        return _out;
    }
Dao层就不需要给了吧。

 浙公网安备 33010602011771号