[UWP]使用AdaptiveTrigger实现自适应布局
这篇博客将介绍如何在UWP开发中使用AdaptiveTrigger实现自适应布局。
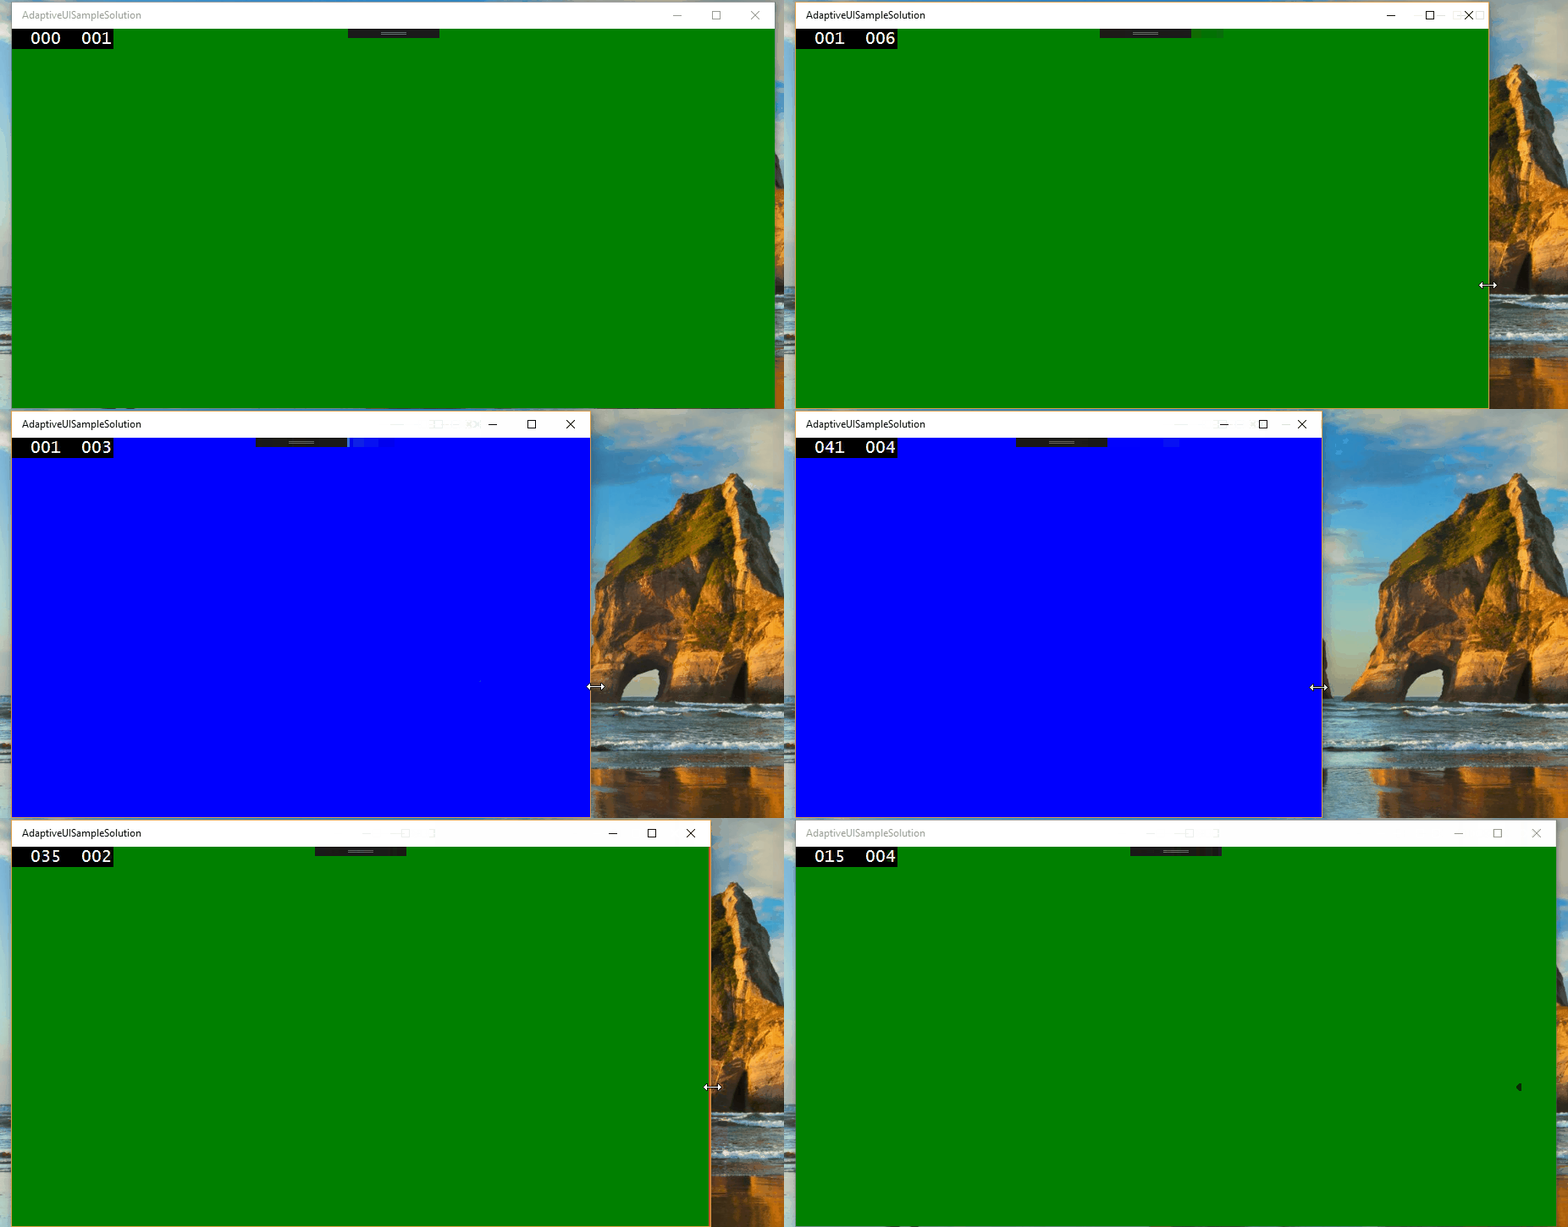
场景1:窗体宽度大于800时,窗体背景色为绿色,窗体在0到800之间为蓝色。

XAML Code:
<Grid x:Name="LayoutRoot" Background="{ThemeResource ApplicationPageBackgroundThemeBrush}">
    <VisualStateManager.VisualStateGroups>
        <VisualStateGroup x:Name="WindowStates">
            <!--Windows's size >= 800, background green-->
            <VisualState x:Name="WideState">
                <VisualState.StateTriggers>
                    <AdaptiveTrigger MinWindowWidth="800" />
                </VisualState.StateTriggers>
                <VisualState.Setters>
                    <Setter Target="LayoutRoot.Background" Value="Green" />
                </VisualState.Setters>
            </VisualState>
            <!--Windows's size >0 and < 800, background blue-->
            <VisualState x:Name="NarrowState">
                <VisualState.StateTriggers>
                    <AdaptiveTrigger MinWindowWidth="0" />
                </VisualState.StateTriggers>
                <VisualState.Setters>
                    <Setter Target="LayoutRoot.Background" Value="Blue" />
                </VisualState.Setters>
            </VisualState>
        </VisualStateGroup>
    </VisualStateManager.VisualStateGroups>
</Grid>
在VisualStateGroup中有两组VisualState对Grid的背景色进行了设置。
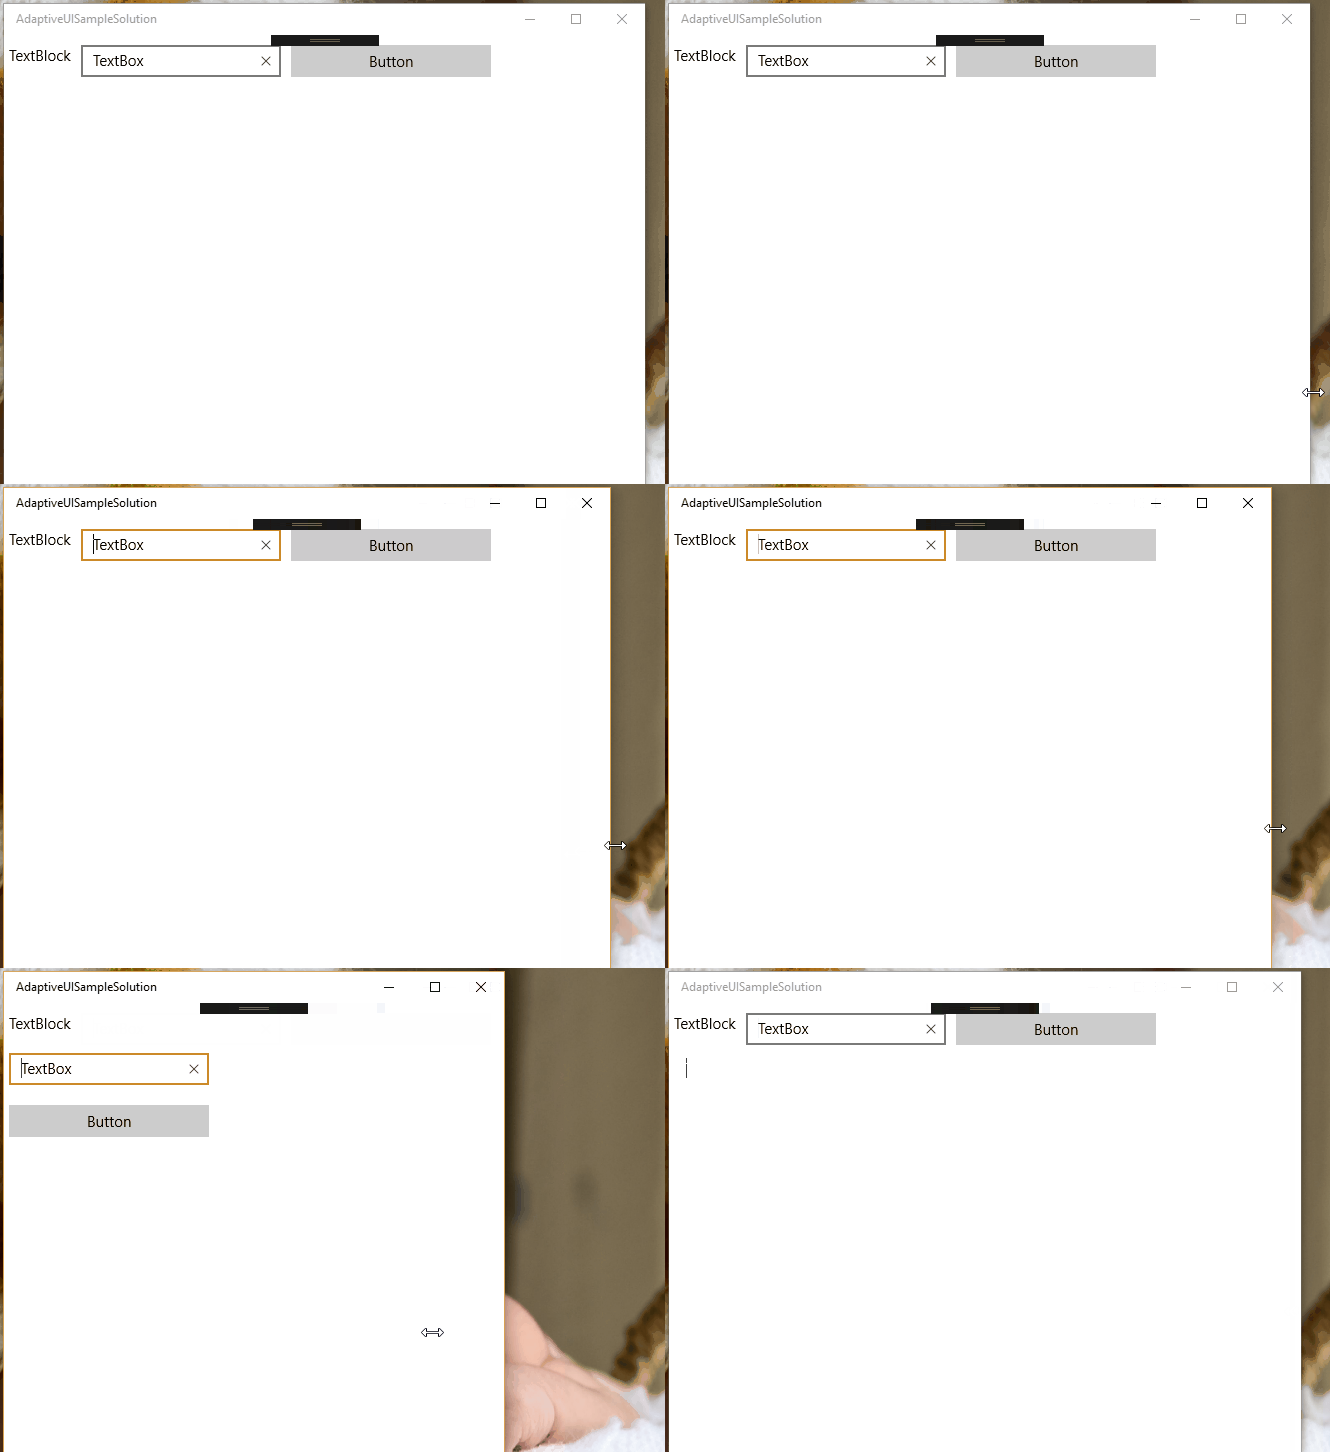
场景2:一个窗体上面有一个TextBlock,TextBox,Button。当窗体宽度合适时,这三个控件水平排放;缩小窗体后,垂直排放。

XAML Code:
<Grid x:Name="LayoutRoot" Background="{ThemeResource ApplicationPageBackgroundThemeBrush}">
    <RelativePanel HorizontalAlignment="Stretch">
        <TextBlock x:Name="MyTextBlock" Text="TextBlock" Margin="5,10"/>

        <TextBox x:Name="MyTextBox" Text="TextBox" Width="200" Margin="5,10"/>

        <Button x:Name="MyButton" Content="Button" Margin="5,10" Width="200" />
    </RelativePanel>
    <VisualStateManager.VisualStateGroups>
        <VisualStateGroup x:Name="WindowState">
            <VisualState x:Name="WideState">
                <VisualState.StateTriggers>
                    <AdaptiveTrigger MinWindowWidth="600" />
                </VisualState.StateTriggers>
                <VisualState.Setters>
                    <Setter Target="MyTextBox.(RelativePanel.RightOf)" Value="MyTextBlock" />
                    <Setter Target="MyButton.(RelativePanel.RightOf)" Value="MyTextBox" />
                </VisualState.Setters>
            </VisualState>

            <VisualState x:Name="NarrowState">
                <VisualState.StateTriggers>
                    <AdaptiveTrigger MinWindowWidth="0" />
                </VisualState.StateTriggers>
                <VisualState.Setters>
                    <Setter Target="MyTextBox.(RelativePanel.Below)" Value="MyTextBlock" />
                    <Setter Target="MyTextBox.(RelativePanel.AlignLeftWith)" Value="MyTextBlock" />
                    <Setter Target="MyButton.(RelativePanel.Below)" Value="MyTextBox" />
                    <Setter Target="MyButton.(RelativePanel.AlignLeftWith)" Value="MyTextBlock" />
                </VisualState.Setters>
            </VisualState>
        </VisualStateGroup>
    </VisualStateManager.VisualStateGroups>
</Grid>
VisualState.Setter的Target中RalativePanel的内容都用括号圈起来了是因为这些都是附加属性。这里同时引入了一个UWP支持的布局控件RelativePanel,关于RelativePanel布局,
可以参考:https://msdn.microsoft.com/en-us/library/windows/apps/windows.ui.xaml.controls.relativepanel.aspx
本文版权归作者和博客园共有,欢迎转载,但未经作者同意必须保留此段声明,且在文章页面明显位置给出原文连接,否则保留追究法律责任的权利。


