WPF Navigation
在开始学习WPF时,一开始对WPF的Window, Page, UserControl感到很迷惑。不知道什么时候该使用哪一个。下面简单介绍一下这三者的区别。
Window:故名思意,桌面程序的窗体。在WPF桌面应用中,我通常会只用一个主窗体,然后将不同的操作单元封装在不同的UserControl中,根据用户的操作展现不同的UserControl;
Page:Page需要承载在窗体中,通过Navigation进行不同Page的切换,也是本篇博客中需要讲到的;
UserControl:封装一些可以重复使用的功能。
在这篇博客中将介绍WPF导航应用。WPF Navigation实现在不同Page之间的切换。
我们需要在NavigationWindow或者Frame中承载Page,首先看NavigationWindow
新建WelcomePage,然后设置NavigationWindow的Source为WelcomePage
<NavigationWindow x:Class="NavigationBasedApp.MainWindow"
        xmlns="http://schemas.microsoft.com/winfx/2006/xaml/presentation"
        xmlns:x="http://schemas.microsoft.com/winfx/2006/xaml"
        xmlns:d="http://schemas.microsoft.com/expression/blend/2008"
        xmlns:mc="http://schemas.openxmlformats.org/markup-compatibility/2006"
        xmlns:local="clr-namespace:NavigationBasedApp"
        mc:Ignorable="d" ShowsNavigationUI="False" Source="WelcomePage.xaml"
        Title="MainWindow" Height="350" Width="525">

</NavigationWindow>
WelcomePage.xaml:
<Page x:Class="NavigationBasedApp.WelcomePage"
      xmlns="http://schemas.microsoft.com/winfx/2006/xaml/presentation"
      xmlns:x="http://schemas.microsoft.com/winfx/2006/xaml"
      xmlns:mc="http://schemas.openxmlformats.org/markup-compatibility/2006"
      xmlns:d="http://schemas.microsoft.com/expression/blend/2008"
      xmlns:local="clr-namespace:NavigationBasedApp"
      mc:Ignorable="d"
      d:DesignHeight="300" d:DesignWidth="300"
      Title="WelcomePage">

    <Grid>
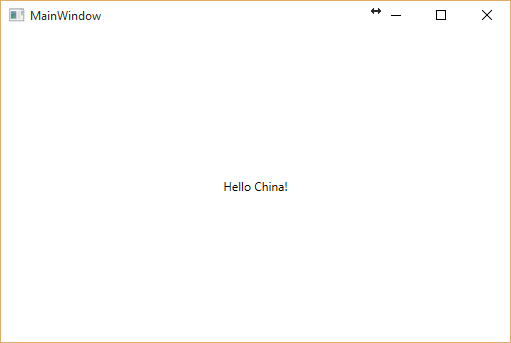
        <TextBlock Text="Hello China!" VerticalAlignment="Center" HorizontalAlignment="Center"/>
    </Grid>
</Page>
运行效果:

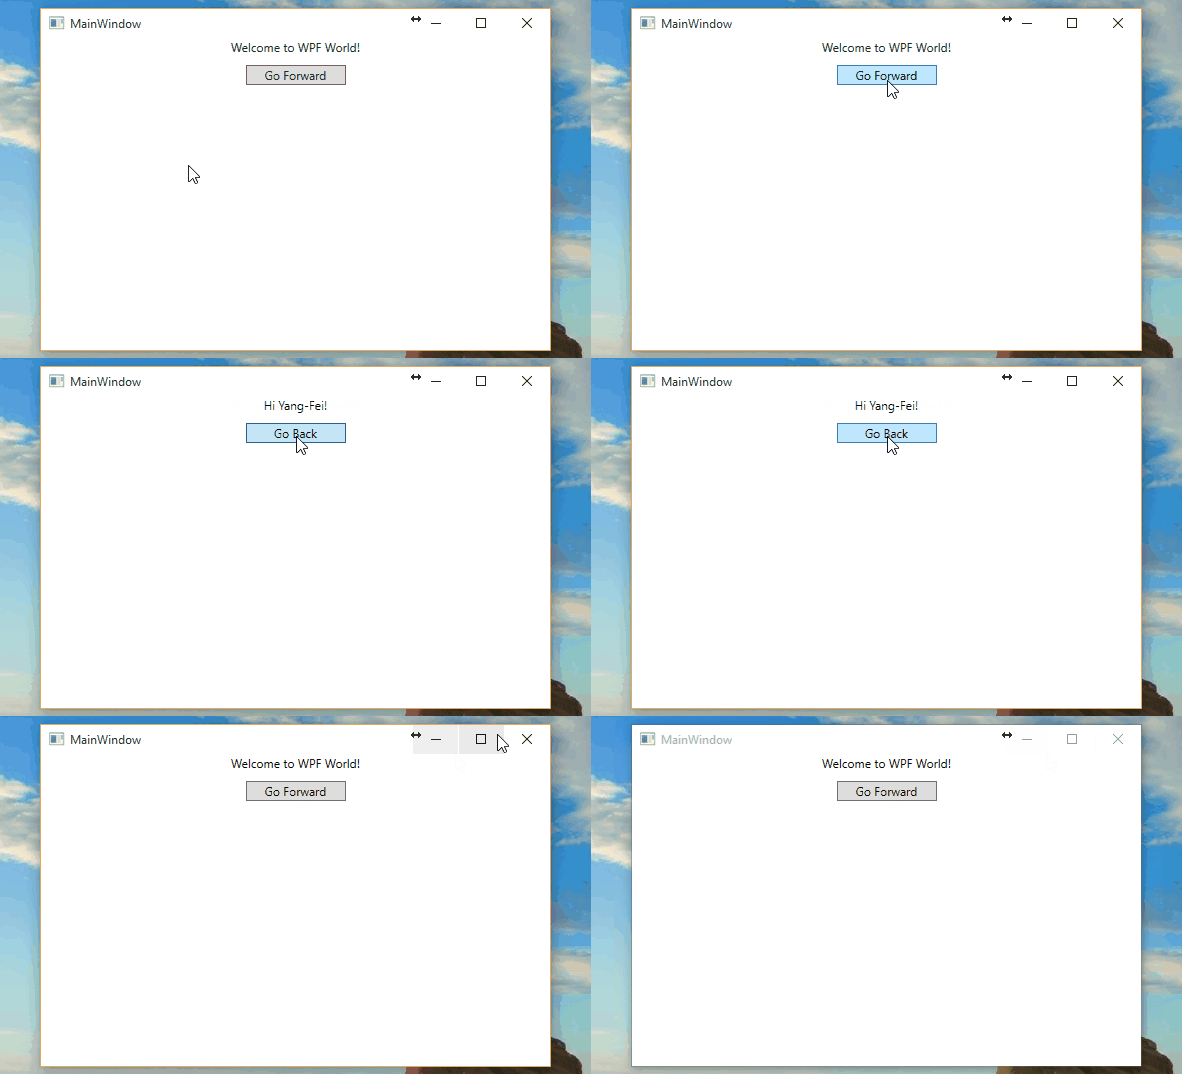
再新建一个GreetingPage.xaml,我们在WelcomePage上添加一个Button,点击Button时跳转到GreetingPage.xaml,在GreetingPage上也有一个Button,点击返回到WelcomePage。
WelcomePage.xaml
<Page x:Class="NavigationBasedApp.WelcomePage"
      xmlns="http://schemas.microsoft.com/winfx/2006/xaml/presentation"
      xmlns:x="http://schemas.microsoft.com/winfx/2006/xaml"
      xmlns:mc="http://schemas.openxmlformats.org/markup-compatibility/2006"
      xmlns:d="http://schemas.microsoft.com/expression/blend/2008"
      xmlns:local="clr-namespace:NavigationBasedApp"
      mc:Ignorable="d"
      d:DesignHeight="300" d:DesignWidth="300"
      Title="WelcomePage">

    <Grid>
        <Grid.RowDefinitions>
            <RowDefinition Height="Auto"/>
            <RowDefinition Height="Auto"/>
        </Grid.RowDefinitions>

        <TextBlock Text="Welcome to WPF World!" HorizontalAlignment="Center"/>

        <Button Grid.Row="1" Width="100" Margin="0,10" Content="Go Forward" Click="GoForwardButton_Click"/>
    </Grid>
</Page>
Code Behind:
        private void GoForwardButton_Click(object sender, RoutedEventArgs e)
        {
            if (this.NavigationService.CanGoForward)
            {
                this.NavigationService.GoForward();
            }
            else
            {
                //GreetingPage greeting = new GreetingPage();

                //this.NavigationService.Navigate(greeting);

                this.NavigationService.Navigate(new Uri("pack://application:,,,/GreetingPage.xaml"));
            }
        }
导航时,可以传递GreetingPage.xaml地址,也可以是GreetingPage对象。可以在 if (this.NavigationService.CanGoForward) 加一个断点,在从GreetingPage返回到WelcomePage后,再次点击Go Forward按钮时,直接使用this.NavigationService.GoForward()这句代码进行了导航,这是因为导航发生后,会在NavigationService中会记录导航记录。
GreetingPage.xaml:
<Page x:Class="NavigationBasedApp.GreetingPage"
      xmlns="http://schemas.microsoft.com/winfx/2006/xaml/presentation"
      xmlns:x="http://schemas.microsoft.com/winfx/2006/xaml"
      xmlns:mc="http://schemas.openxmlformats.org/markup-compatibility/2006"
      xmlns:d="http://schemas.microsoft.com/expression/blend/2008"
      xmlns:local="clr-namespace:NavigationBasedApp"
      mc:Ignorable="d"
      d:DesignHeight="300" d:DesignWidth="300"
      Title="GreetingPage">

    <Grid>
        <Grid.RowDefinitions>
            <RowDefinition Height="Auto"/>
            <RowDefinition Height="Auto"/>
        </Grid.RowDefinitions>

        <TextBlock Text="Hi Yang-Fei!" HorizontalAlignment="Center"/>
        <Button Grid.Row="1" Margin="0,10" Width="100" Content="Go Back" Click="GoBackButton_Click"/>
    </Grid>
</Page>
Code Behind:
        private void GoBackButton_Click(object sender, RoutedEventArgs e)
        {
            this.NavigationService.GoBack();
        }
运行效果:

可以在导航时传递参数。然后再NavigationWindow中获取。例如:
 GreetingPage greeting = new GreetingPage();

 this.NavigationService.Navigate(greeting,"This is a test message.");
在MainWindow中,
        public MainWindow()
        {
            InitializeComponent();

            this.NavigationService.LoadCompleted += NavigationService_LoadCompleted;
        }

        private void NavigationService_LoadCompleted(object sender, NavigationEventArgs e)
        {
            if(e.ExtraData != null)
            {
               // Do something here...
            }
        }
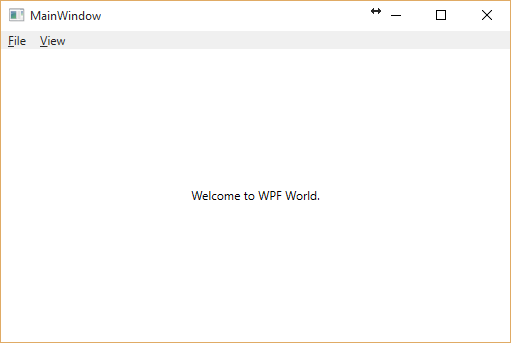
上面提到的Frame也可以作为Page的承载。和NavigationWindow的区别在于NavigationWindow是全局翻页,Frame是局部翻页。
<Window x:Class="FrameNavigationBasedApp.MainWindow"
        xmlns="http://schemas.microsoft.com/winfx/2006/xaml/presentation"
        xmlns:x="http://schemas.microsoft.com/winfx/2006/xaml"
        xmlns:d="http://schemas.microsoft.com/expression/blend/2008"
        xmlns:mc="http://schemas.openxmlformats.org/markup-compatibility/2006"
        xmlns:local="clr-namespace:FrameNavigationBasedApp"
        mc:Ignorable="d"
        Title="MainWindow" Height="350" Width="525">
    <DockPanel>
        <Menu DockPanel.Dock="Top">
            <MenuItem Header="_File"/>
            <MenuItem Header="_View"/>
        </Menu>
        <Frame x:Name="frmMain" NavigationUIVisibility="Hidden" Source="WelcomePage.xaml"/>
    </DockPanel>
</Window>
运行效果:

这篇博客就到这里了,代码点击这里下载。
感谢您的阅读。


