iView(ViewUI)多图上传
1,安装iview2.0
cnpm install view-design --save
2,引入ViewUI。注释的部分是@上篇文章的一个例子,在本文中版本升级必须注释掉,uninstall倒不必
// import iView from 'iview';
// import 'iview/dist/styles/iview.css';
import ViewUI from 'view-design';
import 'view-design/dist/styles/iview.css';
//Vue.use(iView)
Vue.use(ViewUI);
3,编写代码

<template>
  <div>
    <div class="demo-upload-list" v-for="item in uploadList">
      <template v-if="item.status === 'finished'">
        <img :src="item.url">
        <div class="demo-upload-list-cover">
          <Icon type="ios-eye-outline" @click.native="handleView(item.name)"></Icon>
          <Icon type="ios-trash-outline" @click.native="handleRemove(item)"></Icon>
        </div>
      </template>
      <template v-else>
        <Progress v-if="item.showProgress" :percent="item.percentage" hide-info></Progress>
      </template>
    </div>
    <Upload name="接口图片字段名" ref="upload" :show-upload-list="false" :default-file-list="defaultList" :on-success="handleSuccess" :format="['jpg','jpeg','png']"
      :max-size="2048" :on-format-error="handleFormatError" :on-exceeded-size="handleMaxSize" :before-upload="handleBeforeUpload"
      multiple type="drag" action="上传图片接口url" style="display: inline-block;width:58px;">
      <div style="width: 58px;height:58px;line-height: 58px;">
        <Icon type="ios-camera" size="20"></Icon>
      </div>
    </Upload>
    <Modal title="View Image" v-model="visible">
      <img :src="imgUrl" v-if="visible" style="width: 100%">
    </Modal>
  </div>
</template>
<script>
  export default {
    data() {
      return {
        //defaultList:{name:name,url:url}格式,是默认的已上传图片列表,此处不需要便去了,不然会显示框框可难看
        defaultList: [

        ],
        imgName: '',
        imgUrl:'',
        visible: false,
        uploadList: []
      }
    },
    methods: {
      handleView(name) {
        this.imgName = name;
        this.visible = true;
      },
      handleRemove(file) {
        const fileList = this.$refs.upload.fileList;
        this.$refs.upload.fileList.splice(fileList.indexOf(file), 1);
      },
      handleSuccess(res, file) {
        console.log(res.data)
        file.url=res.data.imgUrl
        file.name=res.data.imgUrl
        this.imgUrl=res.data.imgUrl
      },
      handleFormatError(file) {
        this.$Notice.warning({
          title: 'The file format is incorrect',
          desc: 'File format of ' + file.name + ' is incorrect, please select jpg or png.'
        });
      },
      handleMaxSize(file) {
        this.$Notice.warning({
          title: 'Exceeding file size limit',
          desc: 'File  ' + file.name + ' is too large, no more than 2M.'
        });
      },
      handleBeforeUpload() {
        const check = this.uploadList.length < 5;
        if (!check) {
          this.$Notice.warning({
            title: 'Up to five pictures can be uploaded.'
          });
        }
        return check;
      }
    },
    mounted() {
      this.uploadList = this.$refs.upload.fileList;
    }
  }
</script>
<style>
  .demo-upload-list {
    display: inline-block;
    width: 60px;
    height: 60px;
    text-align: center;
    line-height: 60px;
    border: 1px solid transparent;
    border-radius: 4px;
    overflow: hidden;
    background: #fff;
    position: relative;
    box-shadow: 0 1px 1px rgba(0, 0, 0, .2);
    margin-right: 4px;
  }

  .demo-upload-list img {
    width: 100%;
    height: 100%;
  }

  .demo-upload-list-cover {
    display: none;
    position: absolute;
    top: 0;
    bottom: 0;
    left: 0;
    right: 0;
    background: rgba(0, 0, 0, .6);
  }

  .demo-upload-list:hover .demo-upload-list-cover {
    display: block;
  }

  .demo-upload-list-cover i {
    color: #fff;
    font-size: 20px;
    cursor: pointer;
    margin: 0 2px;
  }
</style>
4,需要注意的地方
4.1,template下加个div,否则多个根元素会报错
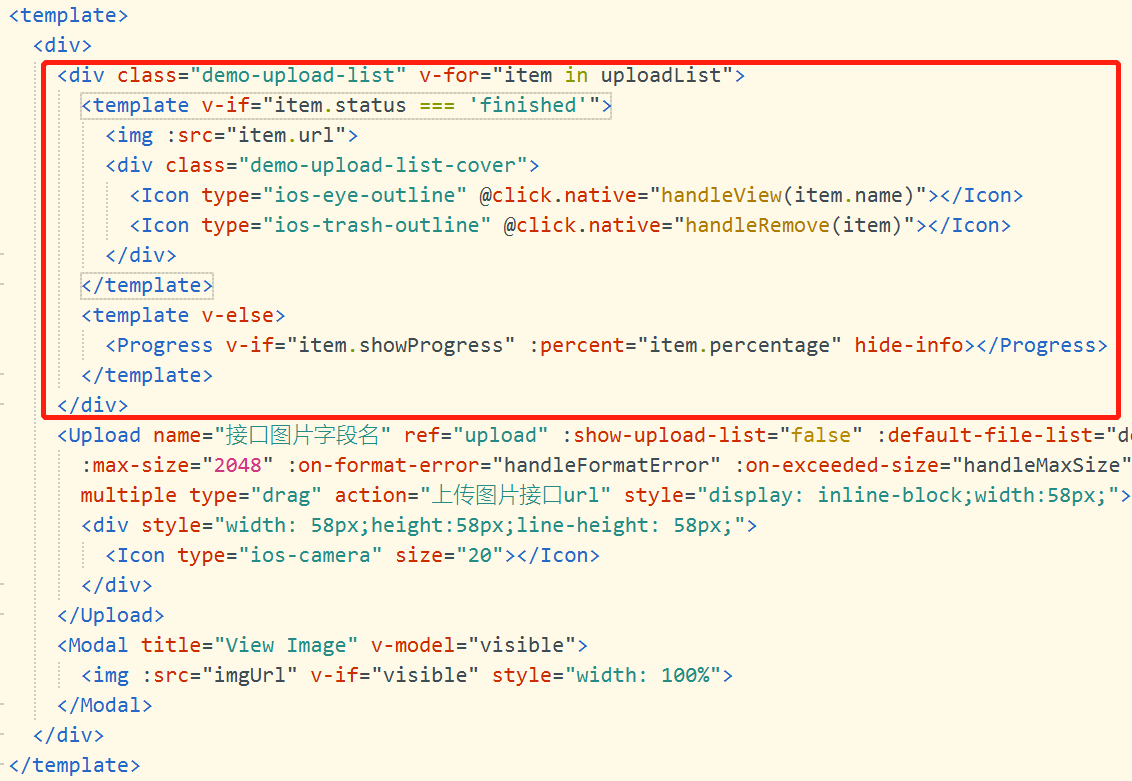
4.2,其余代码格式结构保持不变,div红框代表已上传的图片列表展示,里面的两个handleView是预览handleRemove是删除。on-remove钩子函数测试发现无效,可用此处handleRemove代替

4.3,upload中请添加name属性(如果需要),action替换成自己的接口地址
4.4,Modal中替换:src图片地址
4.5,:on-success钩子函数请将上传成功的图片地址和名称赋值给 file.url和 file.name
本代码上传前默认效果与上传后效果


本文来自博客园,作者:每天都要学一点,欢迎讨论和转载,转载请注明原文链接:https://www.cnblogs.com/yanan7890/p/12944523.html


