

Gitlab接入Oauth2.0
配置
Gitlab 的 SSO 接入文档 OmniAuth Oauth2.0
添加Gitlab配置
里面包含的JWT配置后续再添加样例,可以忽略
gitlab_rails['omniauth_enabled'] = true # 启用SSO配置
gitlab_rails['omniauth_auto_link_user'] = ["oauth2_generic"] # 自动关联已经存在的账号
gitlab_rails['omniauth_allow_single_sign_on'] = ['oauth2_generic'] #跟下⾯的 name 对应,不建议修改
gitlab_rails['omniauth_block_auto_created_users'] = false # 是否⾃动创建账号,false 会,true 也会,但是新账号会被锁定
gitlab_rails['omniauth_providers'] = [
{
'name' => 'oauth2_generic', # 此处跟maxke配置的回调地址有关系
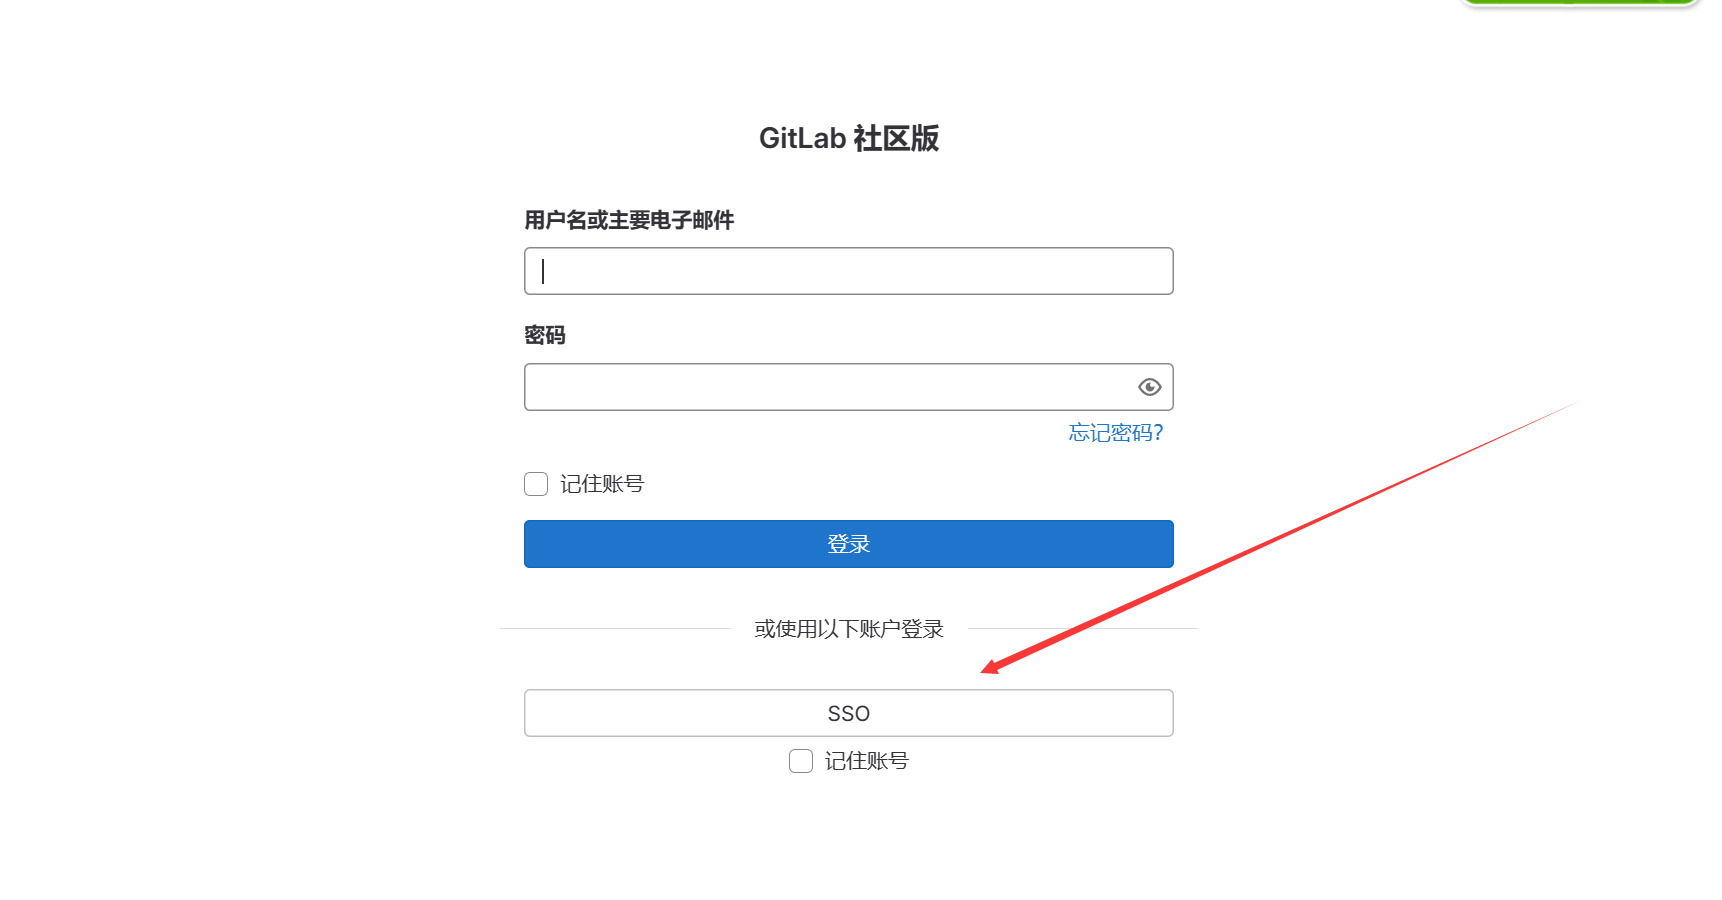
'label': 'SSO', # 此处显示在 SSO 授权登录的名称
'app_id' => '972885301678571520',
'app_secret' => 'd90zMDMwNDIwMjQxMzAwNDg2NjUfzn',
'args' => {
client_options: {
'site' => 'http://172.25.36.33:8080', # sso 认证端的域名
'authorize_url'=>'/sign/authz/oauth/v20/authorize', # 认证地址
'token_url'=>'/sign/authz/oauth/v20/token', # 获取Token地址
'user_info_url' => '/sign/api/oauth/v20/me' # 获取信息信息地址
},
user_response_structure: {
root_path: [],
id_path: ['email'], # 身份认证的关键字,注册用户时会把这个作为身份认证的标识
attributes: { name: 'name', email: 'email', username:'username'} # 其他属性
},
#name: 'maxkey',
strategy_class: "OmniAuth::Strategies::OAuth2Generic"
}
},
{ name: "jwt",
label: "JWT", # optional label for login button, defaults to "Jwt"
args: {
secret: "YOUR_APP_SECRET",
algorithm: "HS256", # Supported algorithms: "RS256", "RS384", "RS512", "ES256", "ES384", "ES512", "HS256", "HS384", "HS512"
uid_claim: "email",
required_claims: ["name", "email"],
info_map: { name: "name", email: "email" },
auth_url: "http://10.2.1.13:8011/jwt/auth",
valid_within: 3600 # 1 hour
}
}
]
默认回调地址
http://your-gitlab.host.com/users/auth/oauth2_generic/callback
oauth-server 模拟
这下面是个SpringMVC项目的Controller,需要跟上面的Gitlab配置相对应,如上配置:这个服务需要启动的地址为 http://172.25.36.33:8080
import cn.hutool.json.JSONObject;
import cn.hutool.json.JSONUtil;
import cn.hutool.jwt.JWTUtil;
import lombok.SneakyThrows;
import org.springframework.web.bind.annotation.RequestMapping;
import org.springframework.web.bind.annotation.RestController;

import javax.servlet.http.HttpServletRequest;
import javax.servlet.http.HttpServletResponse;
import java.nio.charset.StandardCharsets;
import java.util.HashMap;
import java.util.Map;

@RestController
public class TTTT {

    String gitlabCallBack = "http://10.2.1.13:8000/users/auth/oauth2_generic/callback?code=11221";

    @RequestMapping("/sign/authz/oauth/v20/authorize")
    @SneakyThrows
    public void a(HttpServletRequest request, HttpServletResponse response) {
        Map<String, String[]> parameterMap = request.getParameterMap();
        response.sendRedirect(gitlabCallBack + "&state=" + request.getParameter("state"));
    }

    @RequestMapping("/sign/authz/oauth/v20/token")
    @SneakyThrows
    public Object toke(HttpServletRequest request, HttpServletResponse response) {
        Map<String, String[]> parameterMap = request.getParameterMap();
        JSONObject entries = JSONUtil.parseObj("{}");
        entries.append("access_token", "token");
        return entries;
    }

    @RequestMapping("/sign/api/oauth/v20/me")
    @SneakyThrows
    public Object info(HttpServletRequest request, HttpServletResponse response) {
        Map<String, String[]> parameterMap = request.getParameterMap();
        JSONObject entries = JSONUtil.parseObj("{}");
//        entries.append("realname", "simyr"); # 添加上这个会报错
        entries.putOnce("username", "simy");
        entries.putOnce("email", "406078015@qq.com");
//        entries.putOnce("email", "yuansheng.xu@jinkosolar.com");
        entries.putOnce("name", "司马");
        return entries;
    }

    @RequestMapping("/jwt/auth")
    @SneakyThrows
    public void jwt(HttpServletRequest request, HttpServletResponse response) {
        HashMap<String, Object> map = new HashMap<>();
        map.put("name", "weiy");
        map.put("email", "406078015@qq.com");
        map.put("iat", System.currentTimeMillis() / 1000);
        map.put("id", "111");
        String token = JWTUtil.createToken(map, "YOUR_APP_SECRET".getBytes(StandardCharsets.UTF_8));
        response.sendRedirect("http://10.2.1.13:8000/auth/jwt/callback?jwt=" + token);
    }
}
过程
-
从页面发起SSO登录请求
-
进入验证接口 /sign/authz/oauth/v20/authorize?state=state_uid
-
回调Gitlab 接口 /users/auth/oauth2_generic/callback?code=xxxx&state=state_uid
-
获取Token信息 /sign/authz/oauth/v20/token
-
获取用户信息 /sign/api/oauth/v20/me
返回结果 :
JSONObject entries = JSONUtil.parseObj("{}");
//        entries.append("realname", "simyr"); # 添加上这个会报错
        entries.putOnce("username", "simy");
        entries.putOnce("email", "406078015@qq.com");
//        entries.putOnce("email", "yuansheng.xu@jinkosolar.com");
        entries.putOnce("name", "司马");
问题
Csrf detected错误
-
Q : 对接Oauth2.0时,回调后报错,错误信息: 无法通过 OAuth2Generic 对您进行身份验证,原因:"Csrf detected"。
A: 因为回调地址中少了个参数state ,这个参数是从Gitlab传过来的,添加上即可

