anaconda安装及用conda命令行搭建pytorch环境与使用
在Ubuntu系统安装anaconda:
1.下载后安装:sudo sh Anaconda3xxxxx-Linux-x86_64.sh
Do you accept the license terms? [yes|no]
yes
Anaconda3 will now be installed into this location:
/xxx/anaconda3
-Press ENTER to confirm the location
-Press CTRL-C to abort the installation
-Or specify a different location below
/usr/local/anaconda3 (自定义anaconda地址)
Do you wish the installer to initialize Anaconda3
in your xxx/.bashrc ? [yes|no]
yes
2.初始化:重启终端后如果conda命令无法使用,则手动更新bashrc:
sudo gedit ~/.bashrc
在文件末尾添加 export PATH="/usr/local/anaconda3/bin:$PATH"(自己的anaconda地址)后保存
再运行source ~/.bashrc
重启终端
如果终端语句前没有(base),运行conda init即可
3.打开anaconda图形化界面
anaconda-navigator
———————————————————————————————————————————————————————————————
环境搭建
在base下新建一个环境xxx,可在envs文件夹中找到
conda create -n xxx python=3.9
在base下激活环境
conda activate xxx
在xxx中退出环境至base
conda deactivate
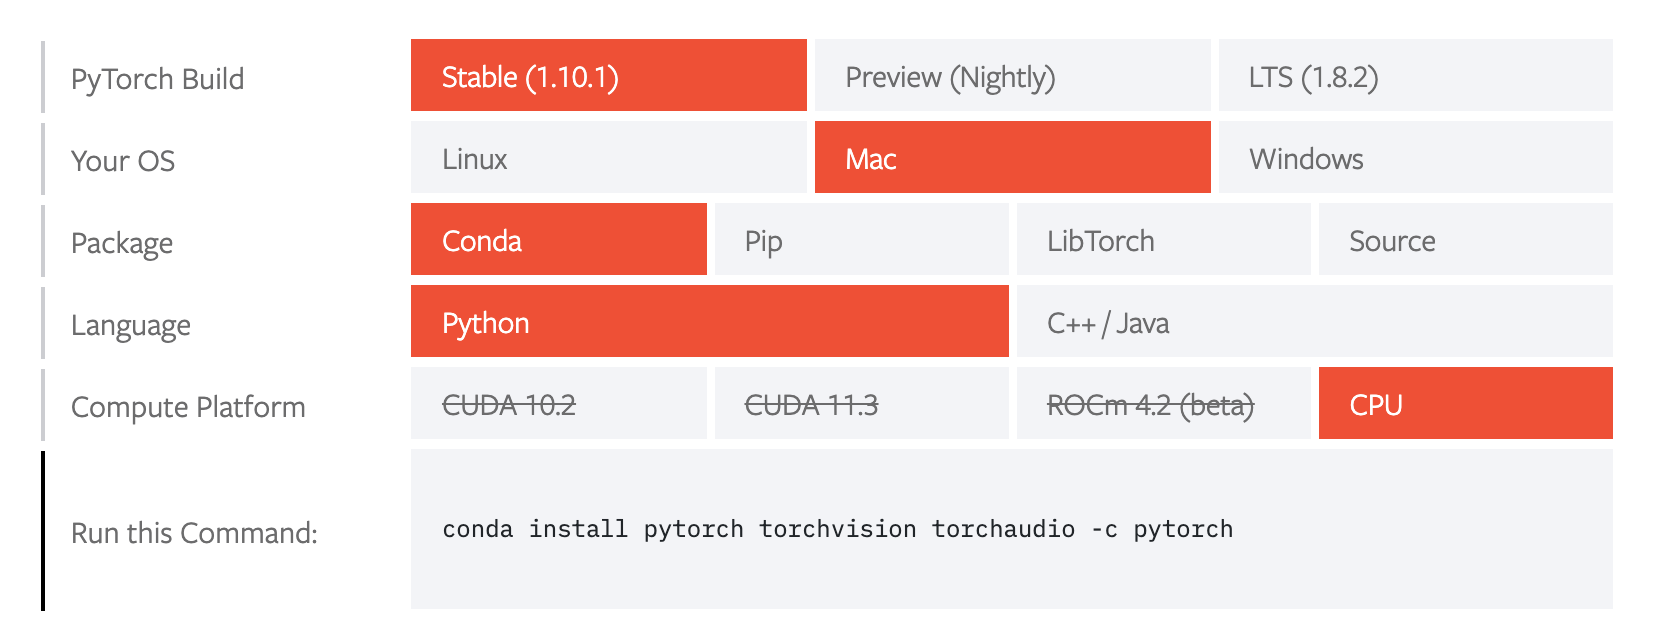
通过conda安装pytorch下载地址
根据需要选择安装的版本
显卡查看lspci | grep -i vga
使用nvidia GPU可以:lspci | grep -i nvidia
Nvidia自带一个命令行工具可以查看显存的使用情况以及驱动和cuda版本:nvidia-smi

conda install pytorch torchvision torchaudio -c pytorch
其中-c 是选择从哪个channe下载,-从pytorch是从pytorch的官网下载
安装前可先添加channel,如清华的镜像源,然后去掉-c pytorch,就会从已添加的channel中下载
安装cudnn
在anaconda环境中使用conda命令安装cuda、cudnn、tensorflow(-gpu)、pytorch
conda虚拟环境中安装cuda和cudnn,再也不用头疼版本号的问题了
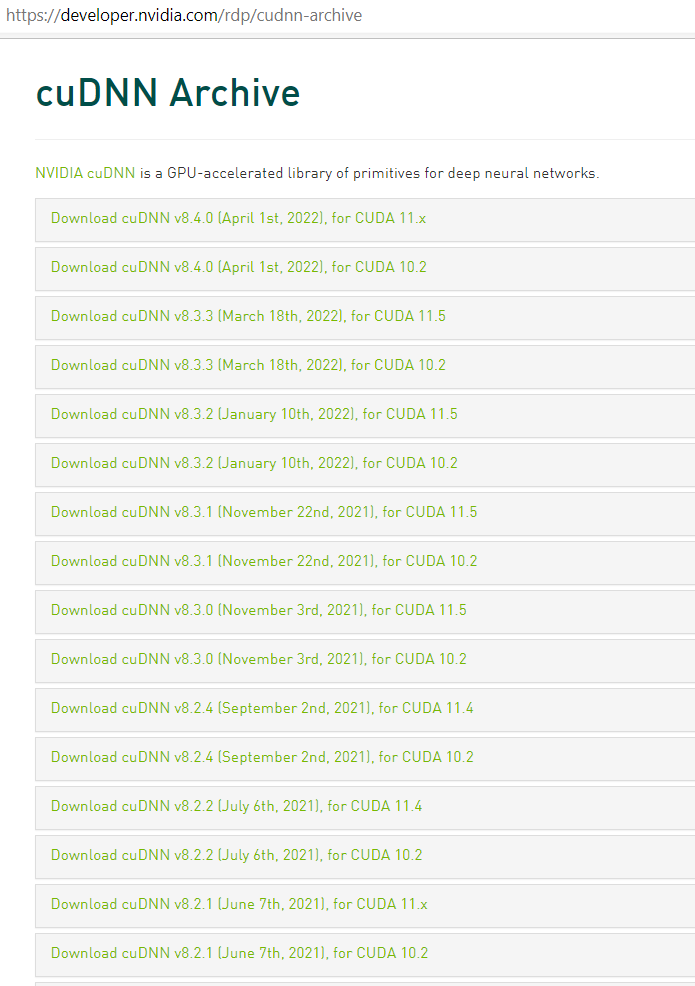
cuda和cudnn版本对应:
cuDNN Archive

清华源用这个
conda config --add channels https://mirrors.tuna.tsinghua.edu.cn/anaconda/pkgs/free/
conda config --add channels https://mirrors.tuna.tsinghua.edu.cn/anaconda/pkgs/main/
conda config --add channels https://mirrors.tuna.tsinghua.edu.cn/anaconda/cloud/pytorch/
conda config --set show_channel_urls yes
还有这个:
conda config --add channels https://mirrors.tuna.tsinghua.edu.cn/anaconda/cloud/msys2/
conda config --add channels https://mirrors.tuna.tsinghua.edu.cn/anaconda/cloud/conda-forge/
conda config --add channels https://mirrors.tuna.tsinghua.edu.cn/anaconda/pkgs/free/
conda config --set show_channel_urls yes
中科大源:
conda config --add channels https://mirrors.ustc.edu.cn/anaconda/pkgs/main/
conda config --add channels https://mirrors.ustc.edu.cn/anaconda/pkgs/free/
conda config --add channels https://mirrors.ustc.edu.cn/anaconda/cloud/conda-forge/
conda config --add channels https://mirrors.ustc.edu.cn/anaconda/cloud/msys2/
conda config --add channels https://mirrors.ustc.edu.cn/anaconda/cloud/bioconda/
conda config --add channels https://mirrors.ustc.edu.cn/anaconda/cloud/menpo/
conda config --set show_channel_urls yes
然后:
conda install pytorch torchvision torchaudio
即可
delete channel:
conda config --remove-key channels
注意:经测试如果安装后无法使用cuda,可能是channel下载的pytorch是cpu版本的问题,可以删除所有的channel重新安装pytorch
conda常用命令
复制某一个环境
conda create --name yyy --clone xxx
删除某个环境
conda remove -n xxx --all
删除某一个包
conda uninstall xxx
查看当前环境中安装了哪些包
conda list
显示有哪些环境
conda info -e
终止当前步骤
ctrl+c
在pycharm中调用conda的环境
在选择解释器界面选择conda environment
选择exist environment,将目标环境文件夹下(anacona/envs/xxx/)的python.exe添加进去
调用完conda环境后,此时pycharm下方的terminal就等同于conda进入该环境后的conda命令行界面
可以使用conda命令,效果是一样的


