Spring Cloud Eureka 实践(二)
接上一篇的内容,Eureka服务已经启动成功后,可以尝试开发服务的提供者与消费者,并注册到Eureka来实现服务的发现与调用。
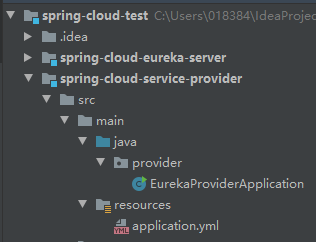
首先,在父工程中继续创建服务提供者的Module,最新的目录结构如下图所示:

pom中需要添加Eureka客户端的依赖:
<artifactId>spring-cloud-provider</artifactId>

<dependencies>
  <dependency>
    <groupId>org.springframework.cloud</groupId>
    <artifactId>spring-cloud-starter-netflix-eureka-client</artifactId>
  </dependency>
</dependencies>
启动类中也需要添加Eureka客户端的注解@EnableDiscoveryClient:
@SpringBootApplication
@EnableDiscoveryClient
public class EurekaProviderApplication {

    public static void main(String[] args) {
        SpringApplication.run(EurekaProviderApplication.class, args);
    }
}
有一些资料里会提到,添加@EnableEurekaClient或者@EnableDiscoveryClient都可以,我实际替换验证了一下,也都是可以。继续查询相关资料,两者的主要区别如下:
@EnableDiscoveryClient注解是基于spring-cloud-commons依赖,并且在classpath中实现。
@EnableEurekaClient注解是基于spring-cloud-netflix依赖,只能为Eureka作用。
这样就可以理解为什么官方也建议使用@EnableDiscoveryClient了,因为这种注解方式其实会更加通用,支持对接多种注册中心。
application.yml中需要指定上一篇中已经创建完成的Eureka地址和端口:
server:
  port: 7070
spring:
  application:
    name: spring-cloud-service-provider
eureka:
  client:
    service-url:
      defaultZone: http://127.0.0.1:9090/eureka
    fetch-registry: true
    register-with-eureka: true
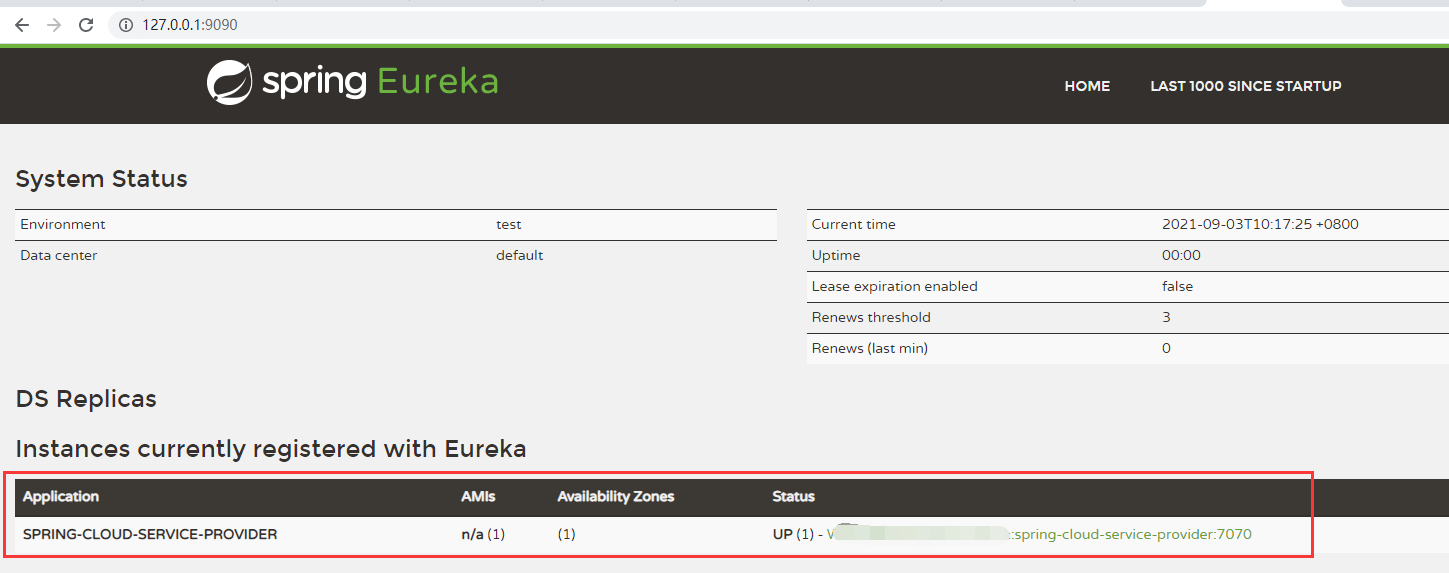
接下来先后启动Eureka服务和提供者的应用来检查一下服务提供端是否注册成功:

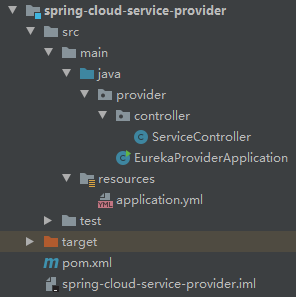
在Controller层添加一个返回服务名的功能,目录如下:

代码也贴一下:
@RestController
@RequestMapping("/query")
public class ServiceController {

    @Value("${spring.application.name}")
    private String serviceName;

    @GetMapping("/getServiceName")
    public String getServiceName() {
        return  serviceName;
    }
}
效果是什么样呢,我们做一个简单的验证:

没问题,那么接下来添加服务调用者的应用,继续在父工程创建新的Module,pom和启动类直接参考服务提供者即可。
application.yml内容如下:
server:
  port: 8080
spring:
  application:
    name: spring-cloud-service-caller
eureka:
  client:
    service-url:
      defaultZone: http://localhost:9090/eureka
    register-with-eureka: true
    fetch-registry: true
区别于Dubbo的RPC调用,Spring Cloud Eureka通过REST访问,创建RestTemplate的实例用于调用:
@Configuration
public class RestTemplateConfig {

    @Bean
    public RestTemplate getRestTemplate() {
        return new RestTemplate();
    }
}
继续在Controller层添加调用者的相关逻辑:
@RestController
@RequestMapping("/caller")
public class ServiceCaller {

    @Autowired
    private RestTemplate restTemplate;

    @Autowired
    private DiscoveryClient discoveryClient;

    @GetMapping("/queryServiceName")
    public String queryServiceName() {

        List<ServiceInstance> instances = discoveryClient.getInstances("spring-cloud-service-provider");
        ServiceInstance instance = instances.get(0);
        String ip = instance.getHost();
        int port = instance.getPort();
        String url = "http://" + ip + ":" + port + "/query/getServiceName";
        return restTemplate.getForObject(url, String.class);
    }
}
需要注意,这里别选错了,否则是无法根据服务名来获取实例的:

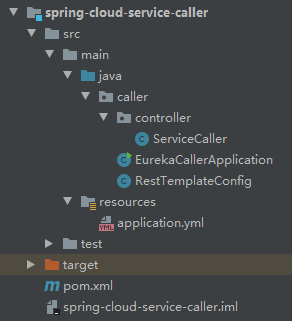
此时的调用者应用目录结构:

最后再验证一下效果:

参考资料:
https://blog.csdn.net/yuanshangshenghuo/article/details/106962926
https://blog.csdn.net/lizhiqiang1217/article/details/89883519


