
安装
- 下载,直接解压http://www.sonarqube.org/downloads/
- 添加mysql驱动至\extensions\jdbc-driver\mysql\
- 创建mysql数据库和用户:10.22.10.139 db:sonar 用户名/密码:sonar/sonar
- 修改sonar.properties,注释掉默认的数据库配置,添加以下配置:
- #----- MySQL 5.x
- # Comment the embedded database and uncomment the following line to use MySQL
- sonar.jdbc.url=jdbc:mysql://10.22.10.139:3306/sonar?useUnicode=true&characterEncoding=utf8&rewriteBatchedStatements=true
- 启动bin/sonar.sh start
- 登陆http://localhost:9000/ 用户名/密码:admin/admin
使用maven分析项目:
- 在Maven的settings.xml(全局配置文件,不是项目的pom.xml)中添加以下配置:
- <settings>
- <profiles>
- <profile>
- <id>sonar</id>
- <activation>
- <activeByDefault>true</activeByDefault>
- </activation>
- <properties>
-
- <sonar.jdbc.url>
- jdbc:mysql://10.22.10.139:3306/sonar?useUnicode=true&characterEncoding=utf8
- </sonar.jdbc.url>
- <sonar.jdbc.username>sonar</sonar.jdbc.username>
- <sonar.jdbc.password>sonar</sonar.jdbc.password>
-
-
- <sonar.host.url>
- http://10.22.10.139:9000
- </sonar.host.url>
- </properties>
- </profile>
- </profiles>
- </settings>
- mvn clean install
- mvn sonar:sonar
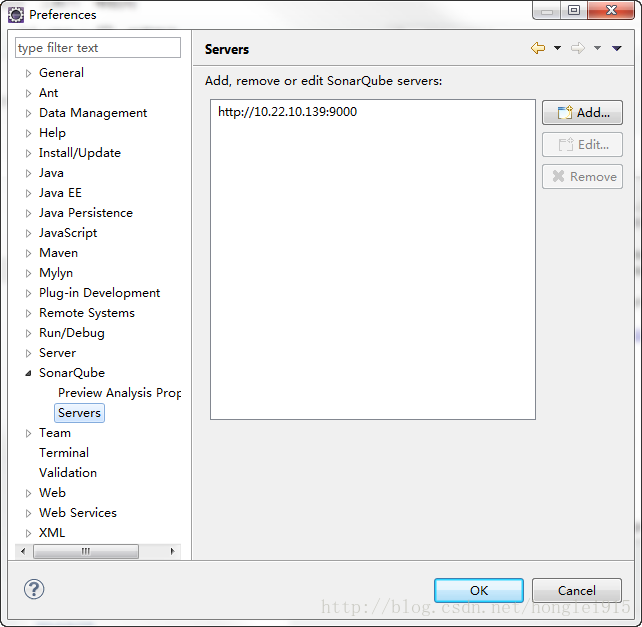
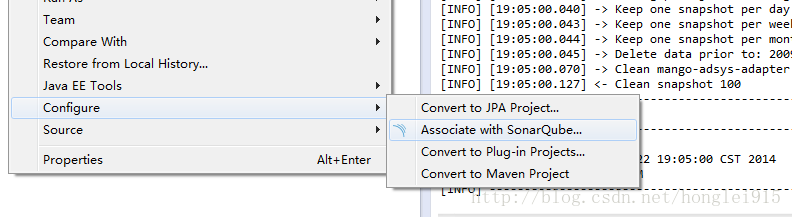
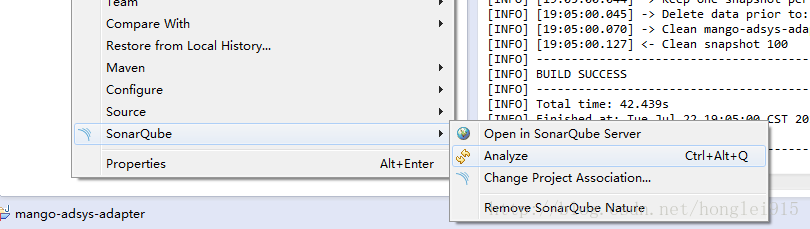
使用Ecplise插件:
- 安装,插件地址:http://dist.sonar-ide.codehaus.org/eclipse/
- 设置插件参数,配置sonar服务器地址:
posted @
2017-11-20 10:36
xuyatao
阅读(
767)
评论()
编辑
收藏
举报
点击右上角即可分享


【推荐】编程新体验,更懂你的AI,立即体验豆包MarsCode编程助手
【推荐】凌霞软件回馈社区,博客园 & 1Panel & Halo 联合会员上线
【推荐】抖音旗下AI助手豆包,你的智能百科全书,全免费不限次数
【推荐】博客园社区专享云产品让利特惠,阿里云新客6.5折上折
【推荐】轻量又高性能的 SSH 工具 IShell:AI 加持,快人一步