
logstash-5.0同步mysql
环境
- Windows10企业版X64
安装logstash-input-jdbc插件
进入logstash/bin/目录,命令:
logstash-plugin install logstash-input-jdbc
执行效果如下:

注:删除插件命令:
logstash-plugin remove logstash-input-jdbc
查看可用插件列表命令用:
logstash-plugin list
mysql存在的数据库及表
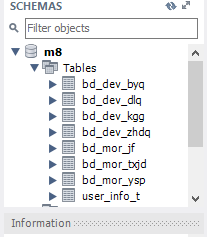
数据库名为m8,测试数据有8张表,约38万条数据。
需要两个文件:1)jdbc.conf,2)jdbc.sql。
在logstash/bin目录下新建jdbc.conf文件,内容如下:
input {
  stdin {
  }
  jdbc {
  # mysql jdbc connection string to our backup databse
  jdbc_connection_string => "jdbc:mysql://localhost:3306/m8"
  # the user we wish to excute our statement as
  jdbc_user => "xuxy03"
  jdbc_password => "xuxy03"
  # the path to our downloaded jdbc driver
  jdbc_driver_library => "E:/data_json/mysql-connector-java-5.1.30.jar"
  # the name of the driver class for mysql
  jdbc_driver_class => "com.mysql.jdbc.Driver"
  jdbc_paging_enabled => "true"
  jdbc_page_size => "50000"
#以下对应着要执行的sql的绝对路径。
  statement_filepath => "E:/data_json/jdbc.sql"
#定时字段 各字段含义(由左至右)分、时、天、月、年,全部为*默认含义为每分钟都更新(测试结果,不同的话请留言指出)
  schedule => "* * * * *"
#设定ES索引类型
  type => "bd_dev_dlq"
  }
}

filter {
  json {
  source => "message"
  remove_field => ["message"]
  }
}

output {
  elasticsearch {
#ESIP地址与端口
  hosts => "localhost:9200"
#ES索引名称(自己定义的)
  index => "m8"
#自增ID编号
  document_id => "%{id}"
  }
  stdout {
#以JSON格式输出
  codec => json_lines
  }
}
E:/data_json/jdbc.sql文件内容如下:
select * from bd_dev_dlq;
(经测试:如果指定导出字段,则只能导出最新一条数据。用*才能导出该表全量数据。而且只支持单条sql)
启动ES5。
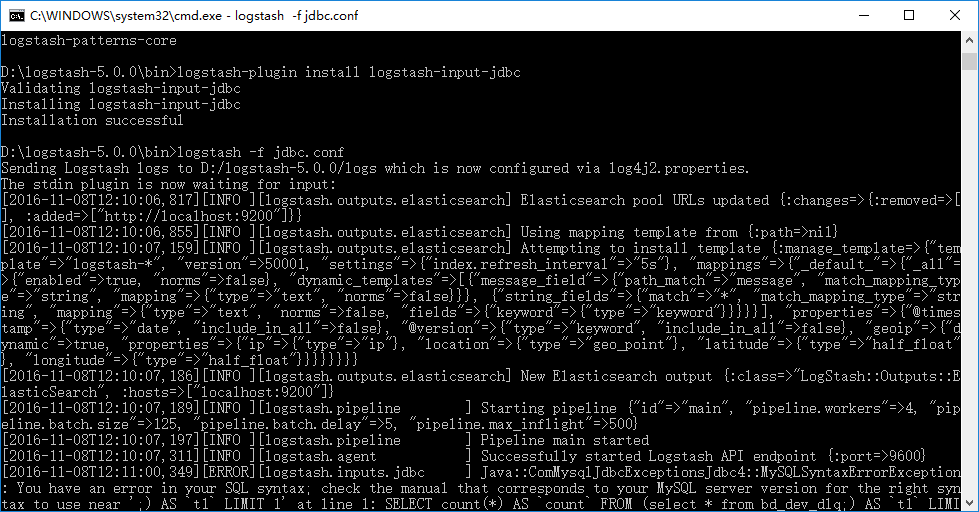
再启动logstash:
bin/logstash -f jdbc.conf
logstash启动效果图:
参考文章:http://blog.csdn.net/laoyang360/article/details/51747266
