Vue3+TypeScript的基本使用(1)
前言
前端目前的发展对于我这种还停留在JQuery年代的人来说,只能用沧海桑田这个词来描述了。
目的:
- 简单了解并运用
Vue3、TypeScript、ELementsUI、Router、Axios、store编写一个简单的登录系统,最终打包部署至Kubernetes
初始化项目
基础环境配置
参考上篇博客:https://www.cnblogs.com/xurongze/p/15948702.html
创建项目
选择使用vue-cli工具进行创建,对新手比较友好
#新增(没有时会自动新增文件夹,注意文件名不能大写)
vue create user-test

-
Use class-style component syntax?是否选择 class 语法的模板,这个选项是针对 TS 的,3.0版本选择 “否” -
TypeScript拥有类型限制的JavaScript,用的挺痛苦的 -
Use history mode for router?是否选择history模式作为路由模式,选择否。使用hash路由模式,打包出来的静态文件就无需依赖服务器也可以直接运行
安装基本组件
cd user-test

#网络
yarn add axios

#UI
yarn add element-plus
在main.ts中全局引用element-plus
import { createApp } from 'vue'
import App from './App.vue'
import router from './router'
import store from './store'

//引入 element-ui
import ElementPlus from 'element-plus'
import 'element-plus/dist/index.css'

createApp(App)
    .use(store)
    .use(router)
    .use(ElementPlus)
    .mount('#app')
编写页面
除了App.vue,其它.vue文件全部删除
App.vue如下调整,只保留一个<router-view/>
<template>
  <router-view/>
</template>

<style lang="stylus">
html,body
  height 100%
  margin 0px

#app
  font-family Avenir, Helvetica, Arial, sans-serif
  -webkit-font-smoothing antialiased
  -moz-osx-font-smoothing grayscale
  text-align center
  color #2c3e50
  height 100%

</style>
在View目录下新增LoginView.vue、HomeView.vue文件,内容如下
<template>
  <div></div>
</template>

<script setup lang="ts">

</script>

<style scoped lang="stylus">

</style>
<script setup lang="ts">相当于把script 直接变成 setup 函数,所有顶级变量、函数,均会自动暴露给模板使用
<style scoped lang="stylus">scoped表示只作用域当前组件,避免全局污染
编写Router
编写Router目录下的index.ts文件
import { createRouter, createWebHashHistory, RouteRecordRaw } from 'vue-router'
import LoginView from '../views/LoginView.vue'

const routes: Array<RouteRecordRaw> = [
  {
    path: '/', //默认渲染至App.vue中,配合<router-view/>使用
    name: 'login',
    component: LoginView
  },
  {
    path: '/home',
    name: 'home',
    component: () => import('../views/HomeView.vue') //懒加载方式,按需引入
  }
]

const router = createRouter({
  history: createWebHashHistory(),
  routes
})

export default router
这时候启动项目,默认打开的就是LoginView.vue页面
history 有两种
createWebHashHistory地址栏上会有个#来区分路由(http://localhost:8080/#/home)
createWebHistory没有#,但是打包后需要依赖服务才能跑起来(http://localhost:8080/home)
编写Http
在src目录下新建http文件夹,存放网络相关的配置
新增index.ts文件
import axios, { AxiosRequestConfig, AxiosRequestHeaders, AxiosResponse } from 'axios'
import { ElMessage } from 'element-plus'

//与后台约定统一返回对象
interface IResponseData<T> {
    message:string
    data:T
    code: number
}

class Http {
    service
    constructor() {
        this.service = axios.create({
            baseURL: 'https://xxx', //全局请求的域名前缀
            timeout: 2000  //统一请求超时
        })

        // 请求拦截
        this.service.interceptors.request.use((config: AxiosRequestConfig) => {
          //token校验
            return config
        }, error => Promise.reject(error)) // 为了可以在代码中catch到错误信息


        // 响应拦截
        this.service.interceptors.response.use((response: AxiosResponse<any>) => {
            const data = response.data
            const { code } = data

            if (code != 200) {
                ElMessage.error(data.message)
                return Promise.reject(data)
            }
            return data
        }, error => {
            // 超出 2xx 范围的状态码都会触发该函数。
            ElMessage.error(error.message)
            return Promise.reject(error)
        })
    }
    get<T>(url: string, params?: object, _object = {}): Promise<IResponseData<T>> {
        return this.service.get(url, { params, ..._object })
    }
    post<T>(url: string, params: object, _object = {}): Promise<IResponseData<T>> {
        return this.service.post(url, params, _object)
    }
}
const $http = new Http()

export default $http
感觉在写Java
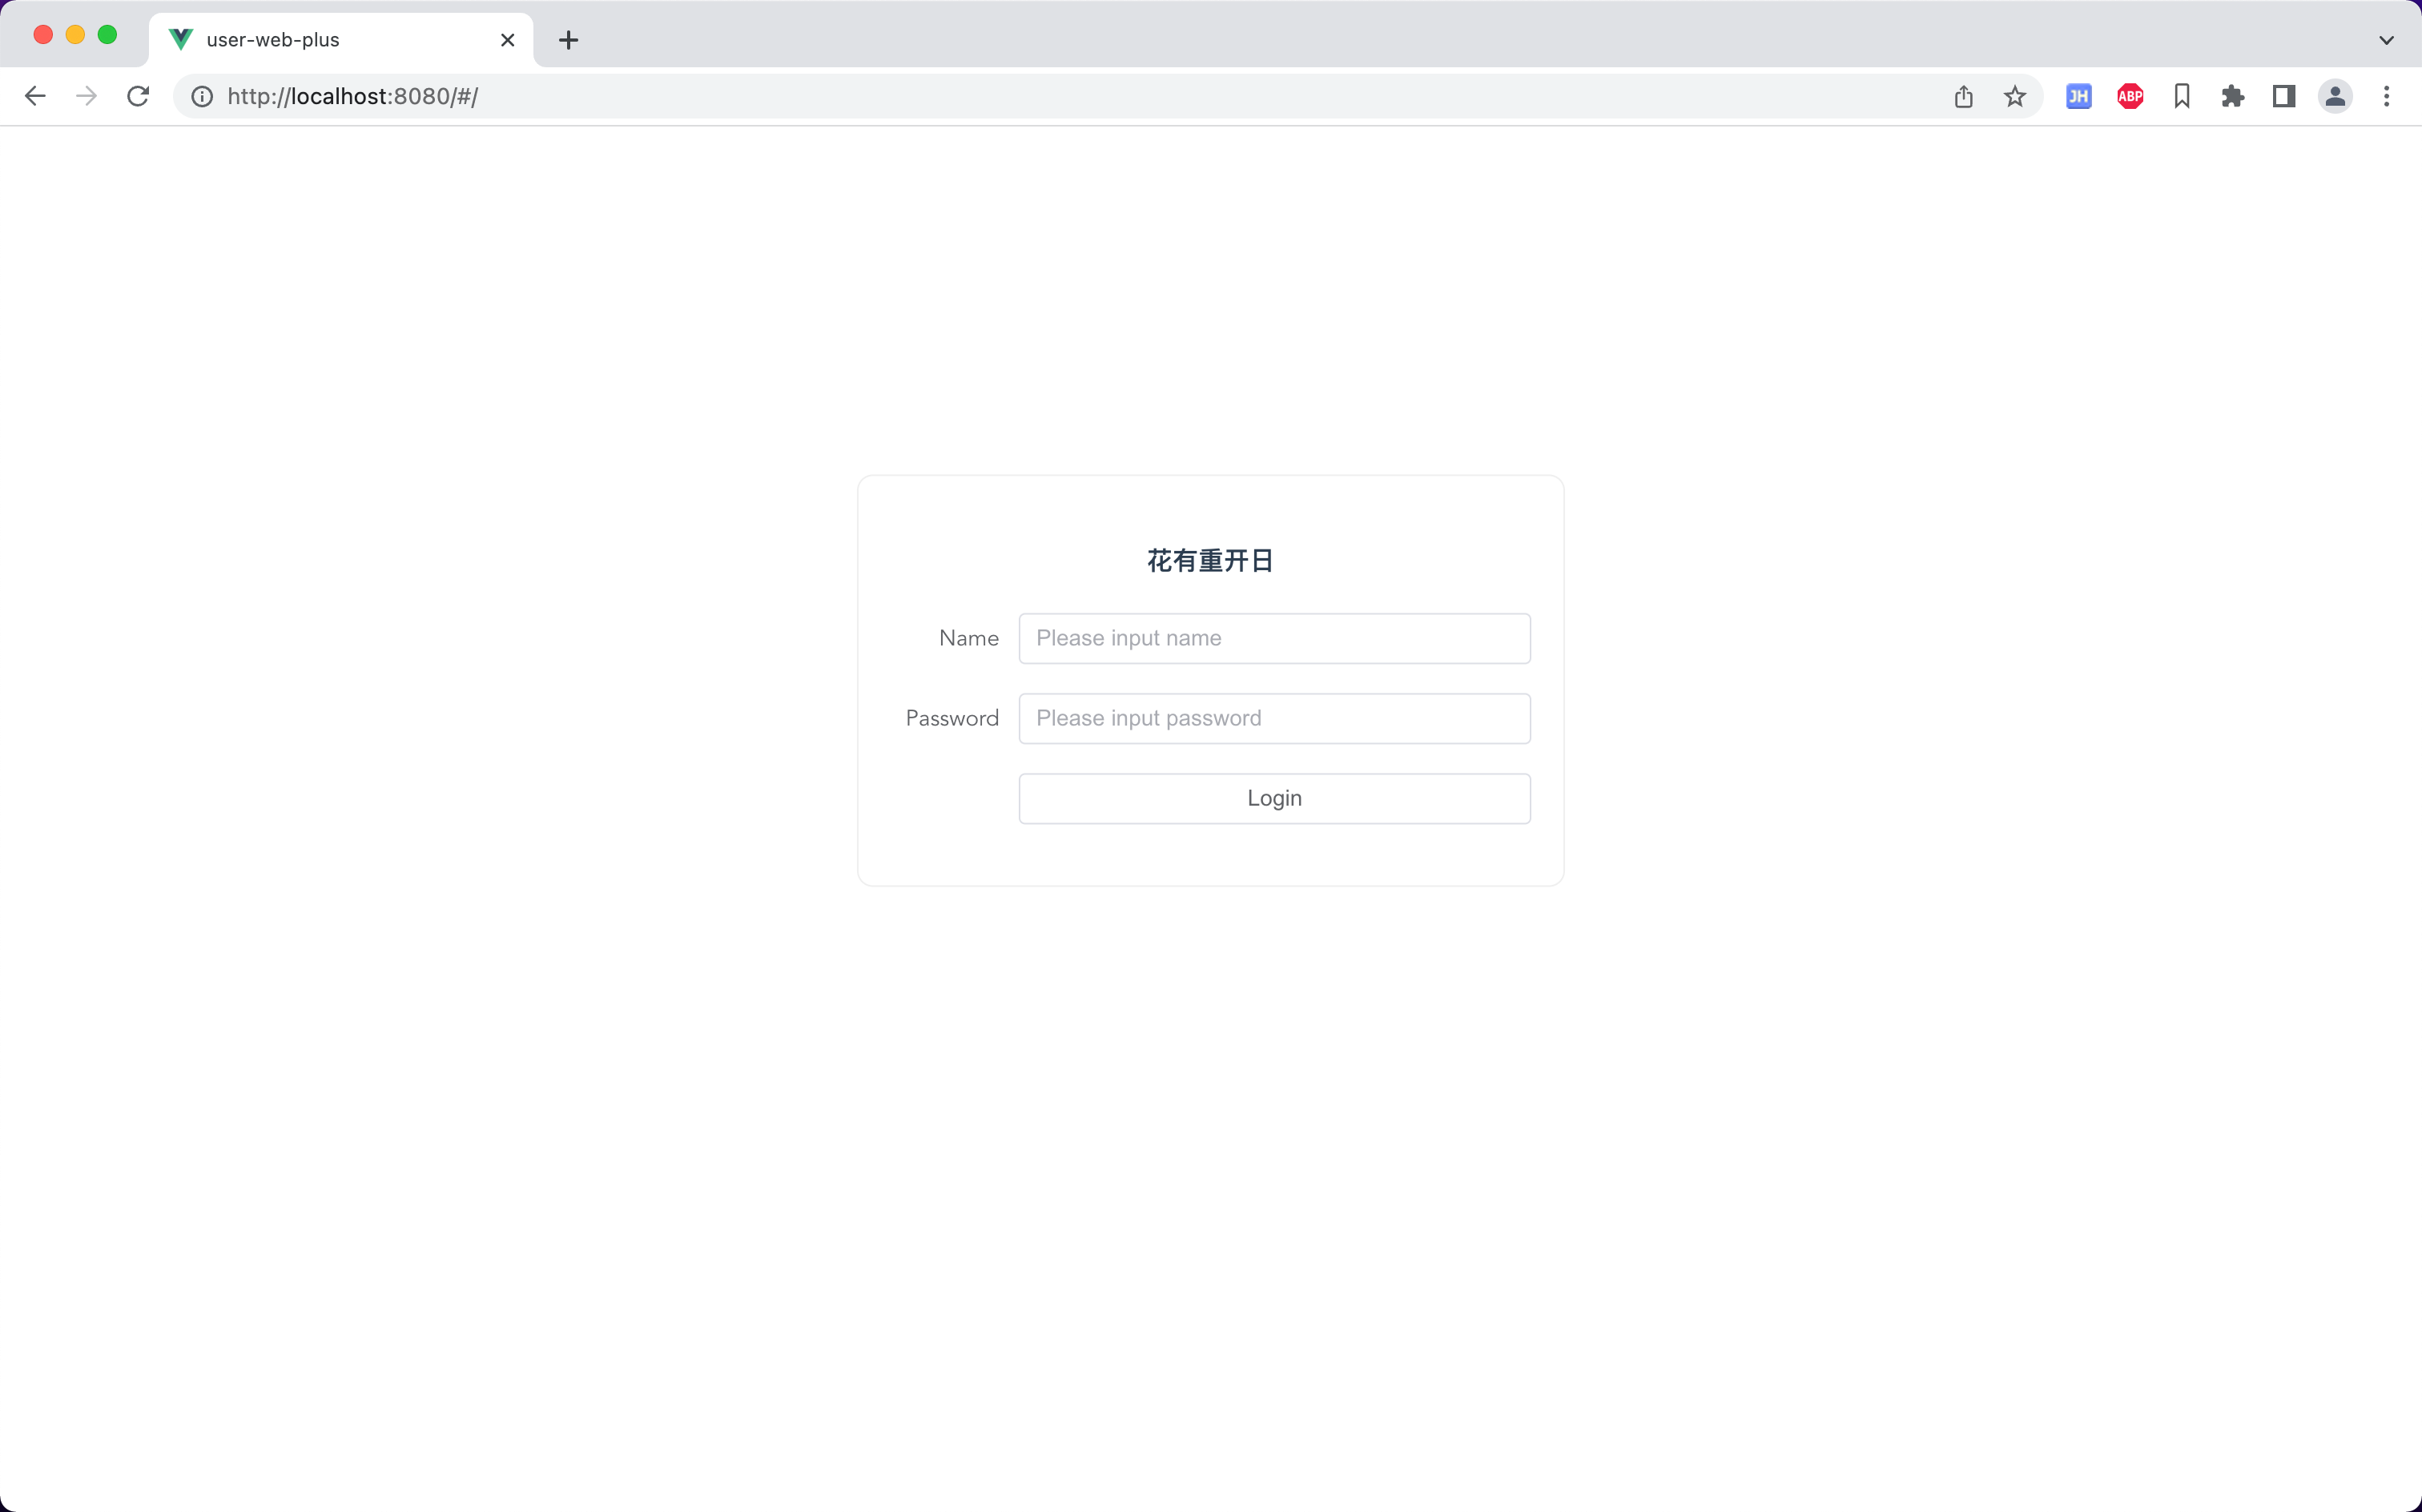
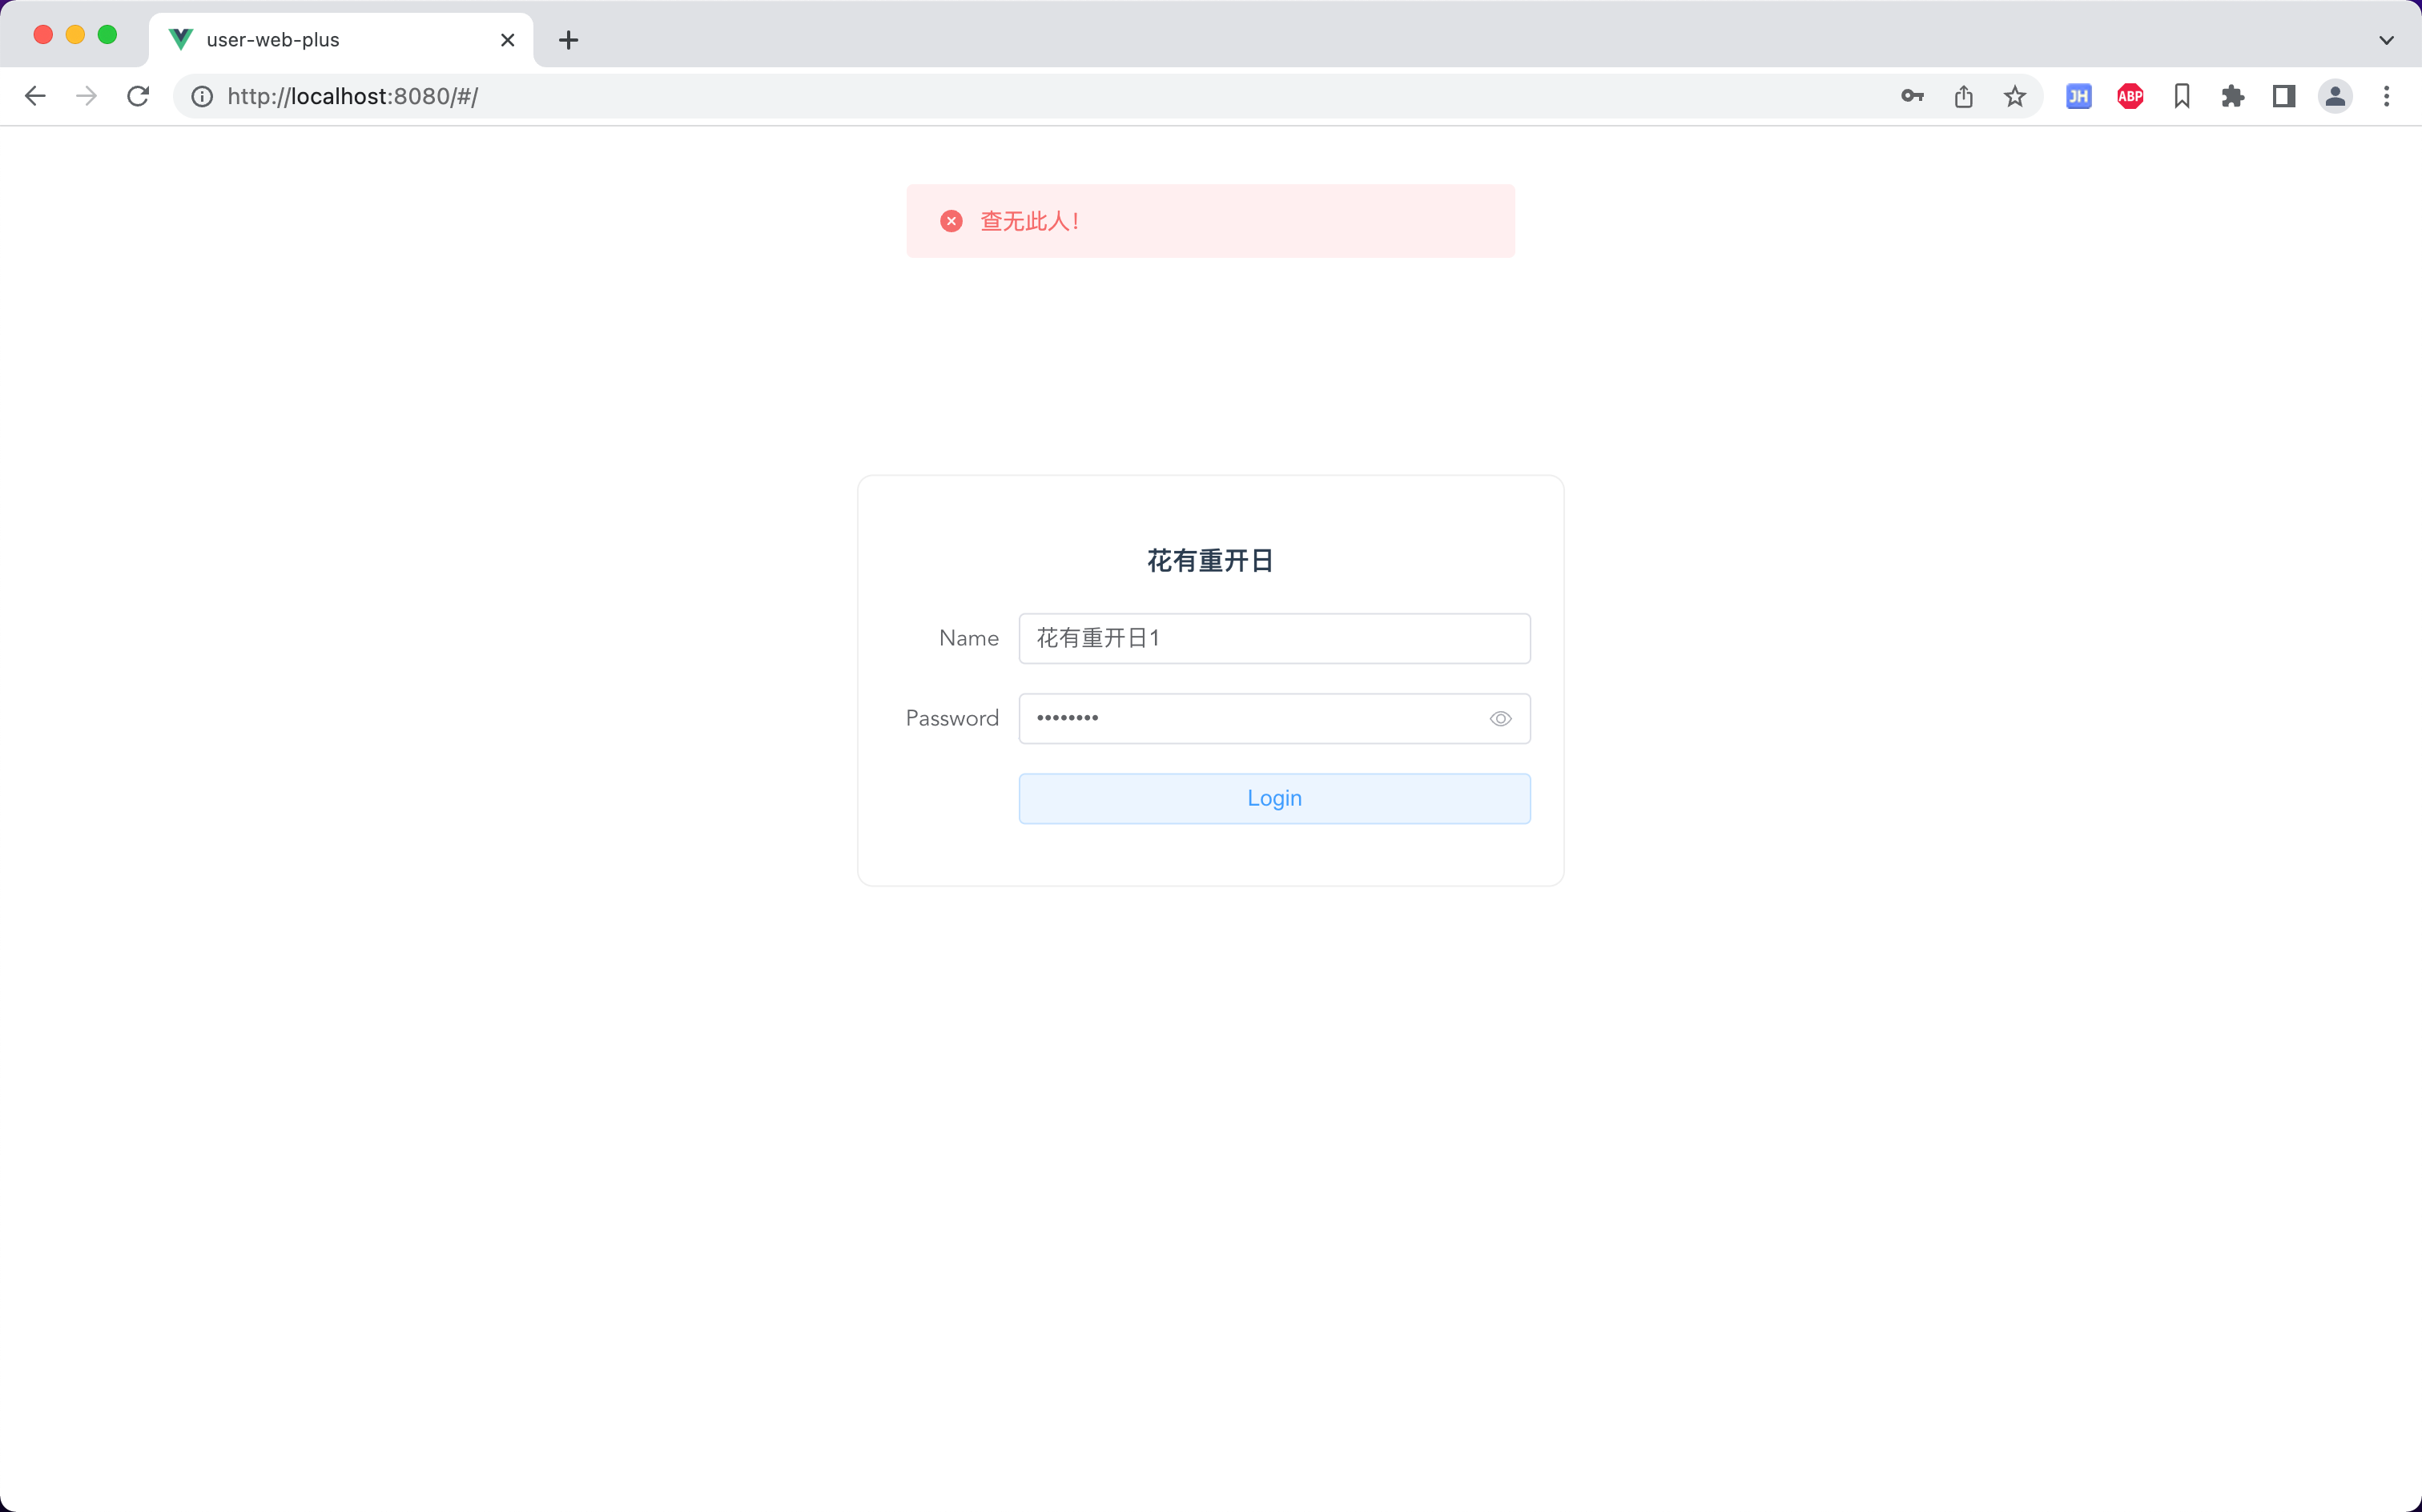
编写登录页面
实现登录成功后跳转主页
<template>
  <div class="login">
    <h4>花有重开日</h4>
    <el-form
        label-width="80px"
        :model="loginData"
    >
      <el-form-item label="Name">
        <el-input
            v-model="loginData.userName"
            placeholder="Please input name"
        />
      </el-form-item>
      <el-form-item label="Password">
        <el-input
            v-model="loginData.userPassword"
            type="password"
            placeholder="Please input password"
            show-password
        />
      </el-form-item>
      <el-form-item>
        <el-button class="loginBtn" @click="loginData.toLogin()">Login</el-button>
      </el-form-item>
    </el-form>
  </div>
</template>
<script setup lang="ts">
import {ref} from 'vue'
import { ElMessage } from 'element-plus'
import $http from "@/http"
import routers  from "@/router"

//声明登录的接口
interface ILogin {
  userName: string
  userPassword: string
  toLogin(): void
}

//响应式绑定数据 并且对 登录接口实现
const loginData = ref<ILogin>({
  userName:"",
  userPassword:"",
  toLogin() {
    if(!this.userName || !this.userPassword){
      ElMessage.warning("Please input name or password!")
      return
    }

    $http.post<string>("/login",this).then(res => {
      ElMessage.success("Login successful!"+res.data)
      routers.push("/home")
    })
  }
})
</script>
<style scoped lang="stylus">
.login
  width 400px
  margin 0px auto
  border 1px solid #efefef
  border-radius 10px
  padding 20px
  position absolute
  top 40%
  left 50%
  transform translate(-50%,-50%)

.loginBtn
  width 100%
</style>
这里比较有意思的是先声明了一个接口,再在ref入参里面对这个接口做了实现
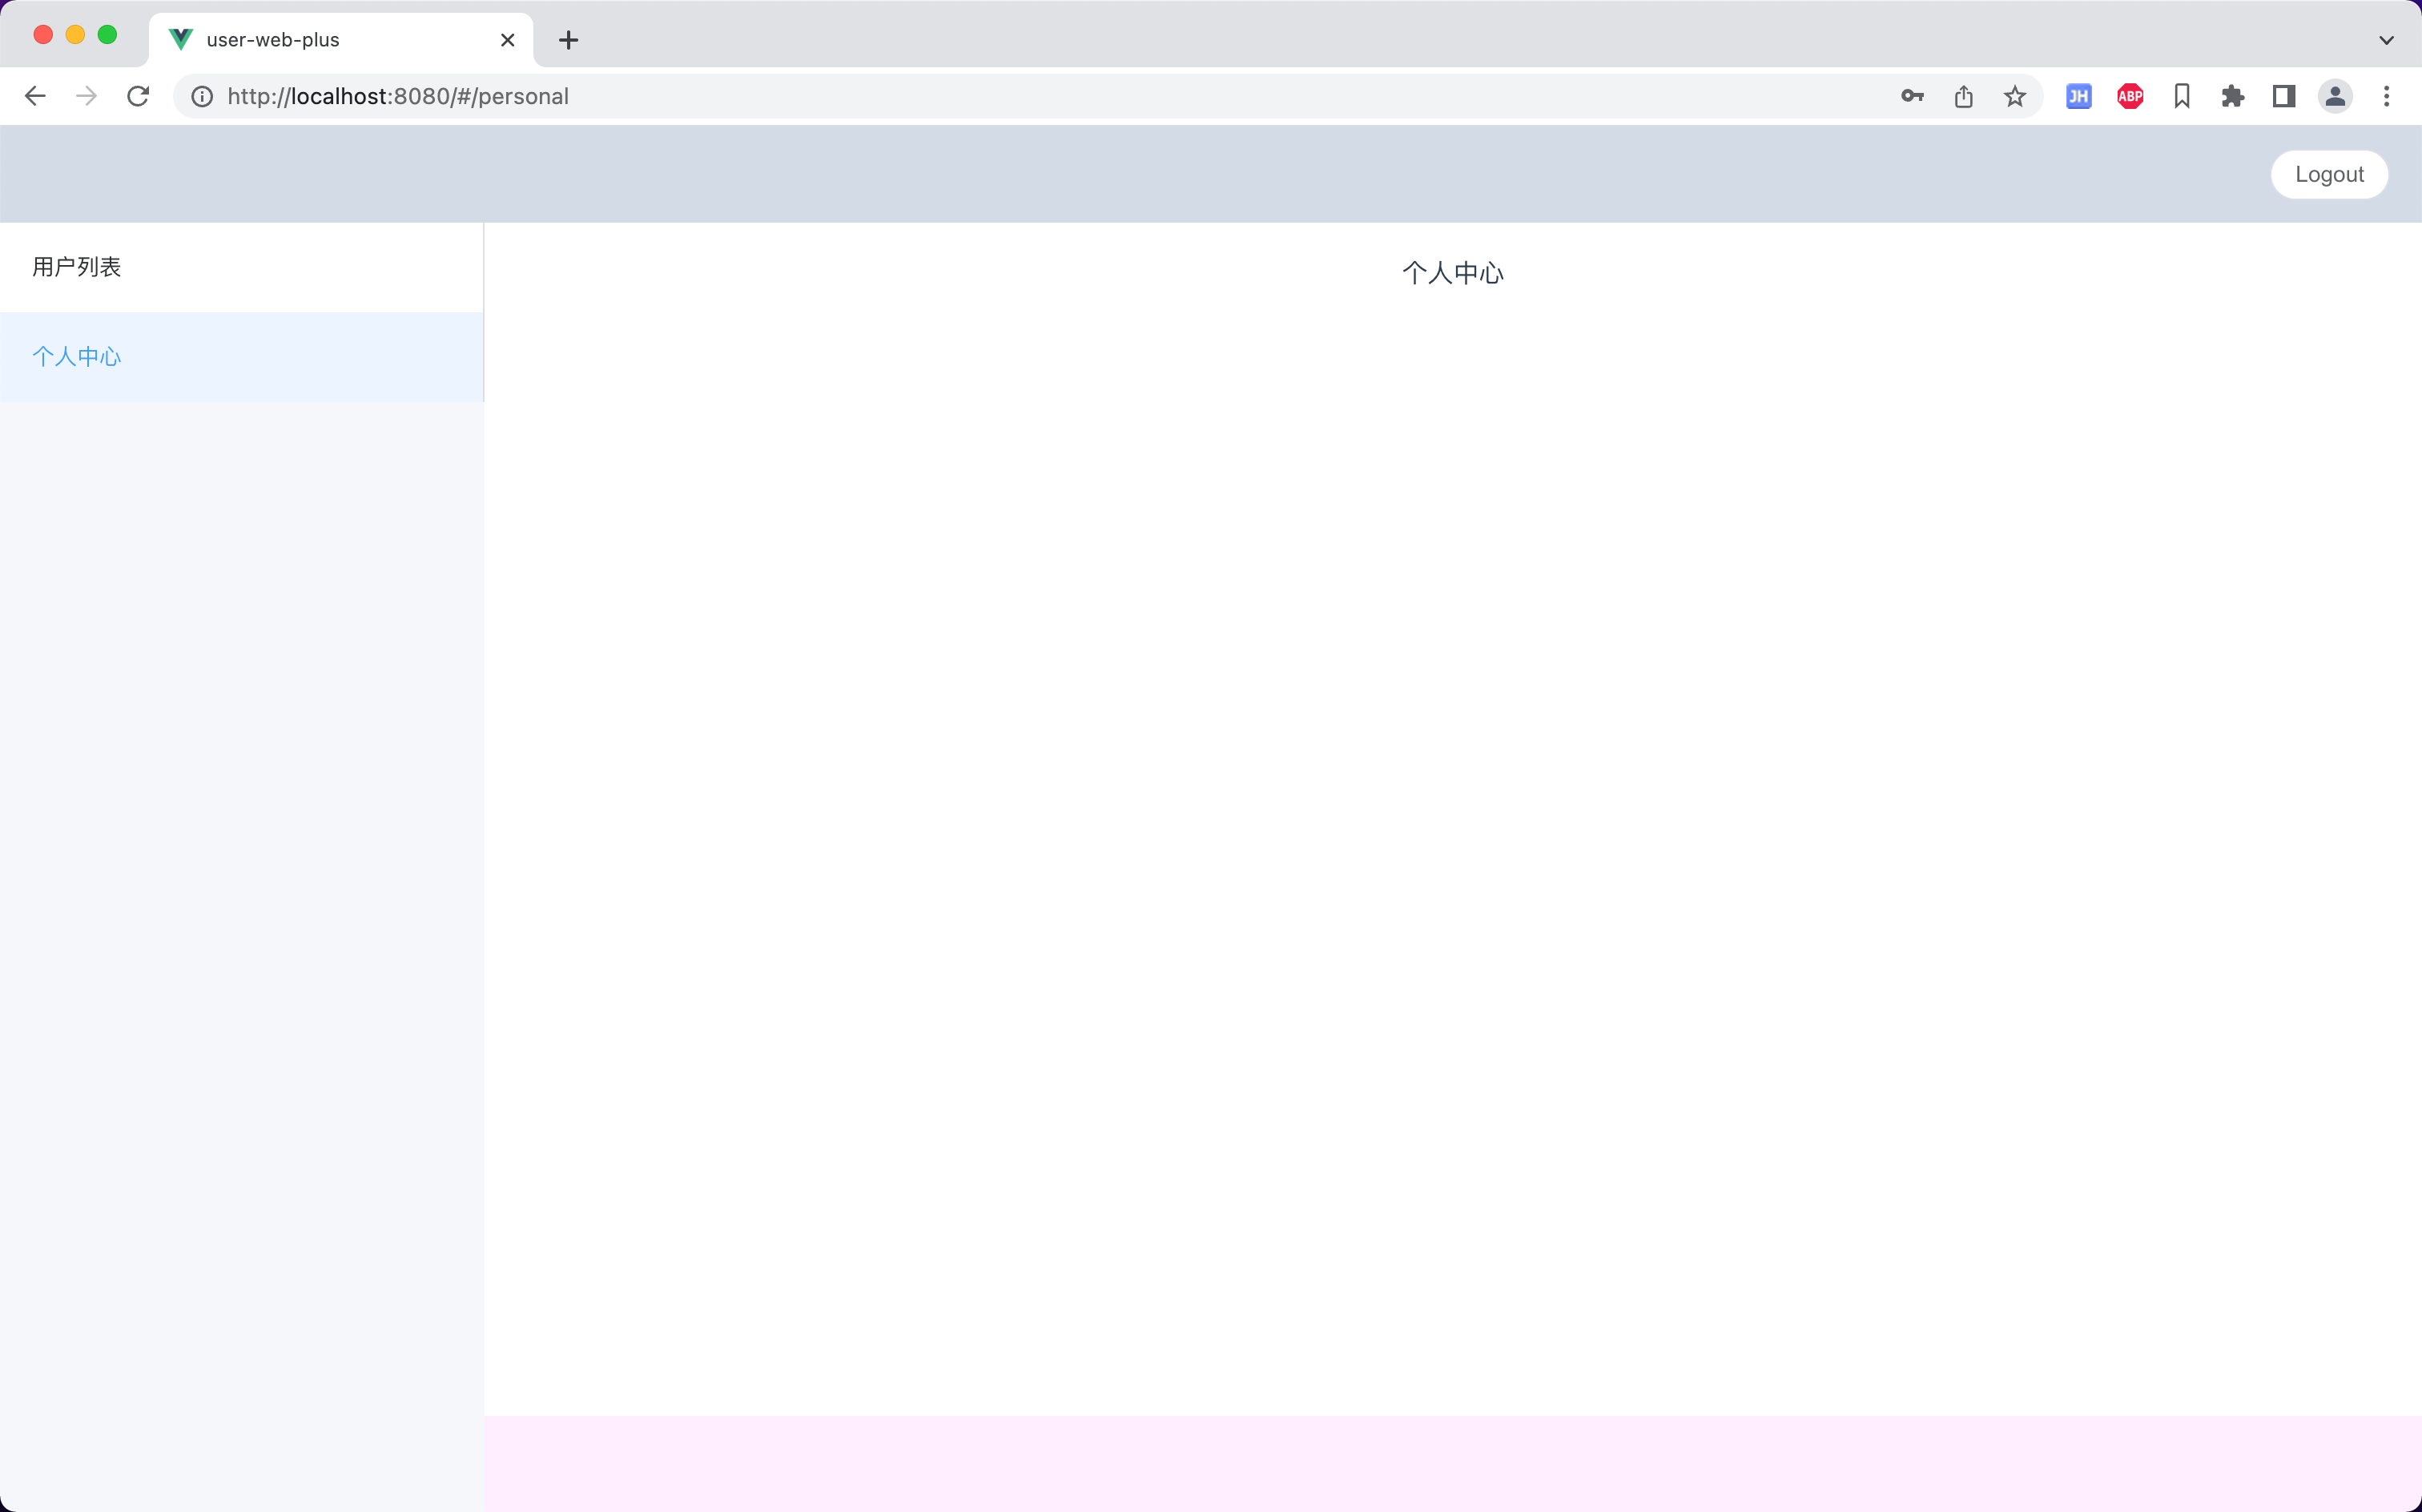
编写主页页面
整体布局的页面,主要实现侧边栏列表的点击展示对应的component
准备子路由页面
在components目录下新增UserListView.vue、PersonalView.vue两个页面
<template>
  <div id="userList">
    用户列表
  </div>
</template>
<template>
  <div id="personal">
    个人中心
  </div>
</template>
调整router/index.ts
调整/home的路由对象,增加redirect、children
import {createRouter, createWebHashHistory, RouteRecordRaw} from 'vue-router'
import LoginView from '../views/LoginView.vue'

const routes: Array<RouteRecordRaw> = [
    {
        path: '/', //默认渲染至App.vue中,配合<router-view/>使用
        component: LoginView
    },
    {
        path: '/home',
        redirect: '/userlist', //设置默认重定向的子页面
        children: [
            {
                path: '/userlist',
                name: '用户列表',
                component: () => import('../components/UserListView.vue')
            },
            {
                path: '/personal',
                name: '个人中心',
                component: () => import('../components/PersonalView.vue')
            }
        ],
        component: () => import('../views/HomeView.vue') //懒加载方式,按需引入
    }
]

const router = createRouter({
    history: createWebHashHistory(),
    routes
})
export default router
redirect实现访问/home时跳转至/userList路由的页面,相当于是配置了一个默认展示的子路由
HomeView.vue
<template>
  <div class="common-layout">
    <el-container class="el-con">
      <el-header id="head">
        <el-row :gutter="20" class="head-row" align="middle">
          <el-col :span="16" ></el-col>
          <el-col :span="8" align="end">
            <el-button round id="logout" @click="router.push('/')">Logout</el-button>
          </el-col>
        </el-row>
      </el-header>
      <el-container>
        <el-aside id="aside">
          <el-scrollbar>
            <!--              menu设置 router属性时,item中的index作为路由path使用, 配合 <router-view/> 展示
                              :default-active此处仅做默认选中效果,实际跳转由redirect控制
             -->
            <el-menu :default-active="defaultRouter" router>
              <el-menu-item v-for="i in routerList" :key="i.name" :index="i.path">
                <template #title>{{i.name}}</template>
              </el-menu-item>
            </el-menu>
          </el-scrollbar>
        </el-aside>
        <el-container>
          <el-main>
            <!--            展示 item对应的 index  path-->
            <router-view/>
          </el-main>
          <el-footer id="footer"></el-footer>
        </el-container>
      </el-container>
    </el-container>
  </div>
</template>
<script setup lang="ts">
import router from "@/router"

const defaultRouter = router.options.routes[1].redirect
//获取指定路由的列表
const routerList = router.options.routes[1].children
</script>
<style scoped lang="stylus">
.common-layout,.el-con
  height 100%

#head
  background-color #d3dce6

#aside
  width 20%
  background-color #f5f7fa

#footer
  background-color #fef

.head-row
  height 100%
</style>
配合ElementsUI中<el-menu>标签的router属性,和<el-menu-item>标签中的:index="i.path",实现路由页面的切换
再配合<router-view/>标签将对应路由页面展示在 <el-main>标签中
完善子路由页面
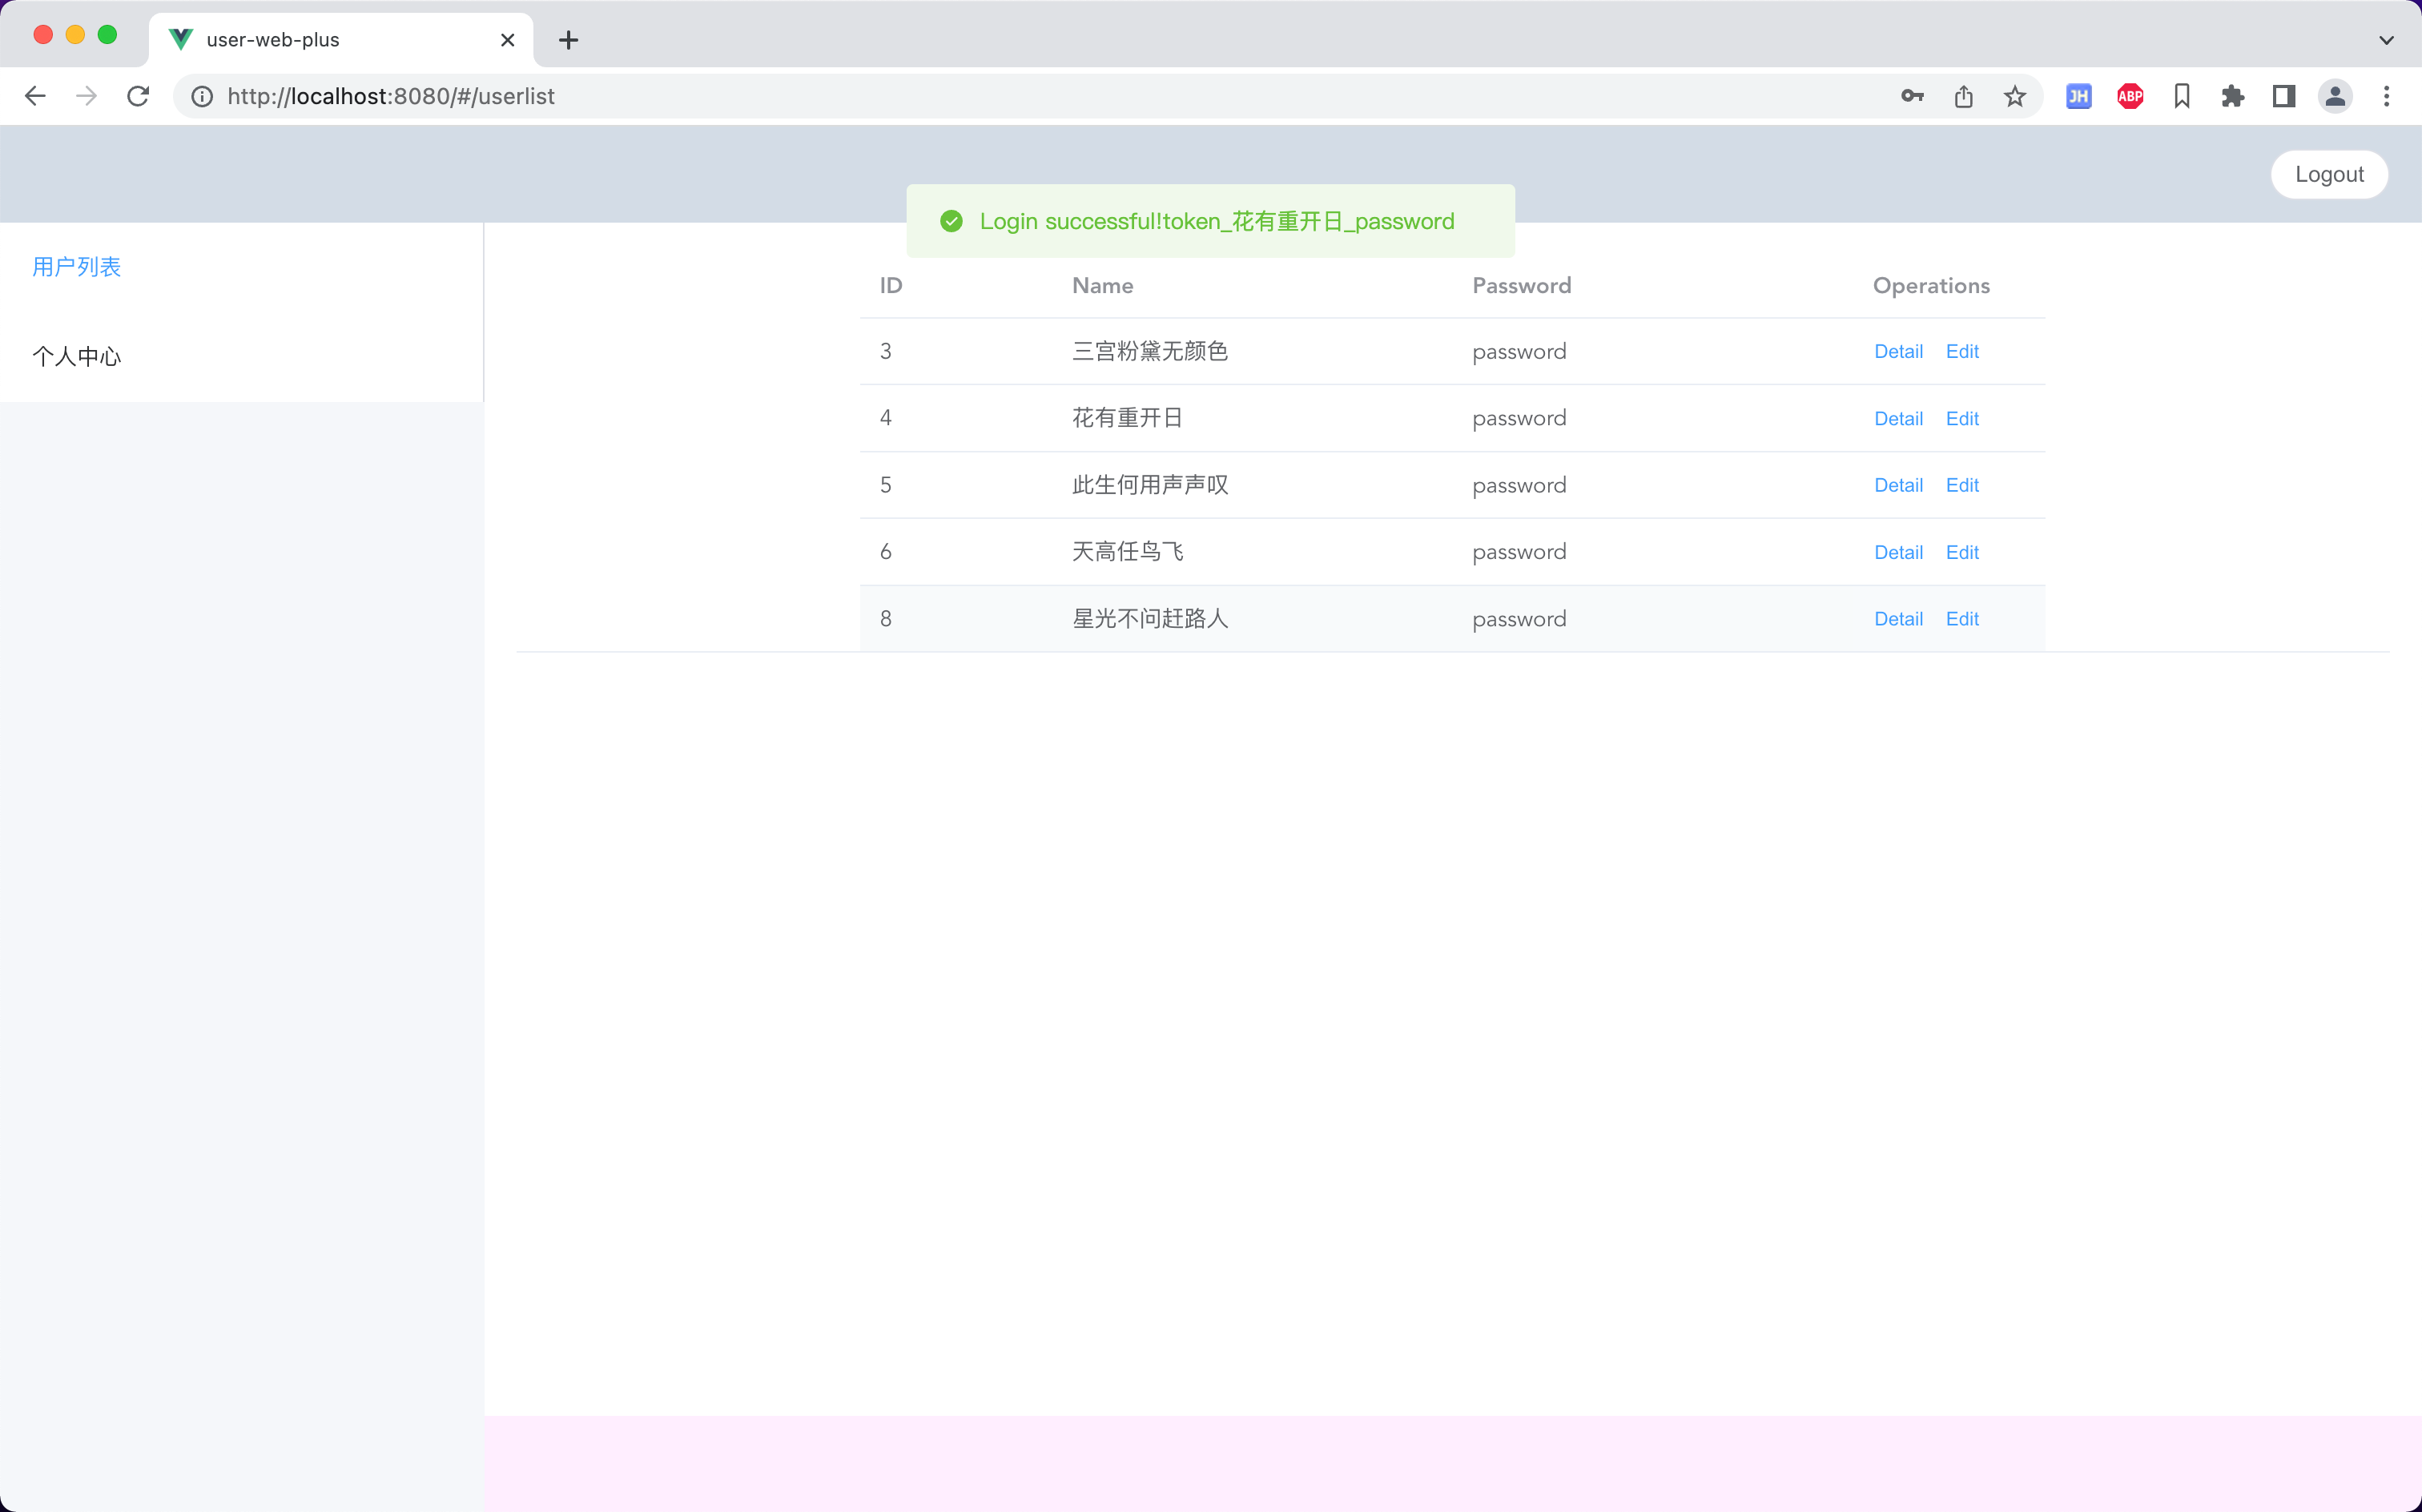
实现一下UserListView.vue页面,使其展示用户列表
<template>
  <div id="userList">
    <el-table :data="dataList" style="width: 100%" align="center" >
      <el-table-column prop="id" label="ID" width="120"/>
      <el-table-column prop="userName" label="Name" width="250"/>
      <el-table-column prop="userPassword" label="Password" width="250"/>
      <el-table-column fixed="right" label="Operations" width="120">
        <template #default>
          <el-button type="text" size="small" @click="iii">Detail</el-button>
          <el-button type="text" size="small" @click="iii">Edit</el-button>
        </template>
      </el-table-column>
    </el-table>
  </div>
</template>
<script setup lang="ts">
import {ref} from "vue"
import $http from "@/http"
import { ElMessage } from 'element-plus'

//声明用户列表
interface IUser{
  id: number
  userName: string
  userPassword: string
}

let dataList = ref<IUser[]>()

$http.get<IUser[]>('/findList1').then( res => {
  dataList.value = res.data;
})

const iii = () => ElMessage.success("?")
</script>
页面展示
登录页
主页和对应的子页面