玩转springcloud(四):熔断器-hystrix、hystrix-dashboard
Hystrix
一、简介
微服务架构应用的特点就是多服务,而服务层之间通过网络进行通信,从而支撑起整个应用系统,所以,各个微服务之间不可避免的存在耦合依赖关系。但任何的服务应用实例都不可能永远的健康或网络不可能永远的都相安无事,所以一旦某个服务或局部业务发生了故障,会导致系统的不可用,我们知道当故障累积到一定程度就会造成系统层面的灾害,也就是级联故障,也叫雪崩效应,所以微服务需要在故障累计到上限之前阻止或疏通这些故障以保证系统的稳固安全,在市面上已经有很多这样的框架来解决这样的问题,如Twitter的Finagle、Netflix的Hystrix和Google的Stubby等,下面就简单介绍下Hystrix和Hystrix在SpringCloud中的应用。
Hystrix(https://github.com/Netflix/Hystrix)是由Netflix开源的一个延迟和容错库,用于隔离访问远程系统、服务或者第三方库,防止级联失败,从而提升系统的可用性、容错性与局部应用的弹性,是一个实现了超市机制和断路器模式的工具类库。
二、Hystrix如何解决依赖隔离
1、包裹请求:使用HystrixCommand包裹对依赖的调用逻辑,每个命令在独立的线程中执行,使用了设计模式中的“命令模式”;
2、跳闸机制:当某服务的错误率超过一定阈值时,Hystrix可以自动或者手动跳闸,停止请求该服务一段时间;
3、资源隔离:Hystrix为每个依赖都维护了一个小型的线程池(或者信号量)。如果该线程已满,则发向该依赖的请求就会被立即拒绝,而不是排队等候,从而加速失败判定;
4、监控:Hystrix可以近乎实时地监控运行指标和配置的变化,例如成功、失败、超时、以及被拒绝的请求等;
5、回退机制:当请求失败、超时、被拒绝,或当断路器打开时,执行回退逻辑,回退逻辑由开发人员自行提供,如返回一个缺省值;
6、自我修复:断路器打开一段时间后,会自动进入“半开”状态,此时断路器可允许一个请求访问依赖的服务,若请求成功,则断路器关闭,否则断路器转为“打开”状态;
三、实践演练
服务调用方
因为熔断只是作用在服务调用这一端,因此我们根据上一篇的示例代码只需要改动spring-cloud-consumer项目相关代码就可以。因为,Feign中已经依赖了Hystrix所以在maven配置上不用做任何改动。
1、老生常谈,先上pom依赖 (这是在之前的基础上增加的依赖)
<!--熔断器 hystrix-->
<dependency>
    <groupId>org.springframework.cloud</groupId>
    <artifactId>spring-cloud-starter-netflix-hystrix</artifactId>
</dependency>
2、配置文件增加如下配置
feign:
  hystrix:
    enabled: true #开启熔断
hystrix:
  command:
    default:  #default全局有效,service id指定应用有效
      execution:
        timeout:
          #如果enabled设置为false,则请求超时交给ribbon控制,为true,则超时作为熔断根据
          enabled: true
        isolation:
          thread:
            timeoutInMilliseconds: 1000 #断路器超时时间,默认1000ms
2、创建失败回调类
package com.oldmonk.cloud.service.hystrix;

import com.oldmonk.cloud.service.remote.HelloRemote;
import org.springframework.stereotype.Component;

/**
 * @program: cloud-lx
 * @description: 熔断器、降级处理
 * @author: xujingyang
 * @create: 2019-10-09 13:23
 **/
@Component
public class HelloFallback implements HelloRemote{
    @Override
    public String hello(String name) {
        return "服务没了,还调个锤子";
    }
}
3、service层知道fallback属性,服务调用失败的时候会自动返回指定类中的方法
package com.oldmonk.cloud.service.remote;

import com.oldmonk.cloud.service.hystrix.HelloFallback;
import org.springframework.cloud.openfeign.FeignClient;
import org.springframework.web.bind.annotation.RequestMapping;
import org.springframework.web.bind.annotation.RequestParam;

/**
 * @program: cloud-lx
 * @description: 远程服务调用
 * @author: xujingyang
 * @create: 2019-10-09 13:07
 **/
@FeignClient(name = "spring-cloud-eureka-producer", fallback = HelloFallback.class)
public interface HelloRemote {

    @RequestMapping("/hello")
    String hello(@RequestParam("name") String name);
}
4、测试(其他配置及相关类都是用的前面的,不懂的可参考前面博文)
依次启动注册中心、服务提供者、服务调用者
浏览器输入:http://localhost:9009/hi/老徐
正常状态:

手动停止提供者服务后
熔断状态:
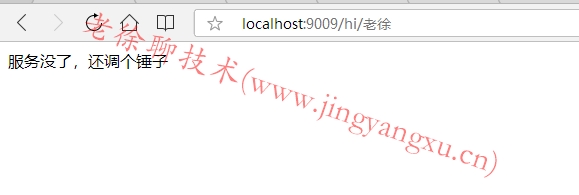
清晰可见,熔断成功!
Hystrix Dashboard
一、简介
除了隔离依赖服务的调用以外,Hystrix还提供了近实时的监控,Hystrix会实时、累加地记录所有关于HystrixCommand的执行信息,包括每秒执行多少请求多少成功,多少失败等。Netflix通过hystrix-metrics-event-stream项目实现了对以上指标的监控。
二、实践演练
1、老生常谈,继续添加依赖
<!--熔断器实时监控 Dashboard-->
<dependency>
    <groupId>org.springframework.cloud</groupId>
    <artifactId>spring-cloud-starter-netflix-hystrix-dashboard</artifactId>
</dependency>

<!--熔断器 健康检查-->
<dependency>
    <groupId>org.springframework.boot</groupId>
    <artifactId>spring-boot-starter-actuator</artifactId>
</dependency>
2、继续添加配置
# 手动注册 boot2.0以后必须加这个不然面板会有问题
management:
  endpoints:
    web:
      exposure:
        include: ["hystrix.stream","turbine.stream","health","info"]
turbine:
  appConfig: node1,node2 #配置Eureka中的serviceId列表,表明监控哪些服务
  aggregator:
    clusterConfig: default  #指定聚合哪些集群,多个使用","分割,默认为default。可使用http://.../turbine.stream?cluster={clusterConfig之一}访问
#1. clusterNameExpression指定集群名称,默认表达式appName;此时:turbine.aggregator.clusterConfig需要配置想要监控的应用名称;
#2. 当clusterNameExpression: default时,turbine.aggregator.clusterConfig可以不写,因为默认就是default;
#3. 当clusterNameExpression: metadata['cluster']时,假设想要监控的应用配置了eureka.instance.metadata-map.cluster: ABC,则需要配置,同时turbine.aggregator.clusterConfig: ABC
  clusterNameExpression: new String("default")
2、启动类增加注解
@EnableHystrixDashboard
@EnableCircuitBreaker
package com.oldmonk.cloud;

import org.springframework.boot.SpringApplication;
import org.springframework.boot.autoconfigure.SpringBootApplication;
import org.springframework.cloud.client.circuitbreaker.EnableCircuitBreaker;
import org.springframework.cloud.client.discovery.EnableDiscoveryClient;
import org.springframework.cloud.netflix.hystrix.dashboard.EnableHystrixDashboard;
import org.springframework.cloud.netflix.turbine.EnableTurbine;
import org.springframework.cloud.openfeign.EnableFeignClients;

/**
 * @program: cloud
 * @description: 启动类
 * @author: xujingyang
 * @create: 2019-10-09 12:06
 **/
@SpringBootApplication
@EnableDiscoveryClient
@EnableFeignClients
@EnableHystrixDashboard
@EnableCircuitBreaker
public class ErkaHystrixDashboardApplication {
    public static void main(String[] args) {
        SpringApplication.run(ErkaHystrixDashboardApplication.class);
    }
}
2、测试走起
继续依次启动那些个玩意儿~~~
启动后访问http://localhost:9029/hystrix,会出现下面界面
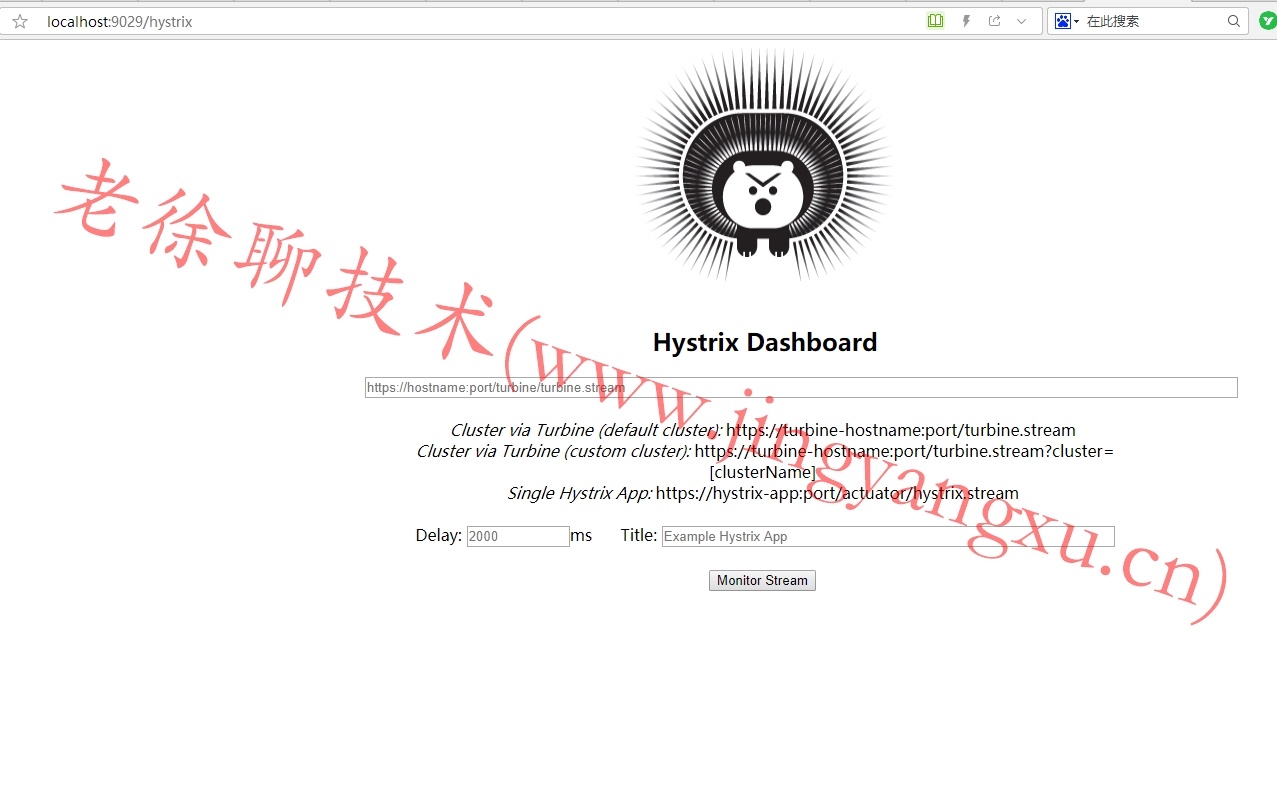
图中会有一些提示:
Cluster via Turbine (default cluster): http://turbine-hostname:port/turbine.stream
Cluster via Turbine (custom cluster): http://turbine-hostname:port/turbine.stream?cluster=[clusterName]
Single Hystrix App: http://hystrix-app:port/hystrix.stream
大概意思就是如果查看默认集群使用第一个url,查看指定集群使用第二个url,单个应用的监控使用最后一个,我们暂时只演示单个应用的所以在输入框中输入:
http://localhost:9029/actuator/hystrix.stream ,输入之后点击 monitor,进入页面。
如果没有请求会先显示Loading ...

访问http://localhost:9029/actuator/hystrix.stream 也会不断的显示ping。
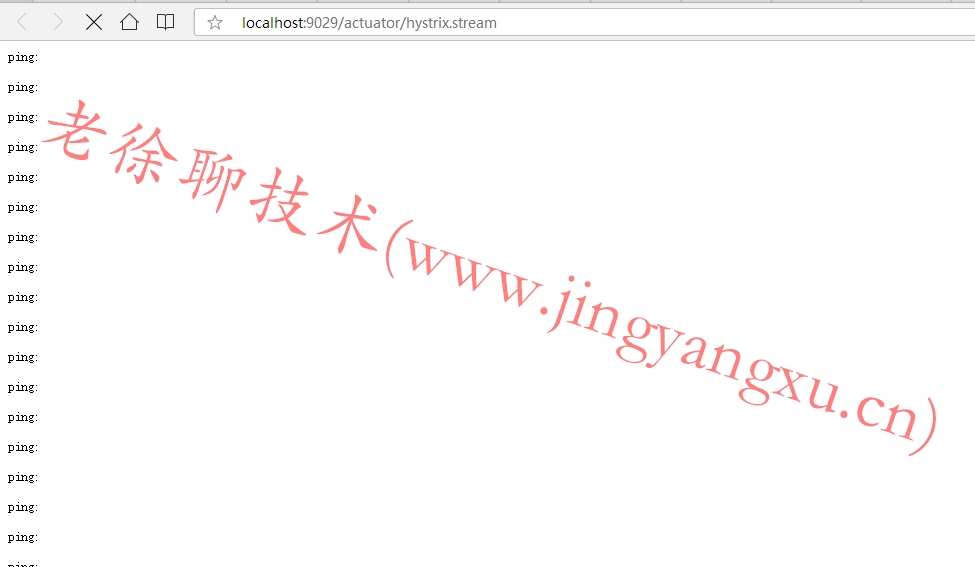
请求服务http://localhost:9029/hi/老徐,就可以看到监控的效果了,首先访问http://localhost:9029/actuator/hystrix.stream,显示如下:
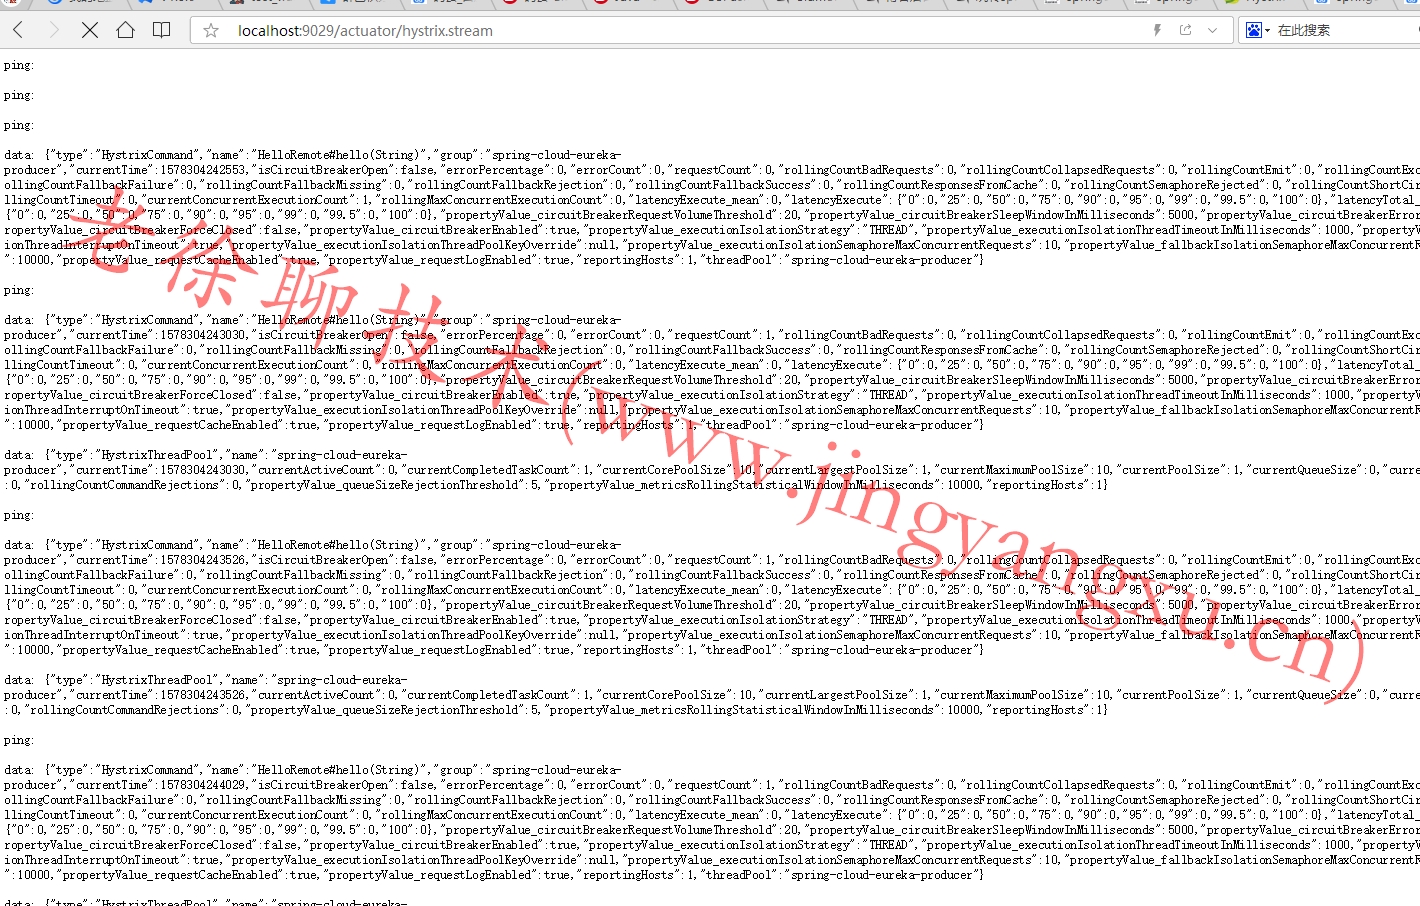
说明已经返回了监控的各项结果
到监控页面就会显示如下图:

其实就是http://localhost:9029/actuator/hystrix.stream返回结果的图形化显示,Hystrix Dashboard Wiki上详细说明了图上每个指标的含义,如下图
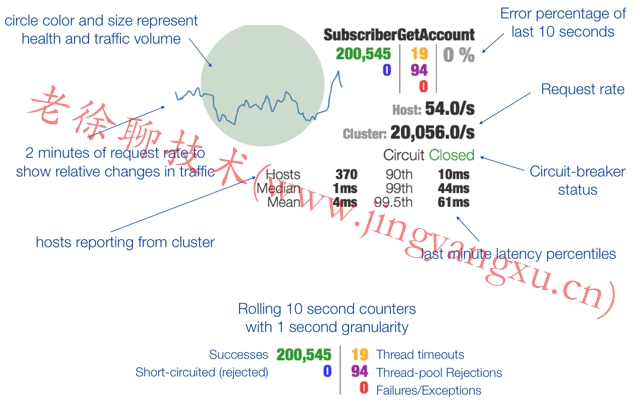
到此单个应用的熔断监控已经完成!
四、案例源码
连接点不动时请复制粘贴此链接:https://github.com/oIdmonk/springcloud-xjy
代码基于boot2.1.9.RELEASE版本,cloudGreenwich.SR3版本


