
springboot集成Apollo分布式配置
安装Apollo服务
1.安装mysql
地址:https://www.cnblogs.com/xuaa/p/10782352.html
2.下载Apollo源码到本地
地址:https://github.com/ctripcorp/apollo
3.创建数据库
创建configdb数据库,数据库脚本:apollo\scripts\db\migration\configdb\V1.0.0__initialization.sql
创建portaldb数据库,数据库脚本:apollo\scripts\db\migration\portaldb\V1.0.0__initialization.sql
4.修改打包脚本
脚本:apollo\scripts\build.bat
修改内容:
# 填写ApolloConfigDB数据库连接信息
set apollo_config_db_url="jdbc:mysql://172.29.22.151:3306/ApolloConfigDB?characterEncoding=utf8"
set apollo_config_db_username="root"
set apollo_config_db_password="123456"

rem apollo portal db info
# 填写ApolloPortalDB连接信息
set apollo_portal_db_url="jdbc:mysql://172.29.22.151:3306/ApolloPortalDB?characterEncoding=utf8"
set apollo_portal_db_username="root"
set apollo_portal_db_password="123456"

rem meta server url, different environments should have different meta server addresses
# 填写meta服务准备安装的服务地址,我只安装了dev
set dev_meta="http://172.29.22.151:8080"
set fat_meta="http://172.29.22.151:8080"
set uat_meta="http://172.29.22.151:8080"
set pro_meta="http://172.29.22.151:8080"
5.打包
在apollo\scripts目录下cmd命令行界面执行build.bat脚本进行打包,打包完成后将以下文件上传到Linux服务器
apollo\apollo-adminservice\target\apollo-adminservice-1.4.0-SNAPSHOT-github.zip
apollo\apollo-configservice\target\apollo-configservice-1.4.0-SNAPSHOT-github.zip
apollo\apollo-portal\target\apollo-portal-1.4.0-SNAPSHOT-github.zip
6.启动
将第5步上传的三个zip文件解压,分别执行三个目录下的启动脚本scripts/startup.sh
7.创建项目
访问可视化界面,地址:http://172.29.22.151:8070,默认账号/密码:apollo/admin
创建项目

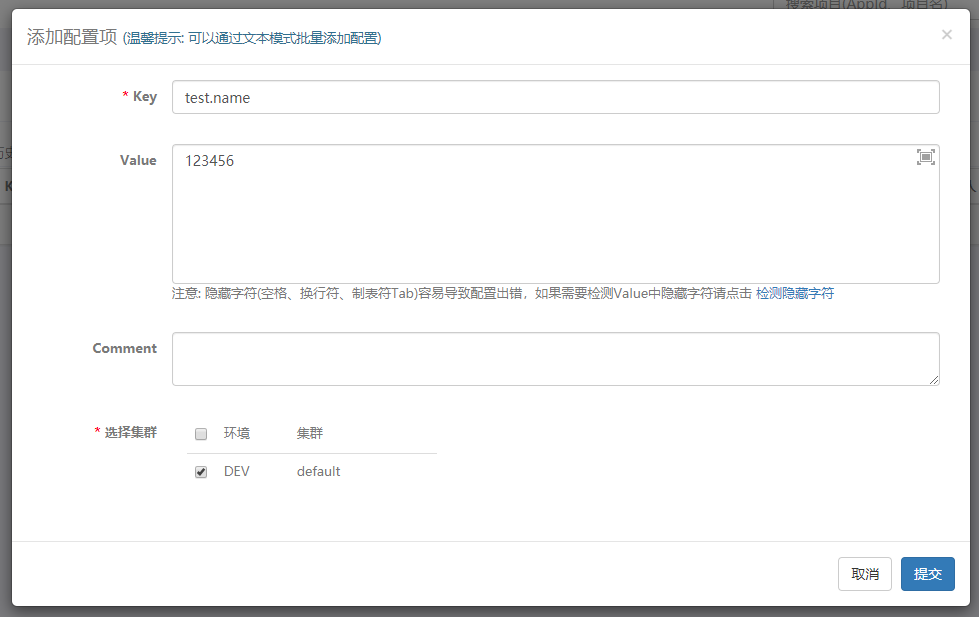
项目创建成功后点击项目,添加配置信息
然后点击发布
springboot客户端集成apollo分布式配置
1.添加依赖
<dependency>
    <groupId>com.ctrip.framework.apollo</groupId>
    <artifactId>apollo-client</artifactId>
    <version>1.1.0</version>
</dependency>
2.修改application.properties
加入以下配置,注:app.id必须要和创建项目时填写应用Id相同
app.id=elk-demo
apollo.meta=http://172.29.22.151:8080
3.获取配置信息
在Springboot项目启动类中加入注解
@EnableApolloConfig
通过注解获取配置信息,注:111111为默认值
@Value("${test.name}")
private String name;
或者
@Value("${test.name:111111}")
private String name;

