


IMX6ULL开发板spi OLED驱动
本文是IMX6ULL开发板spi OLED驱动学习笔记,方便后面查看时快速的回顾,而不需要一点点的看视频
视频选集:P141 - P150
1、将文件上传到虚拟机共享目录
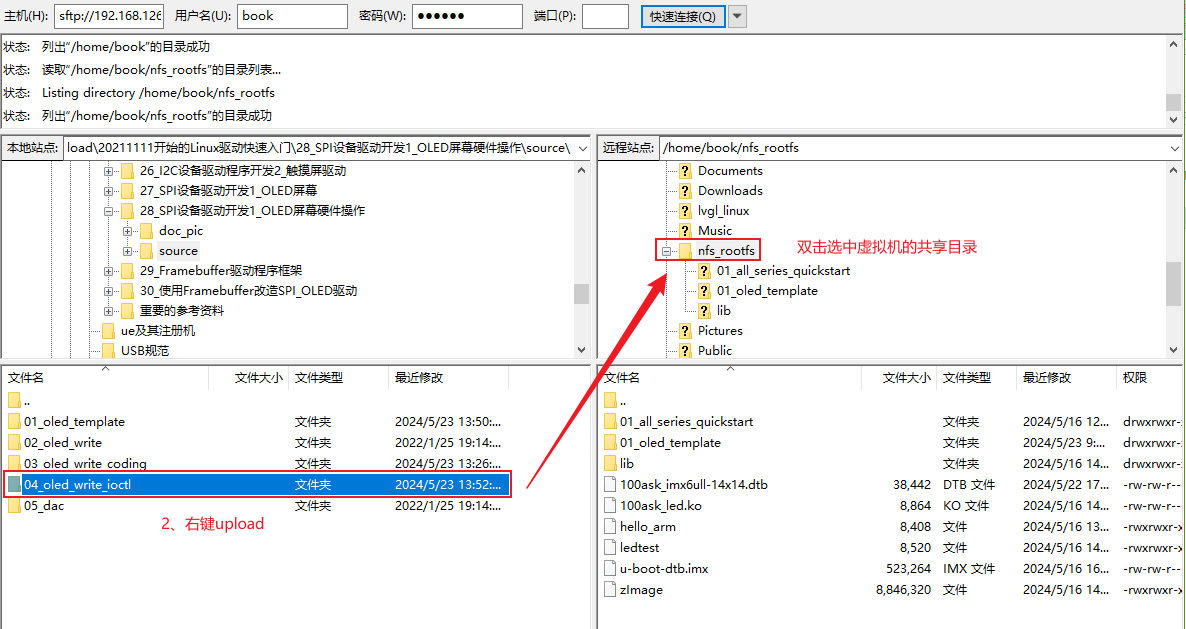
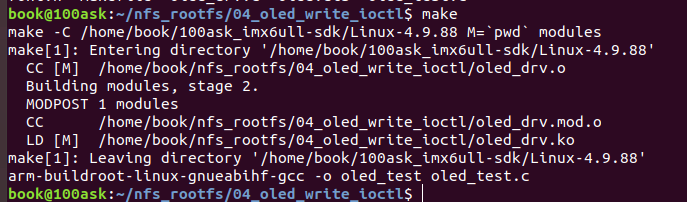
2、make编译出驱动
3、修改设备树
vim 100ask_imx6ull-14x14.dts

&ecspi1 {
    pinctrl-names = "default";
    pinctrl-0 = <&pinctrl_ecspi1>;

    fsl,spi-num-chipselects = <2>;
    cs-gpios = <&gpio4 26 GPIO_ACTIVE_LOW>, <&gpio4 24 GPIO_ACTIVE_LOW>;
    status = "okay";

    oled: oled {
        compatible = "100ask,oled";
        reg = <0>;
        spi-max-frequency = <1000000>;
        dc-gpios = <&gpio4 20 GPIO_ACTIVE_HIGH>;
    };
编译设备树:
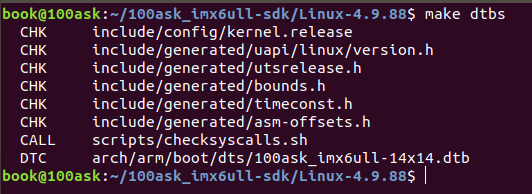
注意:必须退回到linux内核目录里编译
将设备树文件放到共享目录:
cp arch/arm/boot/dts/100ask_imx6ull-14x14.dts /home/book/nfs_rootfs/
4、替换设备树
进入开发板,将设备树拷贝到/boot之后重启
mount -t nfs -o nolock,vers=3 192.168.5.11:/home/book/nfs_rootfs /mnt

5、验证设备树
进入设备树查找oled
cd /sys/firmware/devicetree/base
find -name "*oled*"

进入oled目录查看:
cd ./soc/aips-bus@02000000/spba-bus@02000000/ecspi@02008000/oled

6、安装驱动
·insmod oled_drv.ko·
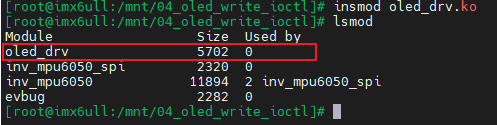
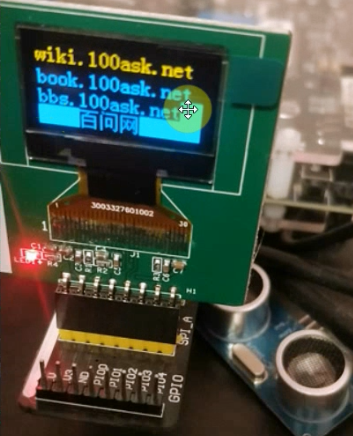
7、执行oled_test验证
./oled_test /dev/myoled

本文由博客一文多发平台 OpenWrite 发布!
本文来自博客园,作者:xjxcxjx,转载请注明原文链接:https://www.cnblogs.com/xjxcxjx/p/18264560,谢绝CSDN转载!
