
vue——指令系统
指令系统,可以联想咱们的cmd命令行工具,只要我输入一条正确的指令,系统就开始干活了。
在vue中,指令系统,设置一些命令之后,来操作我们的数据属性,并展示到我们的DOM上。
在vue中提供了一套为数据驱动视图更为方便的操作,这些操作被称为指令系统,以v-xxx所表示。如在angular中以ng-xxx开头的也叫做指令。
指令原理:指令中封装了一些DOM行为,结合属性作为一个暗号,暗号有对应的值,根据不同的值,框架会进行相应的DOM操作的绑定。
一、更新元素的指令
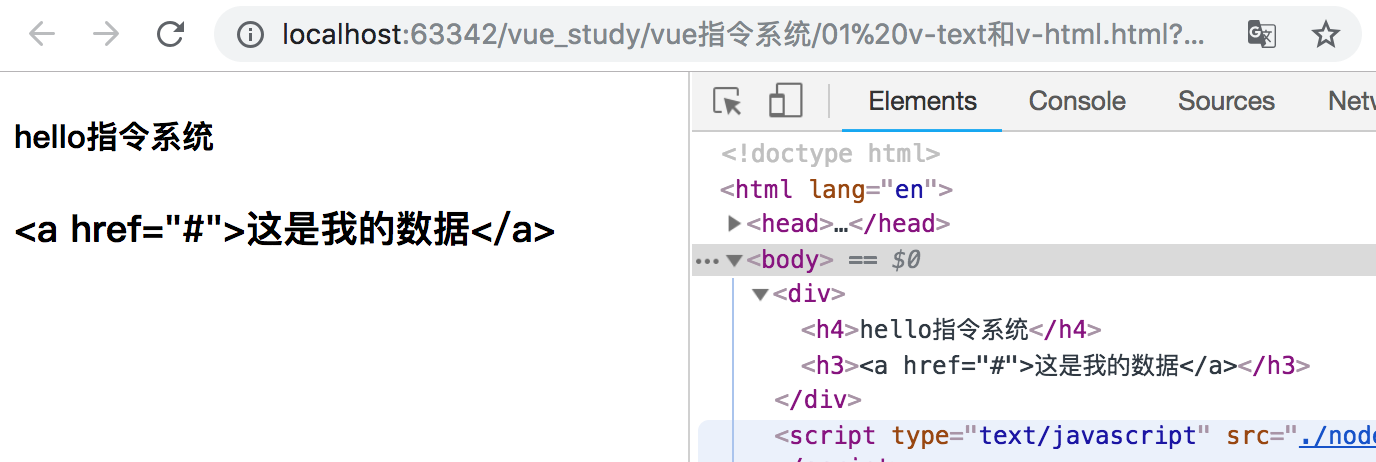
1、v-text
v-text等价于 {{}} ,实现原理:innerText。
更新元素的 textContent(innerText)。如果要更新部分的 textContent ,需要使用 {{ Mustache }} 插值。
<body>
    <div id="app">
        <!--<h3>{{msg}}</h3>-->
    </div>
    <script type="text/javascript" src="./node_modules/vue/dist/vue.js"></script>
    <script type="text/javascript">
        new Vue({
            el: '#app',
            data: {
                // 数据属性
                msg: 'hello指令系统',
                msg2: '<a href="#">这是我的数据</a>'
            },
            template:`
                <div>
                    <h4>{{msg}}</h4>
                    <h3 v-text='msg2'></h3>
                </div>
                `
        })
    </script>
</body>
显示效果如下所示:
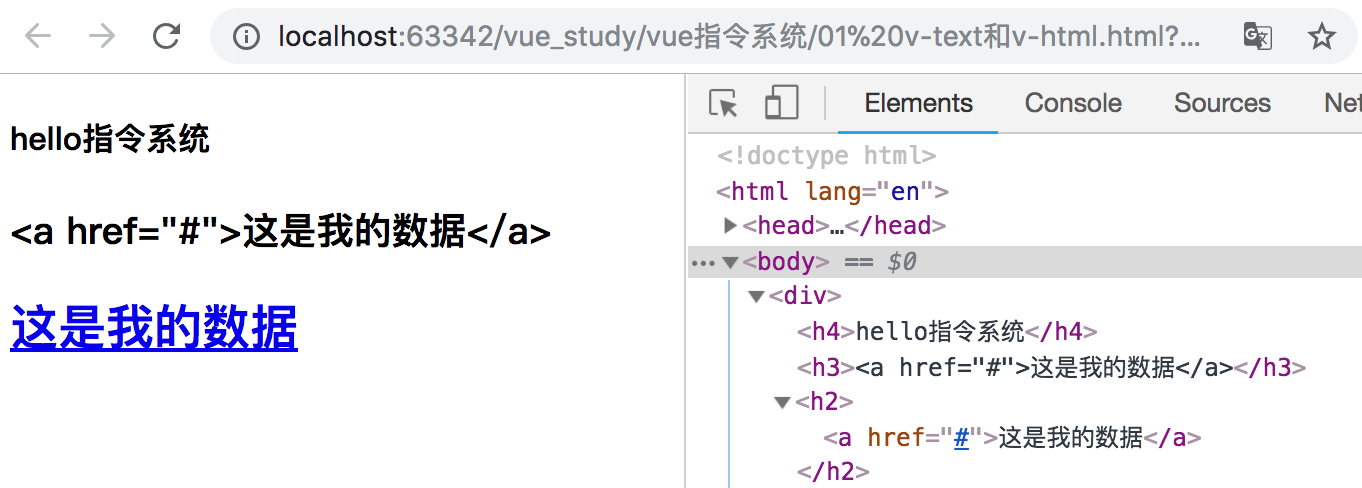
2、v-html
v-html实现原理是js中的innerHTML方法。
更新元素的 innerHTML 。注意:内容按普通 HTML 插入 - 不会作为 Vue 模板进行编译。如果试图使用 v-html 组合模板,可以重新考虑是否通过使用组件来替代。
<body>
    <div id="app">
        <!--<h3>{{msg}}</h3>-->
    </div>
    <script type="text/javascript" src="./node_modules/vue/dist/vue.js"></script>
    <script type="text/javascript">
        new Vue({
            el: '#app',
            data: {
                // 数据属性
                msg: 'hello指令系统',
                msg2: '<a href="#">这是我的数据</a>'
            },
            template:`
                <div>
                    <h4>{{msg}}</h4>
                    <h3 v-text='msg2'></h3>
                    <h2 v-html="msg2"></h2>
                </div>
                `
        })
    </script>
</body>
显示效果如下所示:
使用v-html需要注意:
1)在网站上动态渲染任意 HTML 是非常危险的,因为容易导致 XSS 攻击。只在可信内容上使用 v-html,永不用在用户提交的内容上。
2)在单文件组件里,scoped 的样式不会应用在 v-html 内部,因为那部分 HTML 没有被 Vue 的模板编译器处理。如果你希望针对 v-html 的内容设置带作用域的 CSS,你可以替换为 CSS Modules 或用一个额外的全局 <style> 元素手动设置类似 BEM 的作用域策略。
二、条件渲染
1、v-if(主要用来做dom元素显示隐藏)
v-if:真正的条件渲染。
<head>
    <style type="text/css">
        .box{
            width: 100px;
            height: 100px;
            background-color: #67c23a;
        }
    </style>
</head>
<body>
    <div id="app"></div>
    <script type="text/javascript" src="./node_modules/vue/dist/vue.js"></script>
    <script type="text/javascript">
        new Vue({
            el: '#app',
            data: {
                // 数据属性
                msg: 'hello指令系统',
                isShow: true
            },
            template:`
                <div>
                    <h4 v-text="msg"></h4>
                    <div class="box" v-if="isShow"></div>
                </div>
                `
        })
    </script>
</body>
显示效果:
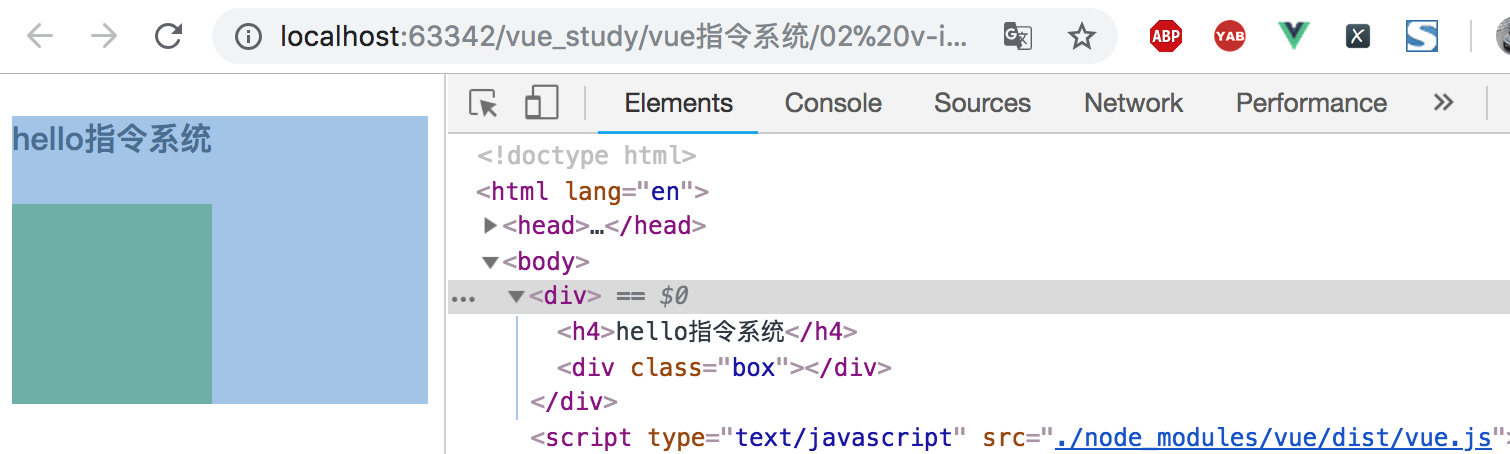
注意:isShow变量,是数据属性中存储的值。要么真(true)要么假(false)。该属性值为true的时候,p标签显示,反之则不显示。
(1)在<template> 元素上使用 v-if 条件渲染分组
因为 v-if 是一个指令,所以必须将它添加到一个元素上。但是如果想切换多个元素呢?此时可以把一个 <template> 元素当做不可见的包裹元素,并在上面使用 v-if。最终的渲染结果将不包含 <template> 元素。
<template v-if="ok">
  <h1>Title</h1>
  <p>Paragraph 1</p>
  <p>Paragraph 2</p>
</template>
(2)v-else
还可以使用v-esle指令来表示v-if的“else块”:
<div v-if="Math.random() > 0.5">
  Now you see me
</div>
<div v-else>
  Now you don't
</div>
刷新页面有时会显示“Now you see me”,有时会显示“Now you don't”。
v-else 元素必须紧跟在带 v-if 或者 v-else-if 的元素的后面,否则它将不会被识别。
(3)v-else-if
v-else-if,顾名思义,充当 v-if 的“else-if 块”,可以连续使用:
<div v-if="type === 'thunder'">
  打雷
</div>
<div v-else-if="type === 'rain'">
  下雨
</div>
<div v-else-if="type === 'lightning'">
  闪电
</div>
<div v-else>
  雷阵雨
</div>
类似于 v-else,v-else-if 也必须紧跟在带 v-if 或者 v-else-if 的元素之后。
2、v-show
另一个用于根据条件展示元素的选项是 v-show 指令。用法大致一样:
<body>
    <div id="app"></div>
    <script type="text/javascript" src="./node_modules/vue/dist/vue.js"></script>
    <script type="text/javascript">
        new Vue({
            el: '#app',
            data: {
                // 数据属性
                msg: 'hello指令系统',
                isShow: false
            },
            template:`
                <div>
                    <h4 v-text="msg"></h4>
                    <div class="box" v-if="isShow"></div>
                    <div class="box" v-show="isShow"></div>
                </div>
                `
        })
    </script>
</body>
查看页面标签显示如下:
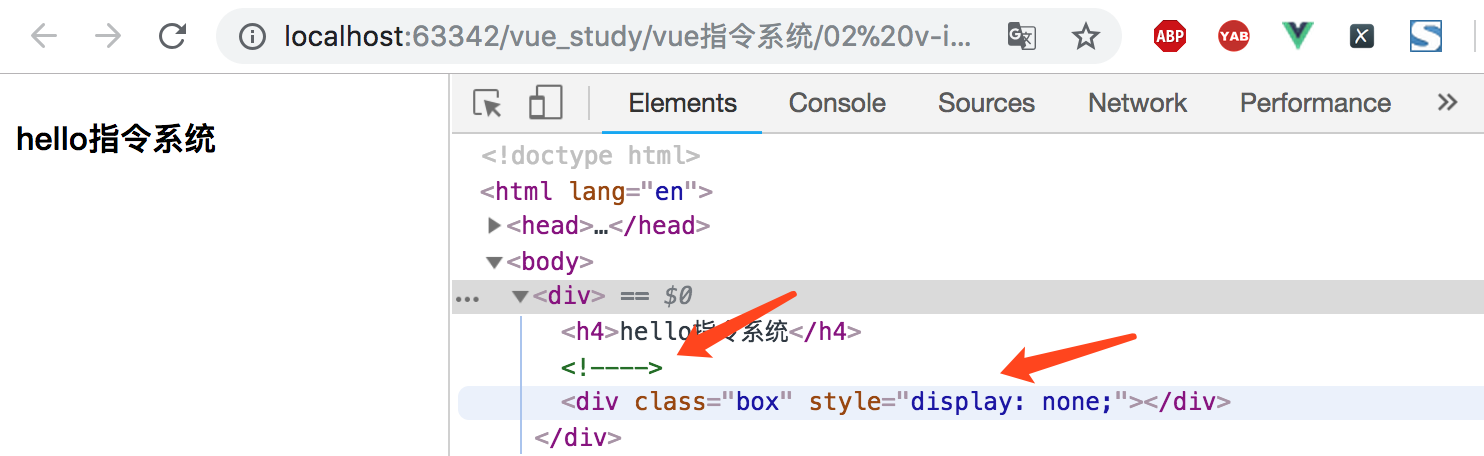
如上图所示,v-if和v-show的不同就是:带有v-show的元素始终会被渲染并保留在DOM中,v-show只是简单地切换元素的CSS属性display。
注意:v-show不支持<template>元素,也不支持v-else。
3、v-if 与 v-show 的区别
v-if 是“真正”的条件渲染,因为它会确保在切换过程中条件块内的事件监听器和子组件适当地被销毁和重建。
v-if 也是惰性的:如果在初始渲染时条件为假,则什么也不做——直到条件第一次变为真时,才会开始渲染条件块。
相比之下,v-show 就简单得多——不管初始条件是什么,元素总是会被渲染,并且只是简单地基于 CSS 进行切换。
一般来说,v-if 有更高的切换开销,而 v-show 有更高的初始渲染开销。因此,如果需要非常频繁地切换,则使用 v-show 较好;如果在运行时条件很少改变,则使用 v-if 较好。
4、v-if与v-for一起使用
当v-if与v-for一起使用时,v-for具有比v-if更高的优先级。
三、指令系统之v-for
在Vue中,提供了一个v-for的指令,可以渲染列表。
1、v-for的作用介绍
v-for可以基于源数据多次渲染元素或模板块。这个指令必须用特定的语法alias in expression,为当前遍历的元素提供别名。
<body>
    <div id="app"></div>
    <script type="text/javascript" src="./node_modules/vue/dist/vue.js"></script>
    <script type="text/javascript">
        new Vue({
            el: '#app',
            data: {
                // 数据属性
                msg: 'hello指令系统',
                menuList:[    // 数组对象
                    {id:1, name:'大腰子', price:60},
                    {id:2, name:'宫保鸡丁', price:30},
                    {id:3, name:'炸黄花鱼', price:70}
                ]
            },
            template:`
                <div>
                    <h4 v-text="msg"></h4>
                    <ul>
                        <li v-for="item in menuList">
                            <h4>菜名:{{item.name}}</h4>
                            <p>价格:{{item.price}}</p>
                        </li>
                    </ul>
                </div>
                `
        })
    </script>
</body>
页面显示如下所示:
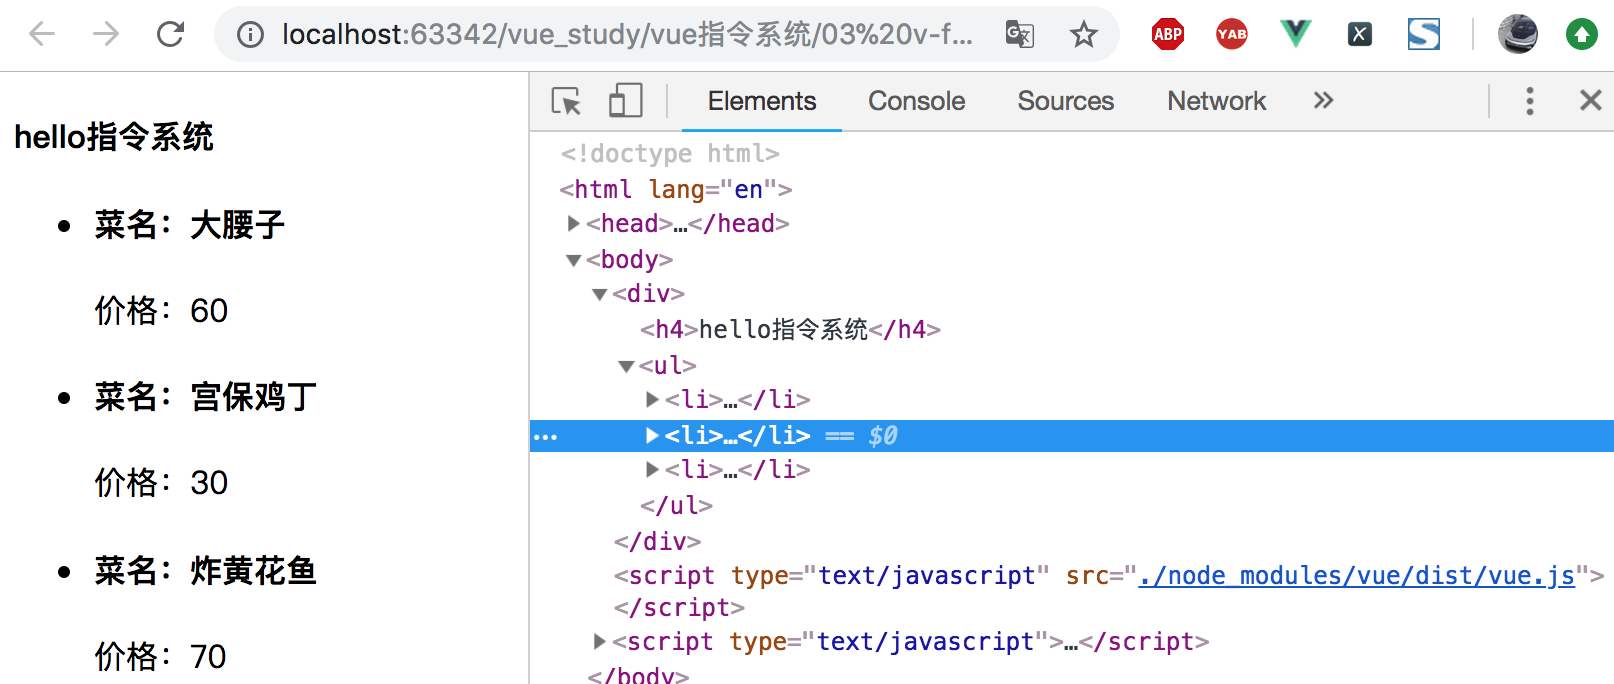
上面这个例子就是典型的数据驱动视图,数据更改不用操作dom,视图就随之更改。
2、v-for遍历数组
用 v-for 指令根据一组数组的选项列表进行渲染。v-for 指令需要使用 item in items 形式的特殊语法,items 是源数据数组并且 item 是数组元素迭代的别名。
<ul id="example-1">
  <li v-for="item in items">
    {{ item.message }}
  </li>
</ul>

<script type="text/javascript" src="./vue.js"></script>
<script type="text/javascript">
    var example1 = new Vue({
      el: '#example-1',
      data: {
        items: [
          { message: 'Foo' },
          { message: 'Bar' }
        ]
      }
    })
</script>
显示效果如下:

在v-for 块中,我们拥有对父作用域属性的完全访问权限。
3、遍历数组中每个元素index
v-for 还支持一个可选的第二个参数为当前项的索引:
<body>
    <div id="app"></div>
    <script type="text/javascript" src="./node_modules/vue/dist/vue.js"></script>
    <script type="text/javascript">
        new Vue({
            el: '#app',
            data: {
                // 数据属性
                msg: 'hello指令系统',
                menuList:[    // 数组对象
                    {id:1, name:'大腰子', price:60},
                    {id:2, name:'宫保鸡丁', price:30},
                    {id:3, name:'炸黄花鱼', price:70},
                    {id:4, name:'番茄炒蛋', price:10}
                ]
            },
            template:`
                <div>
                    <h4 v-text="msg"></h4>
                    <ul>
                        <li v-for="(item, index) in menuList">
                            <h4>{{index}}--菜名:{{item.name}}</h4>
                            <p>价格:{{item.price}}</p>
                        </li>
                    </ul>
                </div>
                `
        })
    </script>
</body>
显示效果如下所示:

4、v-for遍历对象
v-for 除了可以用在数组上外,还可以应用在对象上。
使用v-for可以把obj的每个key对应的value值遍历出来,并且填到对应的li元素中。
当我们在使用v-for进行渲染时,尽可能使用渲染元素自身属性的id给渲染的元素绑定一个key值,这样在当前渲染元素的DOM结构发生变化时,能够单独响应该元素而不触发所有元素的渲染。
// 遍历obj中每个key对应的value
<ul>
    <li v-for="value in obj">{{value}}</li>
</ul>

// 遍历obj的value和key
<ul>
    <li v-for="(value, key) in obj">{{value}}</li>
</ul>

// 遍历obj的value、key和索引
<ul>
    <li v-for="(value, key, index) in obj">{{value}}</li>
</ul>
(1)示例一
<body>
    <div id="app"></div>
    <script type="text/javascript" src="./node_modules/vue/dist/vue.js"></script>
    <script type="text/javascript">
        new Vue({
            el: '#app',
            data: {
                // 数据属性
                msg: 'hello指令系统',
                object:{
                    name: 'alex',
                    age: 19,
                    fav: '喜欢拍av'
                }
            },
            template:`
                <div>
                    <h4 v-text="msg"></h4>
                    <ul>
                        <li v-for="(value, key) in object">
                            {{key}} ----- {{value}}
                        </li>
                    </ul>
                </div>
                `
        })
    </script>
</body>
执行结果如下所示:

(2)示例二
<template>
    <!-- 组件的页面结构 -->
    <div id="app">
        <h3>{{msg}}</h3>
        <div v-html="title"></div>
        <ul>
            <!-- key绑定key的时候,如果数据中有id就绑定id,没有id绑定index -->
            <li v-for="(item, index) in datas" :key="index">{{item}}</li>
        </ul>
    </div>
</template>

<script>
    // 组件内部的业务逻辑
export default {
  name: 'app',
  data () {
    return {
        msg: '来开始学习vue-cli脚手架项目',
        title: "<h3>皇家骑士</h3>",
        datas: [
            '抽烟','喝酒','烫头','泡妞'
        ]
    }
  }
}
</script>
显示效果如下所示:

四、class与style绑定(v-bind)
v-bind指令:实现对属性的绑定,以动态的切换class;
v-bind:class='xxx':xxx为表达式结果的类型,除了字符串外,还可以是对象或数组;
语法:v-bind:属性名="常量 || 变量名 || 对象 || 数组"。
简写形式:属性名='变量名.....'
v-bind 进行属性绑定所有的属性都可以进行绑定,注意只要使用了v-bind后面的字符串一定是数据属性的值。
1、绑定字符串
<body>
    <div id="app">
        <h3 v-show="isShow" v-bind:title="title">我是一个三级标题</h3>
        <img v-bind:src="imgSrc" v-bind:title="time">
    </div>
<script type="text/javascript" src="./vue.js"></script>
<script type="text/javascript">
    // 指令系统 v-*
    var app = new Vue({
        el: "#app",
        data: {
            msg: "今天学习vue",
            show: true,
            isShow: true,
            title: "哈哈哈2323",
            imgSrc: './shiyuan.jpeg',
            time: `页面加载于${new Date().toLocaleString()}`
        }
    })
</script>
</body>
当鼠标悬停在h3标签几秒之后,会显示值“哈哈哈2333”。悬浮在图片上会显示time的值。

v-bind的简便写法(只写冒号“:”不写v-bind):
<img :src="imgSrc" :title="time">
2、绑定HTML Class
在js中常用操作dom的css样式属性的方法有很多,在vue中可以直接使用v-bind:class来给每个标签元素添加class。
<style type="text/css">
.box {
width: 100px;
height: 100px;
background: red;
}
.box2 {
background: green;
}
.box3 {
background: yellow;
}
</style>
</head>
<body>
<div id="app">
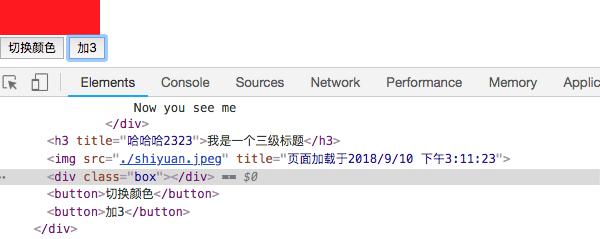
<div class="box" v-bind:class="{box2:isGreen}"></div>
<button @click="changeColor">切换颜色</button>
</div>
<script type="text/javascript" src="./vue.js"></script>
<script type="text/javascript">
// 指令系统 v-*
var app = new Vue({
el: "#app",
data: {
isGreen: false,
},
methods: {
clickHandler: function(){
console.log(this); // this指的是当前的实例化对象
},
changeColor: function () {
this.isGreen = !this.isGreen;
}
}
})
</script>
可以传给 v-bind:class 一个对象,以动态地决定是否给div添加class="box2"。实现效果如下所示:
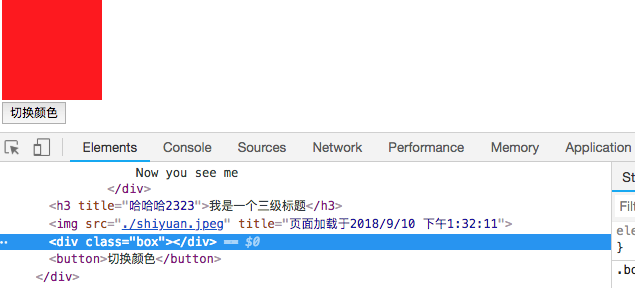
点击按钮后,切换为绿色,添加了box2这个class。
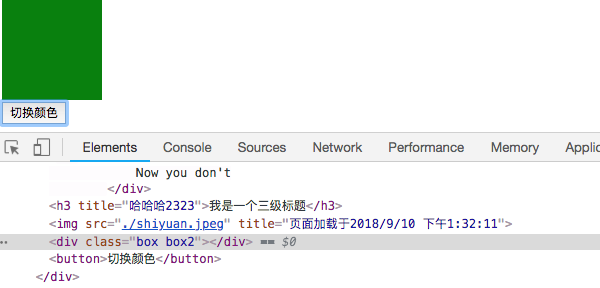
由此可见v-bind:class 指令也可以与普通的 class 属性共存的。
3、数组语法
我们可以把一个数组传给v-bind:class,以应用一个 class 列表:
<div v-bind:class="[activeClass, errorClass]"></div>
data: {
  activeClass: 'active',
  errorClass: 'text-danger'
}
渲染为:
<div class="active text-danger"></div>
如果你也想根据条件切换列表中的 class,可以用三元表达式:
<div v-bind:class="[isActive ? activeClass : '', errorClass]"></div>
这样写将始终添加 errorClass,但是只有在 isActive 是 true时才添加 activeClass。
不过,当有多个条件 class 时这样写有些繁琐。所以在数组语法中也可以使用对象语法:
<div v-bind:class="[{ active: isActive }, errorClass]"></div>
五、vue事件处理(v-on)
vue中使用v-on:click对当前DOM绑定click事件,注意:所有的原生js事件使用v-on都可以绑定。
1、监听事件
可以用 v-on 指令监听DOM事件,并在触发时运行一些JavaScript代码。
(1)示例一:
<body>
<div id="app">
<!--插值语法react() angular({}) (%%) <%=%> -->
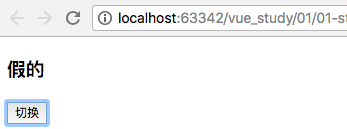
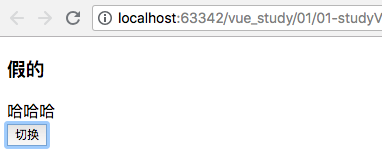
<h3>{{1>2?"真的":"假的"}}</h3>
<div v-if = 'show'>哈哈哈</div>
<button v-on:click = "clickHandler">切换</button>
</div>
<script type="text/javascript" src="./vue.js"></script>
<script type="text/javascript">
// 指令系统 v-*
var app = new Vue({
el: "#app",
data: {
msg: "今天学习vue",
show: false
},
methods: {
clickHandler: function(){
console.log(this); // this指的是当前的实例化对象
this.show = !this.show;
}
}
})
</script>
</body>
结果:
注意:v-on有简便写法,可以直接用@替代
<button @click = "clickHandler">切换</button>
(2)示例二:
        <button v-on:click="count+=1">加{{count}}</button>
    </div>
<script type="text/javascript" src="./vue.js"></script>
<script type="text/javascript">
    // 指令系统 v-*
    var app = new Vue({
        el: "#app",
        data: {
            count: 0
        },
当我点击的按钮的时候,button的文字会发生变化。显示效果如下:
核心思想概念:数据驱动视图、双向的数据绑定。
(3)示例三:
v-on和v-if混合使用。
<body>
<div id="app">
<h4>{{msg}}</h4>
<!--<div class="box" v-on:click="count+=1">{{count}}</div>-->
<!-- v-if v-on -->
<div class="box" v-on:click="isShow=false" v-if="isShow"></div>
</div>
<script type="text/javascript" src="./node_modules/vue/dist/vue.js"></script>
<script type="text/javascript">
new Vue({
el: "#app",
template:``,
// data在vue实例化中可以是一个对象,也可以是一个函数
// 但是在组件中,data必须是一个函数,函数内容一定return一个对象
// 数据驱动视图
data:function () {
return {
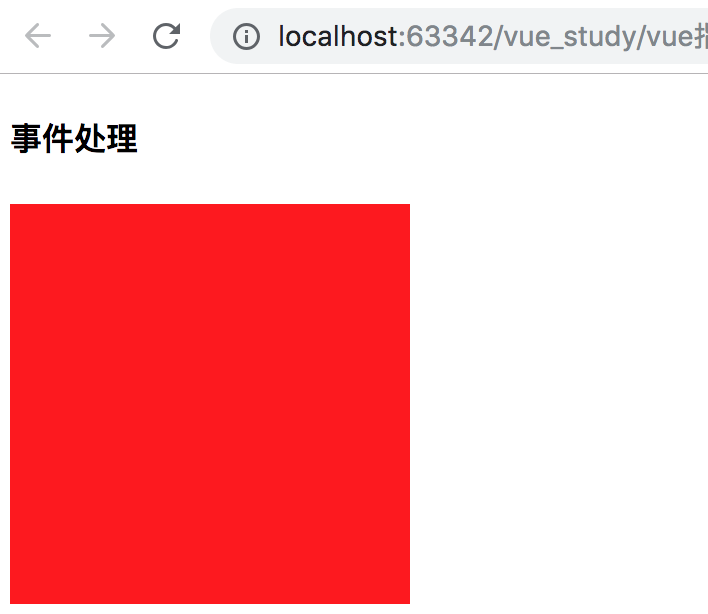
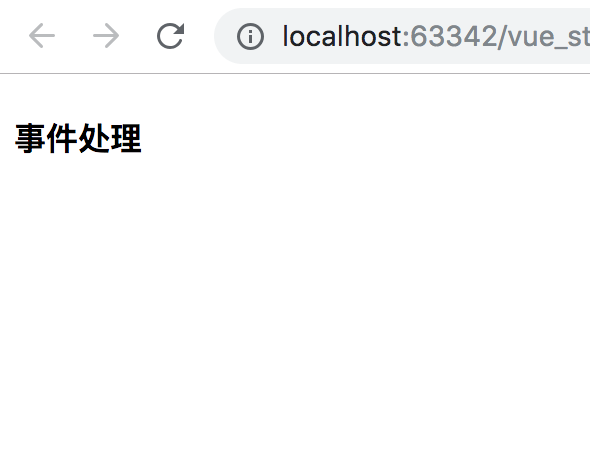
msg: '事件处理',
count:0,
isShow:true
}
}
})
</script>
</body>
页面显示如下所示,点击box后,isShow赋值为false,由于数据驱动视图,box消失:
2、事件处理方法
许多事件处理逻辑会更为复杂,所以直接把 JavaScript 代码写在 v-on 指令中是不可行的。因此 v-on 还可以接收一个需要调用的方法名称。
在vue中所有的事件都声明在methods中。
(1)示例一:
<body>
<div id="example-2">
    <!-- `greet` 是在下面定义的方法名 -->
    <button v-on:click="greet">Greet</button>
</div>
<script type="text/javascript" src="./vue.js"></script>
<script type="text/javascript">
    var example2 = new Vue({
        el: '#example-2',
        data: {
            name: 'Vue.js'
        },
        // 在 `methods` 对象中定义方法
        methods: {
            greet: function (event) {
                // `this` 在方法里指向当前 Vue 实例
                alert('Hello ' + this.name + '!')
                // `event` 是原生 DOM 事件
                if (event) {
                    alert(event.target.tagName)
                }
            }
        }
    })

    // 也可以用 JavaScript 直接调用方法
    example2.greet() // => 'Hello Vue.js!'
</script>
</body>
显示效果:
(2)示例二:
通过v-if和v-on实现页面中DOM的创建和销毁。
<body>
    <div id="app">
        <h4>{{msg}}</h4>
        <!--<div class="box" v-on:click="showHandler()" v-if="isShow"></div>-->
        <div class="box" v-if="isShow"></div>
        <button v-on:click="showHandler">{{btnText}}</button>
    </div>
    <script type="text/javascript" src="./node_modules/vue/dist/vue.js"></script>
    <script type="text/javascript">
        new Vue({
            el: "#app",
            template:``,
            // data在vue实例化中可以是一个对象,也可以是一个函数
            // 但是在组件中,data必须是一个函数,函数内容一定return一个对象
            // 数据驱动视图
            data:function () {
                return {
                    msg: '事件处理',
                    count:0,
                    isShow:true,
                    btnText:'隐藏'
                }
            },
            // 在vue中所有的事件都声明在methods
            methods:{
                showHandler(){    // 等价于showHandler:function(){}
                    console.log(this);   // vue实例化对象  Vue {_uid: 0, _isVue: true, $options: {…},... _self: Vue, …}
                    // this.isShow = false;

                    // 点击切换
                    // if (this.isShow) {
                    //     this.isShow = false;
                    //     this.btnText = '显示';
                    // }else{
                    //     this.isShow = true;
                    //     this.btnText = '隐藏';
                    // }
                    this.isShow = !this.isShow;   // 简单写法,点击取反
                }
            }
        })
    </script>
</body>
通过点击按钮,数据驱动视图,实现box显示和隐藏。


(3)v-bind和v-on结合示例
v-bind:class 和 v-on 对页面中的DOM样式切换。
<head>
    <meta charset="UTF-8">
    <title>Title</title>
    <style type="text/css">
        .box {
            width: 200px;
            height: 200px;
            background-color: red;
        }
        .active{
            background-color: yellow;
        }
    </style>
</head>
<body>
    <div id="app">
        <h4>{{msg}}</h4>
        <div class="box" v-if="isShow"></div>
        <button v-on:click="showHandler">{{btnText}}</button>

        <!--v-bind和v-on-->
        <div class="box" v-bind:class="{active:isYellow}"></div>
        <button v-on:click="changColor">切换</button>
    </div>

    <script type="text/javascript" src="./node_modules/vue/dist/vue.js"></script>
    <script type="text/javascript">
        new Vue({
            el: "#app",
            template:``,
            // data在vue实例化中可以是一个对象,也可以是一个函数
            // 但是在组件中,data必须是一个函数,函数内容一定return一个对象
            // 数据驱动视图
            data:function () {
                return {
                    msg: '事件处理',
                    count:0,
                    isShow:true,
                    btnText:'隐藏',
                    isYellow:false
                }
            },
            // 在vue中所有的事件都声明在methods
            methods:{
                showHandler(){    // 等价于showHandler:function(){}
                    console.log(this);   // vue实例化对象  Vue {_uid: 0, _isVue: true, $options: {…},... _self: Vue, …}
                    // this.isShow = false;

                    // 点击切换
                    this.isShow = !this.isShow;   // 简单写法,点击取反
                },
                changColor(){
                    this.isYellow = !this.isYellow;
                }
            }
        })
    </script>
</body>
点击将active的值切为true,div也就通过v-bind多了一个html class属性active,因此实现变色。
3、为什么要在HTML中监听事件
注意到这种事件监听的方式违背了关注点分离 (separation of concern) 这个长期以来的优良传统。但不必担心,因为所有的 Vue.js 事件处理方法和表达式都严格绑定在当前视图的 ViewModel 上,它不会导致任何维护上的困难。实际上,使用 v-on 有几个好处:
-
扫一眼 HTML 模板便能轻松定位在 JavaScript 代码里对应的方法。
-
因为你无须在 JavaScript 里手动绑定事件,你的 ViewModel 代码可以是非常纯粹的逻辑,和 DOM 完全解耦,更易于测试。
-
当一个 ViewModel 被销毁时,所有的事件处理器都会自动被删除。你无须担心如何自己清理它们。
六、指令系统之轮播图实现
1、轮播图简单示例
<!DOCTYPE html>
<html lang="en">
<head>
    <meta charset="UTF-8">
    <title>Title</title>
    <style>
        * {
            padding: 0;
            margin: 0;
        }

        ul {
            list-style: none;
            width: 180px;
        }

        ul li {
            float: left;
            width: 45px;
            height: 30px;
            line-height: 30px;
            background: purple;
            text-align: center;
        }
        ul li.active{
            background: green;
        }
    </style>
</head>
<body>
<div id="slider">
    <!--默认图片-->
    <img :src='currentImgSrc' alt="">
    <ul>
        <li v-for="(item,index) in imgArr" v-bind:class="
        {active:currentIndex==index}" v-on:click="clickHandler(index)">
            {{index+1}}
        </li>
    </ul>
</div>
<script type="text/javascript" src="./node_modules/vue/dist/vue.js"></script>
<script type="text/javascript">
    // 数据驱动视图
    var imgArr = [
        {id: 1, imgSrc: './img/1.jpg'},
        {id: 2, imgSrc: './img/2.jpg'},
        {id: 3, imgSrc: './img/3.jpg'},
        {id: 4, imgSrc: './img/4.jpg'}
    ];
    new Vue({
        el: "#slider",
        template:``,
        data(){
            return{
                imgArr: imgArr,   // 数据属性中声明数组
                currentIndex: 0,
                currentImgSrc: './img/1.jpg'
            }
        },
        methods: {
            clickHandler(index){
                this.currentIndex = index;  // 控制li标签class属性active的切换
                this.currentImgSrc = this.imgArr[index].imgSrc;   //控制img标签,动态切换图片
            }
        }
    })
</script>
</body>
</html>
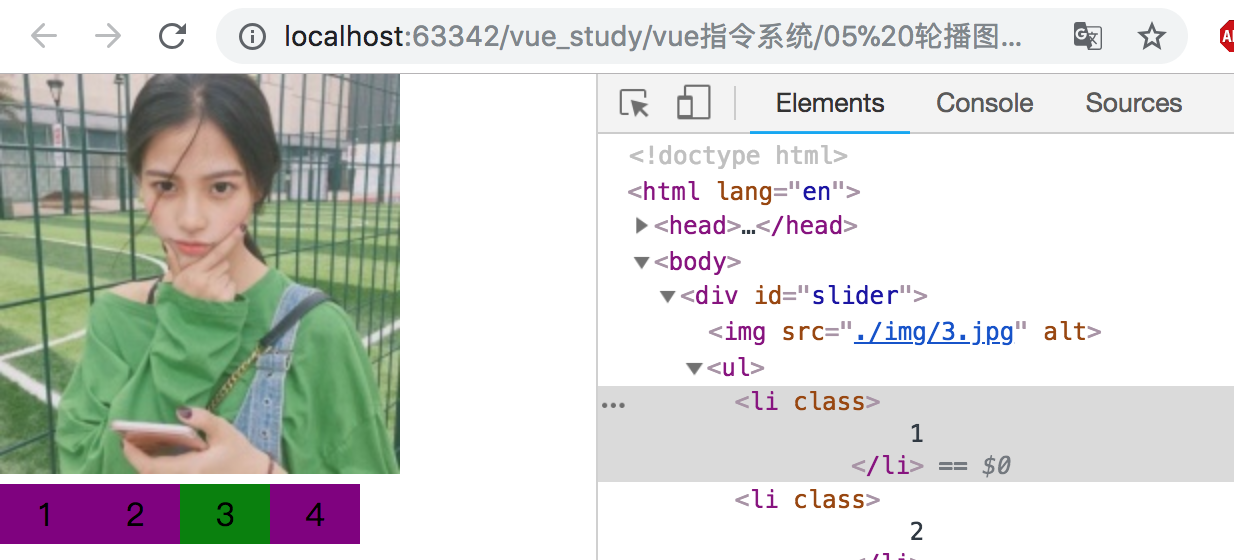
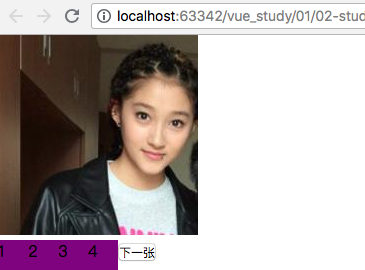
显示效果:
2、轮播图进阶示例及详解
(1)v-for使用示例
<!DOCTYPE html>
<html lang="en">
<head>
    <meta charset="UTF-8">
    <title>Title</title>
    <style>
        * {
            padding: 0;
            margin: 0;
        }

        ul {
            list-style: none;
            width: 180px;
        }

        ul li {
            float: left;
            width: 30px;
            height: 30px;
            background: purple;
        }
    </style>
</head>
<body>
<div id="app">
    <div class="lunbo">
        <!--默认图片-->
        <img v-bind:src="currentSrc" >
        <ul>
            <li v-for="(item,index) in imgArr" @click="currentHandler(item)">
                {{index+1}}
            </li>
        </ul>
    </div>

    <button @click="nextImg">下一张</button>
</div>

<script type="text/javascript" src="./vue.js"></script>
<script type="text/javascript">
    var app = new Vue({
        el: "#app",
        data: {
            imgArr: [
                {id: 1, src: './1.jpg'},
                {id: 2, src: './2.jpg'},
                {id: 3, src: './3.jpg'},
                {id: 4, src: './4.jpg'}
            ],
            currentSrc: "./1.jpg",
            currentIndex: 0
        },
        methods: {
            currentHandler: function (item) {
                this.currentSrc = item.src
            },
            nextImg: function(){
                if (this.currentIndex==this.imgArr.length-1){   // 到最后一张的时候
                    this.currentIndex = -1;
                }
                this.currentIndex++;
                this.currentSrc = this.imgArr[this.currentIndex].src;   // 取下一张
            }
        }
    })
</script>
</body>
</html>
显示效果如下所示:
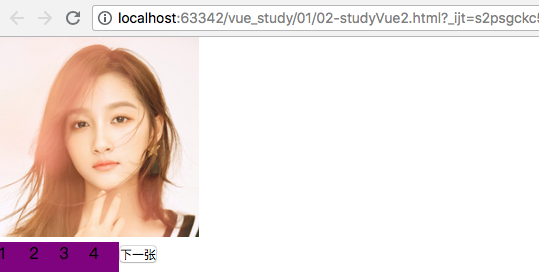
无论是点击li标签还是点击按钮都可以切换图片显示。
(2)实例生命周期钩子
每个 Vue 实例在被创建时都要经过一系列的初始化过程——例如,需要设置数据监听、编译模板、将实例挂载到 DOM 并在数据变化时更新 DOM 等。同时在这个过程中也会运行一些叫做生命周期钩子的函数,这给了用户在不同阶段添加自己的代码的机会。
比如 created 钩子可以用来在一个实例被创建之后执行代码:
<script type="text/javascript">
    var app = new Vue({
        el: "#app",
        data: {
            imgArr: [
                {id: 1, src: './1.jpg'},
                {id: 2, src: './2.jpg'},
                {id: 3, src: './3.jpg'},
                {id: 4, src: './4.jpg'}
            ],
            currentSrc: "./1.jpg",
            currentIndex: 0
        },
        created(){   // 生命周期方法
            setInterval(this.nextImg, 2000)  // setInterval() 方法可按照指定的周期(以毫秒计)来调用函数或计算表达式
        },
        methods: {
            currentHandler: function (item) {
                this.currentSrc = item.src
            },
            nextImg: function(){
                if (this.currentIndex==this.imgArr.length-1){   // 到最后一张的时候
                    this.currentIndex = -1;
                }
                this.currentIndex++;
                this.currentSrc = this.imgArr[this.currentIndex].src;   // 取下一张
            }
        }
    })
</script>
设置created生命周期方法后,页面上自动轮播图片:
也有一些其它的钩子,在实例生命周期的不同阶段被调用,如 mounted、updated 和 destroyed。生命周期钩子的 this 上下文指向调用它的 Vue 实例。
created方法还可以用来获取cookie和session。
(3)鼠标 移入/移出 时 停止/开启 定时器
<body>
<div id="app">
    <div class="lunbo">
        <!--默认图片-->
        <img v-bind:src="currentSrc" @mouseenter="closeTimer" @mouseleave="openTimer">
        <ul>
            <li v-for="(item,index) in imgArr" @click="currentHandler(item)">
                {{index+1}}
            </li>
        </ul>
    </div>
    <button @click="nextImg">下一张</button>
</div>
<script type="text/javascript" src="./vue.js"></script>
<script type="text/javascript">
    var app = new Vue({
        el: "#app",
        data: {
            imgArr: [
                {id: 1, src: './1.jpg'},
                {id: 2, src: './2.jpg'},
                {id: 3, src: './3.jpg'},
                {id: 4, src: './4.jpg'}
            ],
            currentSrc: "./1.jpg",
            currentIndex: 0,
            timer: null   // 声明定时器
        },
        created(){   // 生命周期方法
            this.timer = setInterval(this.nextImg, 2000);    // 开启定时器
        },
        methods: {
            currentHandler: function (item) {
                this.currentSrc = item.src
            },
            nextImg: function(){
                if (this.currentIndex==this.imgArr.length-1){   // 到最后一张的时候
                    this.currentIndex = -1;
                }
                this.currentIndex++;
                this.currentSrc = this.imgArr[this.currentIndex].src;   // 取下一张
            },
            closeTimer(){
                clearInterval(this.timer)   // 取消由 setInterval() 设置的 timeout   清除定时器
            },
            openTimer(){
                this.timer = setInterval(this.nextImg, 1000);  // 开启定时器
            }
        }
    })
</script>
</body>
注意开启定时器时不能直接调用this.created生命周期方法,必须直接开启定时器。
七、指令系统总结
1、注意v-bind和v-on的简写
v-bind的简便写法,可以直接用 : 替代:
<img :src="imgSrc" :title="time"> <==对应==> <img v-bind:src="imgSrc" v-bind:title="time">
v-on的简便写法,可以直接用 @ 替代:
<button @click = "clickHandler">切换</button> <==对应==> <button v-on:click="clickHandler">切换</button>
2、对页面的dom进行赋值的运算
v-test、v-html、{{}}都是对页面的dom进行赋值,相当于js中的 innnerText 和 innerHTML。
3、对页面的dom进行条件渲染
(1)v-if的内在过程
v-if = 'true':
    <!--创建-->
    var oP = document.createElement('p');
    oDiv.appendChild(op);
v-if = 'false':
    <!--销毁-->
    oDiv.removeChild(op);
(2)v-show的内在过程
v-show = 'true':
    oDiv.style.display = 'block';
v-show = 'false':
    oDiv.style.display = 'none'
(3)v-bind内在过程
v-bind:class:
    oDiv.className += ' active'
4、v-if与v-show的区别
实现方式区别:v-if是根据后面数据的真假值判断直接从Dom树上删除或重建元素节点;v-show只是在修改元素的css样式,也就是display的属性值,元素始终在Dom树上。
编译过程区别:v-if切换有一个局部编译/卸载的过程,切换过程中合适地销毁和重建内部的事件监听和子组件; v-show只是简单的基于css切换。
编译条件区别:v-if是惰性的,如果初始条件为假,则什么也不做,只有在条件第一次变为真时才开始局部编译; v-show是在任何条件下(首次条件是否为真)都被编译,然后被缓存,而且DOM元素始终被保留。
性能消耗区别:v-if有更高的切换消耗,不适合做频繁的切换; v-show有更高的初始渲染消耗,适合做频繁的额切换。
5、vue的思想
vue是渐进式的JavaScript框架。大多数人觉得做加法比做减法简单。
vue这个框架将做减法的事情(困难的部分)都帮忙做了,人们只需要简单的部分就能实现复杂的dom操作。

 浙公网安备 33010602011771号