Angular:惰性加载的模块
①通过ng new angular-module创建一个全新的angular应用,默认不选路由

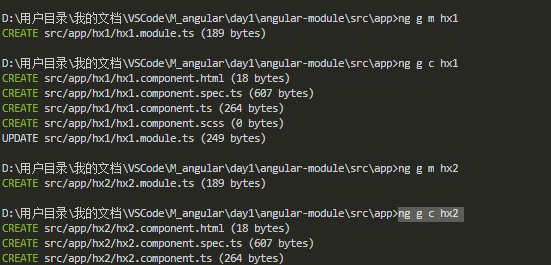
②通过一下命令分别创建2个模块和1个组件
ng g m hx1
ng g c hx1
ng g m hx2
ng g c hx2
ng g c hx3

创建完成目录如下

③将app.module和app.component改造
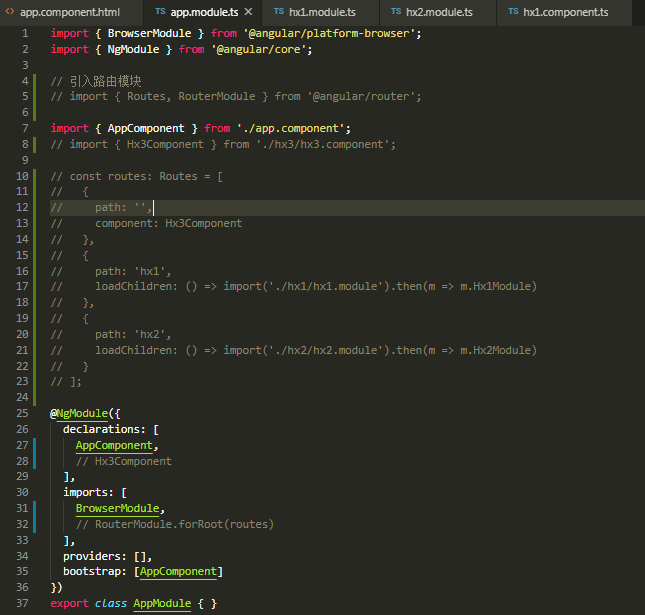
app.module如下:
import { BrowserModule } from '@angular/platform-browser';
import { NgModule } from '@angular/core';

// 引入路由模块
import { Routes, RouterModule } from '@angular/router';

import { AppComponent } from './app.component';
import { Hx3Component } from './hx3/hx3.component';

const routes: Routes = [
  {
    path: '',
    component: Hx3Component
  },
  {
    path: 'hx1',
    loadChildren: () => import('./hx1/hx1.module').then(m => m.Hx1Module)
  },
  {
    path: 'hx2',
    loadChildren: () => import('./hx2/hx2.module').then(m => m.Hx2Module)
  }
];

@NgModule({
  declarations: [
    AppComponent,
    Hx3Component
  ],
  imports: [
    BrowserModule,
    RouterModule.forRoot(routes)
  ],
  providers: [],
  bootstrap: [AppComponent]
})
export class AppModule { }
app.component如下:
<router-outlet></router-outlet>
④将hx1.module改造,hx2.module与之类似
import { NgModule } from '@angular/core';
import { CommonModule } from '@angular/common';
import { Hx1Component } from './hx1.component';

// 引入路由模块
import { Routes, RouterModule } from '@angular/router';

const routes: Routes = [
  {
    path: '',
    component: Hx1Component
  },
];

@NgModule({
  declarations: [Hx1Component],
  imports: [
    CommonModule,
    RouterModule.forChild(routes)
  ]
})
export class Hx1Module { }
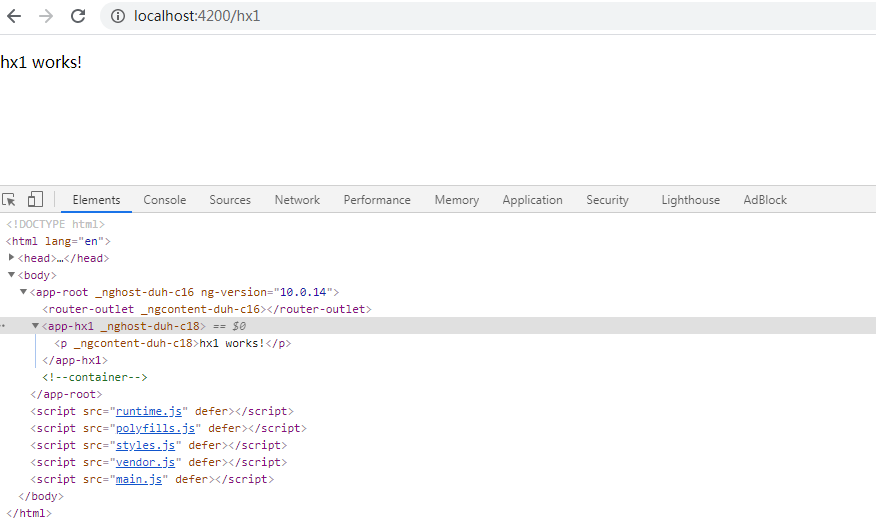
⑤页面效果


