Composer之搭建自己的包工具
 作为一个标准的PHPer,必须学会优雅的使用composer,最近,萌生了一个想法,我们每搭建一个项目,里面都会有许多的公用的方法和类库,每次使用的时候就是将其拷贝过来,或者重新写一遍,过于繁琐,效率低下.基于这种情况,打算搭建自己的常用的类库,方法的工具包,这样以后使用的时候,直接在composer.json中引入自己的工具类即可愉快的使用了!!!
作为一个标准的PHPer,必须学会优雅的使用composer,最近,萌生了一个想法,我们每搭建一个项目,里面都会有许多的公用的方法和类库,每次使用的时候就是将其拷贝过来,或者重新写一遍,过于繁琐,效率低下.基于这种情况,打算搭建自己的常用的类库,方法的工具包,这样以后使用的时候,直接在composer.json中引入自己的工具类即可愉快的使用了!!!
前提条件:
开始实践:
一. 创建自己的项目
mkdir WebTool

cd WebTool
二.创建composer.json文件
//使用composer init命令来实现

☁  composer init

  Welcome to the Composer config generator

This command will guide you through creating your composer.json config.

Package name (<vendor>/<name>) [xwolf/web-tool]:
Description []: try make a package
Author [lanlang <liaotiam@126.com>, n to skip]:
Minimum Stability []: dev
Package Type (e.g. library, project, metapackage, composer-plugin) []: library
License []: Apache-2.0

Define your dependencies.

Would you like to define your dependencies (require) interactively [yes]? n
Would you like to define your dev dependencies (require-dev) interactively [yes]? n

{
    "name": "xwolf/web-tool",
    "description": "common tool kit",
    "type": "library",
    "license": "Apache-2.0",
    "authors": [
        {
            "name": "lanlang",
            "email": "sliaotiam@126.com"
        }
    ],
    "minimum-stability": "stable",
    "require": {}
}

Do you confirm generation [yes]? yes
生成composer.json 可以根据自己的需求进行相应的修改(参考:https://docs.phpcomposer.com/04-schema.html#version),我自己的修改如下:
{
    "name": "xwolf/web-tool",
    "description": "common tool kit",
    "type": "library",
    "keywords": [
        "Tools",
        "Library"
    ],
    "homepage": "https://github.com/lanlangdeai/WebTool",
    "license": "Apache-2.0",
    "authors": [
        {
            "name": "lanlang",
            "email": "liaotiam@126.com",
            "role": "Developer"
        }
    ],
    "minimum-stability": "stable",
    "require": {
        "php": ">=5.4.0"
    },
    "autoload": {
        "psr-4": {
            "WebTool\\": "src/"
        }
    }
}
主要是添加了对于自动加载规范使用psr-4(命名空间和目录映射关系)和环境要求
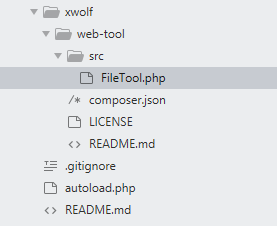
最终目录结构:
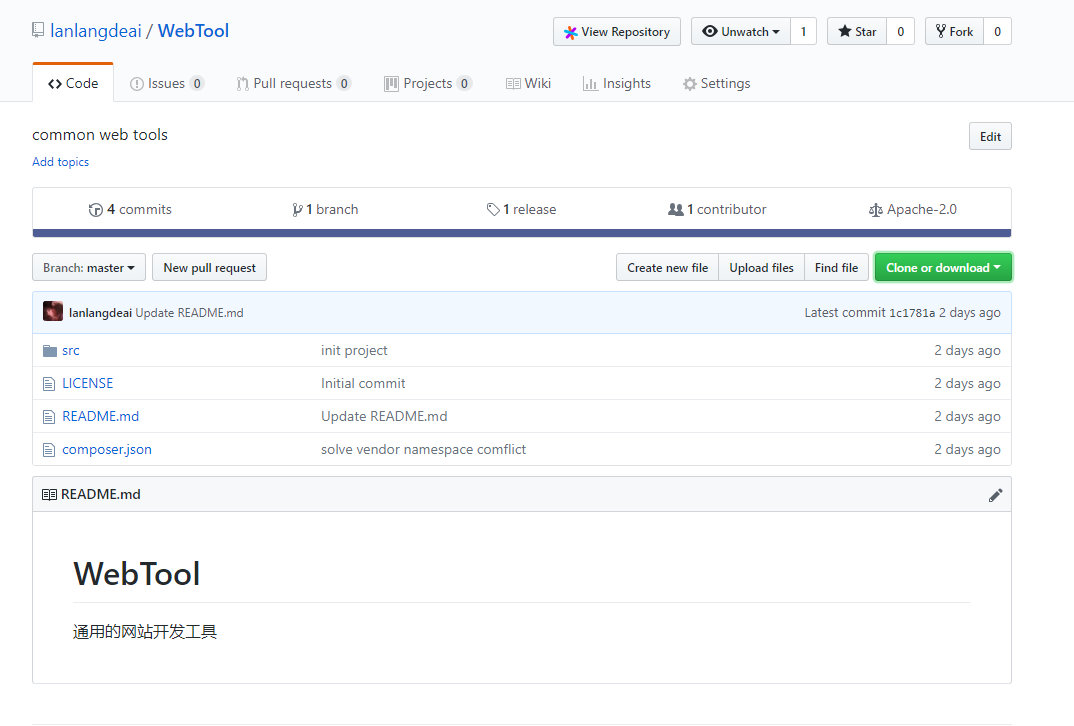
三. 编写自己的类库并进行代码上传到GitHub
现在在你的GitHub上创建一个新仓库用来放置我们的项目
git init

git add -A

git commit -am '备注信息'

git remote add origin git@github.com:lanlangdeai/WebTool.git

git push -u origin master
四. 登录自己的packagist
上传自己的包:

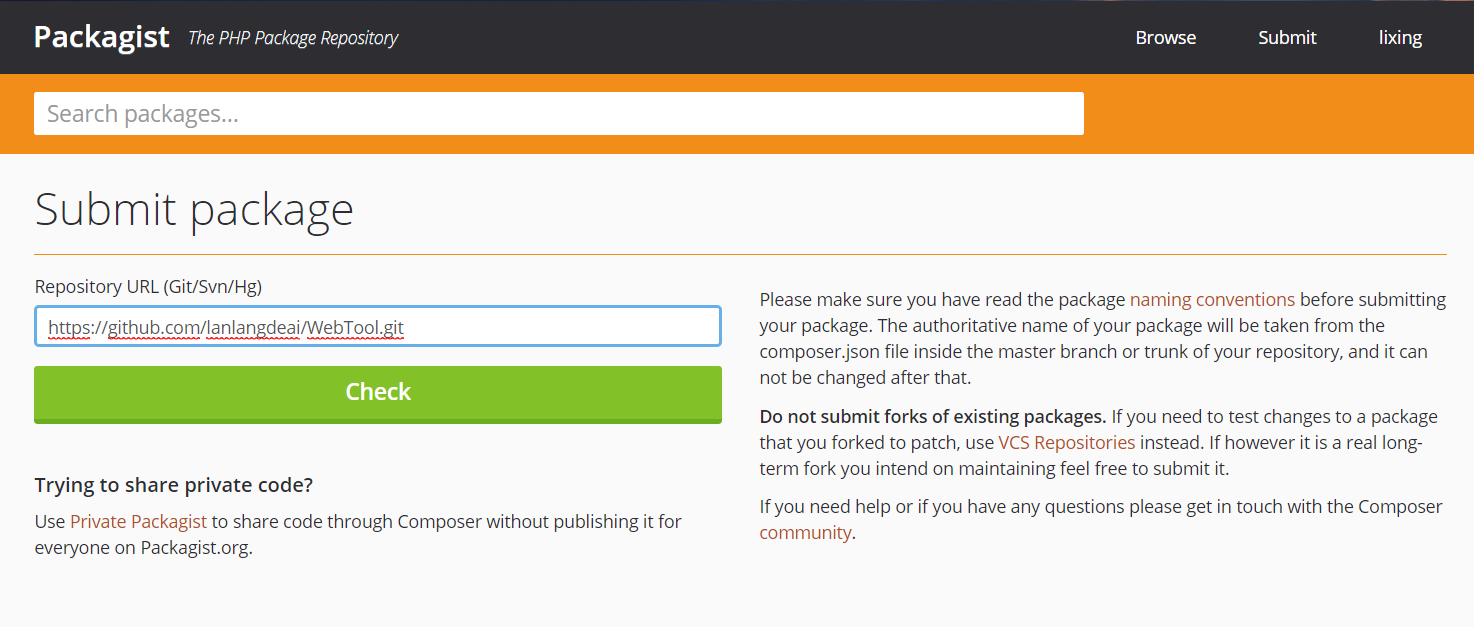
验证自己的包名称是否已经存在,已经存在会提示:A package with the name xwolf/web-tool already exists.
如果不存在就可以提交了!成功之后的样子:
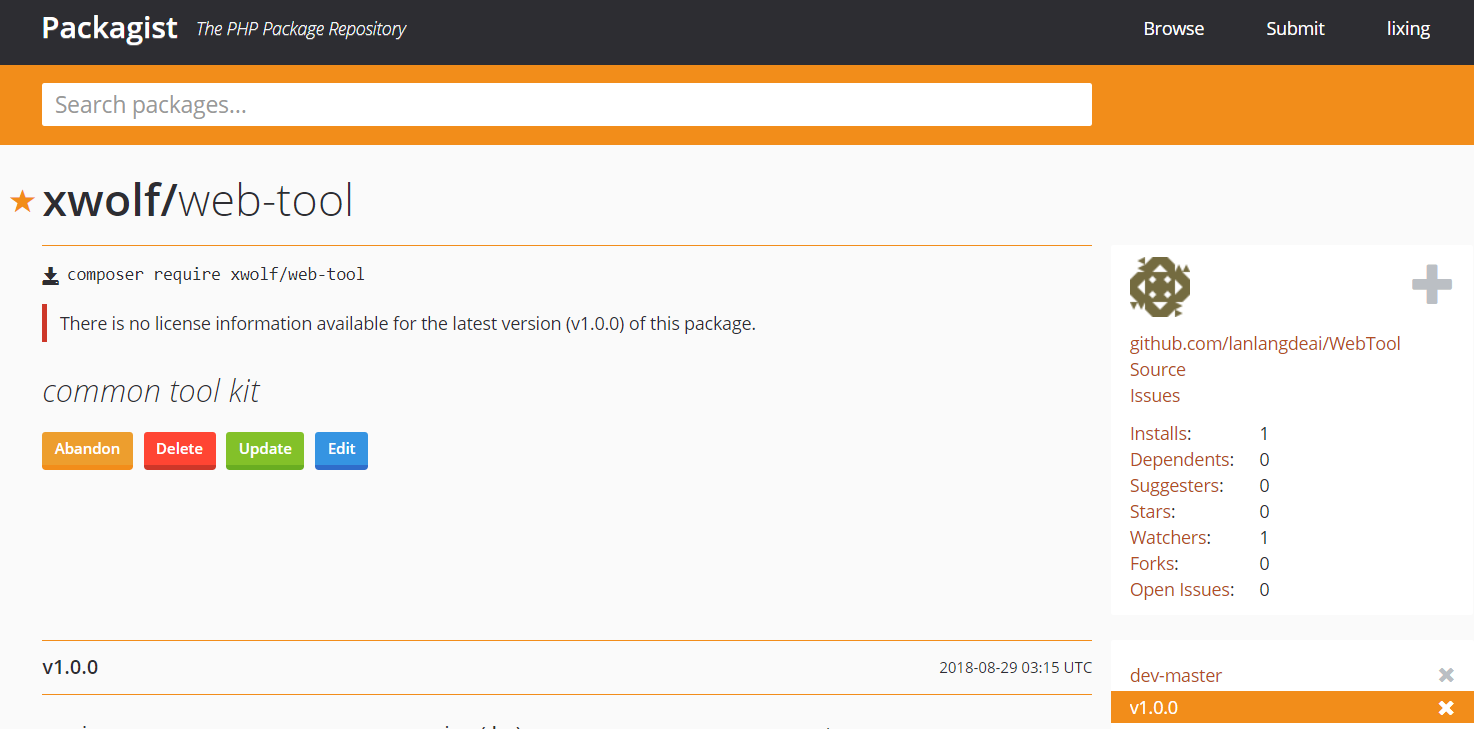
这样我们的包基本上就可以使用了, 在我们的项目中composer.json 添加
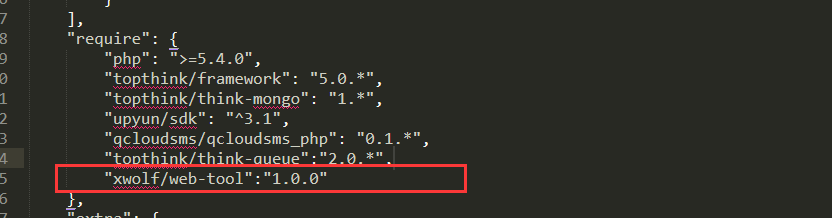
执行命令: composer update 这样就安装好了,在我们的项目中直接使用命令空间的方式引用即可愉快使用了,等等!!!是不是还有一些工作需要做... 是的,为了简化我们的流程,我们应该支持我们提交开发代码到GitHub上的时候,会自动的提交到packagist上同步数据
五. 实现packagist自动更新扩展包
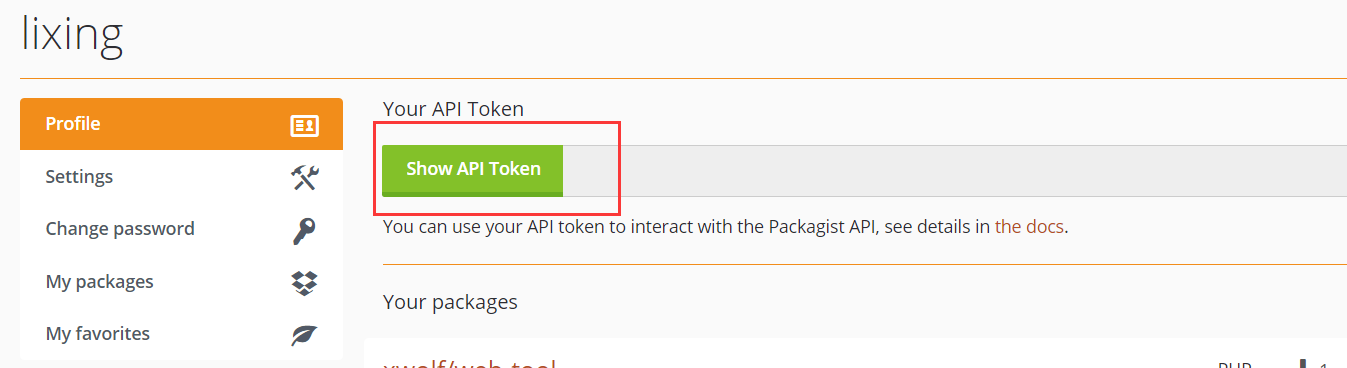
1) 首先需要在packagist上拿到api令牌
2)在GitHub上配置该令牌
在该项目下 > settings > webhooks > add webhook
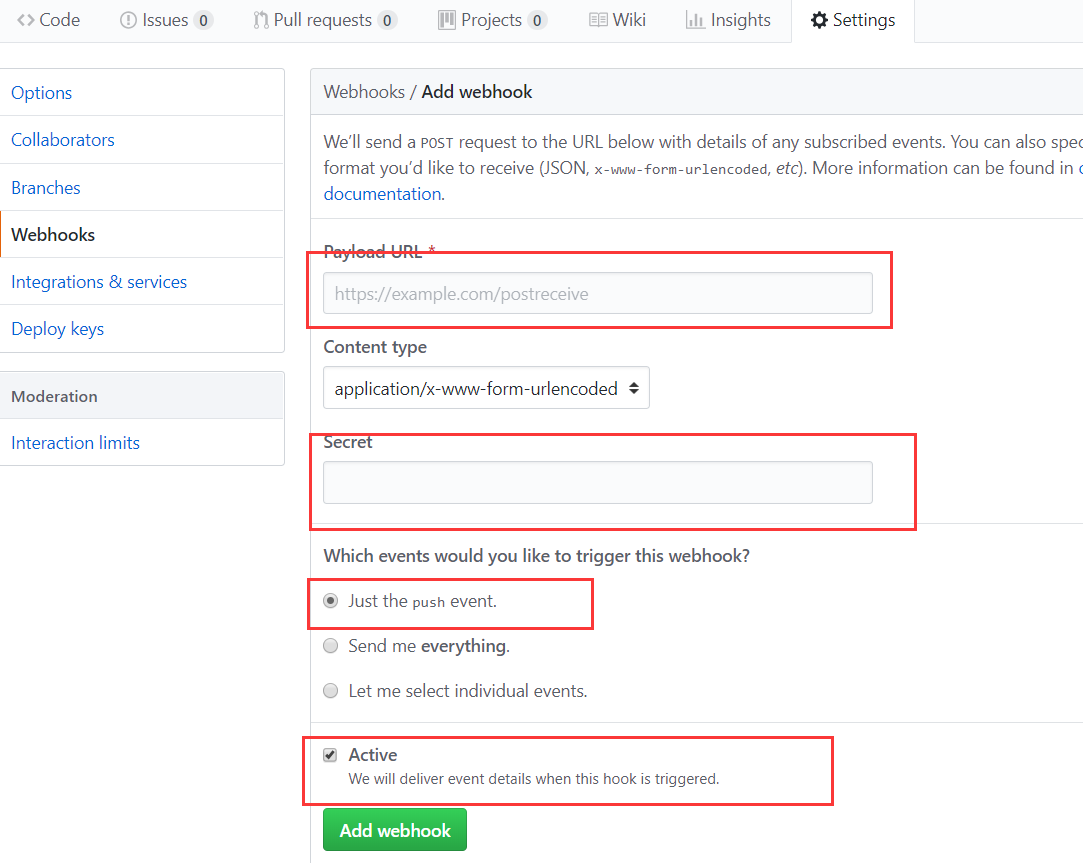
填写你的令牌到secret中,具体的填写可以参考:https://packagist.org/about#how-to-update-packages
OK一切搞定,可以愉快的玩耍了!~~~
注意点:
1. 默认一开始提交上去的是dev-master版本,所以要想实现像1.0.0 这种版本需要对于提交代码时候打上tag即可,packagist会自动抓取tag作为发布的版本
git tag -a v1.0.0 -m '备注内容'  //打上版本标签

git tag //查看标签

git show v1.0.0 查看该版本的响应的信息

默认情况下git push 不会讲标签传送到远程服务器上,需要进行显示命令

git push origin v1.0.0

git commit * -m '备注信息'

 浙公网安备 33010602011771号