Spring Cloud Config应用篇(九)
一、SpringCloud Config 配置中心
1.1、配置中心说明
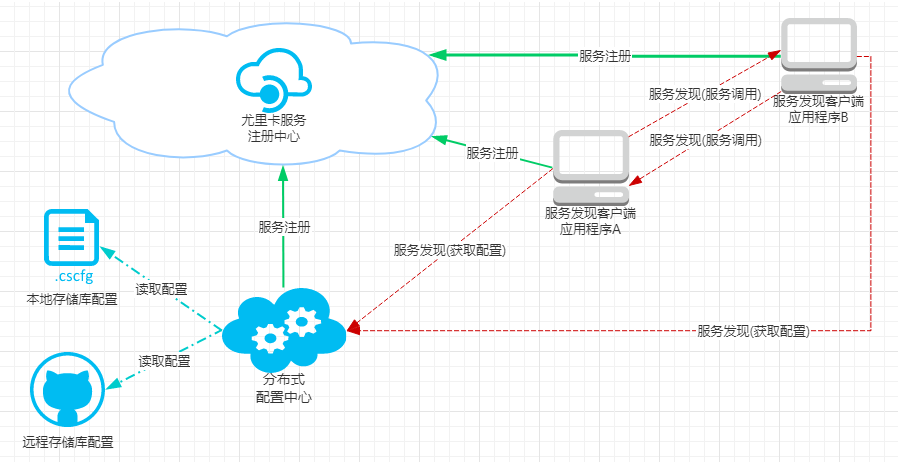
SpringCloud Config 服务器以下简称"配置中心"。 Spring Cloud Config 为分布式系统中的外部配置提供服务器和客户端支持。通过 Config Server (配置中心)可以管理 Config Client (应用程序)的外部属性。应用程序可以通过配置 bootstrap.yml,来加载配置中心下指定配置环境的属性。
1.2、配置中心服务端配置
1.2.1 配置文件命名规范
-
-
- {label} 是可选的 git 标签,默认 master;
- {profile}映射到客户端上的"spring.profiles.active" 或 “spring.cloud.config.profile”; 是可选的环境配置,常见有 local,dev,test,prod;
- {application} 映射到客户端的"spring.application.name" 或 “spring.cloud.config.name”;
-
/{application}/{profile}[/{label}]
/{application}-{profile}.yml
/{label}/{application}-{profile}.yml
/{application}-{profile}.properties
/{label}/{application}-{profile}.properties
1.2.2 配置环境支持
配置中心环境配置支持 git 存储器,并支持 label 来控制环境配置版本;也支持 svn 存储器;同时也支持本地配置,可以不使用远程存储器。
- git 配置
配置中心 git 存储器;
uri 是仓库路径;
username/password 账户/密码,此处是 GitHub 账户密码;
default-label 是可选的 git 标签,默认 master;
search-paths 配置文件所在路径,全路径即:https://github.com/niaonao/spring-cloud/doc/config
spring:
  cloud:
    config:
      server:
        git:
          uri: https://github.com/niaonao/spring-cloud
          username: niaonao
          password: niaonao123456
          default-label: master
          search-paths: /doc/config
- svn 配置
spring:
  cloud:
    config:
      server:
        svn:
          uri:
          default-label:
          password:
          username:
          search-paths:
- native 本地配置
配置中心会读取本地配置文件,配置文件路径 /src/main/resources,如下图在resources 下创建配置文件 /{application}-{profile}.yml
spring:
  profiles:
    active: native
二、实例操作
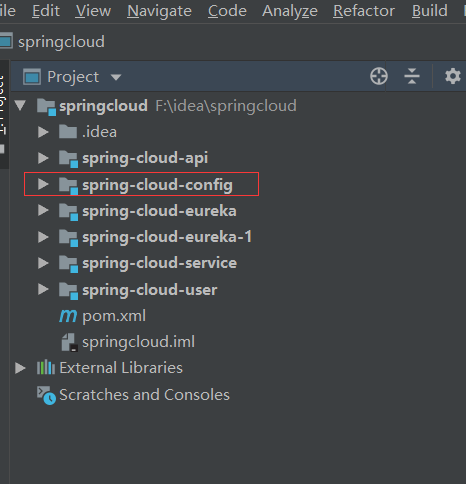
首先创建一个配置中心项目spring-cloud-config
配置spring-cloud-config的配置文件
server:
  port: 9091

eureka:
  instance:
    hostname: localhost
  client:
    serviceUrl:
      defaultZone: http://localhost:8761/eureka/,http://localhost:8762/eureka/  #指向服务注册中心的地址

spring:
  application:
    name: spring-cloud-config
  cloud:
    config:
      server:
        git:
          uri: https://github.com/ljx958720/synthesisCloudProperties  #远程配置GIT仓库地址
          force-pull: true #强制从远程GIT仓库拉取数据到本地
          search-paths: /**  #配置文件所在的目录
          #default-label: master
          username: *****   #自己的git帐号
          password: ***     #自己的git密码
导入config-server包,然后在启动类上加入@EnableConfigServer注解
        <dependency>
            <groupId>org.springframework.cloud</groupId>
            <artifactId>spring-cloud-config-server</artifactId>
        </dependency>
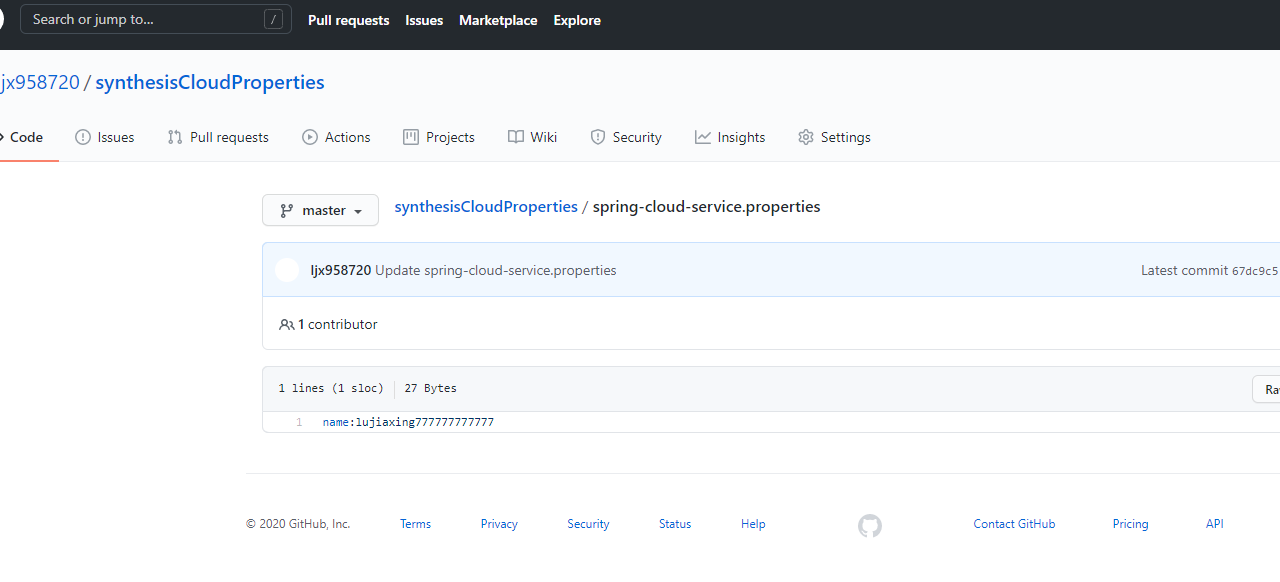
在git中新建如下内容
然后开启服务配置中心并访问
服务端的展示已经讲完了,下面讲解下客户端如何调用配置信息以spring-cloud-service项目为例进行解讲,在spring-cloud-service中引用config客户端包
<!--配置中心客户端包-->
<dependency>
    <groupId>org.springframework.cloud</groupId>
    <artifactId>spring-cloud-starter-config</artifactId>
</dependency>
<dependency>
    <groupId>org.springframework.cloud</groupId>
    <artifactId>spring-cloud-config-client</artifactId>
</dependency>
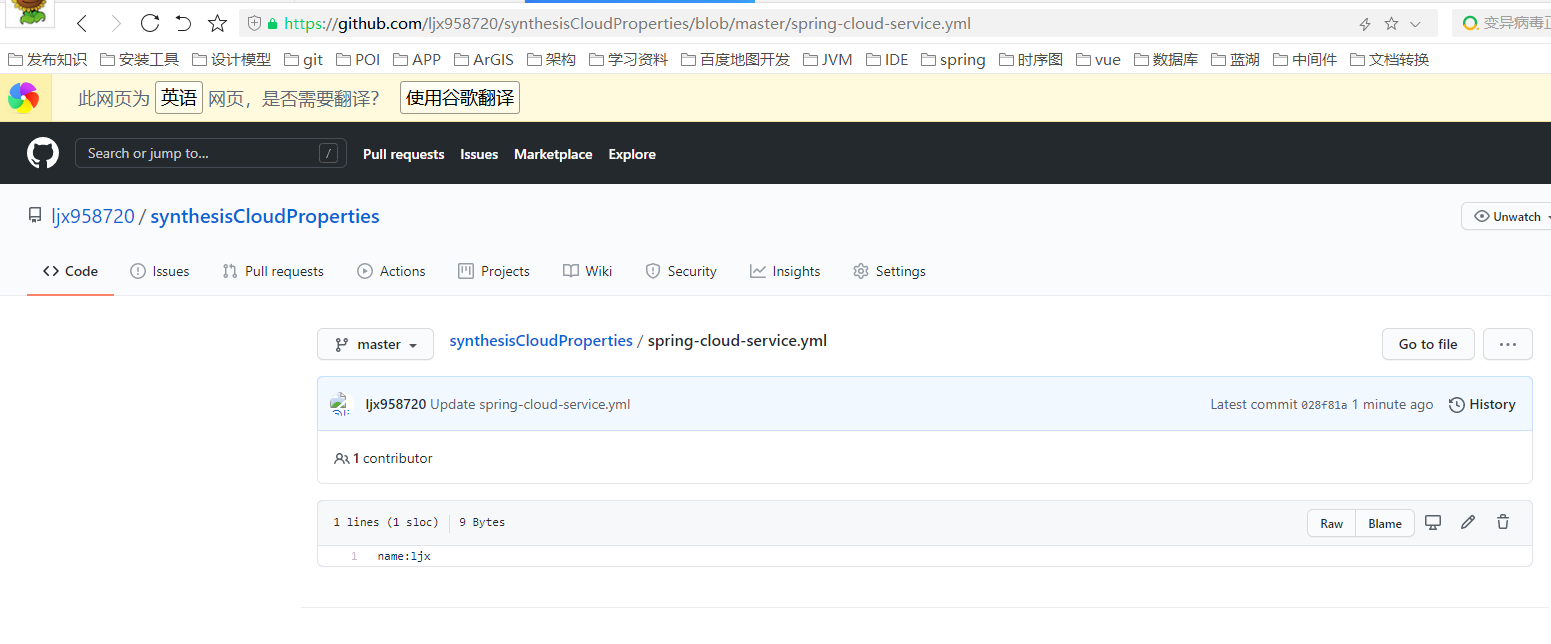
然后在git中创建spring-cloud-service的配置文件
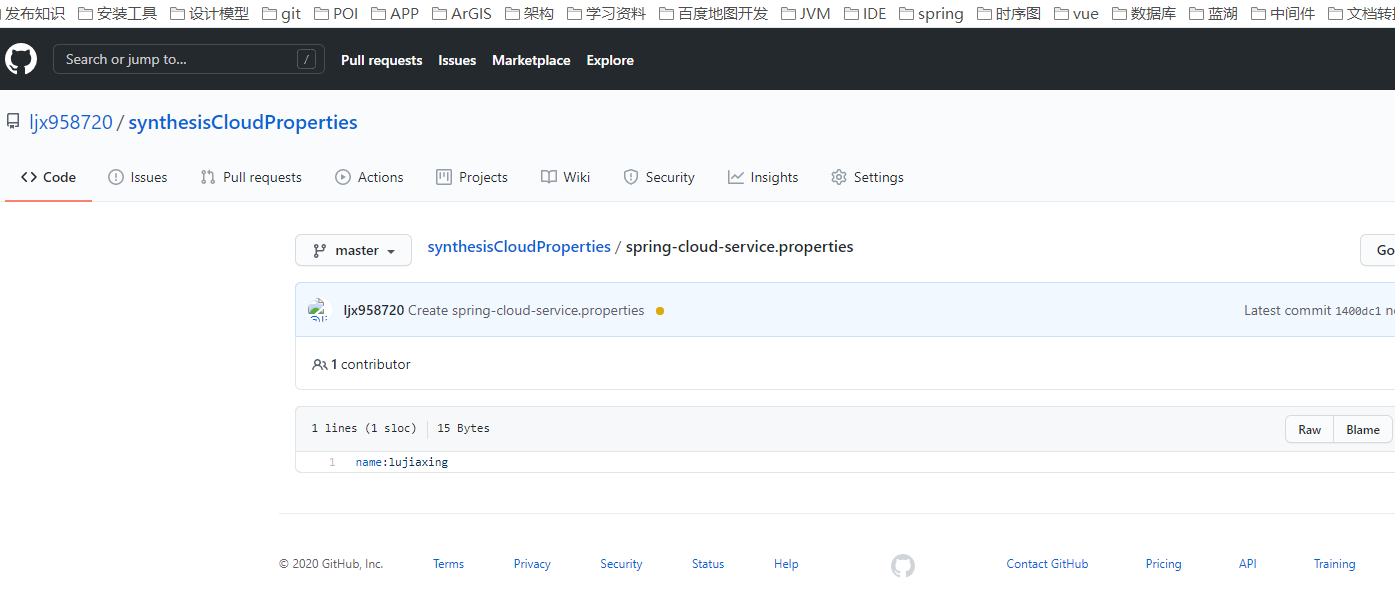
然后在spring-cloud-service中创建bootstrap.yml文件,这样加载时就优先加载bootstrap.yml文件,如果不这样配置,会出现加载优先级问题,如果我们要引用外部文件记得把外部文件优先级调高点
spring:
  cloud:
    config:
      discovery:
        enabled: true
        service-id: spring-cloud-service  #配置conifg的git文件地址
eureka:
  instance:
    hostname: localhost
  client:
    serviceUrl:
      defaultZone: http://localhost:8761/eureka/,http://localhost:8762/eureka/  #指向服务注册中心的地址
然后创建ConfigController类
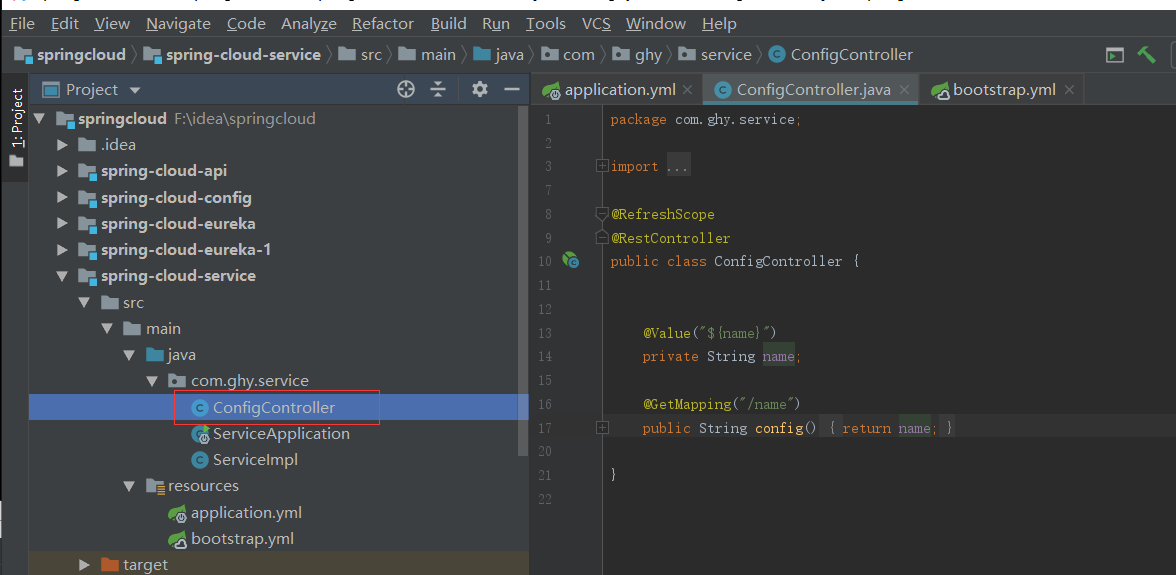
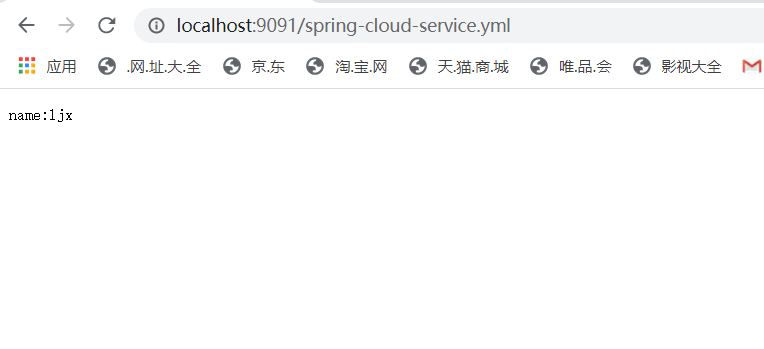
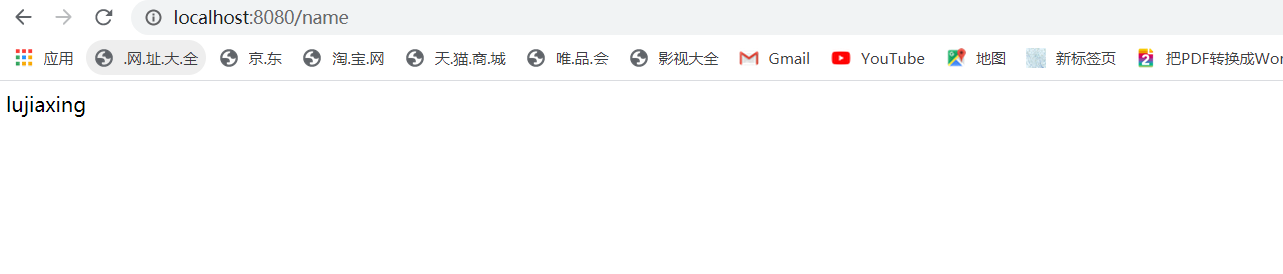
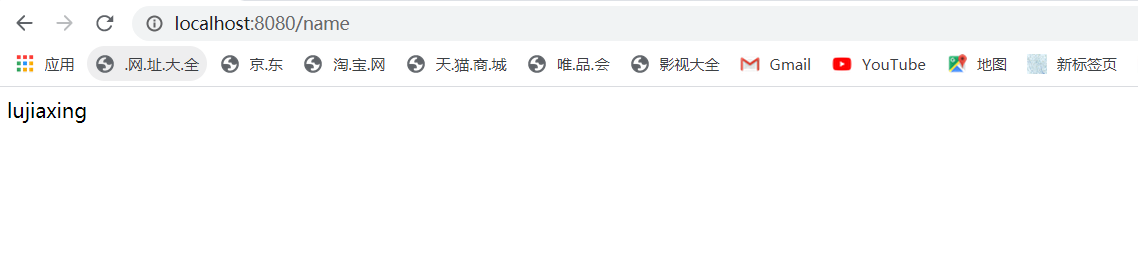
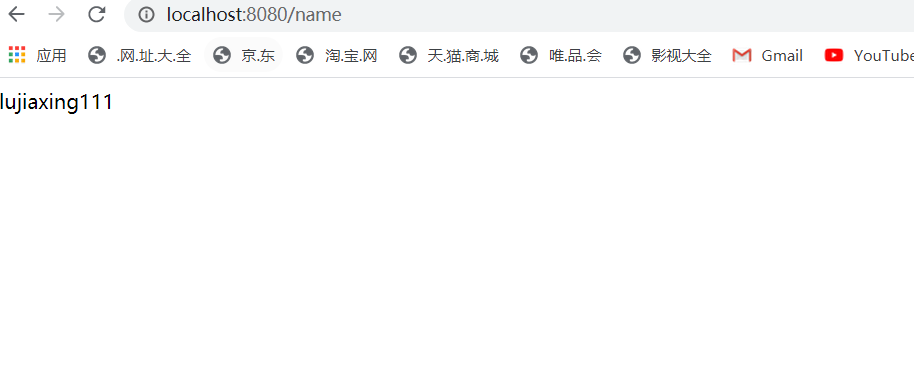
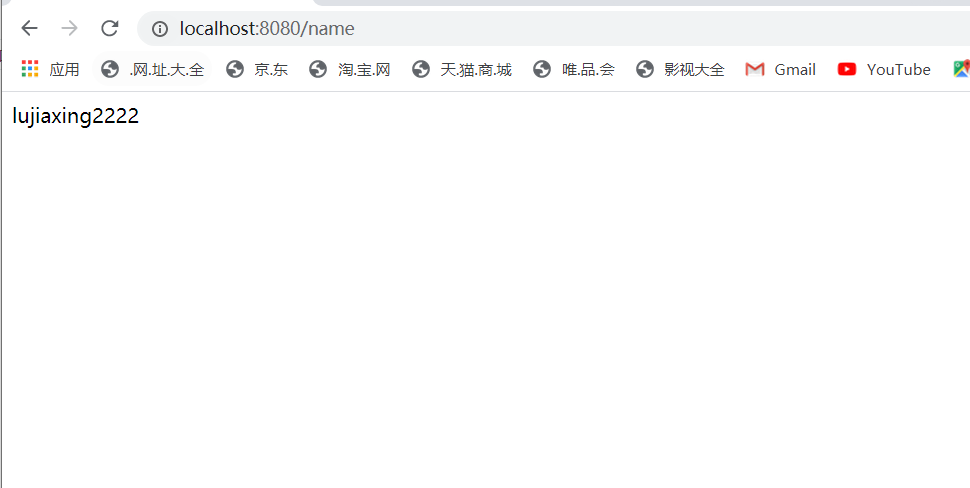
然后访问路径可以看到可以拿到配置文件 的数据,这样说明成功调用了远程git的配置文件
目前看似一切完美,但是还是有一个问题,动态改变git数据时,服务无法感知,这个我就不测试了,有兴趣的可以先去改动git的配置文件信息,然后再访问同样的接口,会发现浏览器显示的不是最新的数据,如果了解Environement的朋友应该知道,这个跟spring有很大的关系,他的每一个Bean的注入都会识别@Value的信息,如果注入的信息发生了改变,那么Bean就要重新去刷新,所以接下来这块要做两件事,第一件就是针对用到这个Bean的缓存的地方要加一个@RefreshScope注解,这个注解的作用就是当springconfig配置中心配置刷新的时候,会自动刷新当前类的注入的字段;第二件事就是config没有提供主动刷新的机制,所以我们需要在客户端加入actuator包
       <dependency>
            <groupId>org.springframework.boot</groupId>
            <artifactId>spring-boot-starter-actuator</artifactId>
        </dependency>
然后在配置中心加入management配置以实现主动刷新
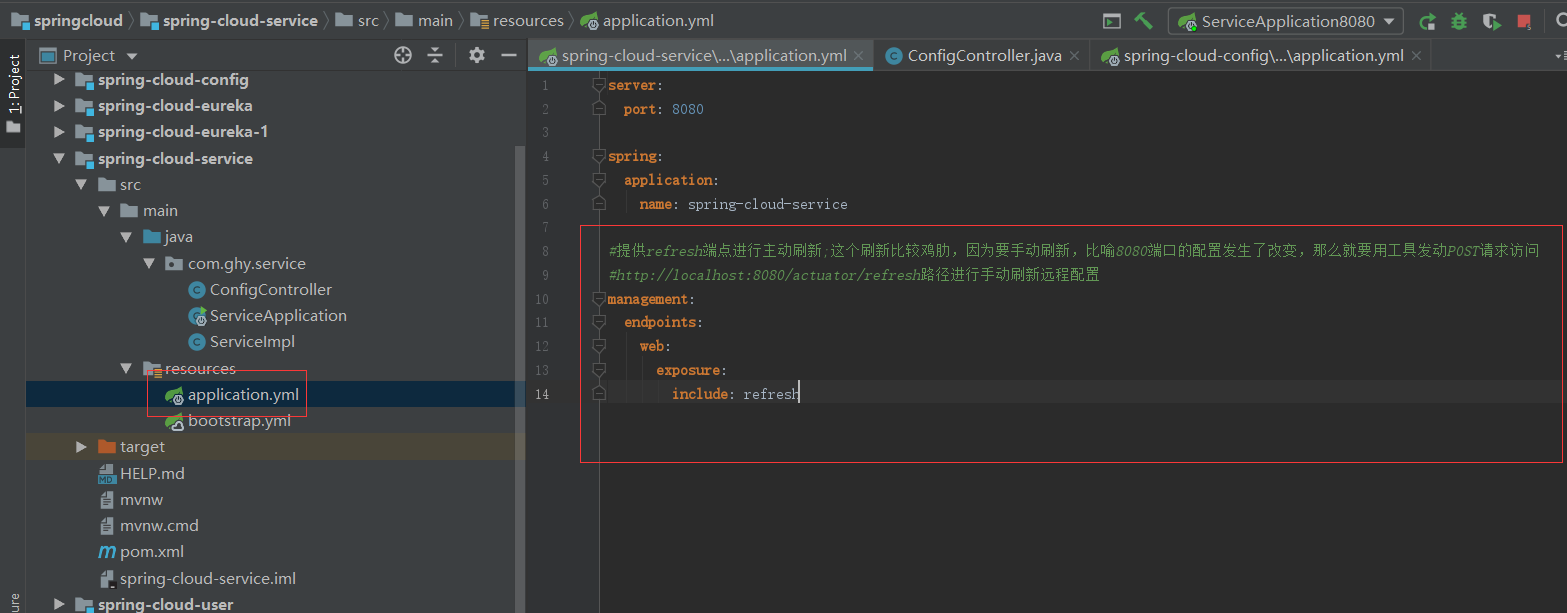
改变git中配置文件信息

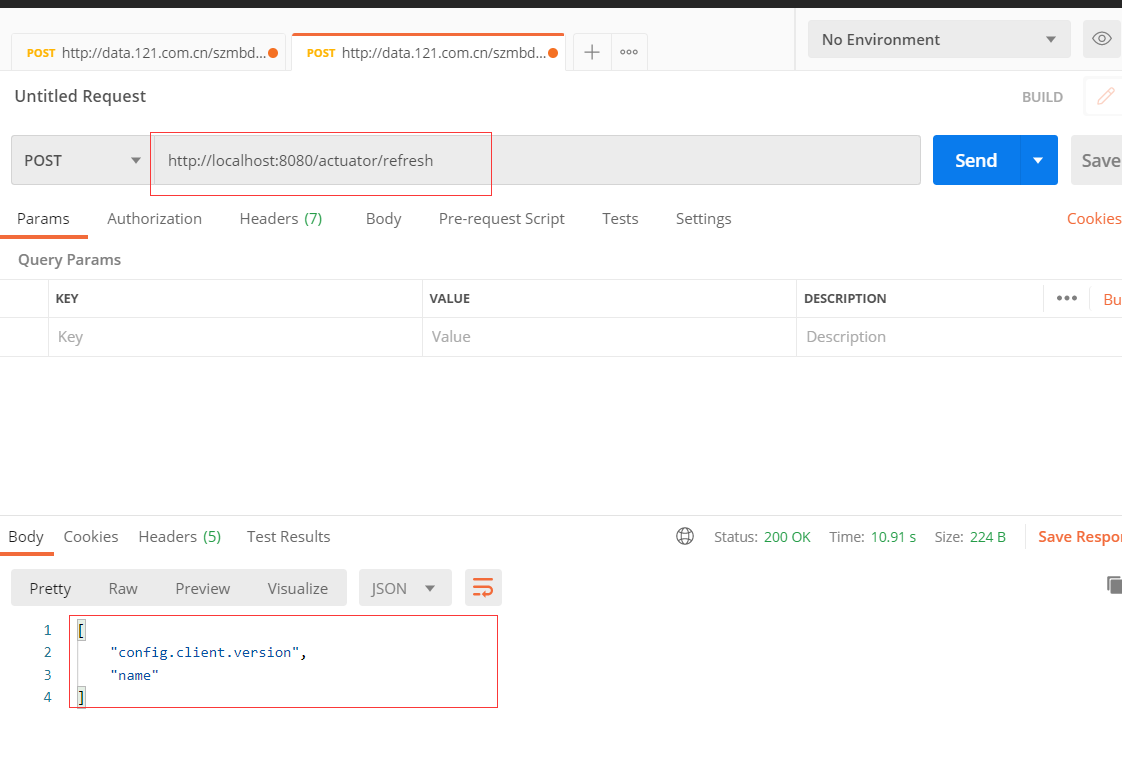
因为8080接点发生了变化,所以访问http://localhost:8080/actuator/refresh接口进行手动刷新下,看返回结果就知道手动刷新成功了
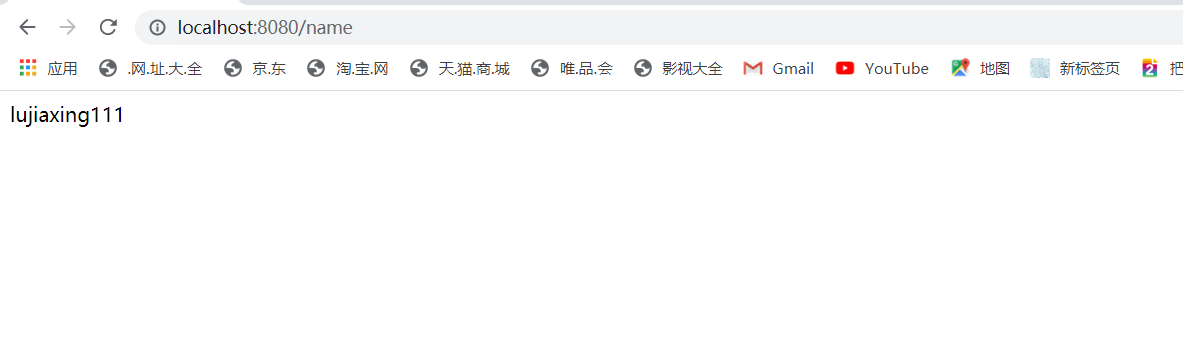
然后再次访问浏览器;结果发生了改变,目的虽然达到,但有个问题,如果我这个服务节点有100个,那我不要日了狗的手动刷新100个节点吗,不不不,这不是人干的事
那有没有更好的解决方法呢,既然config是配置中心的入口,那如果配置发生改变了,我能不能只刷新配置中心的接口就刷新了所有服务接口的配置信息呢,答案是,真的有,那就是消息总线Spring Cloud Bus
2.1、Spring Cloud Bus
Spring cloud bus通过轻量消息代理连接各个分布的节点。这会用在广播状态的变化(例如配置变化)或者其他的消息指令。Spring bus的一个核心思想是通过分布式的启动器对spring boot应用进行扩展,也可以用来建立一个多个应用之间的通信频道。目前唯一实现的方式是用AMQP消息代理作为通道,同样特性的设置(有些取决于通道的设置)在更多通道的文档中。
大家可以将它理解为管理和传播所有分布式项目中的消息既可,其实本质是利用了MQ的广播机制在分布式的系统中传播消息,目前常用的有Kafka和RabbitMQ。利用bus的机制可以做很多的事情,其中配置中心客户端刷新就是典型的应用场景之一,我们用一张图来描述bus在配置中心使用的机制。
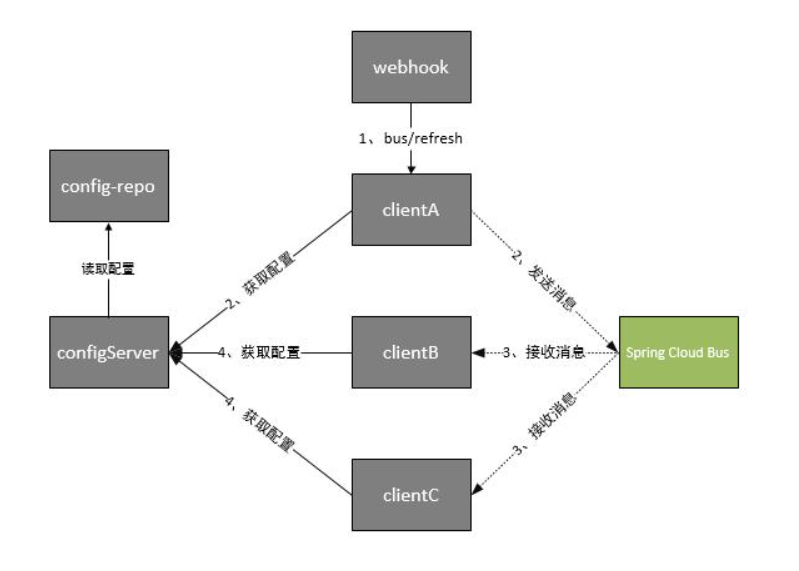
根据此图我们可以看出利用Spring Cloud Bus做配置更新的步骤:
- 提交代码触发post给客户端A发送bus/refresh
- 客户端A接收到请求从Server端更新配置并且发送给Spring Cloud Bus
- Spring Cloud bus接到消息并通知给其它客户端
- 其它客户端接收到通知,请求Server端获取最新配置
- 全部客户端均获取到最新的配置
2.2、使用
在config的客户端和服务端加入以下包
<!--提供refresh端点进行主动刷新-->
<dependency>
    <groupId>org.springframework.boot</groupId>
    <artifactId>spring-boot-starter-actuator</artifactId>
</dependency>

<!--Spring Cloud Bus-->
<dependency>
    <groupId>org.springframework.cloud</groupId>
    <artifactId>spring-cloud-starter-bus-kafka</artifactId>
</dependency>
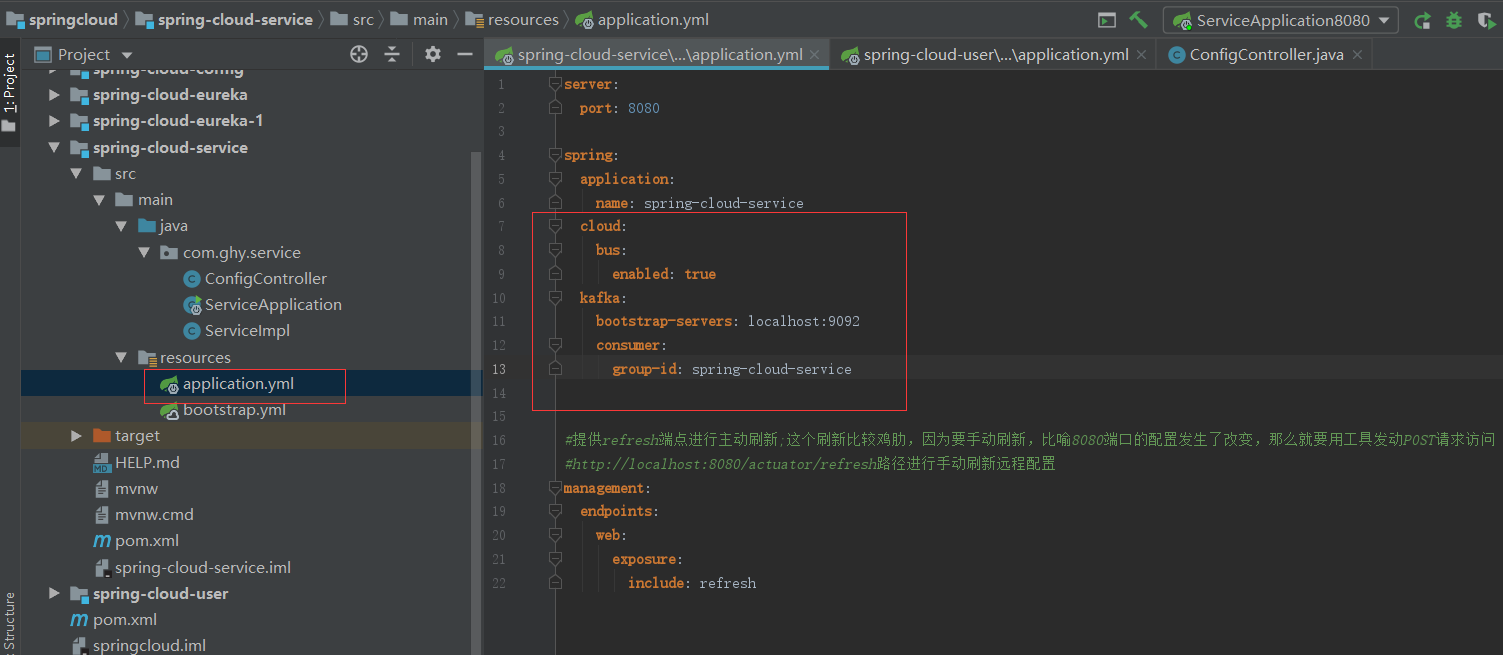
然后在配置中心加入以下配置

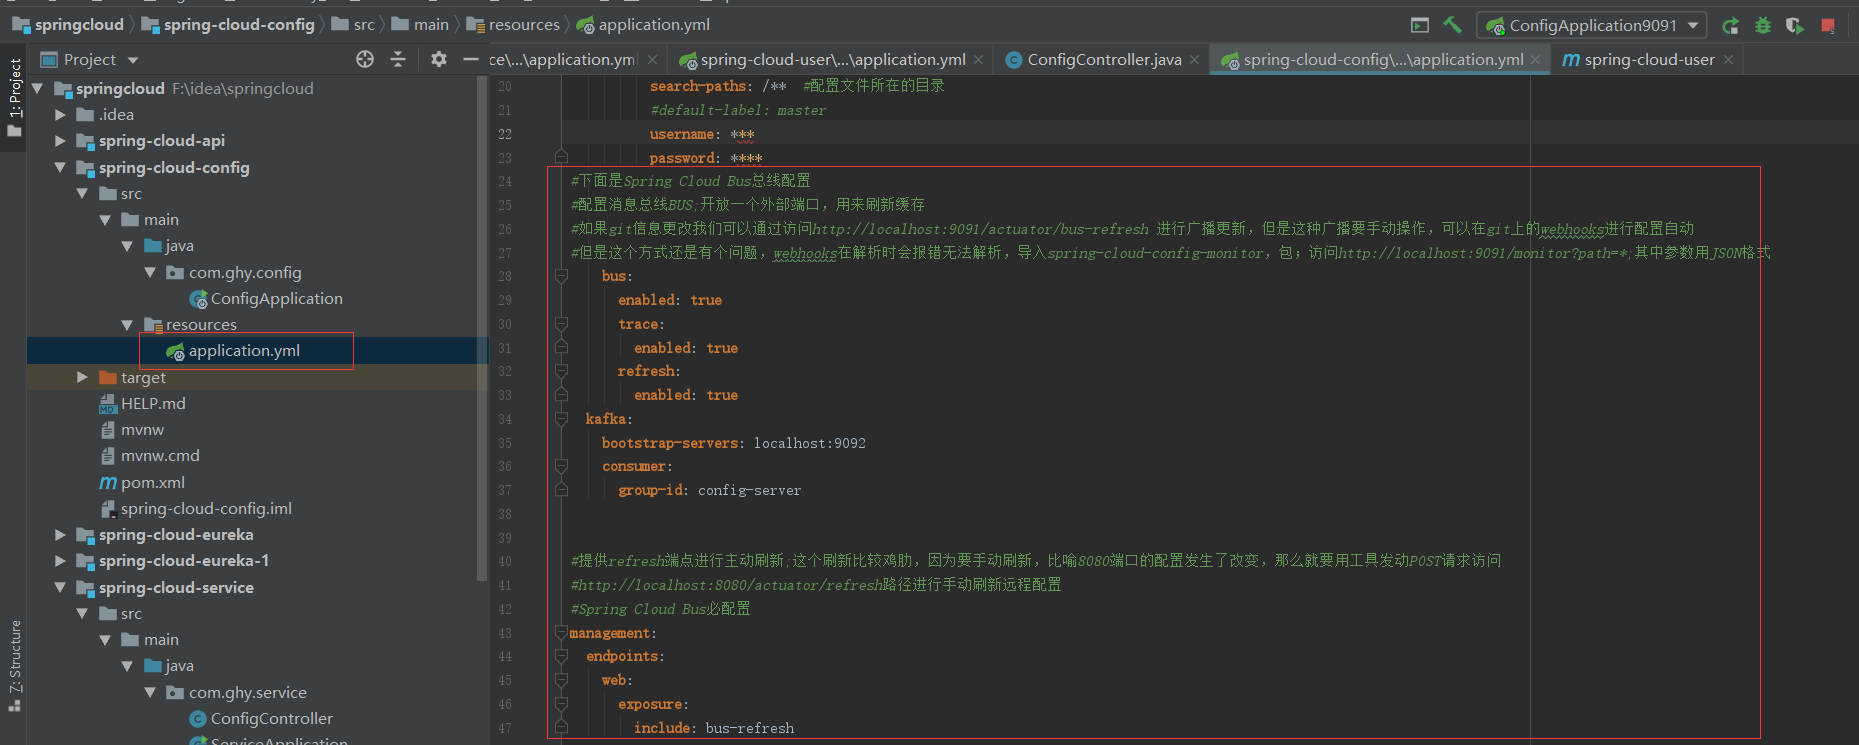
服务端配置好了接下来玩客户端了
接下来重启项目浪起来
然后和之前一样修改git的配置信息

然后访问http://localhost:9091/actuator/bus-refresh调用bus总线刷新
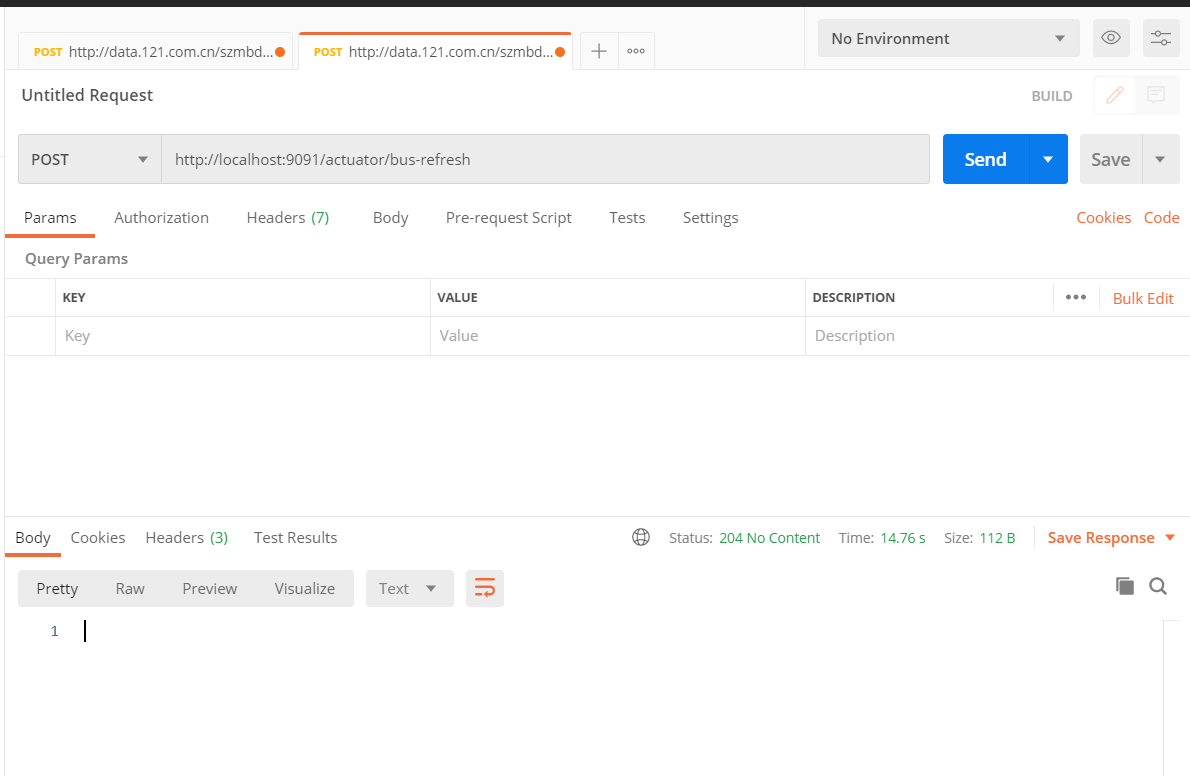
之后再次访问浏览器,会发现所有配置信息改变了,搞到这里,终于达到了刷新一个接口就使所有服务配置更新了,完全。但这是结束吧,不不不,程序员的懒是你无法想像的,虽然我们进化到了要刷新100多个服务接到到现在只用手动刷新一个接口,但手动一个也是手动呀,自动的总比自己动好吧,所以下面来写下自动配置
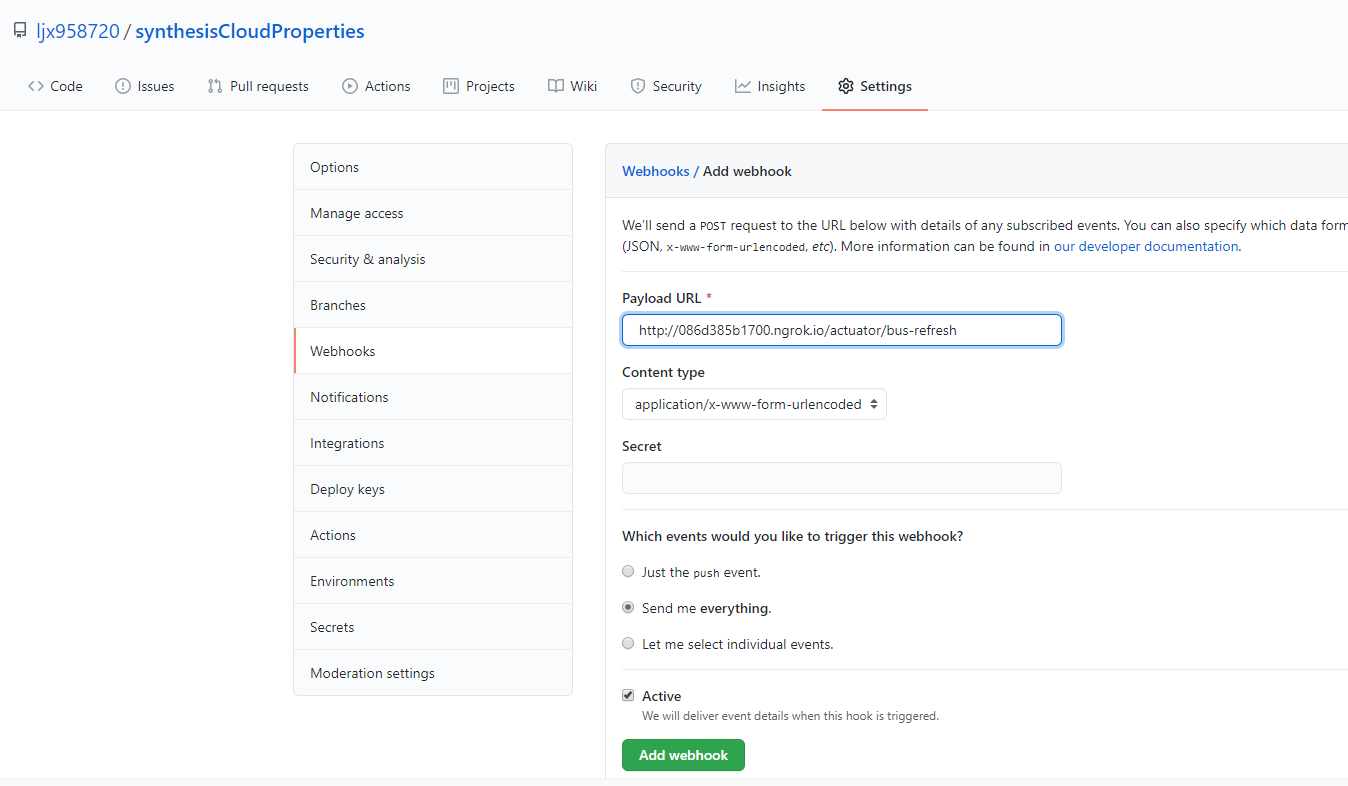
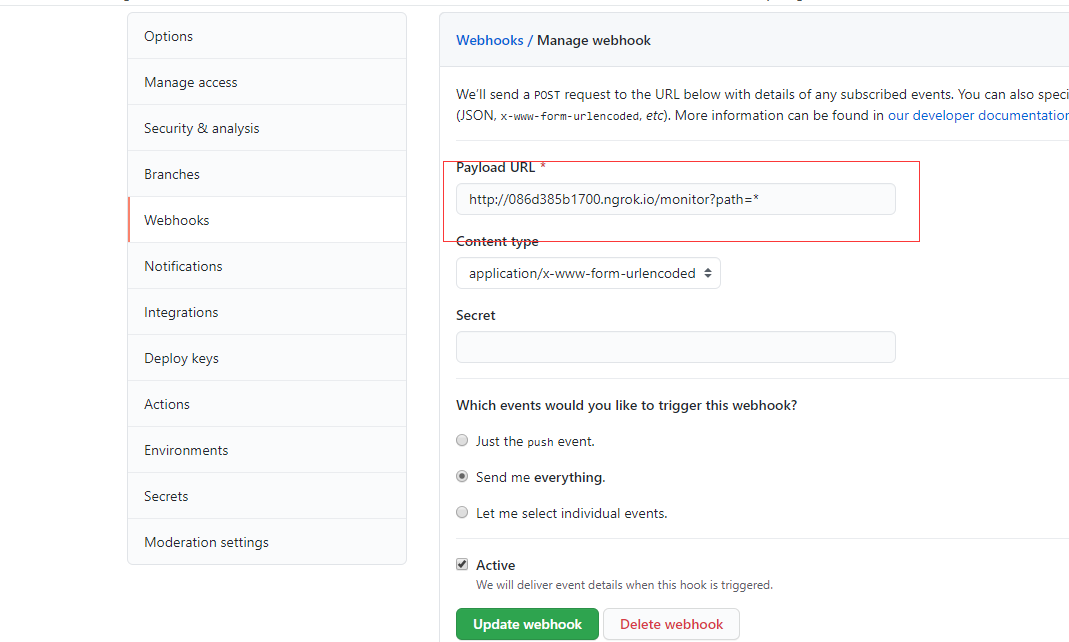
要说自动更新也很简单,其实就是在git 的webhooks上挂上一个地址,但这有个问题localhost是挂载不进去的
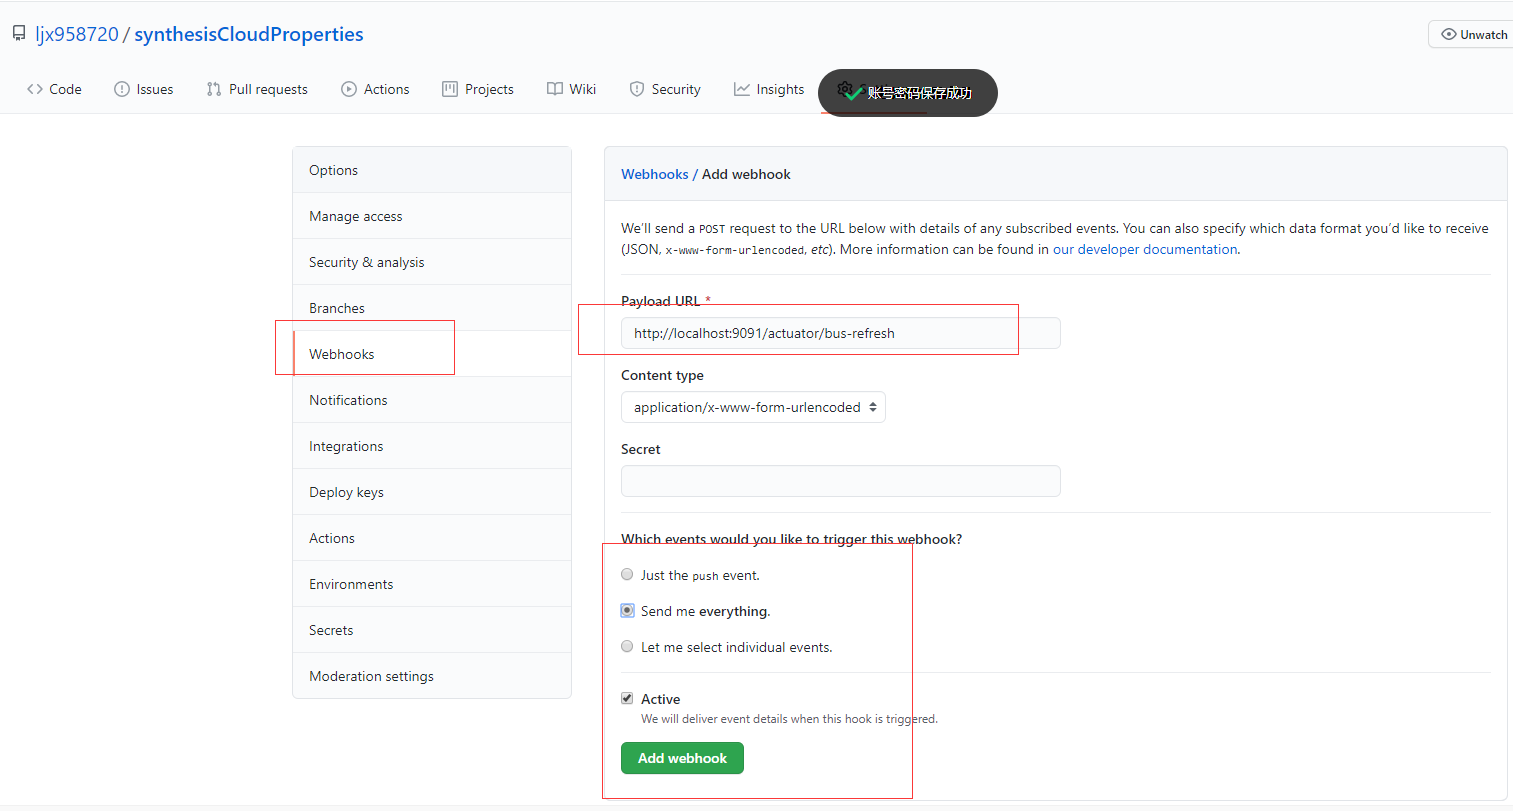
所以要搞一个外网地址进行访问,我这里用ngrock映射出一个外网网址,输入以下命令就能把9091穿透出去
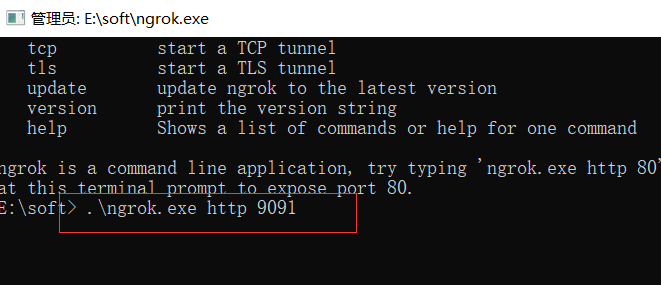
回车如下图,得到了两个外网网址
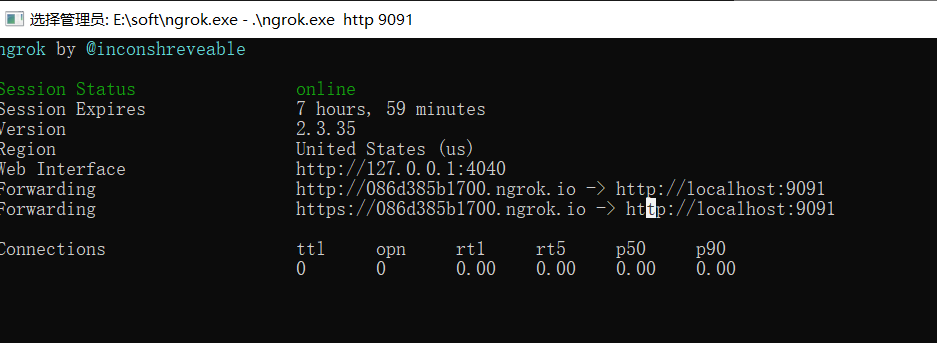
重新在git上添加上外网网址,保存后这就意味着,如果我们git上配置发生了变化,它就能达到自动帮我们更新的目的,解放手动
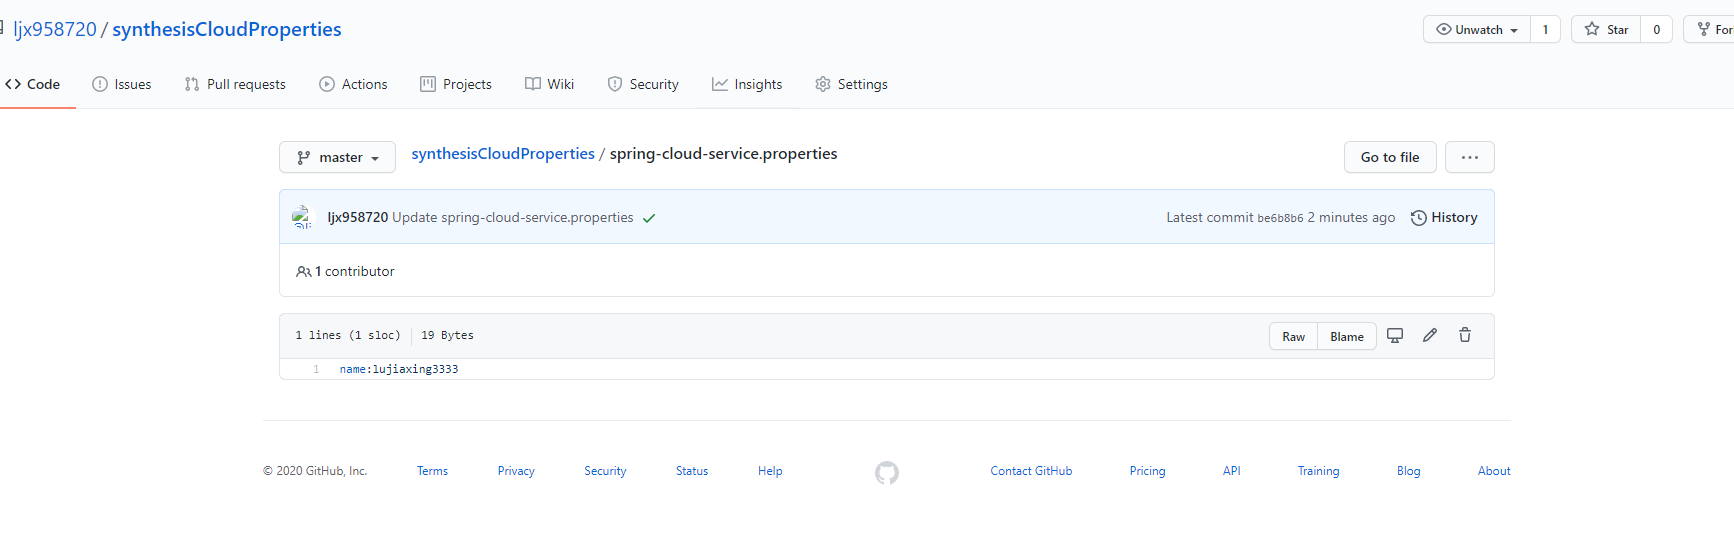
修改下git的配置文件
然后查看webhooks会报错,访问浏览器接口也没有刷新数据
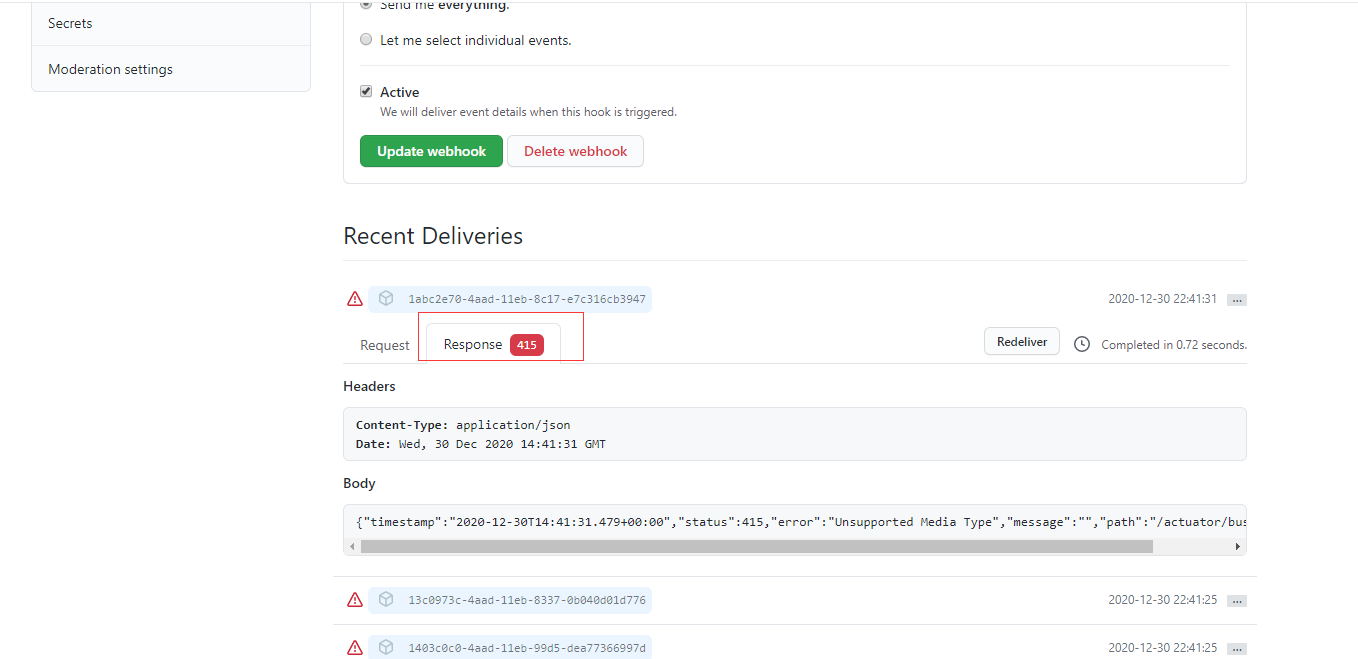

怎么解决这问题呢,其实也很简单,那就是在spring-cloud-config服务中加上monitor包
        <dependency>
            <groupId>org.springframework.cloud</groupId>
            <artifactId>spring-cloud-config-monitor</artifactId>
        </dependency>
然后采用下面方式远程刷新
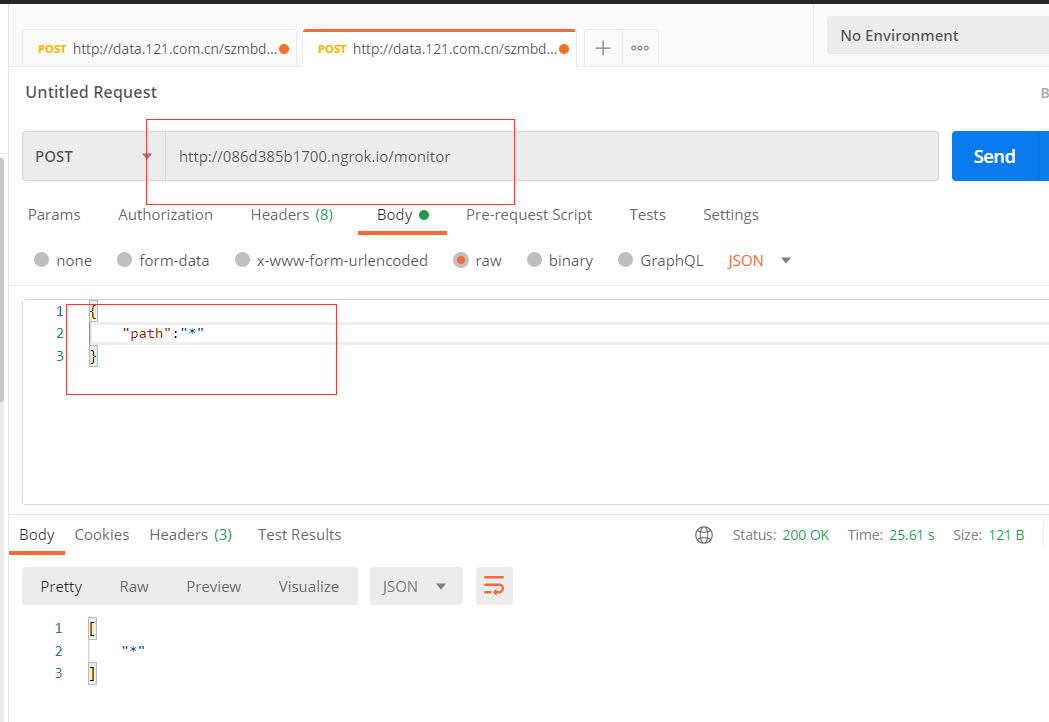
然后git上的配置也可以改了
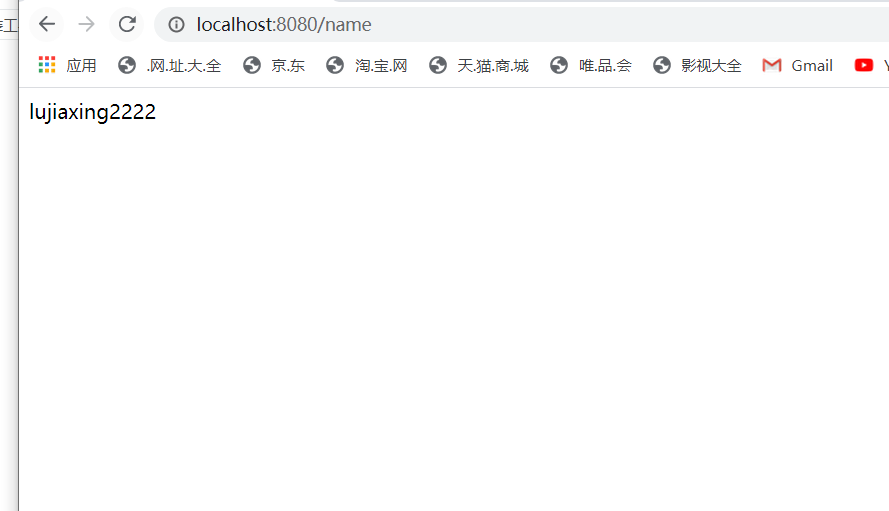
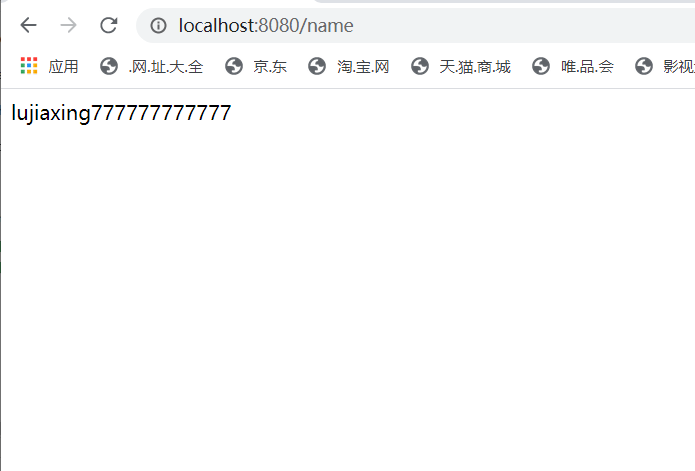
再次访问浏览器,手动变自动了
git网址:https://github.com/ljx958720/spring-cloud-config.git

 浙公网安备 33010602011771号