如何实现元素的平滑上升?(vue和react版)
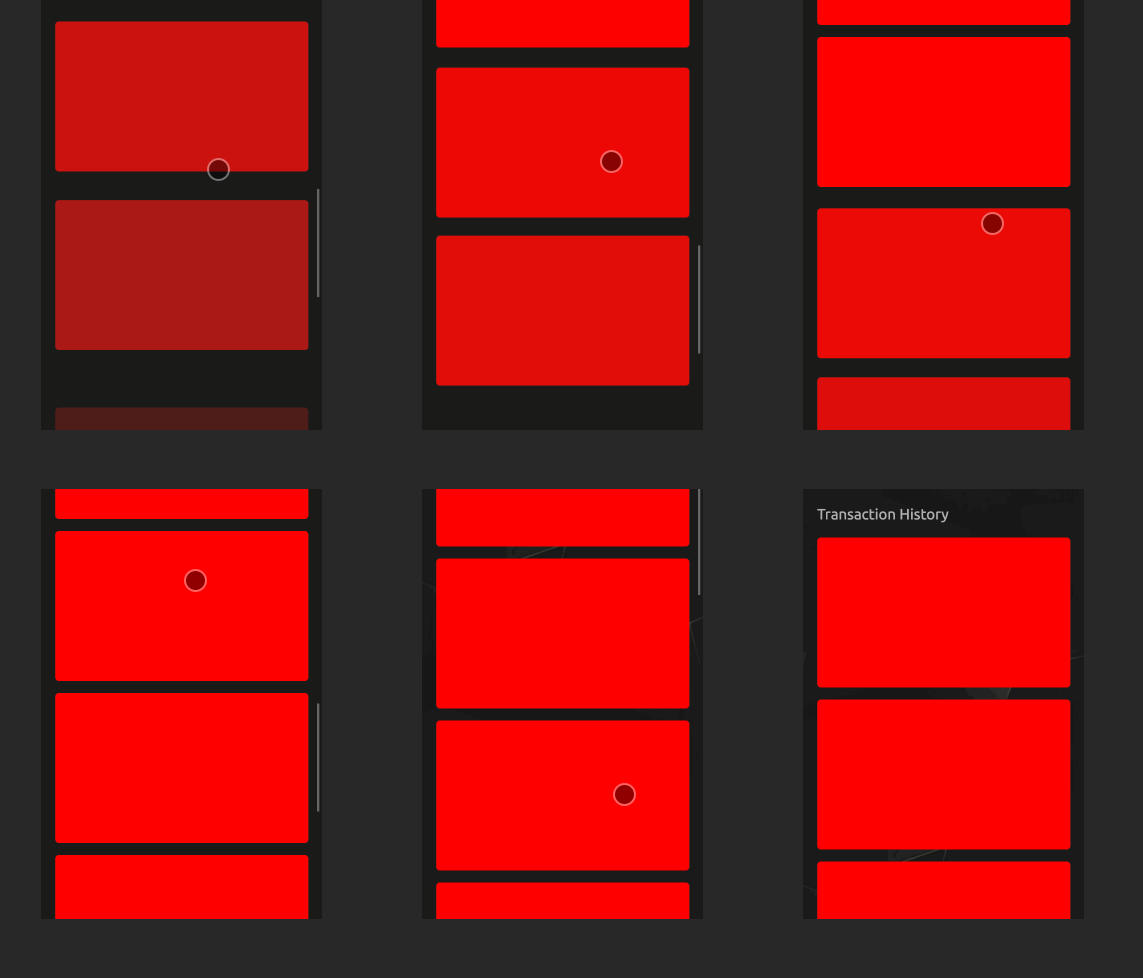
首先我们看下我们有时候需要在官网或者列表中给元素添加一个动画使元素能够平滑的出现在我们的视野中。

如上图所示,我们在vue中可以自定义指令,当我们需要的时候可以直接使用。废话不多说直接上代码。
首先我们创建一个vSlideIn.ts文件
import { DirectiveBinding } from 'vue';
const DISTANCE = 120;
const DURATION = 2000;
const animationMap = new WeakMap(); //不使用map避免内存泄漏
const ob = new IntersectionObserver(entries=>{
for(const entry of entries){
if(entry.isIntersecting) {
// entry.target.getAnimations()[0].play() // 这个方法可以获取所有的动画
const animation = animationMap.get(entry.target);
animation.play();
ob.unobserve(entry.target)
}
}
})
function isBelowViewport(el:HTMLElement) { //判断是否在视口下方
const rect = el.getBoundingClientRect();
return rect.top > window.innerHeight;
}
export default {
mounted(el: HTMLElement, binding: DirectiveBinding) {
if(!isBelowViewport(el)){
return;
}
const animation = el.animate(
[
{
transform: `translateY(${DISTANCE}px)`,
opacity: 0.2,
},
{
transform: 'translateY(0)',
opacity: 1,
},
],
{
duration: binding.arg || DURATION,
easing: 'ease',
}
);
// animation.pause();
animationMap.set(el,animation)
ob.observe(el);
},
unmounted(el:HTMLElement) { //卸载时候取消监听
ob.unobserve(el);
}
}
然后我们在main.ts中注册全局自定义指令import vSlideIn from './utils/vSlideIn'; const app = createApp(App); app.directive('slide-in',vSlideIn)
然后直接在需要的自元素上使用
<van-list v-if="list.length" v-model:loading="loading" :finished="finished" :finished-text="'NoMore'"
                @load="onLoad">
                <ul>
                    <li v-for="(item, index) in list" :key="index"
                        class="item" v-slide-in>
                        <div class="d-flex justify-content-between">
                        </div>
                    </li>
                </ul>
  </van-list>
<Empty v-else/>
就能直接看到上面的效果了,距离和动画时间可以自己定义合适的就可以了。
react版本
下面是一个基础改写的react版本
import React, { useEffect, useRef } from 'react'; const DISTANCE = 80; const DURATION = 1000; const animationMap = new WeakMap(); // 避免内存泄漏 const ob = new IntersectionObserver((entries) => { for (const entry of entries) { if (entry.isIntersecting) { const animation = animationMap.get(entry.target); animation.play(); ob.unobserve(entry.target); } } }); function isBelowViewport(el) { const rect = el.getBoundingClientRect(); return rect.top > window.innerHeight; } export default function CustomDirective({ children }) { const elementRef = useRef(null); useEffect(() => { const el = elementRef.current; if (!el || !isBelowViewport(el)) { return; } const animation = el.animate( [ { transform: `translateY(${DISTANCE}px)`, opacity: 0.5, }, { transform: 'translateY(0)', opacity: 1, }, ], { duration: DURATION, easing: 'ease', } ); animationMap.set(el, animation); ob.observe(el); return () => { ob.unobserve(el); }; }, []); return <div ref={elementRef}>{children}</div>; }
在上述代码中,我们使用了 useEffect 钩子来模拟 Vue 的 mounted 和 unmounted 钩子函数。useEffect 的第二个参数为空数组 [],表示只在组件首次渲染时执行一次。
我们使用 useRef 创建了一个引用 elementRef,用于获取组件根元素的 DOM 节点。然后,我们在 useEffect 中使用这个引用来操作 DOM 元素和创建动画。
当组件首次渲染时,我们检查元素是否位于视口下方,如果是,则创建动画效果,并将元素添加到 IntersectionObserver 中进行观察。当元素进入视口后,播放动画并停止观察。
你可以将 CustomDirective 组件应用到任意需要动画效果的 React 元素中,如下所示:
import React from 'react';
import CustomDirective from './CustomDirective';
function App() {
  return (
    <div>
      <h1>React 自定义指令示例</h1>
      <CustomDirective>
        <p>具备动画效果的元素</p>
      </CustomDirective>
    </div>
  );
}
上述的代码还可以继续优化
下面是一些可能的优化方案:
-
使用
useCallback优化回调函数:在useEffect中使用的回调函数可以使用useCallback进行优化,以避免在每次渲染时重新创建回调函数。 -
使用
useMemo优化动画对象的存储:可以使用useMemo来存储动画对象,以避免在每次渲染时重新创建动画对象。 -
使用
useRef优化 Intersection Observer 的初始化:可以使用useRef来存储 Intersection Observer 对象,并在初始化时进行一次性的创建和绑定。
下面是经过优化的代码示例:
import React, { useEffect, useRef, useCallback, useMemo } from 'react';
const DISTANCE = 80;
const DURATION = 1000;
function isBelowViewport(el) {
const rect = el.getBoundingClientRect();
return rect.top > window.innerHeight;
}
export default function CustomDirective({ children }) {
const elementRef = useRef(null);
const animationRef = useRef(null);
const observerRef = useRef(null);
const handleIntersection = useCallback(
(entries) => {
for (const entry of entries) {
if (entry.isIntersecting) {
const animation = animationRef.current;
animation.play();
observerRef.current.unobserve(entry.target);
}
}
},
[]
);
useEffect(() => {
const el = elementRef.current;
if (!el || !isBelowViewport(el)) {
return;
}
const animation = el.animate(
[
{
transform: `translateY(${DISTANCE}px)`,
opacity: 0.5,
},
{
transform: 'translateY(0)',
opacity: 1,
},
],
{
duration: DURATION,
easing: 'ease',
}
);
animationRef.current = animation;
observerRef.current = new IntersectionObserver(handleIntersection);
observerRef.current.observe(el);
return () => {
observerRef.current.unobserve(el);
};
}, [handleIntersection]);
const animatedElement = useMemo(() => <div ref={elementRef}>{children}</div>, [children]);
return animatedElement;
}
使用的话和上面的一样直接引入当组件就可以了。


【推荐】国内首个AI IDE,深度理解中文开发场景,立即下载体验Trae
【推荐】编程新体验,更懂你的AI,立即体验豆包MarsCode编程助手
【推荐】抖音旗下AI助手豆包,你的智能百科全书,全免费不限次数
【推荐】轻量又高性能的 SSH 工具 IShell:AI 加持,快人一步
· 无需6万激活码!GitHub神秘组织3小时极速复刻Manus,手把手教你使用OpenManus搭建本
· C#/.NET/.NET Core优秀项目和框架2025年2月简报
· Manus爆火,是硬核还是营销?
· 终于写完轮子一部分:tcp代理 了,记录一下
· 【杭电多校比赛记录】2025“钉耙编程”中国大学生算法设计春季联赛(1)