

samba
参考:
1. 环境
CentOS64-7.3
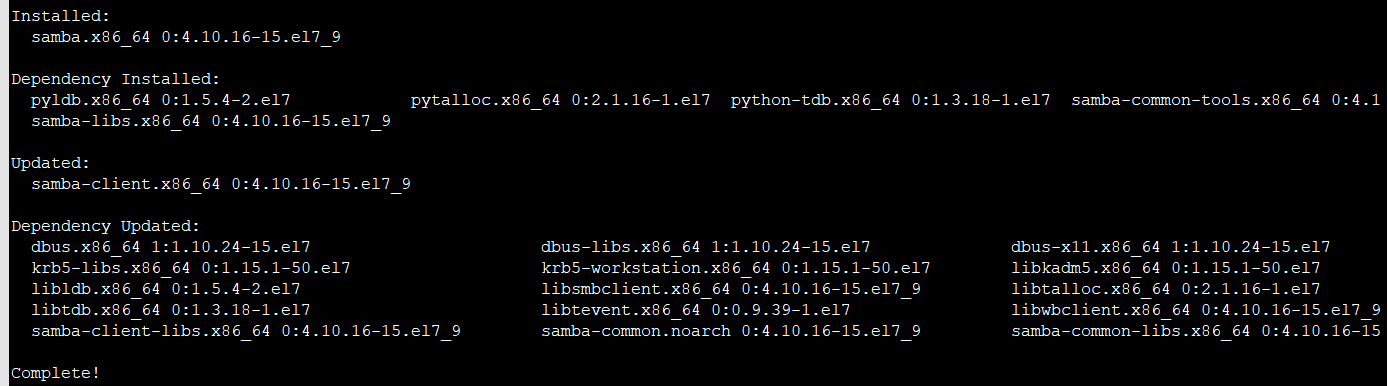
2. 安装
yum install samba samba-client samba-swat
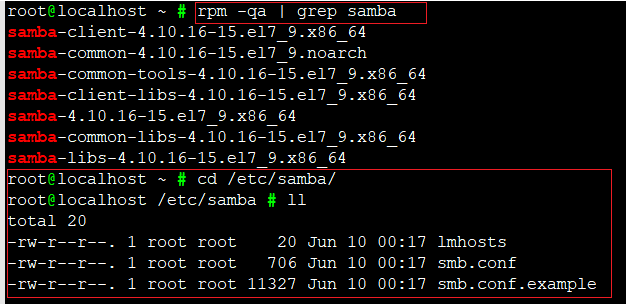
3. 查看安装结果
rpm -qa | grep samba
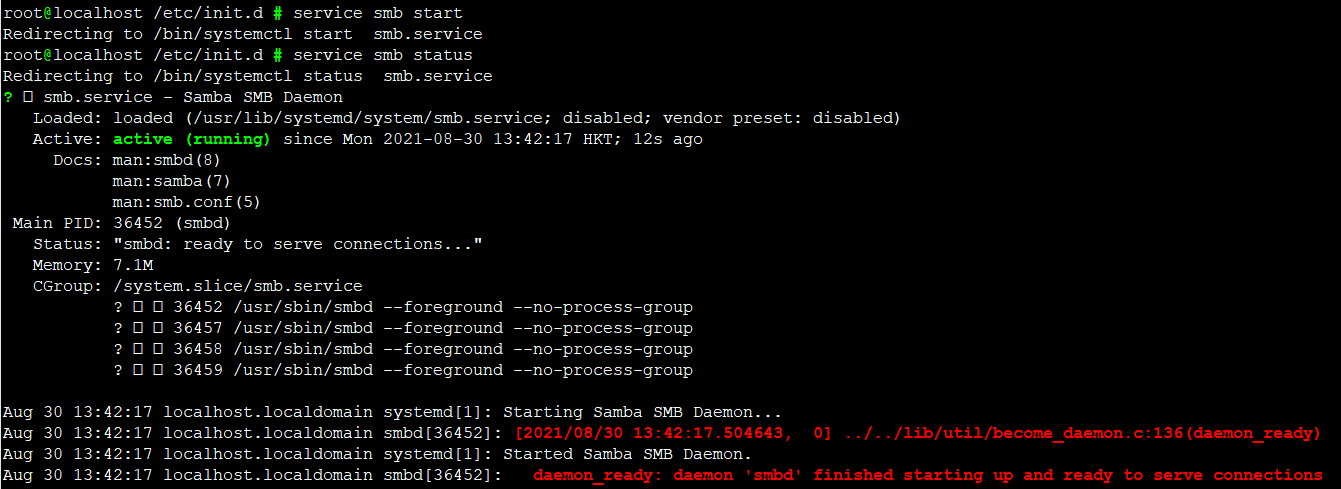
4. 启动 &查看状态
service smb start & service smb status
案例一、公司现有一个工作组workgroup,需要添加samba服务器作为文件服务器,并发布共享目录/share,共享名为public,此共享目录允许所有员工访问。
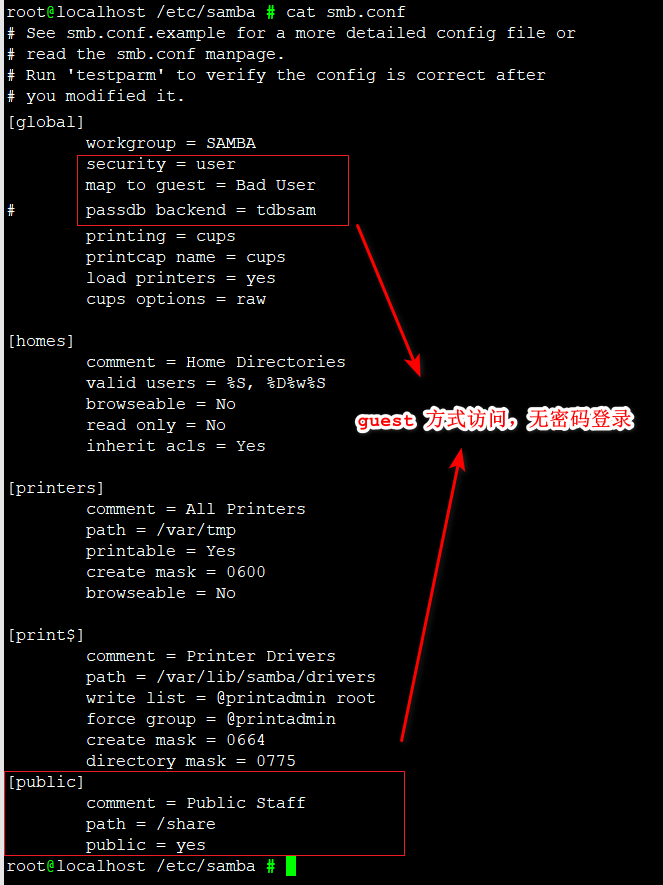
5.配置 smb.conf
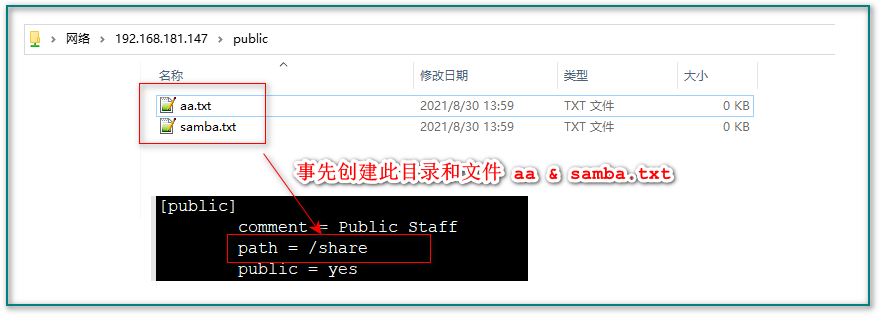
[global]
    workgroup = SAMBA
    security = user
    map to guest = Bad User

#    passdb backend = tdbsam

    printing = cups
    printcap name = cups
    load printers = yes
    cups options = raw

[homes]
    comment = Home Directories
    valid users = %S, %D%w%S
    browseable = No
    read only = No
    inherit acls = Yes

[printers]
    comment = All Printers
    path = /var/tmp
    printable = Yes
    create mask = 0600
    browseable = No

[print$]
    comment = Printer Drivers
    path = /var/lib/samba/drivers
    write list = @printadmin root
    force group = @printadmin
    create mask = 0664
    directory mask = 0775
[public]
    comment = Public Staff
    path = /share
    public = yes
6. 测试smb.conf配置是否正确:testparm

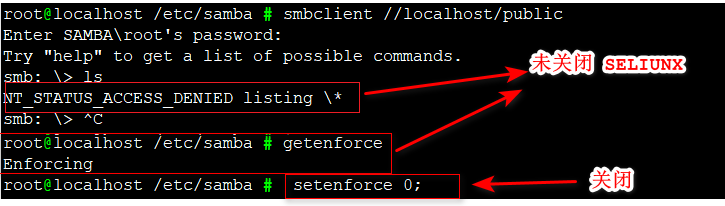
7. 关闭 SELIUNX
setenforce 0;

不然会报错:NT_STATUS_ACCESS_DENIED listing
8. window10 宿主机访问 samba, guest 角色:
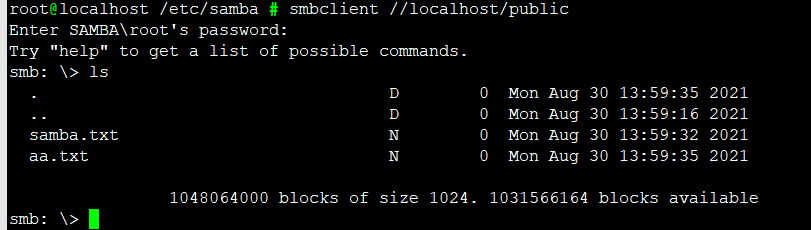
9. 在Linux下 smbclient 访问 Samba 服务器的共享文件
smbclient //localhost/public
案例二、公司现有多个部门,因工作需要,将TS部的资料存放在samba服务器的/ts 目录中集中管理,以便TS人员浏览,并且该目录只允许TS部员工访问。
root@localhost /etc/samba # cat smb.conf
# See smb.conf.example for a more detailed config file or
# read the smb.conf manpage.
# Run 'testparm' to verify the config is correct after
# you modified it.

[global]
    workgroup = SAMBA
    security = user
#    map to guest = Bad User

#    passdb backend = tdbsam

    printing = cups
    printcap name = cups
    load printers = yes
    cups options = raw
    log file = /var/log/samba/log.%m
[homes]
    comment = Home Directories
    valid users = %S, %D%w%S
    browseable = No
    read only = No
    inherit acls = Yes

[printers]
    comment = All Printers
    path = /var/tmp
    printable = Yes
    create mask = 0600
    browseable = No

[print$]
    comment = Printer Drivers
    path = /var/lib/samba/drivers
    write list = @printadmin root
    force group = @printadmin
    create mask = 0664
    directory mask = 0775
[public]
    comment = Public Staff
    path = /share
    public = no

[ts]
    comment = TS
    path = /ts
    valid users = @ts
Java 客户端代码
package com.example02.demo;

import java.io.IOException;
import jcifs.smb.NtlmPasswordAuthentication;
import jcifs.smb.SmbException;
import jcifs.smb.SmbFile;

import org.junit.Test;

/**
 * Java访问Samba 示例
 */
public class SambaDemo {

    /**
     * 不推荐.
     * 原因:若用户名或密码中存在'@'符号,则会抛出连接异常,samba访问路径错误.
     * @throws SmbException
     */
    @Test
    public void demo1() throws IOException {
        String conStr = "smb://sandy:111@192.168.181.147/ts/";
        SmbFile smbFile = new SmbFile(conStr);
        if (smbFile.exists()) {
            smbFile.connect();
            String[] list = smbFile.list();
            for (String str: list){
                System.out.println("file: "+str);
            }
            System.out.println("hello world!");
        }

    }

    /**
     * 推荐.
     * 用户名和密码独立传入.
     */
    @Test
    public void demo2() throws IOException {
        String url = "smb://192.168.181.147/ts/";
        NtlmPasswordAuthentication authentication = new NtlmPasswordAuthentication(".", "sandy", "111");

        SmbFile smbFile = new SmbFile(url, authentication);
        if (smbFile.exists()) {
            smbFile.connect();
            String[] list = smbFile.list();
            for (String str: list){
                System.out.println("file: "+str);
            }
            System.out.println("hello world!");
        }
    }

}
