谷歌浏览器插件开发----Tutorial: Getting Started (Hello, World!) 教程:准备开始(你好,世界!)
Tutorial: Getting Started (Hello, World!)
教程:准备开始(你好,世界!)
Contents
内容
Create and load an extension
创建并且加载一个扩展程序
Add code to the extension
向扩展程序添加代码
Now what?
现在该怎么办?
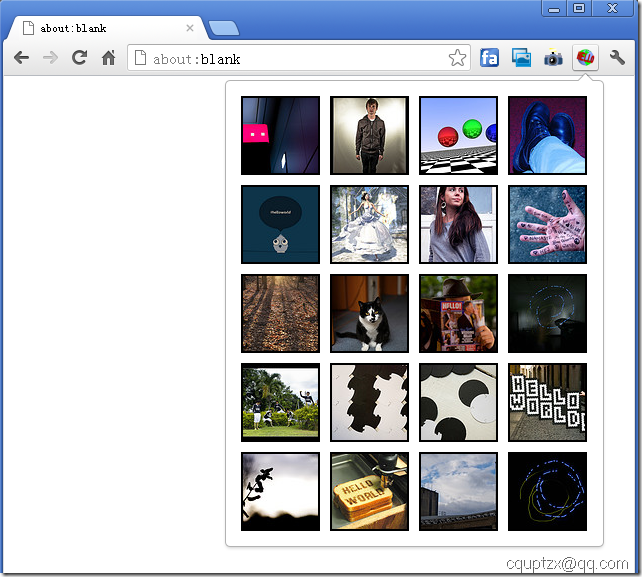
This tutorial walks you through creating a simple extension. You'll add an icon to Google Chrome that, when clicked, displays an automatically generated page. The icon and page will look something like this:
这个教程引导您创建一个简单的扩展程序.您将添加一个图标到谷歌浏览器,当您点击图标的时候,浏览器将会自动显示一个生成的页面.这个图标和页面将会看起来像这样:
You can develop extensions using any release of Google Chrome, on Windows, Mac, or Linux. Extensions you develop on one platform should run without change on every platform Chrome supports.
您可以在Windows,Mac,或者Linux平台上使用任何谷歌浏览器的发布版本来开发扩展程序.您在一个平台上开发的扩展应该能够不作任何改变就能在其他谷歌所支持的平台上运行.
Create and load an extension
创建并且加载一个扩展程序
The extension we'll walk through creating here is a Browser Action, which adds a button to Chrome's toolbar whose behavior you can control.
我们这里引导您创建的扩展程序是一个浏览器动作,这个扩展程序向谷歌浏览器添加了一个您可以控制的按钮.
Create a folder somewhere on your computer to contain your extension's code.
在您的电脑的任意一处创建一个目录来存放您的扩展程序的代码.
1. Inside your extension's folder, create a text file called manifest.json, and fill it with the following code:
在您扩展程序目录里创建一个名称为manifest.json的文本文件,并且将下面的代码保存到文本文件中.
{
"name":"My First Extension",
"version":"1.0",
"manifest_version":2,
"description":"The first extension that I made.",
"browser_action":{
"default_icon":"icon.png"
},
"permissions":[
"http://api.flickr.com/"
]
}
[译者注]保存文本文件的编码为”utf-8”,否则报错.如果是Windows平台可以使用自带的写字板程序编辑文本.
3. Copy this icon to the same folder:
复制这个图标到相同的目录:
Download icon.png
[译者注]只要图标名称一样就行.
4. Load the extension.
加载这个扩展程序
a. Bring up the extensions management page by clicking the wrench icon and choosing Tools > Extensions.
通过点击谷歌浏览器的扳手按钮,选择工具> 扩展程序打开扩展程序管理页面.
b. If Developer mode has a + by it, click the + to add developer information to the page. The + changes to a -, and more buttons and information appear.
如果开发者模式有一个 + ,点击+来添加开发者信息到这个页面.+改变为一个-,将会出现更多的按钮和信息.
[译者注]新版的谷歌浏览器(21.0.1180.60 )已经不是+了,而是一个按钮.(如下图)
c. Click the Load unpacked extension button. A file dialog appears.
点击打包扩展程序(加载未打包扩展程序),出现一个文件对话框.
d. In the file dialog, navigate to your extension's folder and click OK.
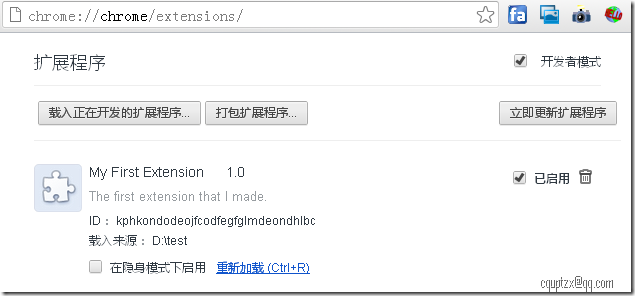
If your extension is valid, its icon appears next to the address bar, and information about the extension appears in the extensions page, as the following screenshot shows.
在这个文件对话框里,找打您扩展程序所在的目录,单击确认.
如果您的扩展程序有效,它的图标就会出现在紧靠地址栏的地方,在展程序管理页面有这个扩展的详细信息,如下面的截图所示.
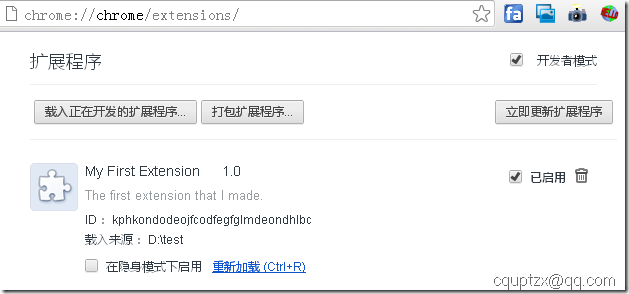
[译者注]新版的谷歌浏览器(21.0.1180.60 )这个页面截图(如下)也有更改:
Add code to the extension
向扩展程序添加代码
In this step, you'll make your extension do something besides just look good.
在这一步里,您可以让您的扩展做些具体的事情,而不仅仅只是好看.
1. dit manifest.json to add the following line:
编辑manifest.json添加如下的一行代码:
...
"browser_action":{
"default_icon":"icon.png",
"default_popup":"popup.html"
},
...
[译者注]注意这里有一个逗号在图片名称后面.
Inside your extension's folder, create two text files called popup.html andpopup.js. Add the following code to these files:
在您的扩展程序所在目录,分别创建两个名称为 popup.html和popup.js添加如下的代码到所创建的文件:
HTML code (popup.html) and JavaScript code (popup.js) for hello_world
HTML code (popup.html)和JavaScript code (popup.js) 为hello world项目.
[译者注]这里附上这两个文件:
Popup.html代码如下:
<!doctype html>
<html>
<head>
<title>Getting Started Extension's Popup</title>
<style>
body {
min-width:357px;
overflow-x:hidden;
}
img {
margin:5px;
border:2px solid black;
vertical-align:middle;
width:75px;
height:75px;
}
</style>
<!-- JavaScript and HTML must be in separate files for security. -->
<script src="popup.js"></script>
</head>
<body>
</body>
</html>
Popup.js代码如下:
// Copyright (c) 2012 The Chromium Authors. All rights reserved.
// Use of this source code is governed by a BSD-style license that can be
// found in the LICENSE file.
var req = new XMLHttpRequest();
req.open(
"GET",
"http://api.flickr.com/services/rest/?" +
"method=flickr.photos.search&" +
"api_key=90485e931f687a9b9c2a66bf58a3861a&" +
"text=hello%20world&" +
"safe_search=1&" + // 1 is "safe"
"content_type=1&" + // 1 is "photos only"
"sort=relevance&" + // another good one is "interestingness-desc"
"per_page=20",
true);
req.onload = showPhotos;
req.send(null);
function showPhotos() {
var photos = req.responseXML.getElementsByTagName("photo");
for (var i = 0, photo; photo = photos[i]; i++) {
var img = document.createElement("image");
img.src = constructImageURL(photo);
document.body.appendChild(img);
}
}
// See: http://www.flickr.com/services/api/misc.urls.html
function constructImageURL(photo) {
return "http://farm" + photo.getAttribute("farm") +
".static.flickr.com/" + photo.getAttribute("server") +
"/" + photo.getAttribute("id") +
"_" + photo.getAttribute("secret") +
"_s.jpg";
}
2. eturn to the extensions management page, and click the Reload button to load the new version of the extension.
返回到扩展程序管理页面,单击”重新加载”按钮来加载扩展程序的新版本.
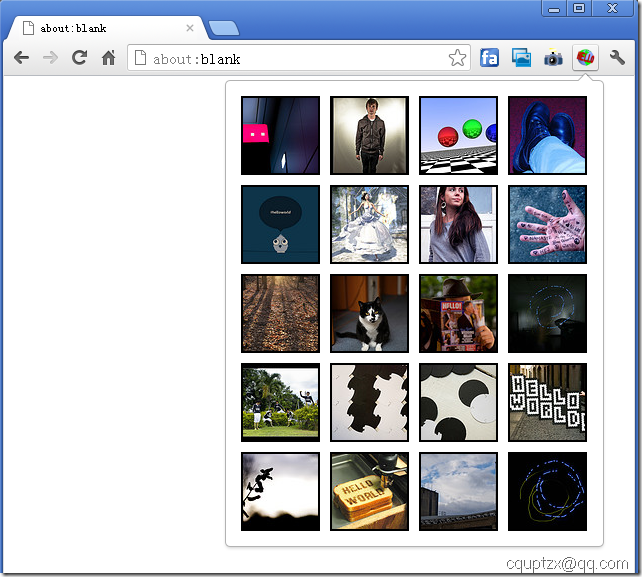
3. Click the extension's icon. A popup should appear that displays the contents ofpopup.html.
It should look something like this:
点击您的扩展程序按钮,一个弹出页面展示了popup.html的内容.它应该看起来像这样:
If you don't see the popup, try the instructions again, following them exactly. Don't try loading an HTML file that isn't in the extension's folder — it won't work!
如果您没有看到弹出窗口,完全按照教程,重新尝试这个过程.不要尝试加载一个不在您的扩展程序里的HTML,这样不起作用!
[译者注]附上谷歌浏览器开发论坛的帖子:http://dev.chromechina.com/thread-1940-1-1.html
=====================================================================


