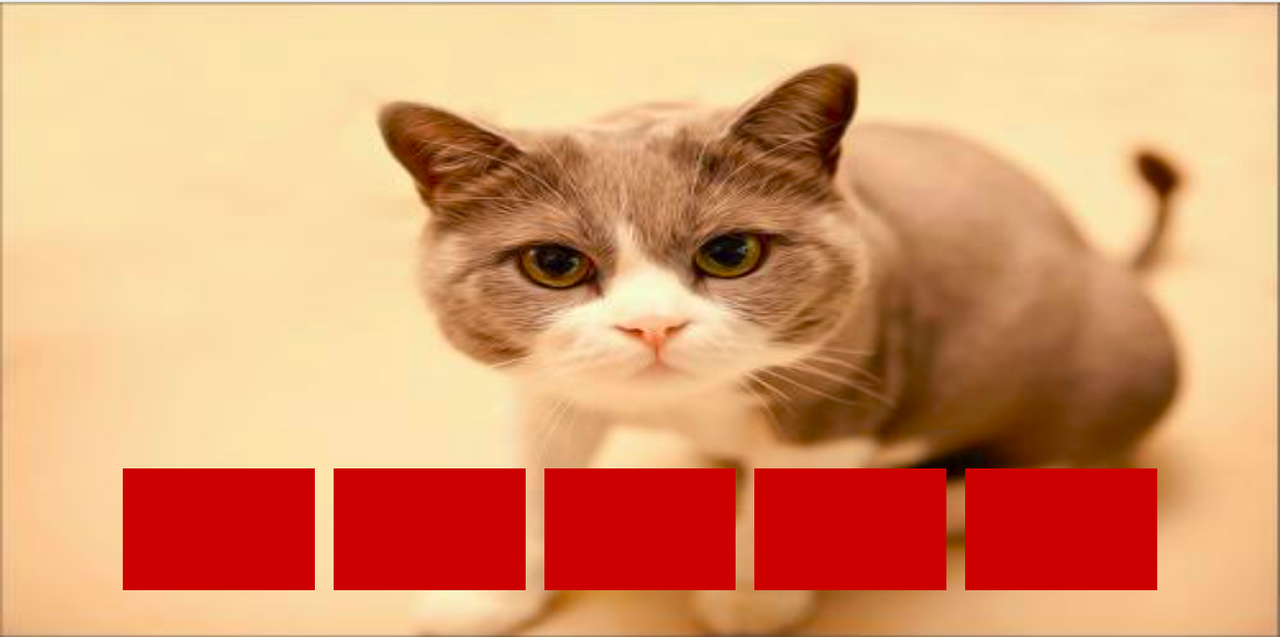
百度前端技术学院2018笔记 之 利用 CSS animation 制作一个炫酷的 Slider
前言
题目地址
利用 CSS animation 制作一个炫酷的 Slider
思路整理
首先页面包含三种东西
- 一个是type为radio的input其实就是单选框
- 二是每个单选框对应的label
- 三是你要用作背景的每个图片
然后具体实现思路是你点击每个label然后出现对应的图片
基本布局
首先是对界面进行布局
<div class="page">
<div class="slider">
<input id="img1" name="img" type="radio" class="view" checked>
<input id="img2" name="img" type="radio" class="view">
<input id="img3" name="img" type="radio" class="view">
<input id="img4" name="img" type="radio" class="view">
<input id="img5" name="img" type="radio" class="view">
<label for="img1" class="img1"></label>
<label for="img2" class="img2"></label>
<label for="img3" class="img3"></label>
<label for="img4" class="img4"></label>
<label for="img5" class="img5"></label>
<div class="image">
<img src="001.jpg">
<img src="002.jpg">
<img src="003.jpg">
<img src="004.jpg">
<img src="005.jpg">
</div>
</div>
</div>
* {
margin: 0;
padding: 0;
}
html, body {
height: 100%;
width: 100%;
overflow: hidden;
}
.page {
height: 100%;
width: 100%;
background-color: yellow;
}
.slider {
height: 100%;
width: 100%;
display: flex;
justify-content: center;
align-items: flex-end;
}
.image img {
height: 100%;
width: 100%;
position: fixed;
left:0;
top: 0;
}
label {
width: 15%;
height: 130px;
background-color: red;
margin-bottom: 50px;
margin-left: 10px;
margin-right: 10px;
filter: brightness(0.8);
cursor: pointer;
z-index: 10;
}
/*去除单选框*/
.view{
display: none;
}
布局没什么要说的,主要是注意一下几点
- html设置成100%使整个页面全屏
- 下面那些窗口我用的是flex布局
- 然后所有的图片都是100%然后相对浏览器定位一下
- label作为我们的选择窗口,对input要设置display:none把他隐藏掉
添加下面label的图片
label.img1 {
background-image: url("001.jpg");
background-size: 100% 100%;
}
label.img2 { }
label.img3 { }
label.img4 { }
label.img5 { }
很简单就是作为背景图片添加到label上面
label:hover{
filter: brightness(1);
}
加动画
开始重点了首先写keyframes,这个根据excel表来写就可以了,篇幅太大,我只展示一个
@keyframes img1 {
from {
left: -500px;
}
to {
left: 0;
}
}
@keyframes img2 { }
@keyframes img3 { }
@keyframes img4 { }
@keyframes img5 { }
然后就是加checked效果,就是选择了后就产生动画
.view:nth-child(1):checked ~ .image img:nth-child(1) {
animation: img1 .5s ease-out;
display:block;
opacity: 1;
z-index: 4;
}
.view:nth-child(2):checked ~ .image img:nth-child(2) { }
.view:nth-child(3):checked ~ .image img:nth-child(3) { }
.view:nth-child(4):checked ~ .image img:nth-child(4) { }
.view:nth-child(5):checked ~ .image img:nth-child(5) { }
就是点击了这个找到他兄弟节点image然后他的对应个数的子元素来添加动画
然后大概的效果就出来了
你以为这样就成功了?
完成上面的后你就有了一个基本的实现了,但是在你玩的时候你会发现一个bug点击一个新的label然后背景马上变成最后一张图然后在这张图的基础上出现新的图片。按道理之前的那张图应该保留然后出现新的图片。所以还要加上
.view:not(:checked) ~ .image img{
animation: oncheck 1s linear;
}
@keyframes oncheck {
0% {
opacity: 1;
z-index: 3;
}
100% {
opacity: 1;
z-index: 3;
}
}
- 在最开始的时候所有层次都是3,初始选中的那个是4
- 在最开始所有没选中的都经历了下面的动画,保持1s的z-index: 3, 过了一秒钟后都保持到层次是2
- 然后你选择一张图片,这张图片从2变成4,同时开始动画
- 你之前选中的图片从选中到未选中,因为是新来到未选中的,所以就会执行一次未选中的动画,也就是保持1s的z-index: 3
- 这样就实现了上一张图片保持不动等新的图片来了后再恢复
总结
在最开始自己动手写的时候是用的div,然后div没有点击这个效果只有hover,所以之做了一个非常粗糙的。
然后交了作业后看到好多同学是用的js来实现的,感觉js实现是比较简单,然后一般都可以写出来的。
然后看了很多的作业后发现有位大佬采用单选框的特性来写,打开了我的新世界,然后我就参考大佬的完成了作业。
附上我的代码地址
代码
附上我的效果地址
效果


