
GitHub使用笔记1:git客户端配置多ssh key
公司用gitlab
外网的github同时配置
这样就导致我们要配置不同的ssh-key对应不同的环境。
具体操作步骤如下:
一、生成SSH-key
1:生成一个公司用的SSH-Key
$ ssh-keygen -t rsa -C "youremail@yourcompany.com” -f ~/.ssh/id-rsa
在~/.ssh/目录会生成id-rsa和id-rsa.pub私钥和公钥。
我们将id-rsa.pub中的内容粘帖到公司gitlab服务器的SSH-key的配置中。
2:生成一个github用的SSH-Key
$ ssh-keygen -t rsa -C "youremail@your.com” -f ~/.ssh/github-rsa
在~/.ssh/目录会生成github-rsa和github-rsa.pub私钥和公钥。
我们将github-rsa.pub中的内容粘帖到github服务器的SSH-key的配置中。
3:生成一个gitee用的SSH-Key
MacBookPro:.ssh zhangxm$ ssh-keygen -t rsa -C "84348674@qq.com" -f ~/.ssh/gitee-rsa
Generating public/private rsa key pair.
/Users/zhangxm/.ssh/gitee-rsa already exists.
Overwrite (y/n)? y
Enter passphrase (empty for no passphrase):
Enter same passphrase again:
Your identification has been saved in /Users/zhangxm/.ssh/gitee-rsa.
Your public key has been saved in /Users/zhangxm/.ssh/gitee-rsa.pub.
The key fingerprint is:
SHA256:WFXq2h/2BNKHuxDGHyt+x0dVuSUp5rBgnOWNvoPJNuM 84348674@qq.com
The key's randomart image is:
+---[RSA 2048]----+
|       . oo..  ..|
|        =o.+o o.o|
|       ...+=.. .+|
|       o +.... ..|
|      . S B = . .|
|       . * = *  .|
|        O * *... |
|       o + *.=o .|
|        E ..o... |
+----[SHA256]-----+
MacBookPro:.ssh zhangxm$
二、添加私钥
1:添加私钥
$ ssh-add ~/.ssh/id_rsa
$ ssh-add ~/.ssh/github_rsa
$ ssh-add ~/.ssh/gitee_rsa
如果执行ssh-add时提示"Could not open a connection to your authentication agent",可以现执行命令:
$ ssh-agent bash
然后再运行ssh-add命令。
可以通过 ssh-add -l 来确私钥列表
$ ssh-add -l
可以通过 ssh-add -D 来清空私钥列表
$ ssh-add -D
三、修改配置文件
1:修改配置文件
在 ~/.ssh 目录下新建一个config文件
touch config
添加内容:
# gitlab
Host gitlab.yourcompany.com
    HostName gitlab.yourcompany.com
    PreferredAuthentications publickey
    IdentityFile ~/.ssh/id_rsa
# github
Host github.com
    HostName github.com
    PreferredAuthentications publickey
    IdentityFile ~/.ssh/github_rsa
# gitee
Host gitee.com
    HostName gitee.com
    PreferredAuthentications publickey
    IdentityFile ~/.ssh/gitee_rsa
2:目录结构
MacBookPro:.ssh zhangxm$ ll
total 56
drwx------   8 zhangxm  staff   272  9 24 13:53 .
drwxr-xr-x+ 64 zhangxm  staff  2176  9 24 13:53 ..
-rw-r--r--   1 zhangxm  staff   262  9 24 13:53 config
-rw-------   1 zhangxm  staff  1675  9 24 11:26 github_rsa
-rw-r--r--   1 zhangxm  staff   397  9 24 11:26 github_rsa.pub
-rw-------   1 zhangxm  staff  1675  9 24 11:26 gitee_rsa
-rw-r--r--   1 zhangxm  staff   397  9 24 11:26 gitee_rsa.pub
-rw-r--r--   1 zhangxm  staff  7453  7 31 12:17 known_hosts
-rw-------   1 zhangxm  staff  1675  6  1 15:17 id_rsa
-rw-r--r--   1 zhangxm  staff   409  6  1 15:17 id_rsa.pub
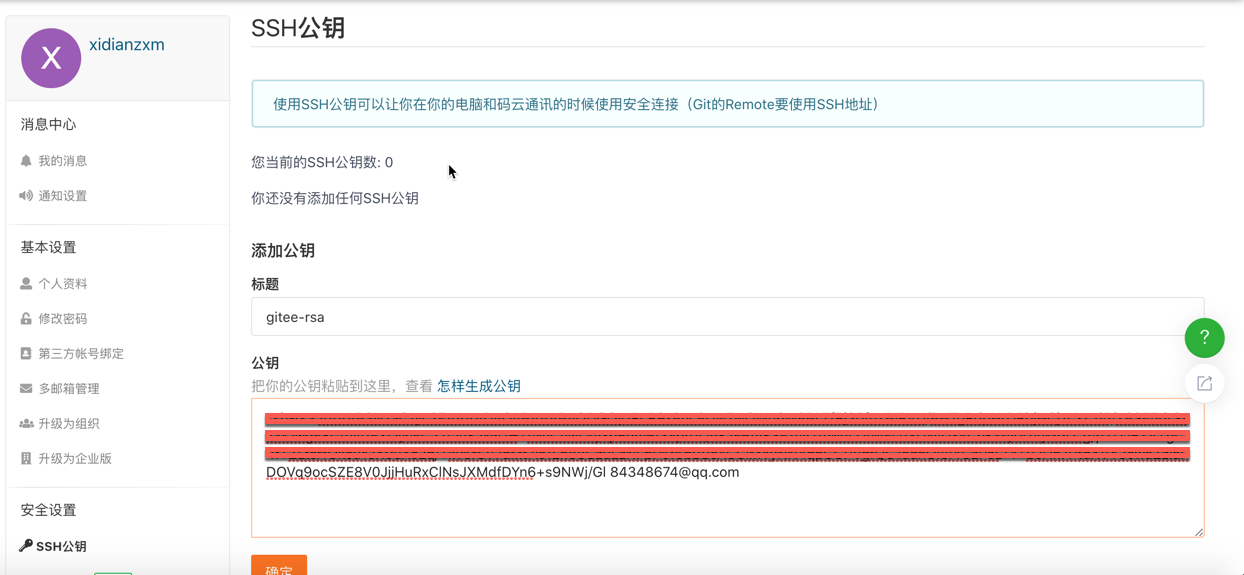
四、在对应的git服务器上配置添加SSH公钥
1:在公司gitlab、github、gitee上添加SSH公钥
以gitee为例
五 测试
1:测试
1)办公网
ssh -T git@gitlab.yourcompany.com
输出欢迎信息
2) github
$ ssh -T git@github.com
- gitee
$ ssh -T git@gitee.com
输出
github:Hi xxx! You've successfully authenticated, but GitHub does not provide shell access.
gitee:MacBookPro:.ssh zhangxm$ ssh -T git@gitee.com
Hi xidianzxm! You've successfully authenticated, but GITEE.COM does not provide shell access.
六、配置相关信息
1:配置提交用户明和邮箱
MacBookPro:SpringStack zhangxm$ git config --global user.name "xidianzxm"
MacBookPro:SpringStack zhangxm$ git config --global user.email 84348674@qq.com
MacBookPro:SpringStack zhangxm$
七、码云上的介绍的相关操作
https://gitee.com/help/articles/4229#article-header0
就表示成功的连上github了.也可以试试链接公司的gitlab.
