ESP8266 01 与Arduino 连接WiFi
转自:https://blog.csdn.net/qq_28877125/article/details/78785472
接线:ESP8266 01 与Arduino 实现基本通信(新手调试指南)
#include "WiFiEsp.h"

// Emulate Serial1 on pins 6/7 if not present
#ifndef HAVE_HWSERIAL1
#include "SoftwareSerial.h"
SoftwareSerial Serial1(3, 2); // RX, TX
#endif
// wifi名: wifi
// wifi密码:123456
char ssid[] = "wifi";            // your network SSID (name)
char pass[] = "123456";        // your network password
int status = WL_IDLE_STATUS;     // the Wifi radio's status

void setup()
{
  // initialize serial for debugging
  Serial.begin(9600);
  // initialize serial for ESP module
  Serial1.begin(115200);
  // initialize ESP module
  WiFi.init(&Serial1);

  // check for the presence of the shield
  if (WiFi.status() == WL_NO_SHIELD) {
    Serial.println("WiFi shield not present");
    // don't continue
    while (true);
  }

  // attempt to connect to WiFi network
  while ( status != WL_CONNECTED) {
    Serial.print("Attempting to connect to WPA SSID: ");
    Serial.println(ssid);
    // Connect to WPA/WPA2 network
    status = WiFi.begin(ssid, pass);
  }

  Serial.println("You're connected to the network");
}

void loop()
{
  // print the network connection information every 10 seconds
  Serial.println();
  printCurrentNet();
  printWifiData();

  delay(10000);
}

void printWifiData()
{
  // print your WiFi shield's IP address
  IPAddress ip = WiFi.localIP();
  Serial.print("IP Address: ");
  Serial.println(ip);

  // print your MAC address
  byte mac[6];
  WiFi.macAddress(mac);
  char buf[20];
  sprintf(buf, "%02X:%02X:%02X:%02X:%02X:%02X", mac[5], mac[4], mac[3], mac[2], mac[1], mac[0]);
  Serial.print("MAC address: ");
  Serial.println(buf);
}

void printCurrentNet()
{
  // print the SSID of the network you're attached to
  Serial.print("SSID: ");
  Serial.println(WiFi.SSID());

  // print the MAC address of the router you're attached to
  byte bssid[6];
  WiFi.BSSID(bssid);
  char buf[20];
  sprintf(buf, "%02X:%02X:%02X:%02X:%02X:%02X", bssid[5], bssid[4], bssid[3], bssid[2], bssid[1], bssid[0]);
  Serial.print("BSSID: ");
  Serial.println(buf);

  // print the received signal strength
  long rssi = WiFi.RSSI();
  Serial.print("Signal strength (RSSI): ");
  Serial.println(rssi);
}
连接成功(以下的信息是打开串口调试助手,arduino会通过串口打印出来的信息,从中我们可以看到已经连接成功!):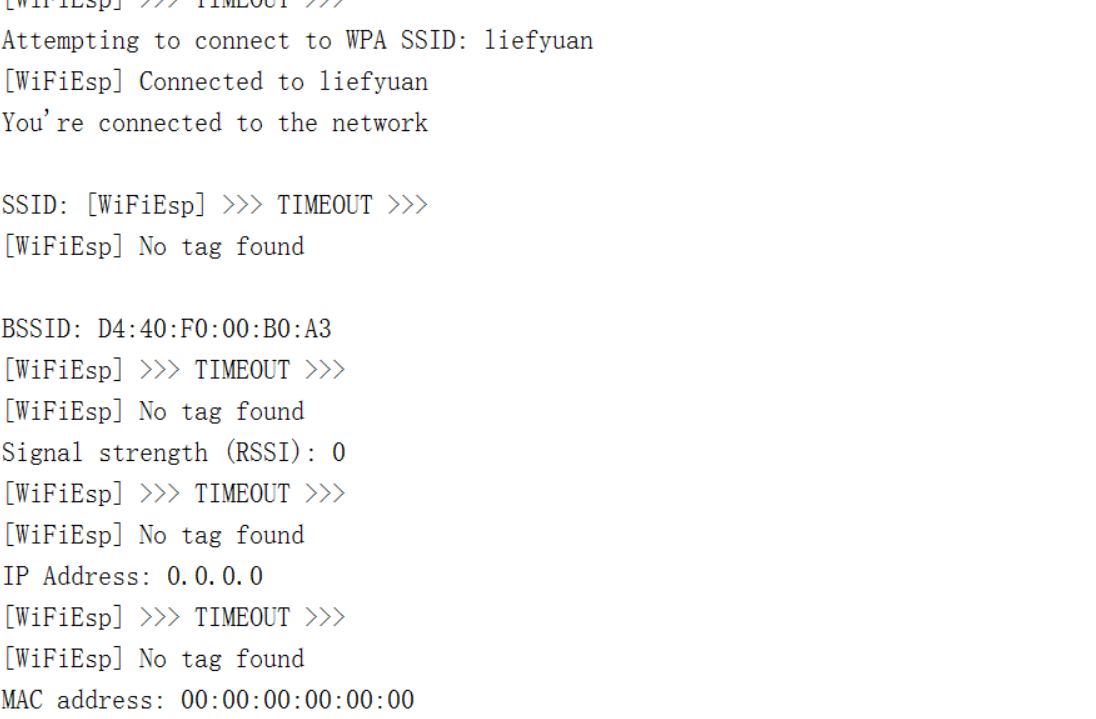
博 主 :夏秋初
地 址 :https://www.cnblogs.com/xiaqiuchu/articles/11558768.html
如果对你有帮助,可以点一下 推荐 或者 关注 吗?会让我的分享变得更有动力~
转载时请带上原文链接,谢谢。
地 址 :https://www.cnblogs.com/xiaqiuchu/articles/11558768.html
如果对你有帮助,可以点一下 推荐 或者 关注 吗?会让我的分享变得更有动力~
转载时请带上原文链接,谢谢。

 浙公网安备 33010602011771号