electron聊天室|vue+electron-vue仿微信客户端|electron桌面聊天
一、项目概况
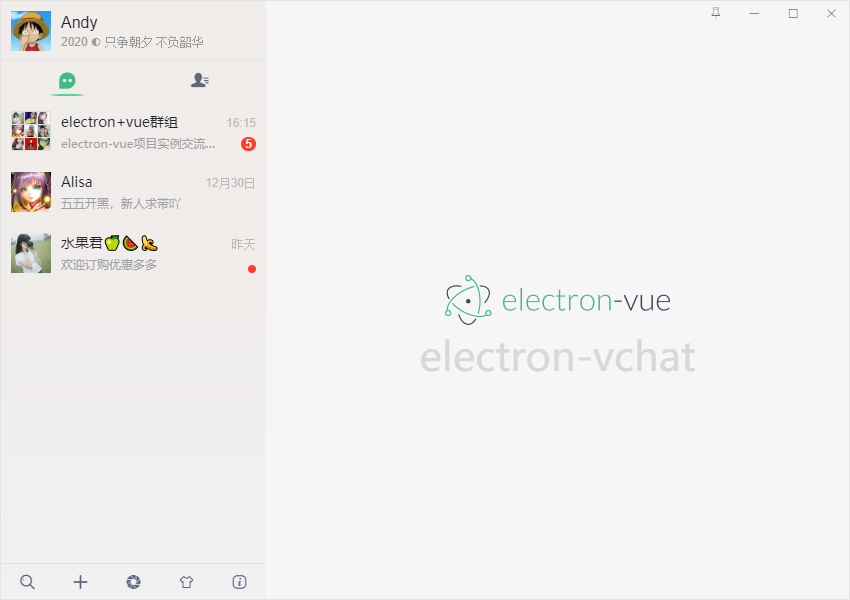
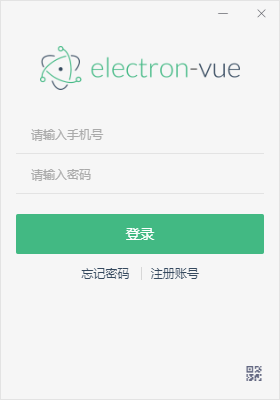
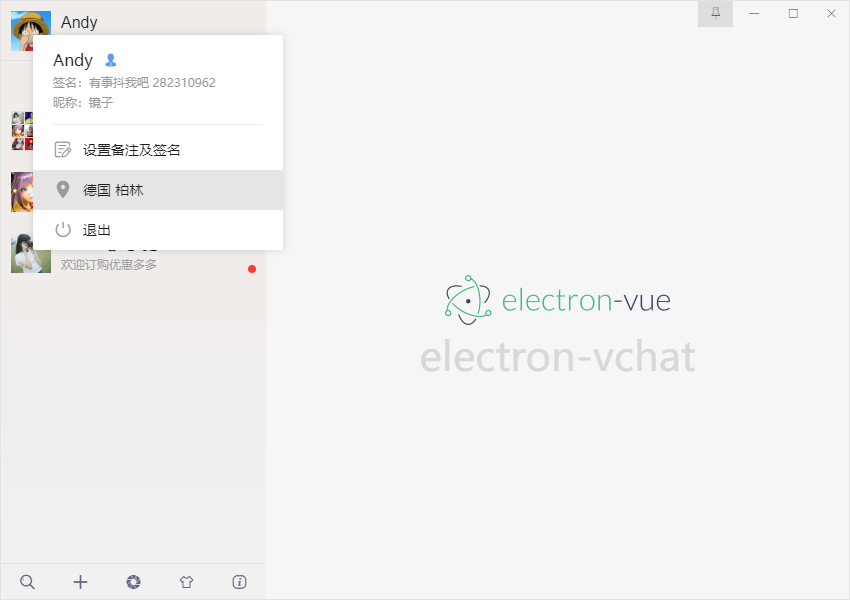
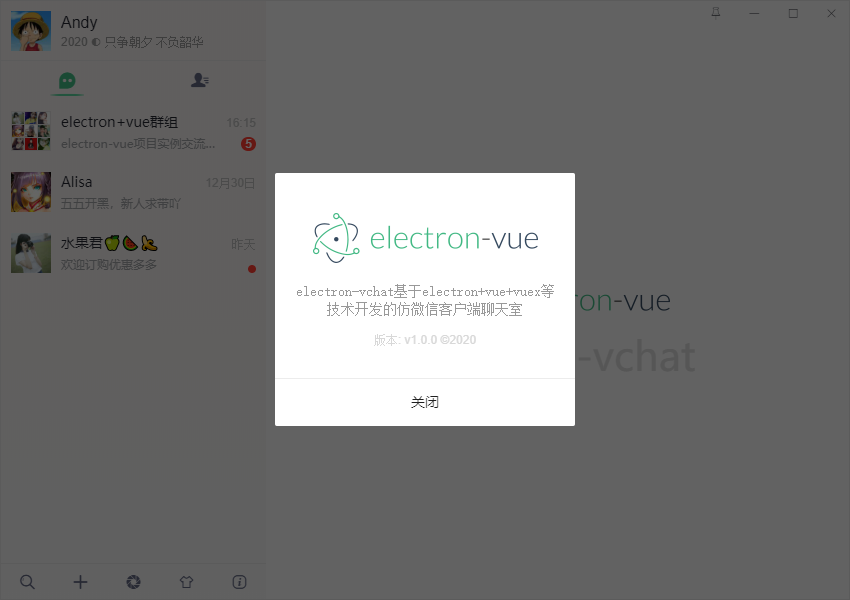
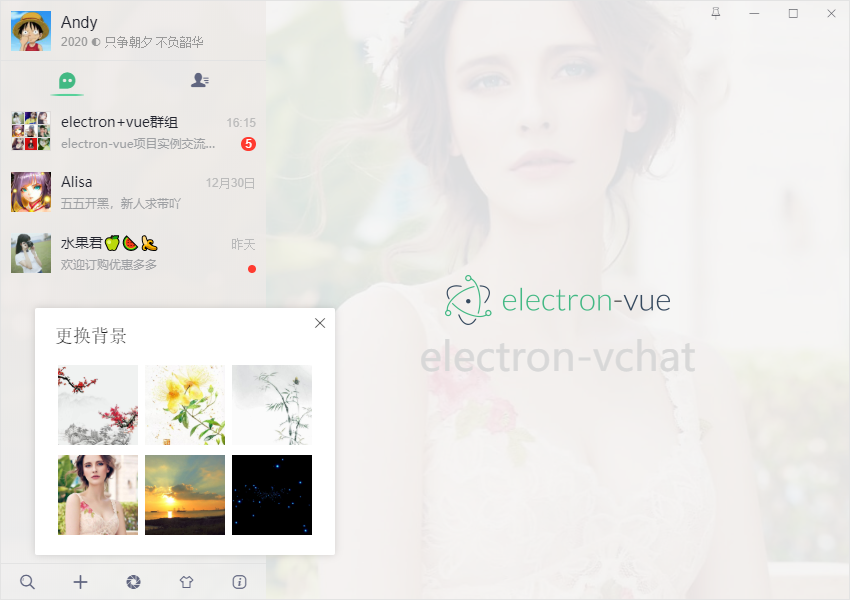
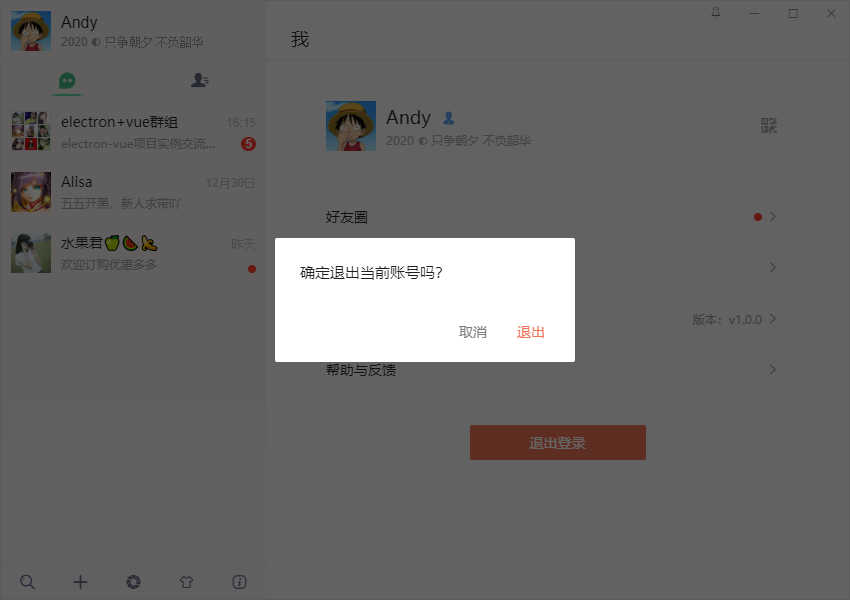
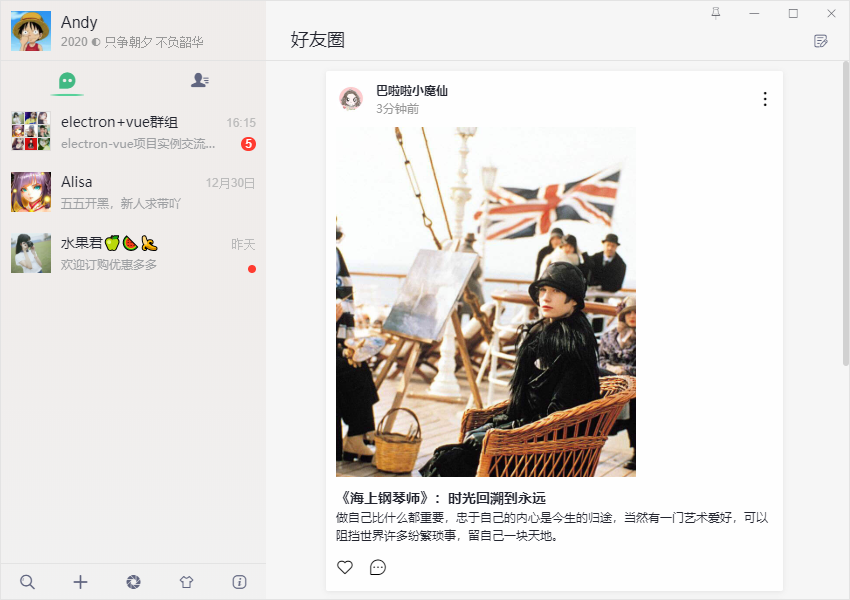
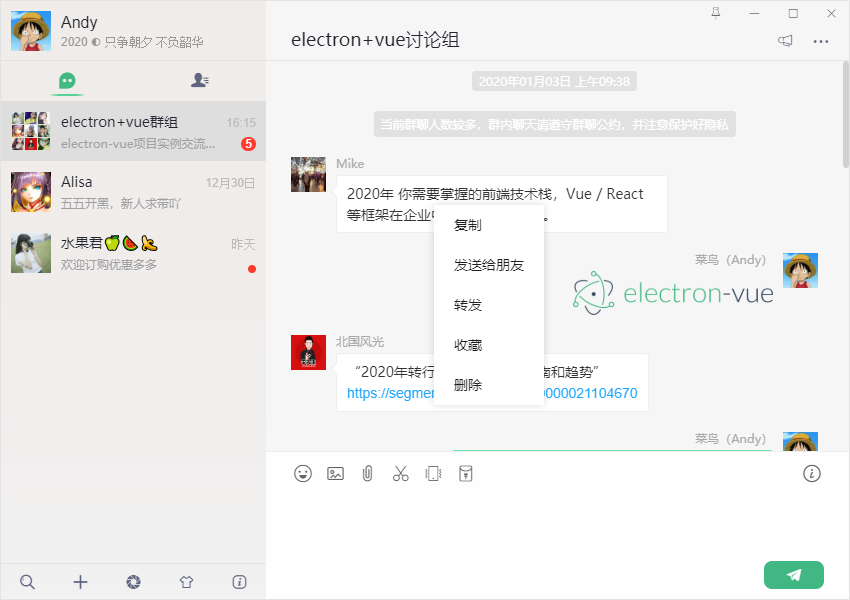
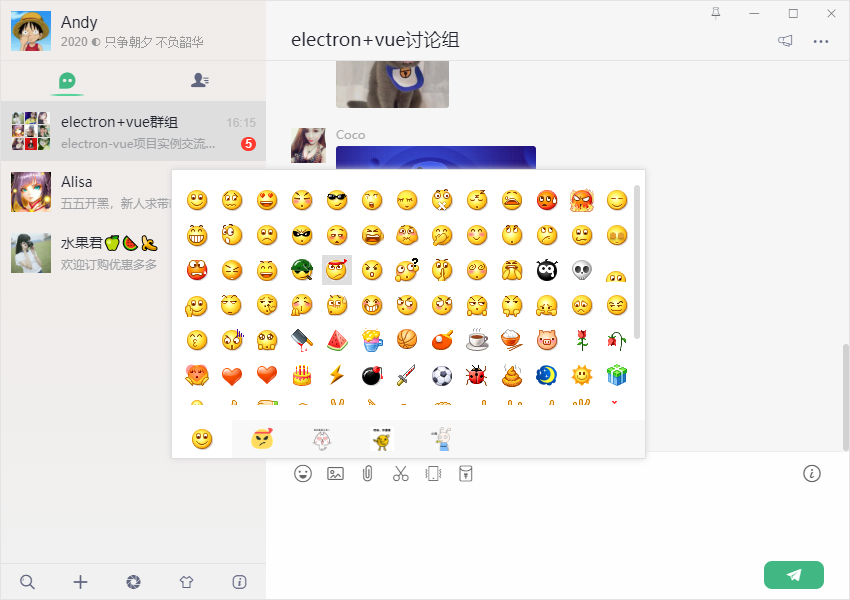
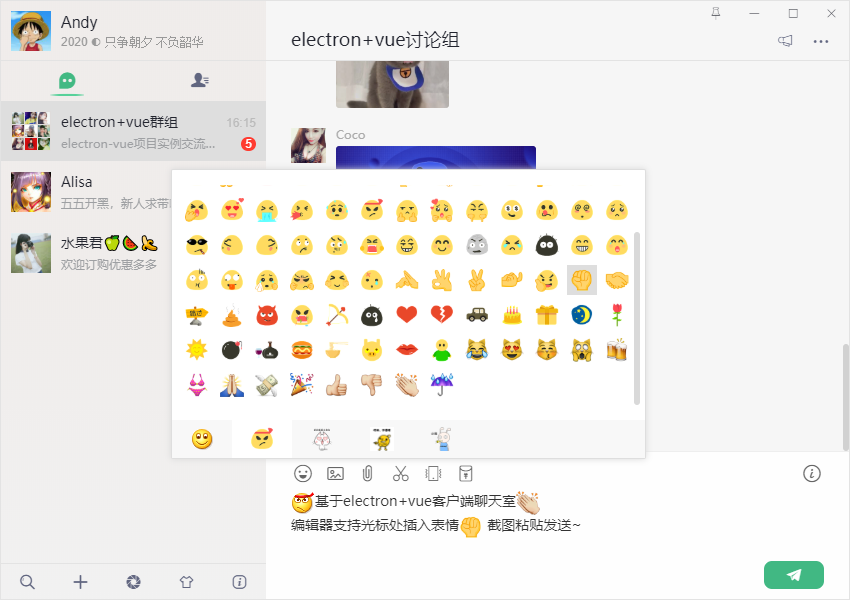
基于Electron+vue+electron-vue+vuex+Nodejs+vueVideoPlayer+electron-builder等技术仿制微信电脑端界面聊天室实例,实现消息发送/动态表情,图片/视频预览,拖拽图片/粘贴截图发送,朋友圈/红包/换肤等功能。
二、效果图
三、技术栈
- 框架技术:electron + electron-vue + vue
- 状态管理:Vuex
- 地址路由:Vue-router
- 字体图标:阿里iconfont字体图标库
- 弹窗插件:wcPop
- 打包工具:electron-builder
- 环境配置:Node.js + Chromium
- 图片预览:vue-photo-preview
- 视频组件:vue-video-player



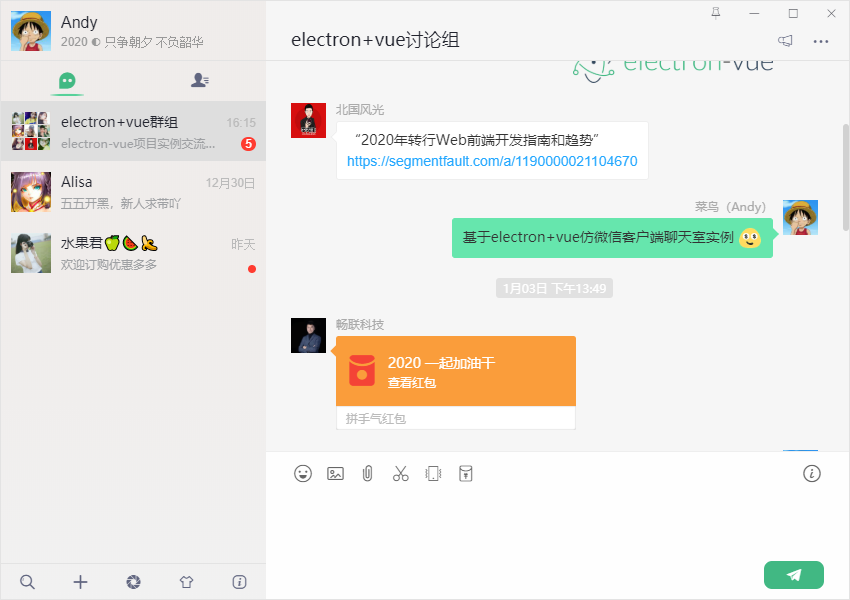

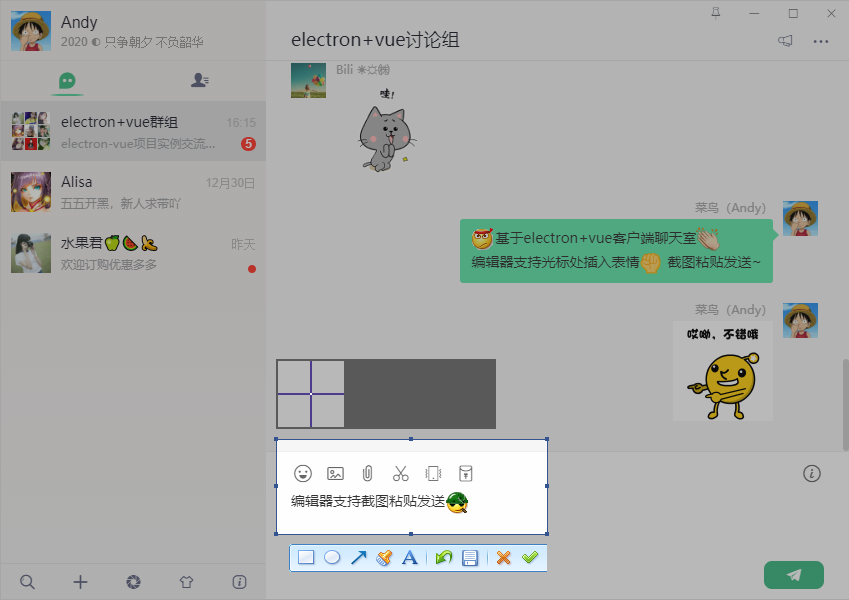
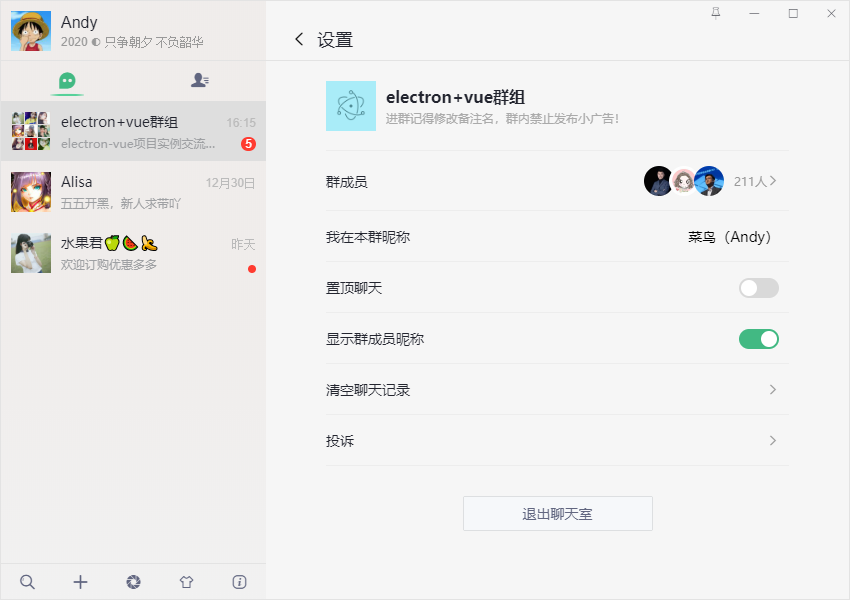
如何配置开发环境及使用electron-vue,这里不作多介绍,可查阅官网及搜资料
https://simulatedgreg.gitbooks.io/electron-vue/content/cn/
https://github.com/SimulatedGREG/electron-vue
注意:由于electron-vue作者长时间未更新,里面electron版本v2.0.4太旧,如遇问题,可升级到最新版本
◆ Electron主进程index.js
通过BrowserWindow创建和控制浏览器窗口,官网有详细介绍,这里略过...
https://electronjs.org/docs/api/browser-window
...

let mainWin
let tray
let forceQuit = false
let logined = false

/**
 * 创建主窗口=============================
 */
function createMainWin() {
    mainWin = new BrowserWindow({
        // 背景颜色
        // backgroundColor: '#ebebeb',
        width: Common.WIN_SIZE_MAIN.width,
        height: Common.WIN_SIZE_MAIN.height,
        title: Common.WIN_TITLE,
        useContentSize: true,
        autoHideMenuBar: true,
        // 无边框窗口
        frame: false,
        resizable: true,
        // 窗口创建的时候是否显示. 默认值为true
        show: false,
        webPreferences: {
            // devTools: false,
            webSecurity: false
        }
    })

    mainWin.setMenu(null)
    mainWin.loadURL(Common.WIN_LOAD_URL())

    mainWin.once('ready-to-show', () => {
        mainWin.show()
        mainWin.focus()
    })

    // 点击关闭最小到托盘判断
    mainWin.on('close', (e) => {
        if(logined && !forceQuit) {
            e.preventDefault()
            mainWin.hide()
        }else {
            mainWin = null
            app.quit()
        }
    })

    initialIPC()
    apptray.createTray()
}

app.on('ready', createMainWin)

app.on('activate', () => {
    if(mainWin === null) {
        createMainWin()
    }
})

...

如上图:创建托盘图标及闪烁效果
/**
 * 托盘图标事件
 */
let flashTrayTimer = null
let trayIco1 = `${__static}/icon.ico`
let trayIco2 = `${__static}/empty.ico`
let apptray = {
  // 创建托盘图标
  createTray() {
    tray = new Tray(trayIco1)
    const menu = Menu.buildFromTemplate([
      {
        label: '打开主界面',
        icon: `${__static}/tray-ico1.png`,
        click: () => {
          if(mainWin.isMinimized()) mainWin.restore()
          mainWin.show()
          mainWin.focus()

          this.flashTray(false)
        }
      },
      {
        label: '关于',
      },
      {
        label: '退出',
        click: () => {
          if(process.platform !== 'darwin') {
            mainWin.show()
            // 清空登录信息
            mainWin.webContents.send('clearLoggedInfo')

            forceQuit = true
            mainWin = null
            app.quit()
          }
        }
      },
    ])
    tray.setContextMenu(menu)
    tray.setToolTip('electron-vchat v1.0.0')

    // 托盘点击事件
    tray.on('click', () => {
      if(mainWin.isMinimized()) mainWin.restore()
      mainWin.show()
      mainWin.focus()

      this.flashTray(false)
    })
  },
  // 托盘图标闪烁
  flashTray(flash) {
    let hasIco = false

    if(flash) {
      if(flashTrayTimer) return
      flashTrayTimer = setInterval(() => {
        tray.setImage(hasIco ? trayIco1 : trayIco2)
        hasIco = !hasIco
      }, 500)
    }else {
      if(flashTrayTimer) {
        clearInterval(flashTrayTimer)
        flashTrayTimer = null
      }

      tray.setImage(trayIco1)
    }
  },
  // 销毁托盘图标
  destroyTray() {
    this.flashTray(false)
    tray.destroy()
    tray = null
  }
}
◆ 渲染进程主页面main.js及app.vue
/**
 * @Desc   主入口main.js
 * @about  Q:282310962  wx:xy190310
 */

import Vue from 'vue'
import axios from 'axios'

import App from './App'
import router from './router'
import store from './store'

// 引入组件配置
import $components from './components'
Vue.use($components)

if (!process.env.IS_WEB) Vue.use(require('vue-electron'))
Vue.http = Vue.prototype.$http = axios


/* eslint-disable no-new */
new Vue({
  components: { App },
  router,
  store,
  template: '<App/>'
}).$mount('#app')
<template>
  <div id="app">
    <div class="elv-container" :style="$store.state.winSkin && {'background-image': 'url('+$store.state.winSkin+')'}">
      <div class="elv-wrapper flexbox">
        <!-- //侧边栏 -->
        <side-bar v-if="!$route.meta.hideSideBar" />

        <!-- //主布局 -->
        <div class="elv-mainbx flex1 flexbox flex-col">
          <!-- ...顶部按钮 -->
          <win-bar />

          <keep-alive>
            <router-view></router-view>
          </keep-alive>
        </div>
      </div>
    </div>
  </div>
</template>
至于状态管理及路由配置基本和vue里面使用一样,这里也略过...
◆ electron自定义最大/小化、关闭按钮、无边框窗口拖动
配置BrowserWindow里面frame:false就会是无边框窗口,这时就可以自定义最大/小,关闭按钮,那么问题来了,无边框窗口如何进行拖动尼?
- 1、通过mousedown、mousemove等事件处理
- 2、设置需要拖动区css属性 -webkit-app-region
.elv__drag{-webkit-app-region: drag; -webkit-user-select:none; -moz-user-select:none; -ms-user-select:none; user-select:none;}
.elv__nodrag{-webkit-app-region: no-drag;}

注意:默认设置-webkit-app-region: drag后,下面的元素不能点击操作,可通过设置需点击元素no-drag即可。
import { app, remote, ipcRenderer } from 'electron'
import { mapState, mapMutations } from 'vuex'

let currentWin = remote.getCurrentWindow()

export default {
    props: {
        title: String,
    },
    data () {
        return {// 是否置顶
            isAlwaysOnTop: false,
            // 窗口是否可以最小化
            isMinimizable: true,
            // 窗口是否可以最大化
            isMaximizable: true,
        }
    },
    computed: {
        ...mapState(['isWinMaxed'])
    },
    mounted() {if(!currentWin.isMinimizable()) {
            this.isMinimizable = false
        }
        if(!currentWin.isMaximizable()) {
            this.isMaximizable = false
        }
        if(this.isWinMaxed && currentWin.isMaximizable()) {
            currentWin.maximize()
        }

        // 监听是否最大化
        currentWin.on('maximize', () => {
            this.SET_WINMAXIMIZE(true)
        })
        currentWin.on('unmaximize', () => {
            this.SET_WINMAXIMIZE(false)
        })
    },
    methods: {
        ...mapMutations(['SET_WINMAXIMIZE']),

        // 置顶窗口
        handleFixTop() {
            this.isAlwaysOnTop = !this.isAlwaysOnTop
            currentWin.setAlwaysOnTop(this.isAlwaysOnTop)
        },

        // 最小化
        handleMin() {
            currentWin.minimize()
        },

        // 最大化
        handleMax() {
            if(!currentWin.isMaximizable()) return
            if(currentWin.isMaximized()) {
                currentWin.unmaximize()
                this.SET_WINMAXIMIZE(false)
            }else {
                currentWin.maximize()
                this.SET_WINMAXIMIZE(true)
            }
        },

        // 关闭
        handleQuit() {
            currentWin.close()
        }
    }
}
◆ 聊天编辑器光标处插入表情、div可编辑contenteditable="true"双向绑定
如何实现electron vue中向编辑框contenteditable光标处插入动态表情,类似QQ、微信聊天编辑器??
- 1、使用input、textarea文本框实现
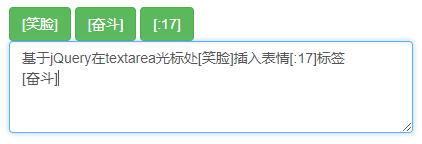
通过给input或textarea文本框插入[奋斗]、(:17 等表情符标签,展示信息的时候解析标签就行
<!DOCTYPE html>
<html>
    <head>
        <meta charset="utf-8">
        <title></title>
        <link href="https://cdn.bootcss.com/bootstrap/3.3.7/css/bootstrap.min.css" rel="stylesheet">
    </head>
    <body>
        <div class="container">
            <div class="row">
                <div class="col col-sm-12">
                    <button class="btn btn-success" data-emoj="[笑脸]">[笑脸]</button>
                    <button class="btn btn-success" data-emoj="[奋斗]">[奋斗]</button>
                    <button class="btn btn-success" data-emoj="[:17]">[:17]</button>
                </div>
                <div class="col col-sm-12">
                    <textarea class="form-control" id="content" rows="10"></textarea>
                </div>
            </div>
        </div>

        <script src="https://cdn.bootcss.com/jquery/3.3.1/jquery.min.js"></script>
        <script>
            (function ($) {
                $.fn.extend({
                    insertEmojAtCaret: function (myValue) {
                        var $t = $(this)[0];
                        if (document.selection) {
                            this.focus();
                            sel = document.selection.createRange();
                            sel.text = myValue;
                            this.focus();
                        } else if ($t.selectionStart || $t.selectionStart == '0') {
                            var startPos = $t.selectionStart;
                            var endPos = $t.selectionEnd;
                            var scrollTop = $t.scrollTop;
                            $t.value = $t.value.substring(0, startPos) + myValue + $t.value.substring(endPos, $t.value.length);
                            this.focus();
                            $t.selectionStart = startPos + myValue.length;
                            $t.selectionEnd = startPos + myValue.length;
                            $t.scrollTop = scrollTop;
                        } else {
                            this.value += myValue;
                            this.focus();
                        }
                    }
                });
            })(jQuery);

            $("button").on("click", function() {
                $("#content").insertEmojAtCaret($(this).attr("data-emoj"));
            });
        </script>
    </body>
</html>
- 2、运用h5中div可编辑contenteditable="true"实现
在vue页面设置contenteditable="true" 实现富文本文本框效果,由于div不能绑定v-model,只能使用vue提供的自定义组件v-model功能。

思路:新建一个chatInputEdit.vue组件,通过监听数据变化返回父组件数据
1):调用chatInputEdit.vue组件,并给其绑定v-model
<template>
    ...
    <chatInputEdit ref="chatInput" v-model="editorText" />
</template>

...

export default {
    data () {
        return {
            editorText: '',

            ...
        }
    },
    ...
}
2):v-model中传入的值在子组件prop中获取并监听value变化
export default {
    props: {
        value: { type: String, default: '' }
    },
    data () {
        return {
            editorText: this.value,
            ...
        }
    },
    watch: {
        value() {
            ...
        }
    },
}
3):监听获取到的值赋值给子组件中的v-html参数,就打通双向绑定链路了
/**
 * contenteditable光标处插入内容
 */
insertHtmlAtCaret(html) {
    let sel, range;
    if(!this.$refs.editor.childNodes.length) {
        this.$refs.editor.focus()
    }
    if (window.getSelection) {
        // IE9 and non-IE
        sel = window.getSelection();

        if (sel.getRangeAt && sel.rangeCount) {
            range = sel.getRangeAt(0);
            range.deleteContents();
            let el = document.createElement("div");
            el.appendChild(html)
            var frag = document.createDocumentFragment(), node, lastNode;
            while ((node = el.firstChild)) {
                lastNode = frag.appendChild(node);
            }
            range.insertNode(frag);
            if (lastNode) {
                range = range.cloneRange();
                range.setStartAfter(lastNode);
                range.collapse(true);
                sel.removeAllRanges();
                sel.addRange(range);
            }
        }
    } else if (document.selection && document.selection.type != "Control") {
        // IE < 9
        document.selection.createRange().pasteHTML(html);
    }
}
◆ electron+vue实现微信截图功能
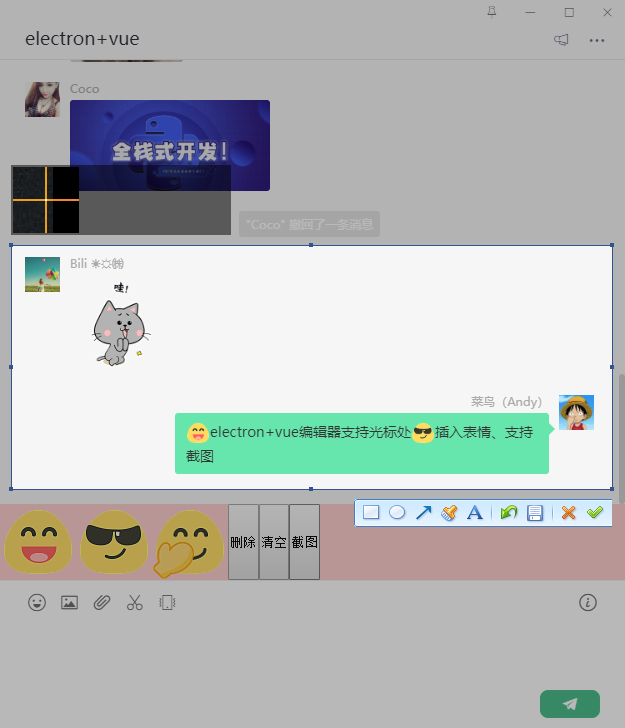
Node中通过的execFile方法执行exe文件,exe调用同级目录下的微信截图dll,调出截图工具
handleCaptureScreen() {
    return new Promise((resolve) => {
        const { execFile } = require('child_process')
        var screenWin = execFile('./static/PrintScr.exe')
        screenWin.on('exit', function(code) {
            let pngs = require('electron').clipboard.readImage().toPNG()
            let imgData = new Buffer.from(pngs, 'base64')
            let imgs = 'data:image/png;base64,' + btoa(new Uint8Array(imgData).reduce((data, byte) => data + String.fromCharCode(byte), ''))
            resolve(imgs)
        })
    })
},
Okay。以上就是基于electron+vue开发仿微信客户端聊天实例分享,希望能有些帮助!!💪💪
最后分享几个最新研发的跨平台原创实例项目
Vite5+Electron聊天室|electron31跨平台仿微信EXE客户端|vue3聊天程序
uniapp+vue3聊天室|uni-app+vite4+uv-ui跨端仿微信app聊天语音/朋友圈
Tauri2.0+Vite5聊天室|vue3+tauri2+element-plus仿微信|tauri聊天应用
Electron32-ViteOS桌面版os系统|vue3+electron+arco客户端OS管理模板


