Spring Boot 入门(十二)部署Elasticsearch
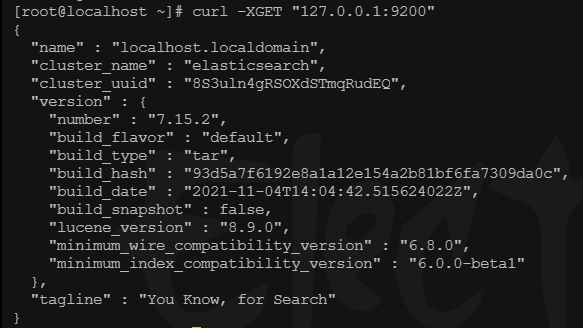
# 下载
wget https://artifacts.elastic.co/downloads/elasticsearch/elasticsearch-7.15.2-linux-x86_64.tar.gz

# 解压
tar -zxvf /usr/local/elasticsearch-7.15.2-linux-x86_64.tar.gz

# 创建ES用户和用户组
groupadd elasticsearch
useradd elasticsearch -g elasticsearch -p elasticsearch

# 更改ES文件的所属用户组及用户
chown -R elasticsearch:elasticsearch /usr/local/elasticsearch-7.15.2

# 切换用户
su elasticsearch

# 前台启动ES
cd elasticsearch-7.15.2/bin
./elasticsearch

# 或者后台启动ES
cd elasticsearch-7.15.2/bin
./elasticsearch -d

# 测试连接ES,当结果输出JSON数据则说明ES启动成功
curl -XGET "127.0.0.1:9200"

# 关闭后台运行的ES
ps -aux|grep elasticsearch
kill -9 pid
设置外网访问
vi /usr/local/elasticsearch-7.15.2/config/elasticsearch.yml

放开
network.host: 0.0.0.0
cluster.initial_master_nodes: ["node-1", "node-2"]
提示错误:
ERROR: [2] bootstrap checks failed. You must address the points described in the following [2] lines before starting Elasticsearch.
bootstrap check failure [1] of [2]: max virtual memory areas vm.max_map_count [65530] is too low, increase to at least [262144]
修改文件:
sudo vim /etc/sysctl.conf
插入
vm.max_map_count=655360
查看更新是否成功
sudo sysctl -p
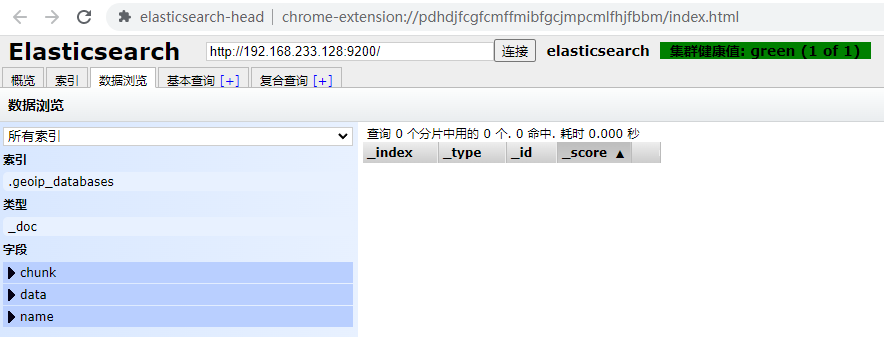
可视化工具:
ElasticSearch Head
https://github.com/mobz/elasticsearch-head
安装谷歌插件es-head.crx