


Vue实现可拖拽边界布局
实现可拖拽边界布局
一种可拖拽边界的布局,通过拖动分隔线来调整不同区域大小。
主要涉及到以下几个方面:
布局结构:使用flex布局来实现容器和子元素的分配,使用style绑定来动态调整区域的大小,使用cursor属性来改变鼠标的形状。
数据定义:使用data选项来定义不同区域的宽度和高度,以及是否正在拖动分隔线,以及拖动开始时的鼠标位置和区域大小。
事件处理:使用methods选项来定义开始拖动、拖动中和结束拖动的函数,使用draggingH和draggingV来判断拖动的方向,使用startX和startY来记录拖动的起点,使用delta来计算拖动的距离,使用leftWidth、rightWidth、topHeight和bottomHeight来更新区域的大小。
事件绑定:使用v-on指令来绑定分隔线的mousedown事件,表示用户开始拖动分隔线,给document绑定mousemove事件,表示用户正在拖动分隔线,给document绑定mouseup事件,表示用户结束拖动分隔线。
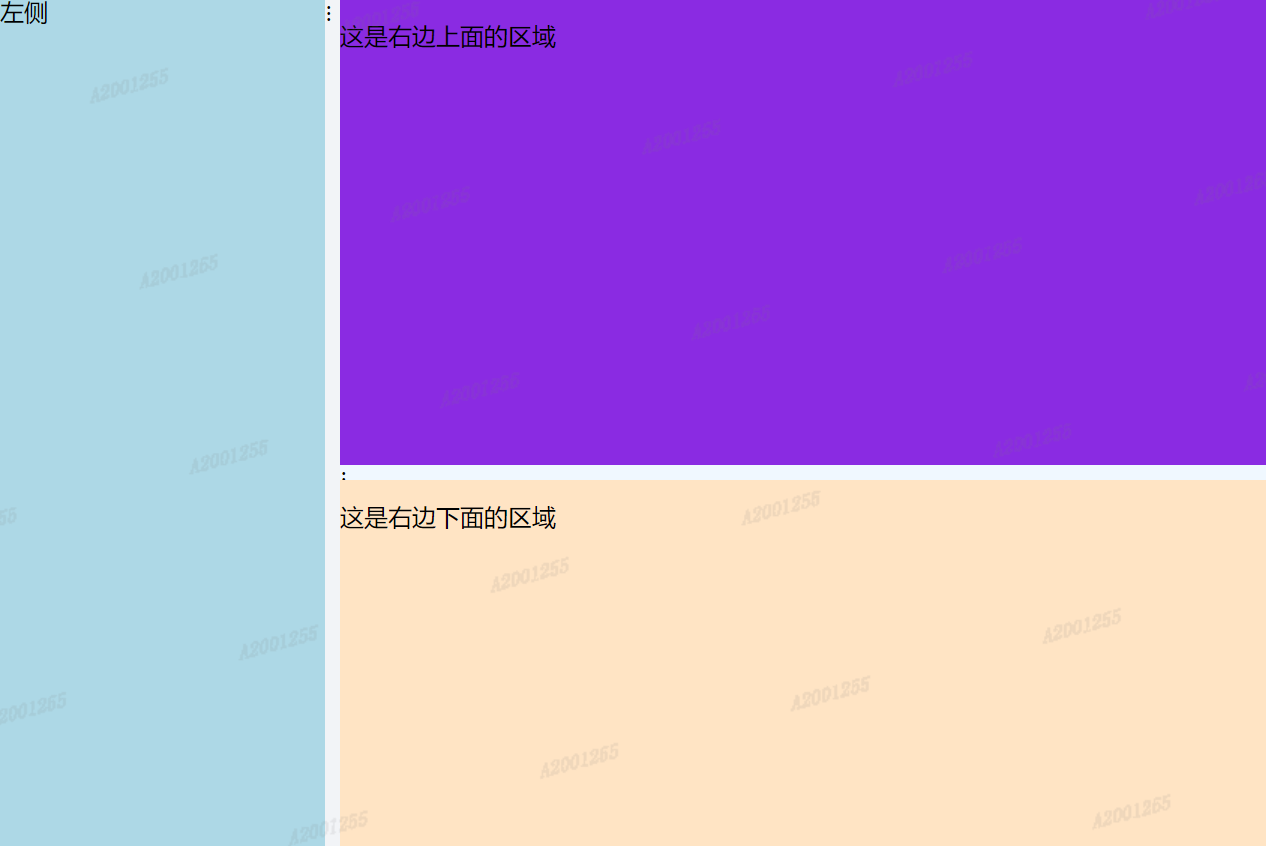
效果图:
全部代码 :

<template>
  <div id="app">
    <div class="container">
      <div class="left" :style="{ width: leftWidth + 'px' }">
        左侧
      </div>
      <!--左右分离线-->
      <div class="divider-h" @mousedown="startDragH">
        ⋮
      </div>
      <div class="right" :style="{ width: rightWidth + 'px' }">
        <div class="top" :style="{ height: topHeight + 'px' }">
          <p>这是右边上面的区域</p>
        </div>
        <!--右侧上线分离线-->
        <div class="divider-v" @mousedown="startDragV">
          ⋮
        </div>
        <div class="bottom" :style="{ height: bottomHeight + 'px' }">
          <p>这是右边下面的区域</p>
        </div>
      </div>
    </div>
  </div>
</template>

<script>
export default {
  name: 'App',
  data() {
    return {
      containerWidth: 800, // 容器的宽度
      containerHeight: 600, // 容器的高度
      leftWidth: 400, // 左边区域的宽度
      rightWidth: 400, // 右边区域的宽度
      topHeight: 300, // 右边上面区域的高度
      bottomHeight: 300, // 右边下面区域的高度
      draggingH: false, // 是否正在水平拖动
      draggingV: false, // 是否正在垂直拖动
      startX: 0, // 水平拖动开始时的鼠标位置
      startY: 0, // 垂直拖动开始时的鼠标位置
      startLeftWidth: 0, // 水平拖动开始时的左边区域宽度
      startRightWidth: 0,
      startTopHeight: 0, // 垂直拖动开始时的右边上面区域高度
      startBottomHeight: 0
    };
  },
  mounted() {
    // 监听鼠标移动和松开事件
    document.addEventListener('mousemove', this.onDrag);
    document.addEventListener('mouseup', this.endDrag);
    window.addEventListener('resize', this.onresize);
    this.leftWidth = window.innerWidth * 0.2 - 5
    this.rightWidth = window.innerWidth * 0.8 - 5
    this.topHeight = window.innerHeight * 0.5 - 5
    this.bottomHeight = window.innerHeight * 0.5 - 5
  },
  beforeDestroy() {
    // 移除事件监听
    document.removeEventListener('mousemove', this.onDrag);
    document.removeEventListener('mouseup', this.endDrag);
  },

  methods: {
    // 开始水平拖动
    startDragH(e) {
      this.draggingH = true;
      this.startX = e.clientX;
      this.startLeftWidth = this.leftWidth;
      this.startRightWidth = this.rightWidth;
    },
    // 开始垂直拖动
    startDragV(e) {
      this.draggingV = true;
      this.startY = e.clientY;
      this.startTopHeight = this.topHeight;
      this.startBottomHeight = this.bottomHeight;
    },
    // 拖动中
    onDrag(e) {
      if (this.draggingH) {
        // 计算水平拖动的距离
        const delta = e.clientX - this.startX;
        // 更新左右区域的宽度
        this.leftWidth = this.startLeftWidth + delta;
        this.rightWidth = this.startRightWidth - delta;
      }
      if (this.draggingV) {
        // 计算垂直拖动的距离
        const delta = e.clientY - this.startY;
        // 更新上下区域的高度
        this.topHeight = this.startTopHeight + delta;
        this.bottomHeight = this.startBottomHeight - delta;
      }
    },
    // 结束拖动
    endDrag() {
      this.draggingH = false;
      this.draggingV = false;
    },
    onresize() {
      this.leftWidth = window.innerWidth * 0.3 - 5
      this.rightWidth = window.innerWidth * 0.7 - 5
      this.topHeight = window.innerHeight * 0.5 - 5
      this.bottomHeight = window.innerHeight * 0.5 - 5
    }
  }
};
</script>
<style>
.container {
  display: flex;
  width: 100%;
  height: 100%;
}
.left {
  display: flex;
  flex-direction: column;
  background-color: lightblue;
  height: 100vh;
  width: 30%;
}
.right {
  display: flex;
  flex-direction: column;
  background-color: lightgreen;
  height: 100%;
  width: 70%;
}
.top {
  background-color: blueviolet;
}
.bottom {
  background-color: bisque;
}
.divider-h {
  width: 10px;
  cursor: col-resize;
}
.divider-v {
  height: 10px;
  cursor: row-resize;
  background-color: aliceblue;
}
 </style>


【推荐】国内首个AI IDE,深度理解中文开发场景,立即下载体验Trae
【推荐】编程新体验,更懂你的AI,立即体验豆包MarsCode编程助手
【推荐】抖音旗下AI助手豆包,你的智能百科全书,全免费不限次数
【推荐】轻量又高性能的 SSH 工具 IShell:AI 加持,快人一步
· 无需6万激活码!GitHub神秘组织3小时极速复刻Manus,手把手教你使用OpenManus搭建本
· Manus爆火,是硬核还是营销?
· 终于写完轮子一部分:tcp代理 了,记录一下
· 别再用vector<bool>了!Google高级工程师:这可能是STL最大的设计失误
· 单元测试从入门到精通