离线数仓采集通道搭建

离线数仓搭建——数据采集工具安装

@

一、zookeeper安装及配置

(1)zookeeper-3.5.9安装

先去网上下载zookeeper-3.5.9安装包,将安装包放入flink102的安装包路径

cd /opt/software

将安装包放入后进行解压

tar -zxvf apache-zookeeper-3.5.9-bin.tar.gz -C /opt/module
# 然后去/opt/module中查看
cd /opt/module
ll # 或者 ls
# 将文件改名便于后续使用
mv apache-zookeeper-3.5.9-bin zookeeper-3.5.9

(2)修改zookeeper配置文件

进到zookeeper文件夹中查看文件目录

cd /opt/module/zookeeper-3.5.9
ll

创建zkData用于保存日志

mkdir zkData

对zookeeper的配置文件进行修改
先对文件进行更名

mv conf/zoo_sample.cfg zoo.cfg
# 然后进行修改
vim conf/zoo.cfg

修改内容如下:

# The number of milliseconds of each tick
tickTime=2000
# The number of ticks that the initial 
# synchronization phase can take
initLimit=10
# The number of ticks that can pass between 
# sending a request and getting an acknowledgement
syncLimit=5
# the directory where the snapshot is stored.
# do not use /tmp for storage, /tmp here is just 
# example sakes.
dataDir=/opt/module/zookeeper-3.5.9/zkData
# the port at which the clients will connect
clientPort=2181
# the maximum number of client connections.
# increase this if you need to handle more clients
#maxClientCnxns=60
#
# Be sure to read the maintenance section of the 
# administrator guide before turning on autopurge.
#
# http://zookeeper.apache.org/doc/current/zookeeperAdmin.html#sc_maintenance
#
# The number of snapshots to retain in dataDir
#autopurge.snapRetainCount=3
# Purge task interval in hours
# Set to "0" to disable auto purge feature
#autopurge.purgeInterval=1
#########cluster#########
server.2=flink102:2888:3888
server.3=flink103:2888:3888
server.4=flink104:2888:3888

(3)增加zookeeper环境变量

上一篇文章中有自定义一个环境变量文件,对其进行增加

sudo vim /etc/profile.d/my_env.sh

增加zoo_home:

# JAVA_HOME
export JAVA_HOME=/opt/module/jdk1.8.0_212
export PATH=$PATH:$JAVA_HOME/bin
# HADOOP_HOME
export HADOOP_HOME=/opt/module/hadoop-3.1.3
export PATH=$PATH:$HADOOP_HOME/bin
export PATH=$PATH:$HADOOP_HOME/sbin
# ZOO_HOME
export ZOO_HOME=/opt/module/zookeeper-3.5.9
export PATH=$PATH:$ZOO_HOME/bin
source /etc/profile

(4)zookeeper启动

启动zookeeper服务

cd /opt/module/zookeeper-3.5.9
bin/zkServer.sh start

启动zookeeper客户端

bin/zkCli.sh

(5)集群zookeeper配置

上面已经完成了单机搭建,下面将文件分发给103、104节点

cd /opt/module
xsync zookeeper-3.5.9
sudo xsync /etc/profile.d/my_env.sh

记得去103、104节点source一下
在zkData文件夹下创建myid文件并编辑

cd /opt/module/zookeeper-3.5.9
vim zkData/myid
# 写个编号,必须跟server.x的编号一一对应上
2

分发给103、104节点

xsync zkData/myid

并修改103和104上的编号

(6)zookeeper集群脚本编写

cd到我们的脚本目录

cd /home/flink/bin
vim zk.sh

脚本内容如下:

#!/bin/bash
if [ $# -lt 1 ]
  then
  echo "No Args Input"
  exit
fi
 
case $1 in
"start")
  for i in flink102 flink103 flink104
  do
  echo "==================$i=================="
  ssh $i /opt/module/zookeeper-3.5.9/bin/zkServer.sh start
  done
  for i in flink102 flink103 flink104
  do
  echo "==================$i=================="
  ssh $i /opt/module/zookeeper-3.5.9/bin/zkServer.sh status
  done
;;
"stop")
  for i in flink102 flink103 flink104
  do
  echo "==================$i=================="
  ssh $i /opt/module/zookeeper-3.5.9/bin/zkServer.sh stop
  done
;;
"status")
  for i in flink102 flink103 flink104
  do
  echo "==================$i=================="
  ssh $i /opt/module/zookeeper-3.5.9/bin/zkServer.sh status
  done
;;
*)
 echo "Args Error"
;;
esac

赋予执行权限

chmod 777 zk.sh

现在可以尝试的群起zookeeper

zk.sh start
# 查看后台是否群起
jpsall

二、kafka安装及配置

(1)kafka安装

这里我选用的是kafka_2.11-2.4.1.tgz,官网可以下载
跟zookeeper一样将安装包放入安装包目录

cd /opt/software
# 解压kafka
tar -zxvf kafka_2.11-2.4.1.tgz -C /opt/module
# 去module目录修改文件名
cd /opt/module
mv kafka_2.11-2.4.1 kafka

(2)修改kafka配置文件

进入kafka文件夹查看文件结构

cd kafka
ll
drwxr-xr-x.  3 flink flink  4096 3月   3 2020 bin
drwxr-xr-x.  2 flink flink  4096 11月 12 14:44 config
drwxrwxr-x. 20 flink flink  4096 11月 16 12:33 datas
drwxr-xr-x.  2 flink flink  4096 11月 12 10:12 libs
-rw-r--r--.  1 flink flink 32216 3月   3 2020 LICENSE
drwxrwxr-x.  2 flink flink  4096 11月 16 12:00 logs
-rw-r--r--.  1 flink flink   337 3月   3 2020 NOTICE
drwxr-xr-x.  2 flink flink  4096 3月   3 2020 site-docs

进config目录修改配置文件

cd config
vim server.properties

修改内容为:

############################# Server Basics #############################

# The id of the broker. This must be set to a unique integer for each broker.
broker.id=0

# The number of threads that the server uses for receiving requests from the network and sending responses to the network
num.network.threads=3

# The number of threads that the server uses for processing requests, which may include disk I/O
num.io.threads=8

# The send buffer (SO_SNDBUF) used by the socket server
socket.send.buffer.bytes=102400

# The receive buffer (SO_RCVBUF) used by the socket server
socket.receive.buffer.bytes=102400

# The maximum size of a request that the socket server will accept (protection against OOM)
socket.request.max.bytes=104857600

############################# Log Basics #############################

# A comma separated list of directories under which to store log files
log.dirs=/opt/module/kafka/datas

# The default number of log partitions per topic. More partitions allow greater
# parallelism for consumption, but this will also result in more files across
# the brokers.
num.partitions=1

# The number of threads per data directory to be used for log recovery at startup and flushing at shutdown.
# This value is recommended to be increased for installations with data dirs located in RAID array.
num.recovery.threads.per.data.dir=1

############################# Zookeeper #############################

# Zookeeper connection string (see zookeeper docs for details).
# This is a comma separated host:port pairs, each corresponding to a zk
# server. e.g. "127.0.0.1:3000,127.0.0.1:3001,127.0.0.1:3002".
# You can also append an optional chroot string to the urls to specify the
# root directory for all kafka znodes.
zookeeper.connect=flink102:2181,flink103:2181,flink104:2181/kafka

# Timeout in ms for connecting to zookeeper
zookeeper.connection.timeout.ms=6000

(3)配置kafka环境变量

sudo vim /etc/profile.d/my_env.sh

添加以下内容:

# KAFKA_HOME
export KAFKA_HOME=/opt/module/kafka
export PATH=$PATH:$KAFKA_HOME/bin

记得source一下

(4)分发给103、104节点

xsync /opt/module/kafka
sudo xsync /etc/profile.d/my_env.sh

记得各个节点都source,然后进入路径/opt/module/kafka/conf 修改server.properties,将broker.id设置成1、2

(5)群起kafka脚本

先试着开启102节点上的kafka服务

bin/kafka-server-start.sh

kafka群起脚本编写

cd /home/flink/bin
vim kf.sh
#! /bin/bash

case $1 in
"start"){
   for i in flink102 flink103 flink104
   do
       echo " --------启动 $i Kafka-------"
       ssh $i "/opt/module/kafka/bin/kafka-server-start.sh -daemon /opt/module/kafka/config/server.properties"
   done
};;
"stop"){
   for i in flink102 flink103 flink104
   do
       echo " --------停止 $i Kafka-------"
       ssh $i "/opt/module/kafka/bin/kafka-server-stop.sh stop"
   done
};;
esac
chmod 777 kf.sh

试着群起kafka,在用jpsall看一下后台进程

kf.sh start
jpsall

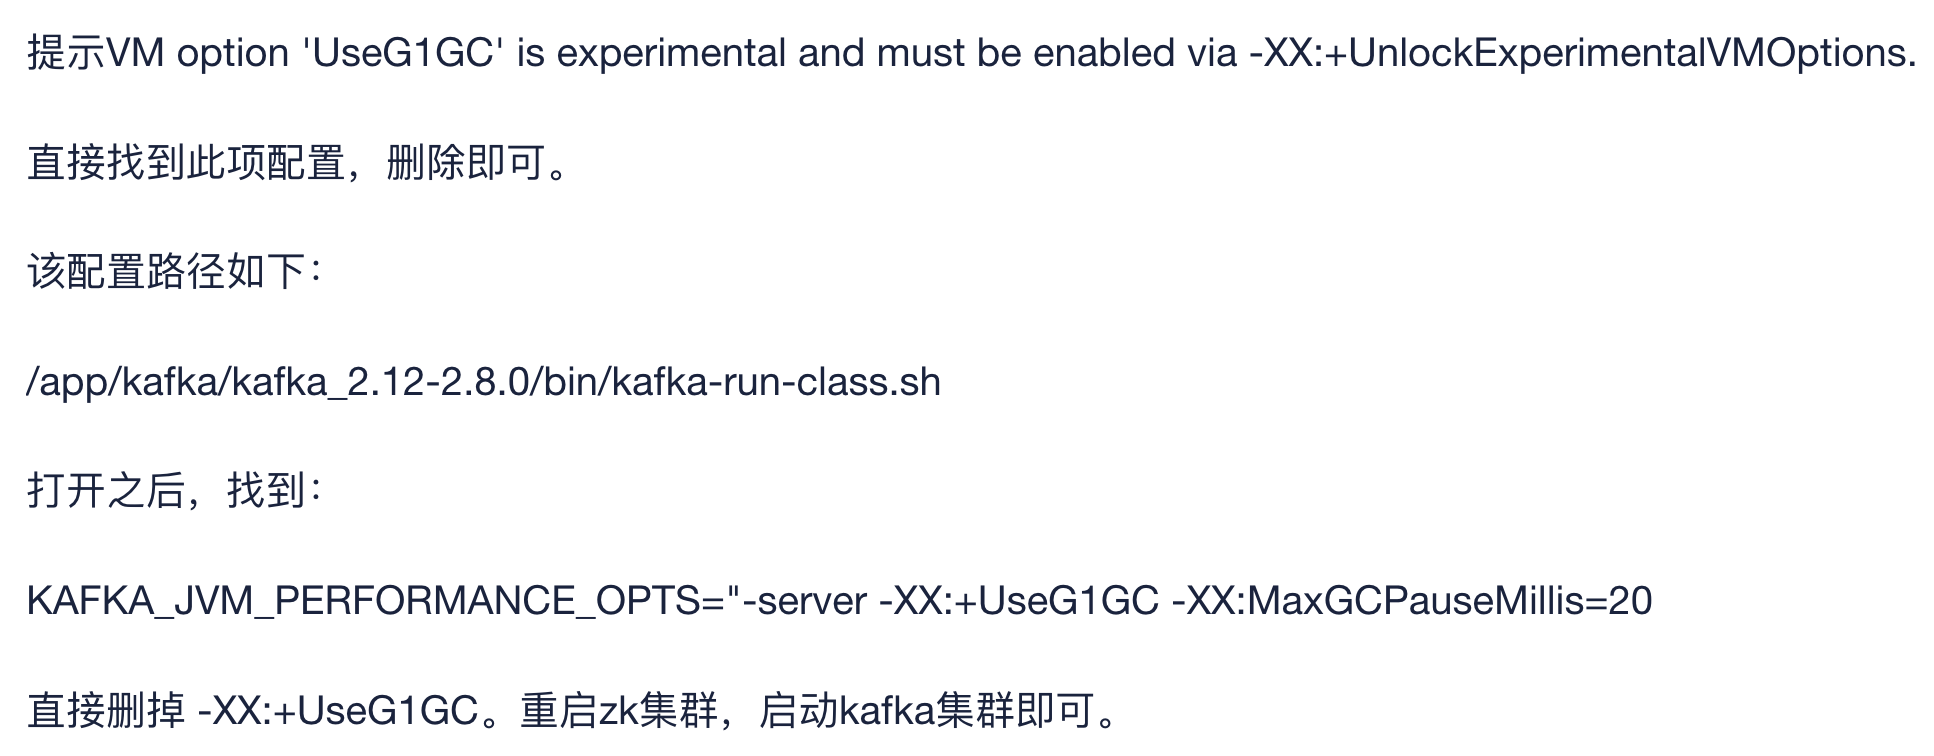
注意:如果是ARM架构的服务器,需要有以下更改:

三、flume安装及配置

(1)flume安装及配置

flume我选的是1.9.0,官网可下载
将安装包放入/opt/software

tar -zxvf /opt/software/apache-flume-1.9.0-bin.tar.gz -C /opt/module

修改文件名

cd /opt/module
mv apache-flume-1.9.0-bin flume-1.9.0

flume安装后需要删除一个jar包以兼容hadoop3.1.3

rm /opt/module/flume-1.9.0/lib/guava-11.0.2.jar

至此数据采集通道需要安装的工具已经安装完成

posted @ 2022-01-14 10:31  小笼包想飞  阅读(179)  评论(0编辑  收藏  举报