搭建 Github 上的 Hexo 博客
1.准备
1.1环境搭建
Hexo 基于 Node.js,需要安装 Node.js 和 Git。
1.2创建 Github Pages 仓库
GitHub 主页右上角加号 -> New repository:
- Repository name 中输入 用户名.github.io
- 勾选 “Initialize this repository with a README”
- Description 选填
 创建完后在上面创建的仓库里面点击Settings(不是头像下面那个Settings),向下拉到最后有个Pages,点击Choose a theme选择一个主题。然后等一会儿,再回到GitHub Pages
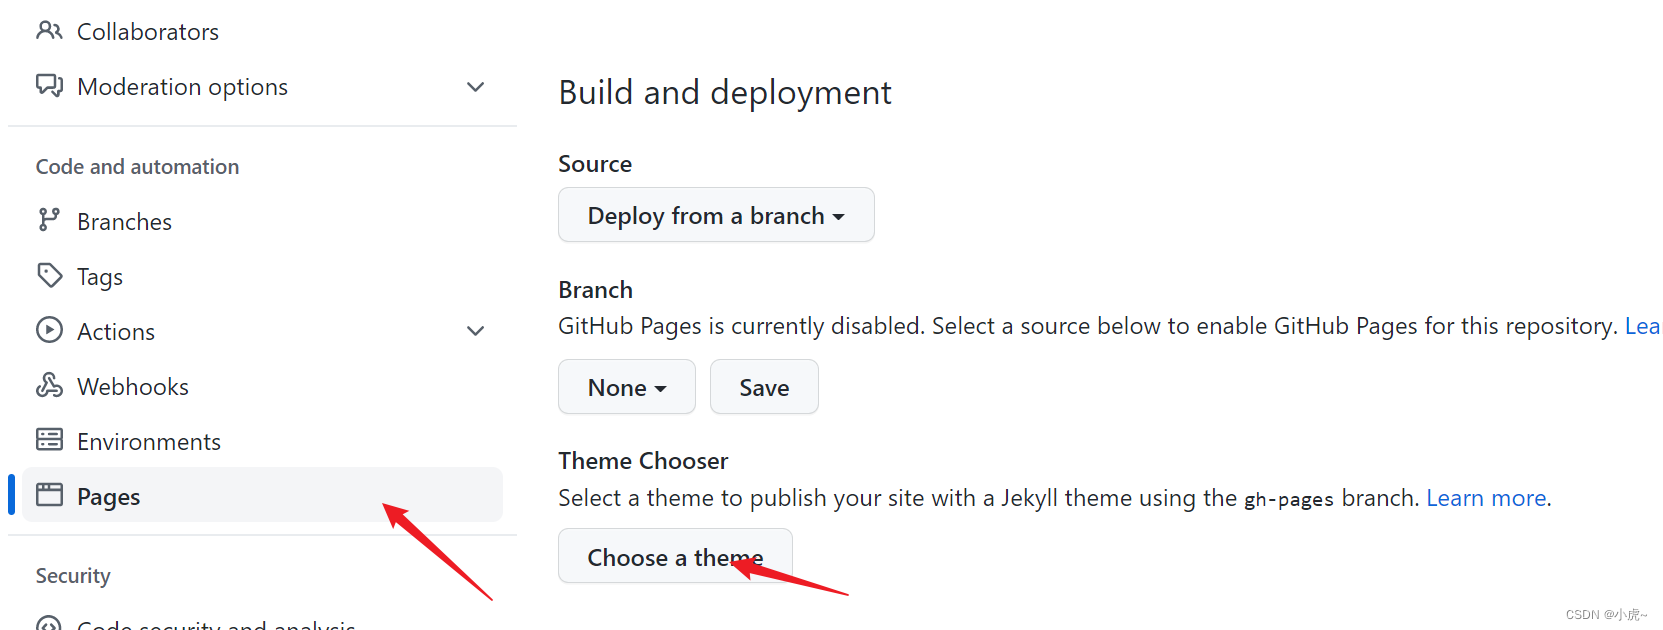

点击这个链接,就可以预览效果啦。
2.连接 Github
创建 hexo 博客项目文件夹:Hexo
右键文件, 打开 Git Bash 命令行窗口
git config --global user.name "GitHub 用户名"
git config --global user.email "GitHub 邮箱"
2.1创建 SSH 密匙:
输入命令然后一路回车。
ssh-keygen -t rsa -C "GitHub 邮箱"2.2添加密匙:
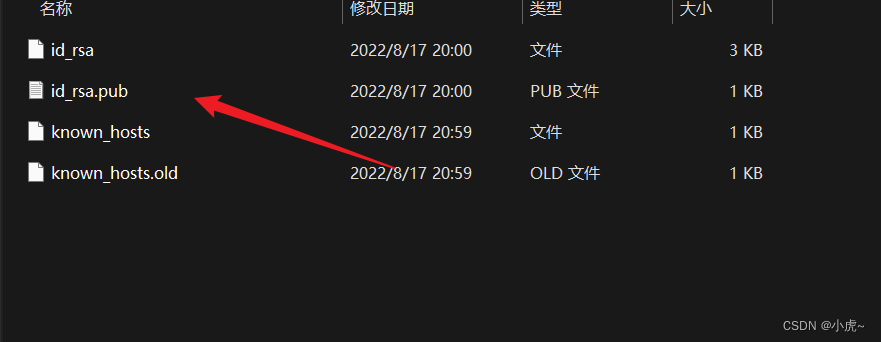
进入 [C:\Users\用户名\.ssh] 目录(要勾选显示“隐藏的项目”),用记事本打开公钥 id_rsa.pub 文件并复制里面的内容。
登陆 GitHub ,点击头像进入 Settings 页面,选择左边栏的 SSH and GPG keys,点击 New SSH key。

Title 随便取个名字,粘贴复制的 id_rsa.pub 内容到 Key 中,点击 Add SSH key 完成添加。
2.3验证连接:
打开 Git Bash,输入命令出现 “Are you sure……”,输入 yes 回车确认。
ssh -T git@github.com 显示 “Hi xxx! You've successfully……” 即连接成功。
3.本地安装 Hexo
3.1 安装 hexo cli
npm install hexo-cli -g
3.2 初始化博客项目
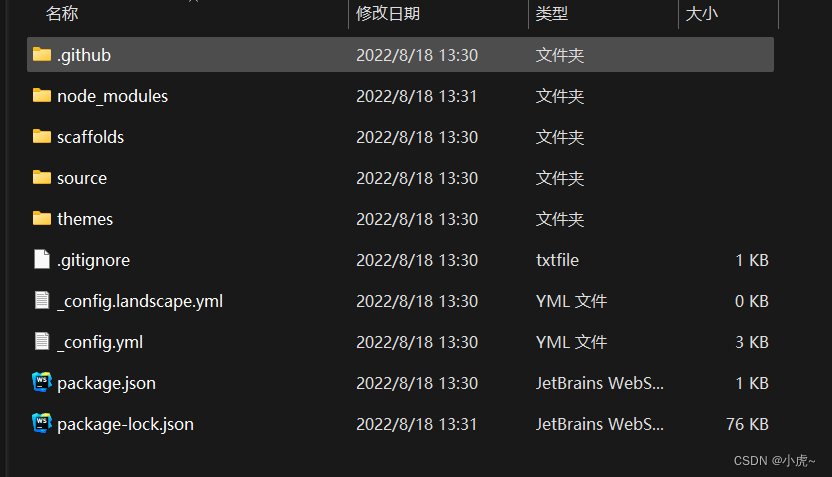
hexo init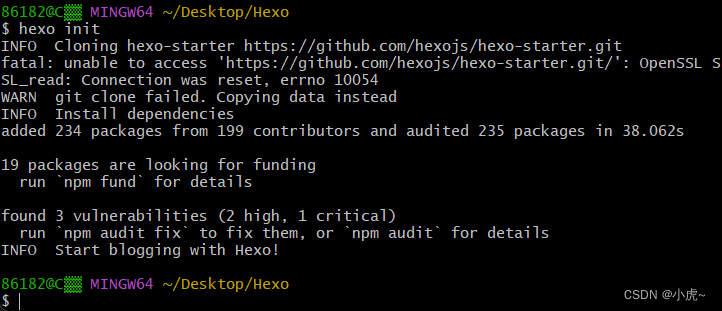
3.3 生成博客静态文件
hexo g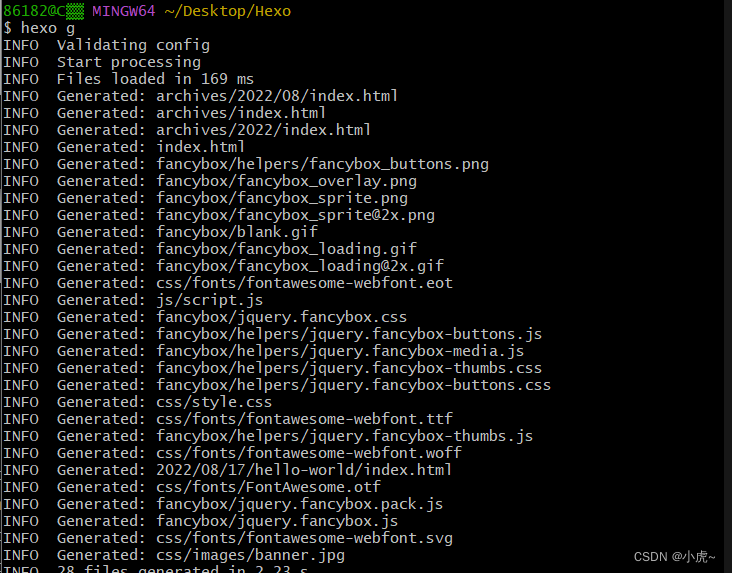
3.4 启动本地的测试服务器
hexo s默认使用4000端口,进不去可能是端口被占用, 进去页面说明配置成功了
暂时修改启动端口:hexo s -p 80
永久修改启动端口:vim node_modules\hexo-server\index.js 修改默认的port值。
hexo s -p 80 
http://localhost:4000/ 进去的页面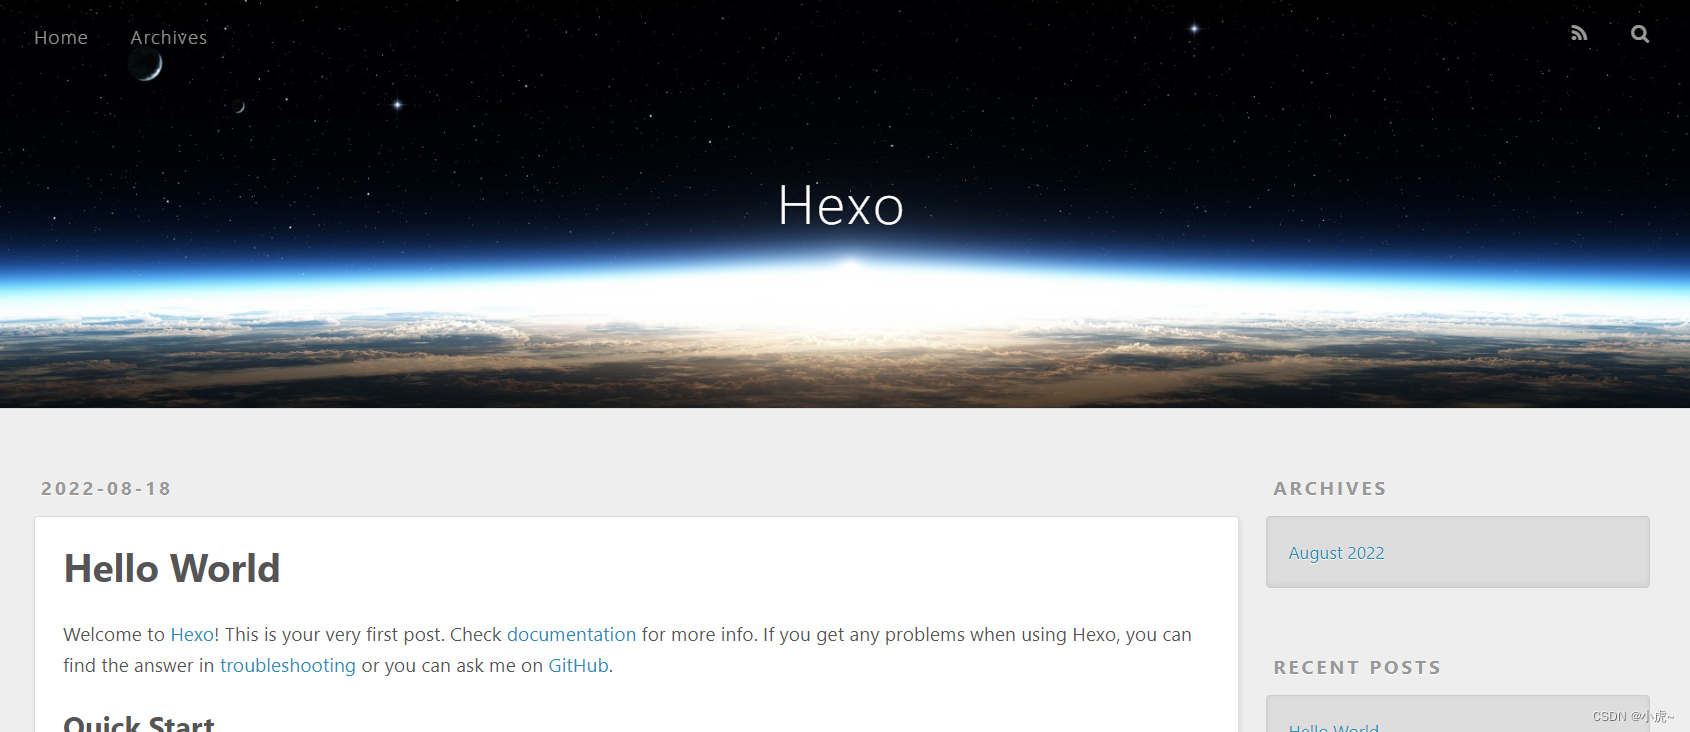
3.5配置博客
修改项目根目录的_config.yaml文件
配置博客的标题、作者等相关信息:

配置github pages 仓库地址:

3.6 配置 git 用于部署 hexo 博客到 github pages 仓库
git init
npm install --save hexo-deployer-git  //hexo依赖
3.7 上传到github
hexo g
hexo d
4 安装主题
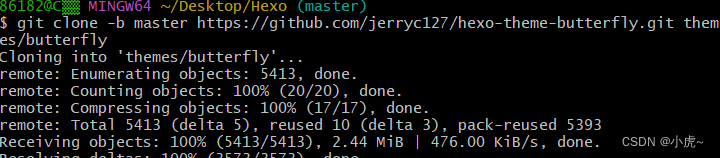
4.1 下载butterfly主题
git clone -b master https://github.com/jerryc127/hexo-theme-butterfly.git themes/butterfly
编辑项目根目录的文件: _config.yml 切换butterfly主题
4.2 butterfly主题需要的插件
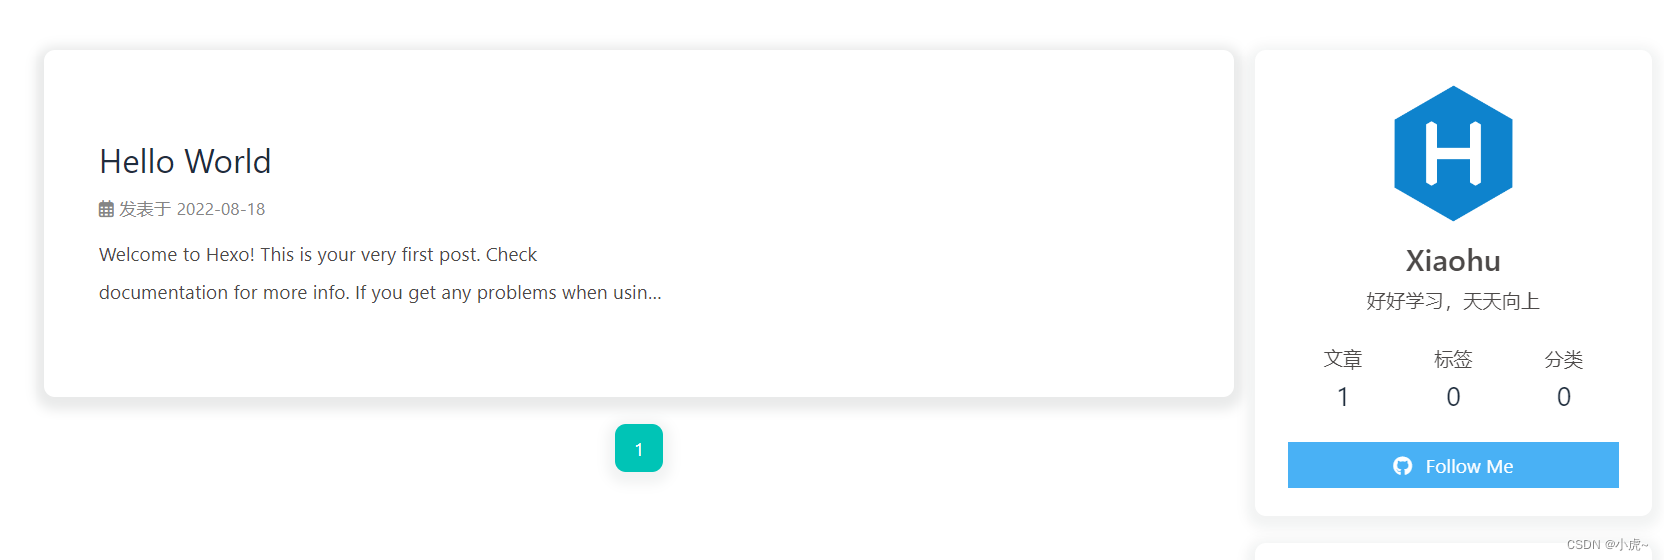
npm install --save hexo-renderer-pug hexo-renderer-stylus4.3 测试
命令输入hexo -g hexo-s

 浙公网安备 33010602011771号