自定义控件——视图的构建过程——视图的绘制方法
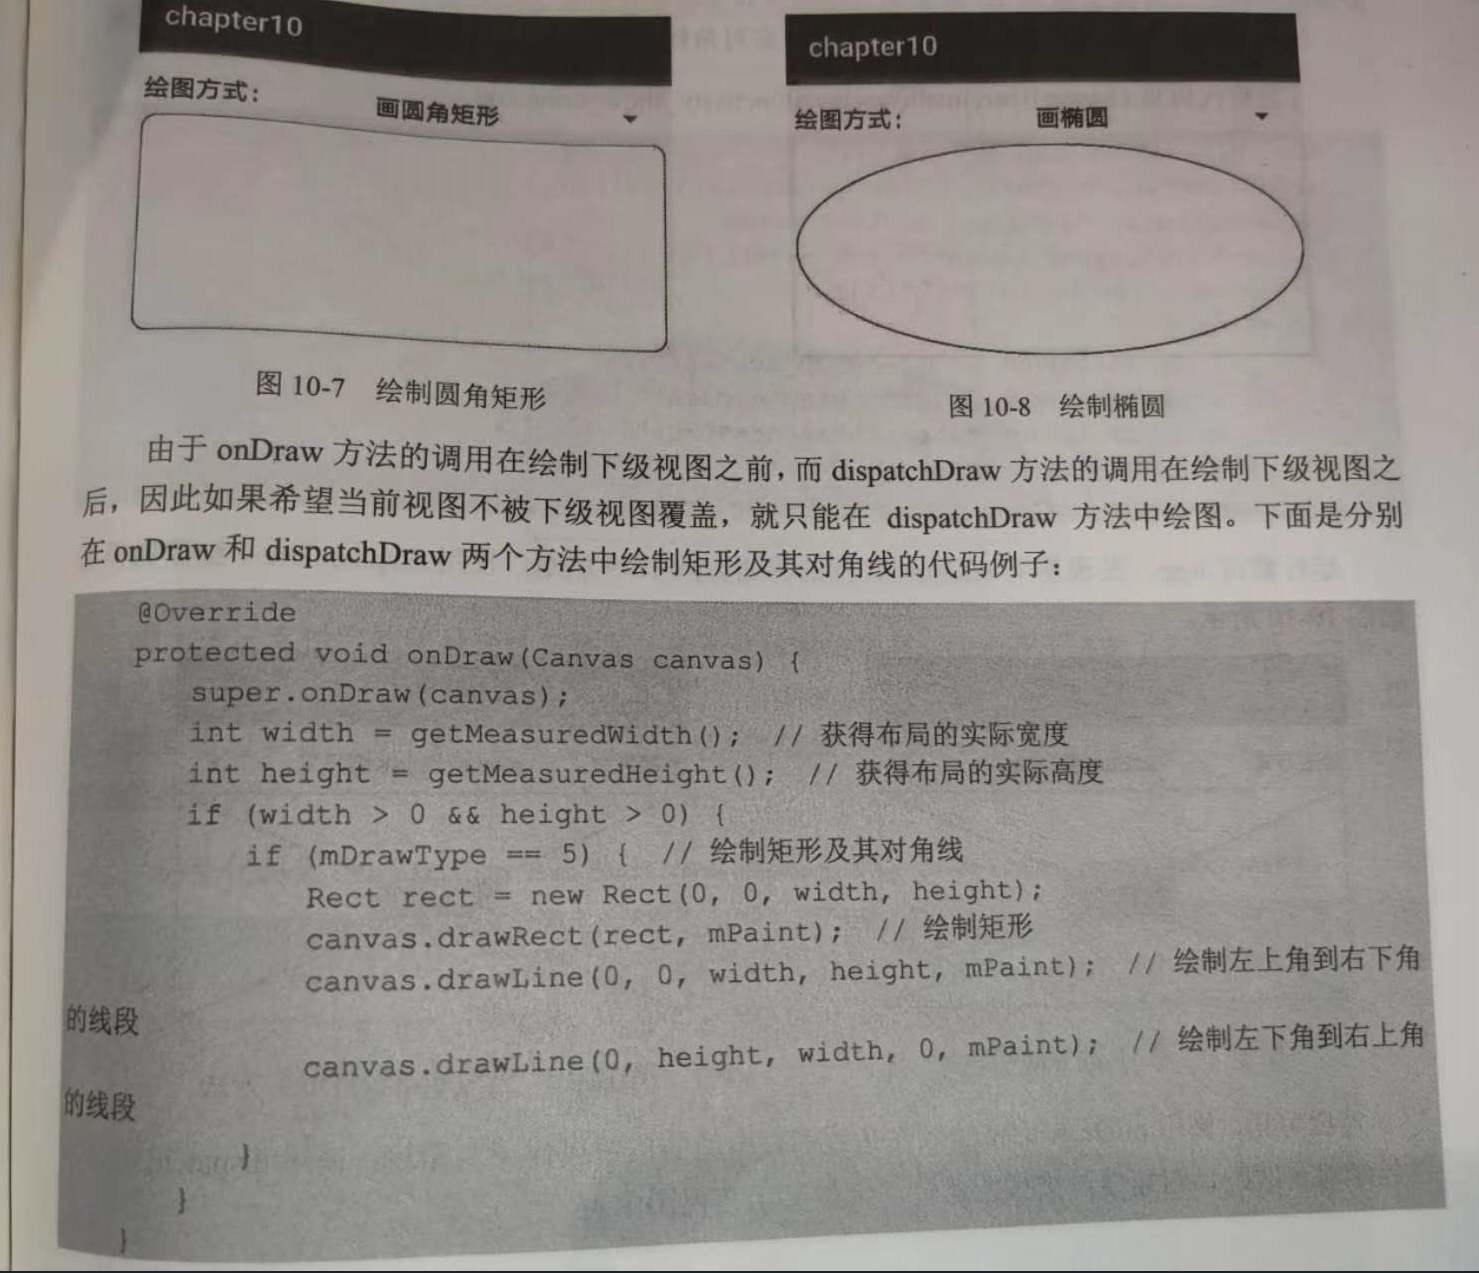
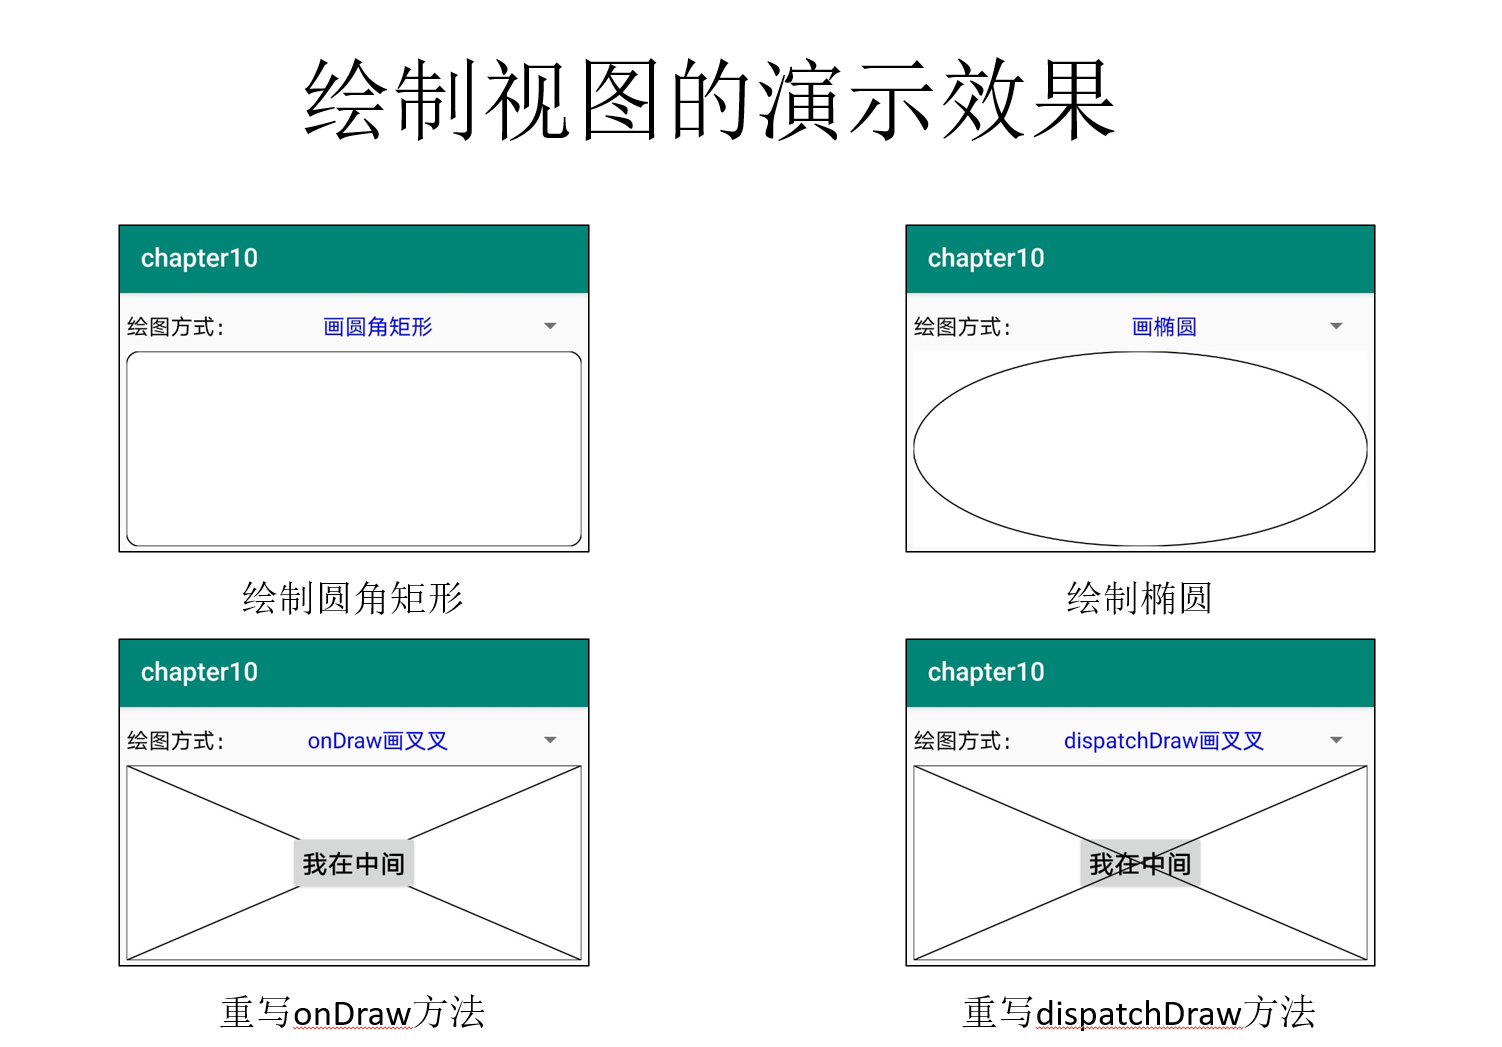
视图绘制有两种方法,分别是onDraw和dispatchDraw,它们的区别主要有下列两点:
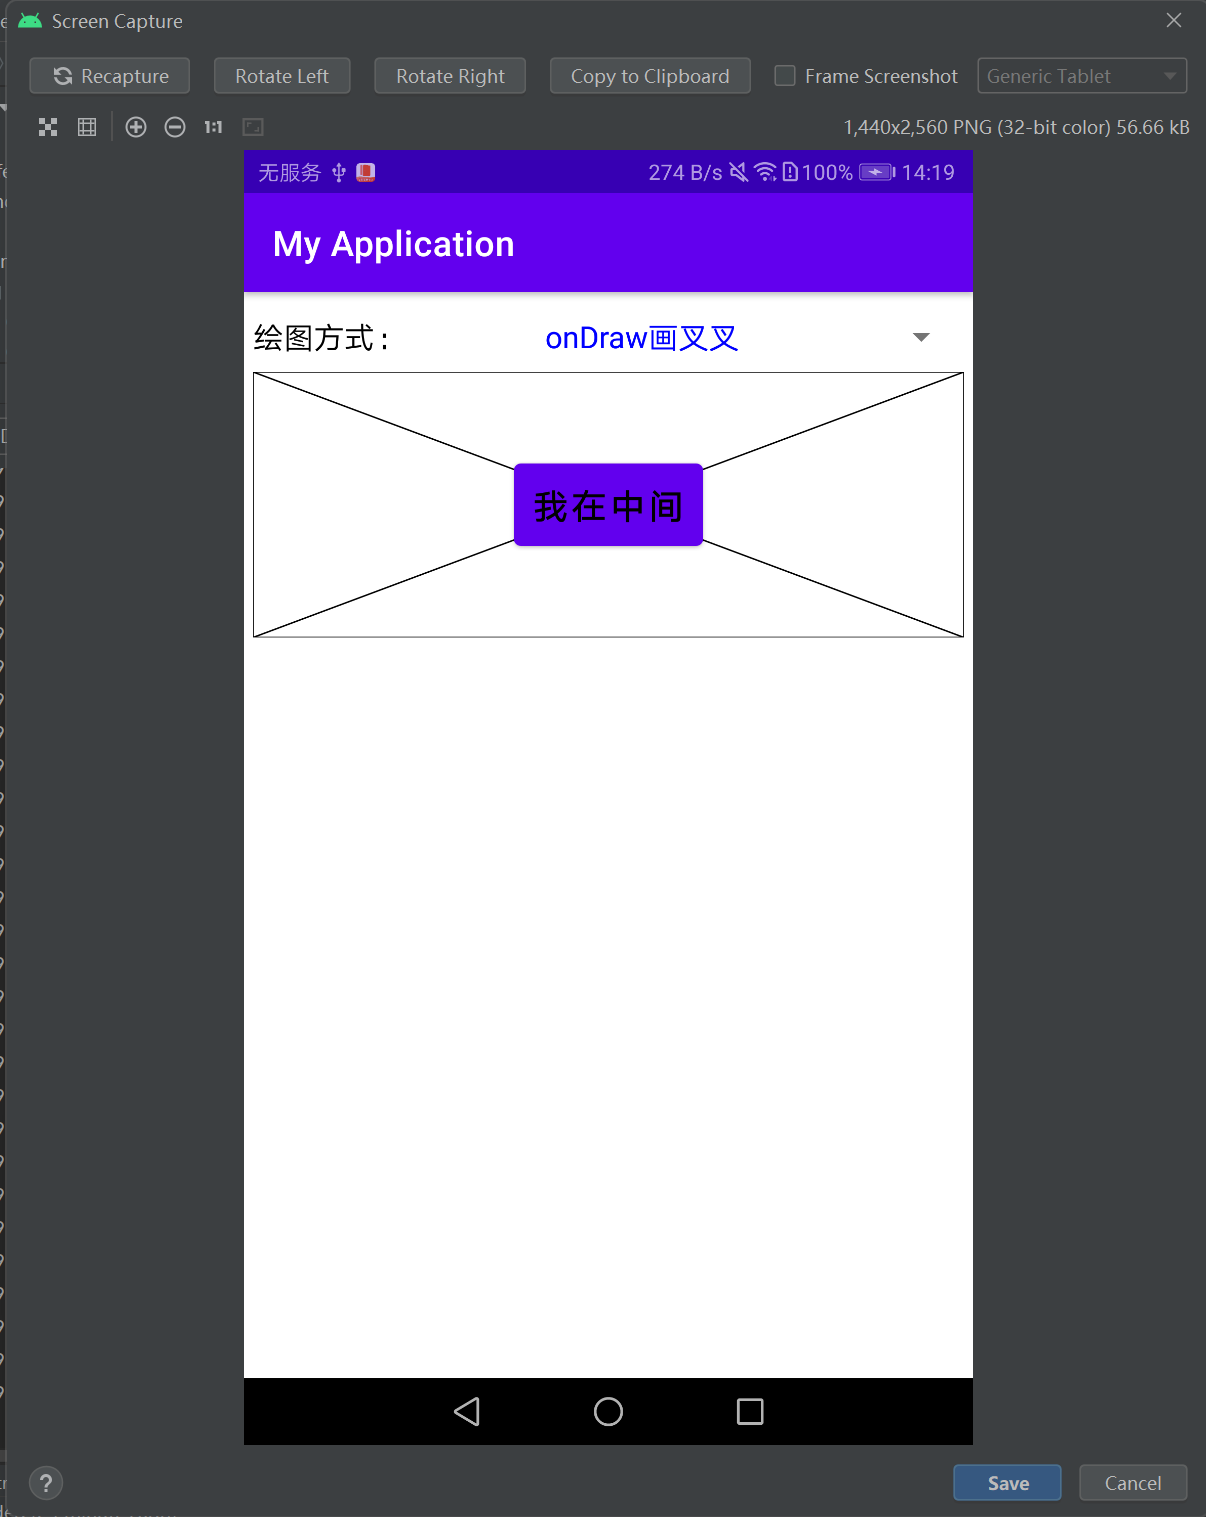
(1)onDraw既可用于普通控件,也可用于布局类视图;而dispatchDraw专门用于布局类视图,像线性布局LinearLayout、相对布局RelativeLayout都属于布局类视图。
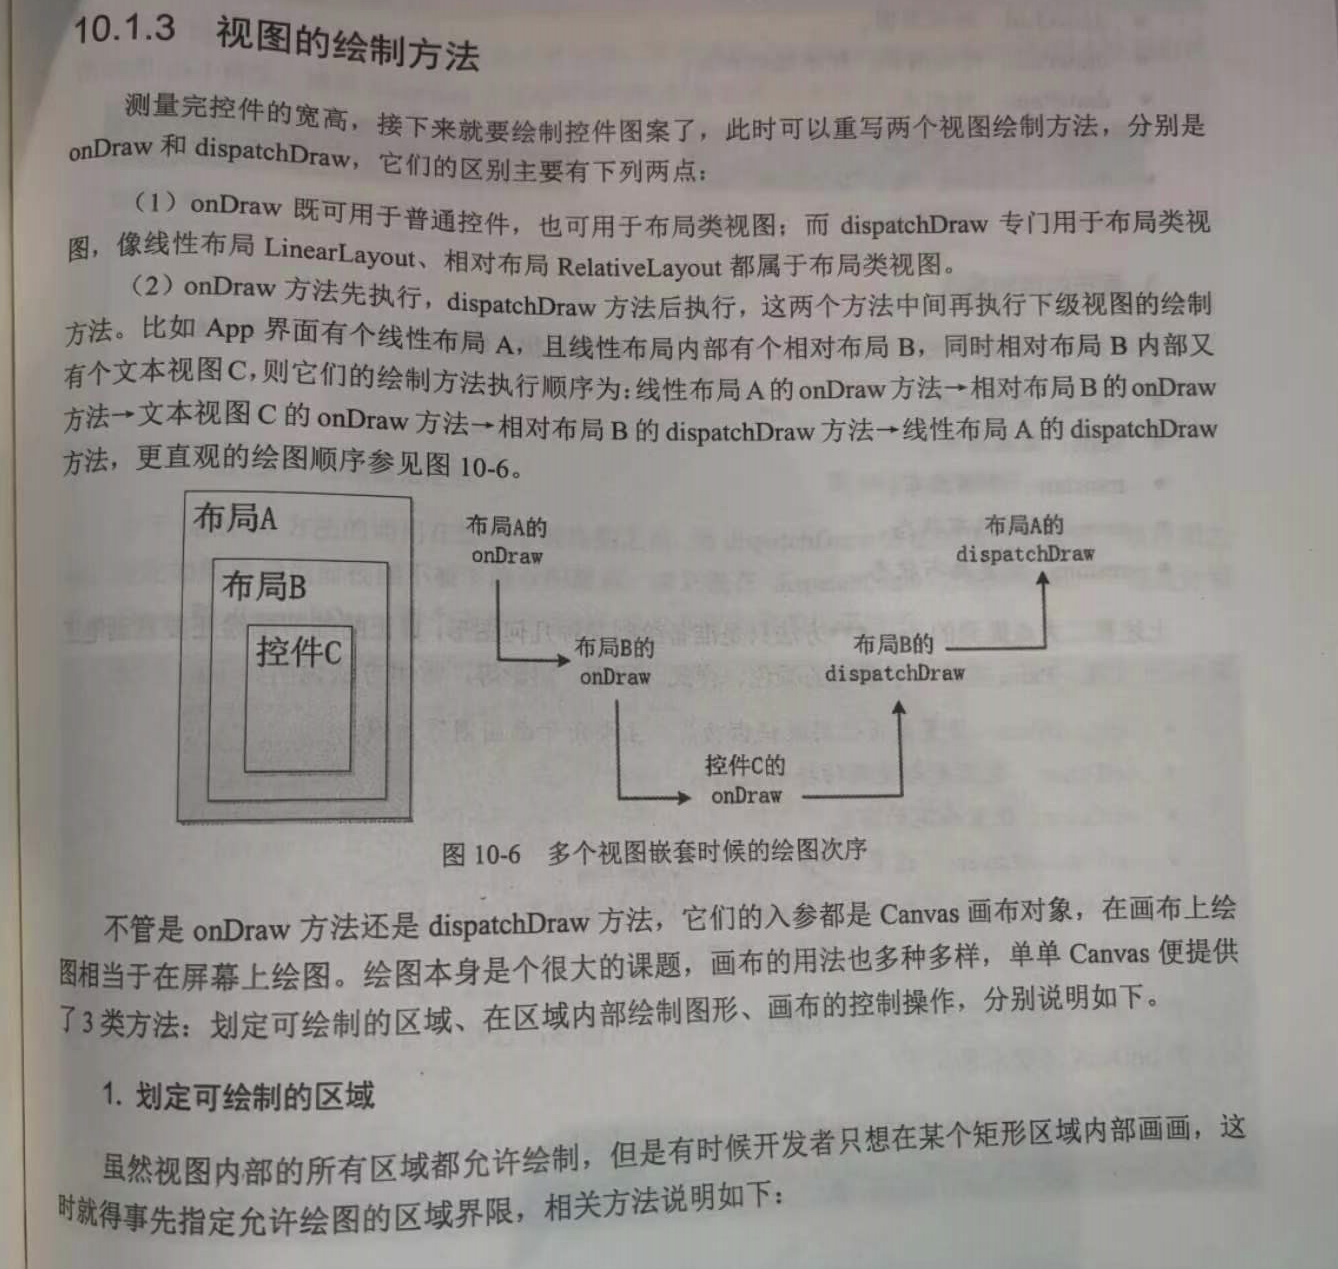
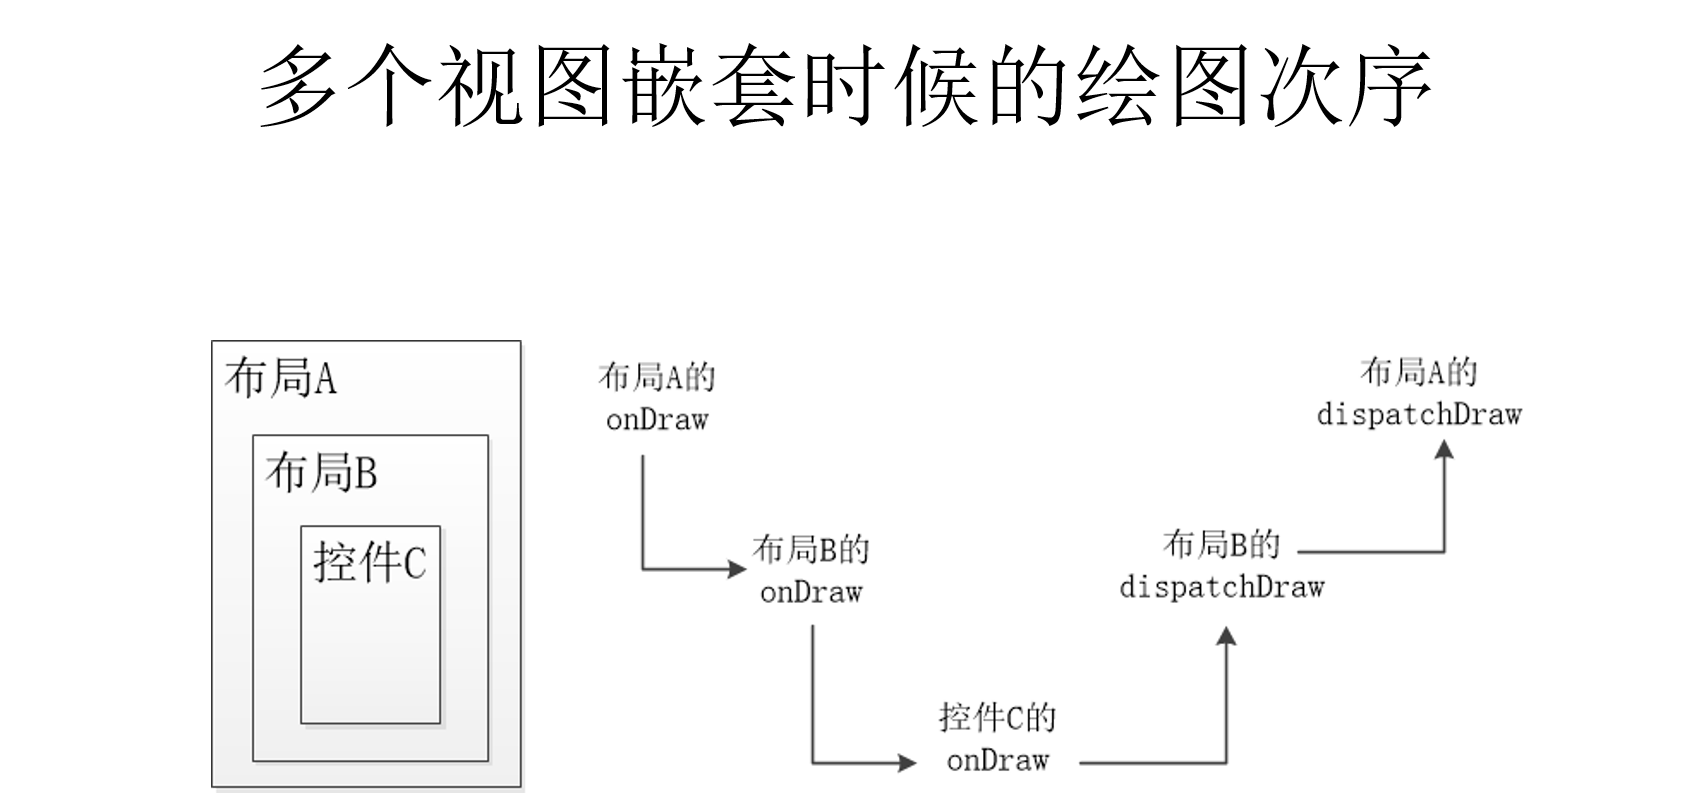
(2)onDraw方法先执行,dispatchDraw方法后执行,这两个方法中间再执行下级视图的绘制方法。
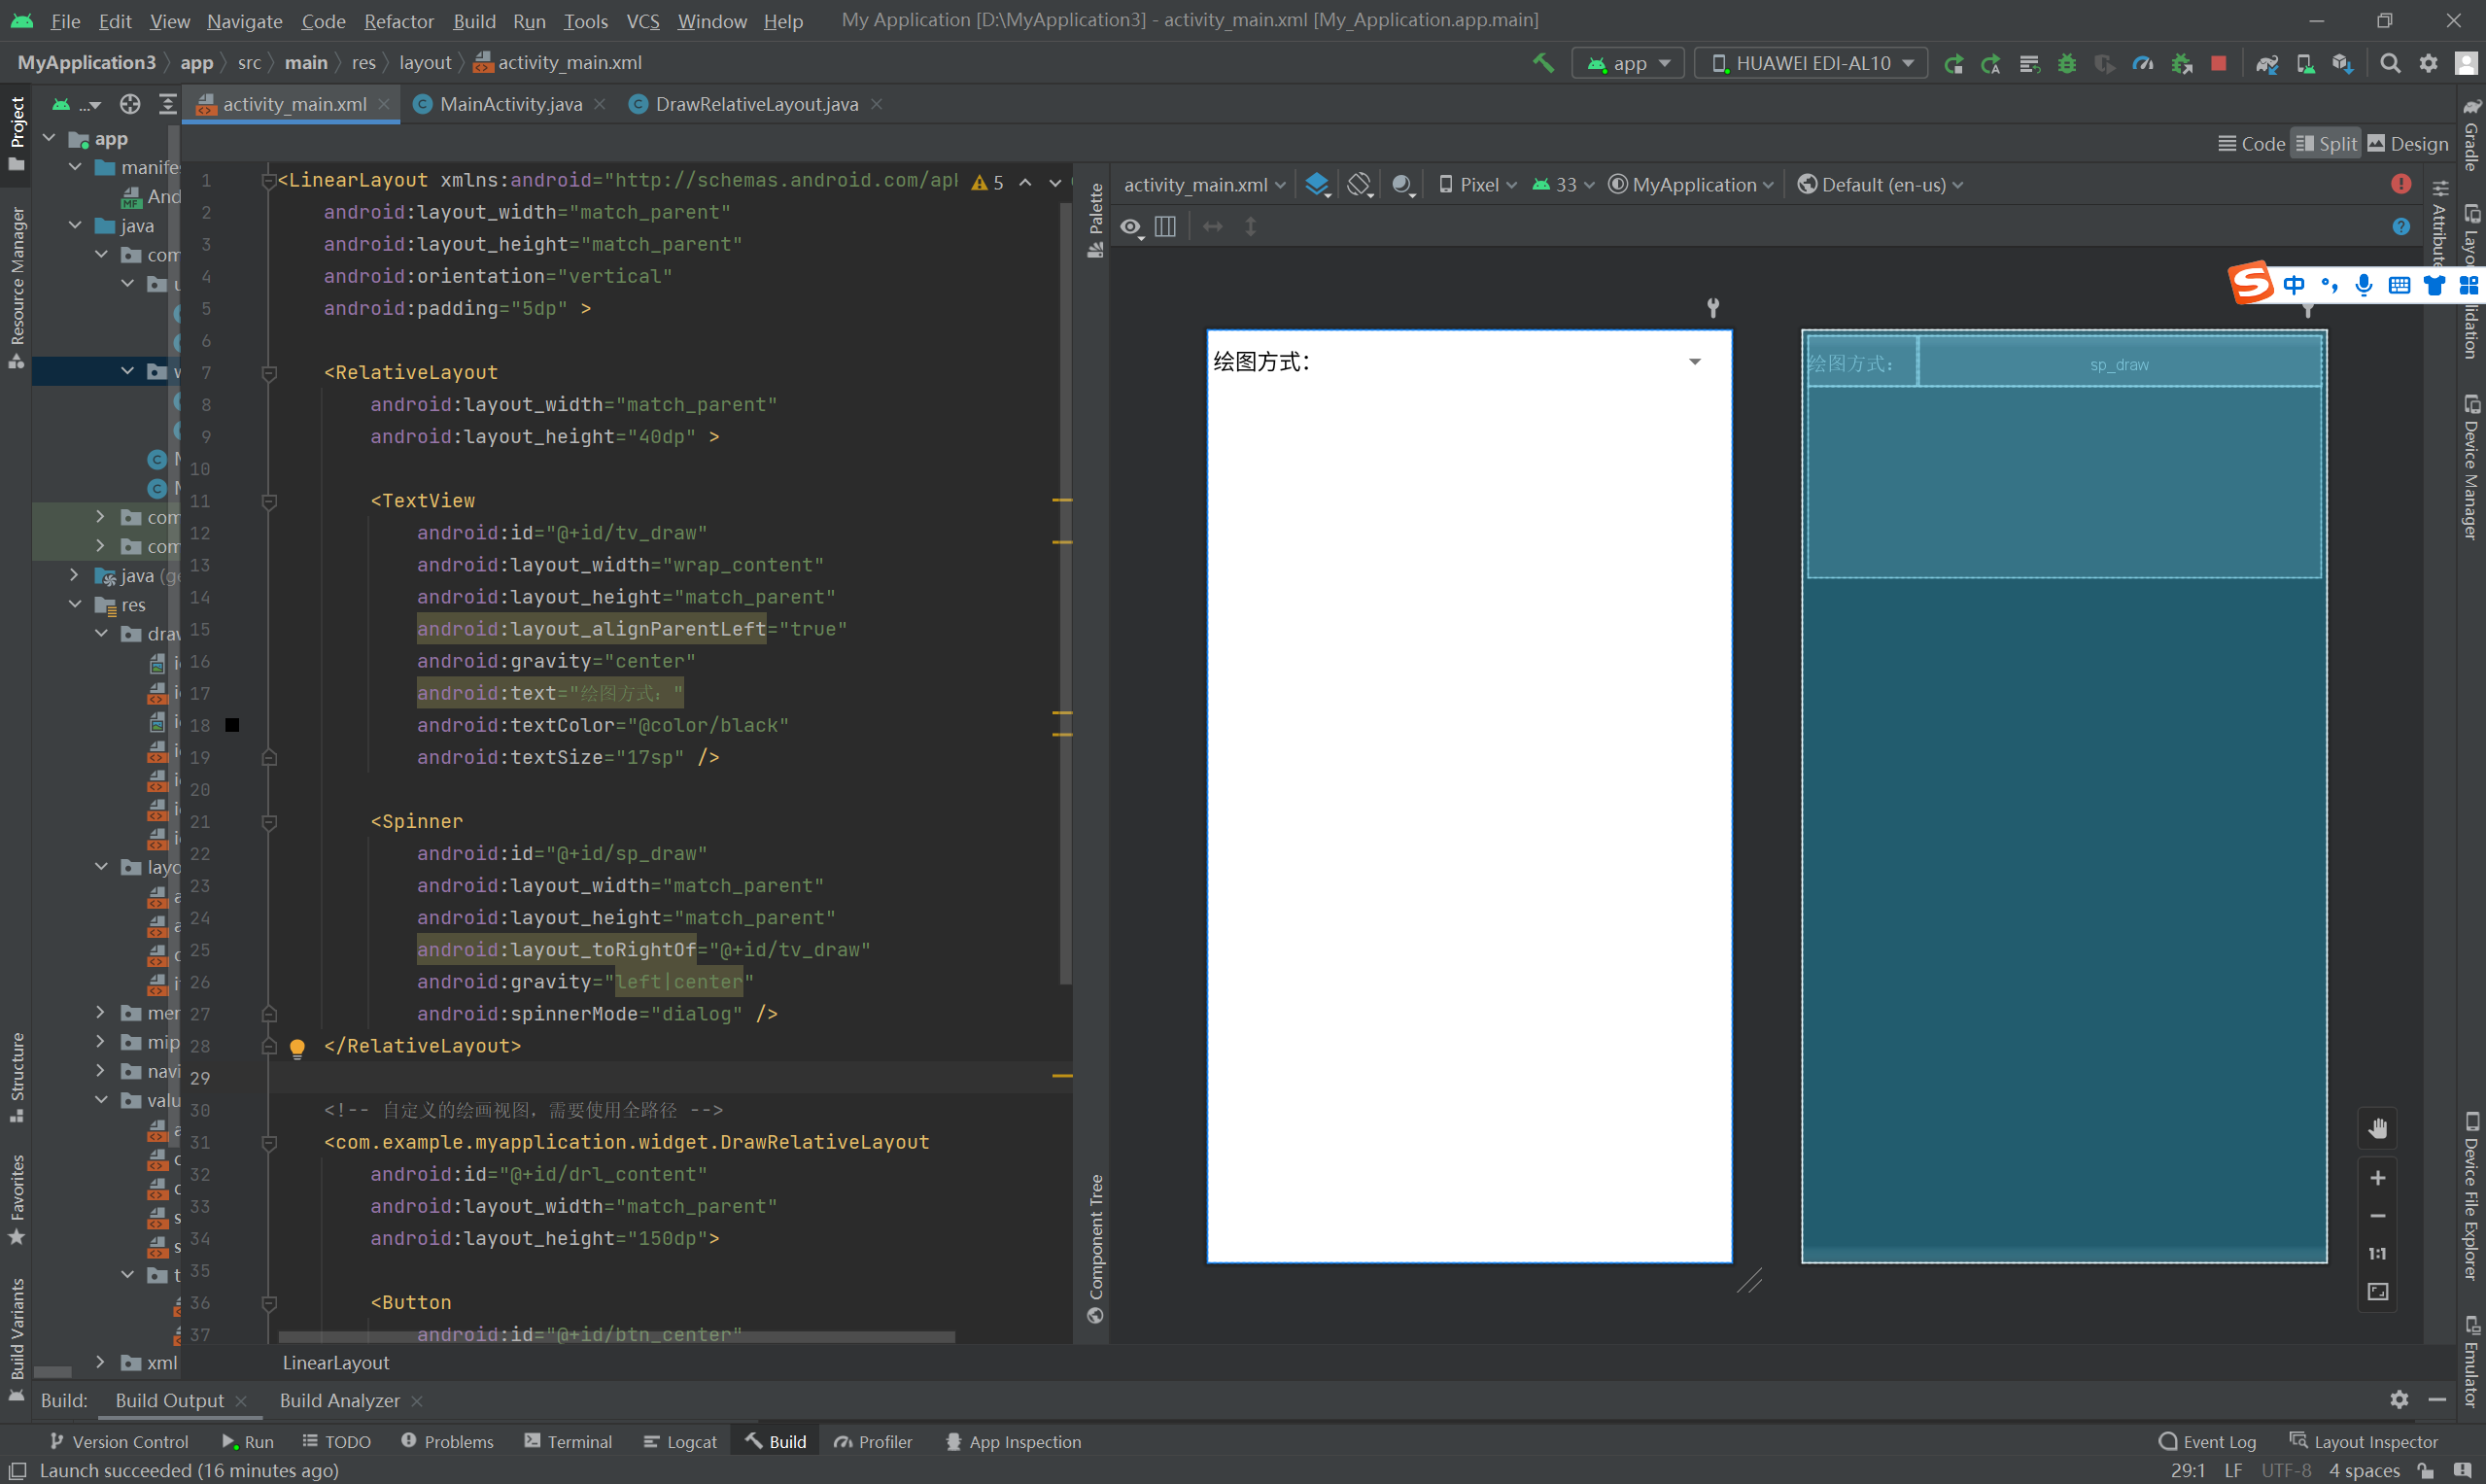
xml布局:
<LinearLayout xmlns:android="http://schemas.android.com/apk/res/android"
    android:layout_width="match_parent"
    android:layout_height="match_parent"
    android:orientation="vertical"
    android:padding="5dp" >

    <RelativeLayout
        android:layout_width="match_parent"
        android:layout_height="40dp" >

        <TextView
            android:id="@+id/tv_draw"
            android:layout_width="wrap_content"
            android:layout_height="match_parent"
            android:layout_alignParentLeft="true"
            android:gravity="center"
            android:text="绘图方式:"
            android:textColor="@color/black"
            android:textSize="17sp" />

        <Spinner
            android:id="@+id/sp_draw"
            android:layout_width="match_parent"
            android:layout_height="match_parent"
            android:layout_toRightOf="@+id/tv_draw"
            android:gravity="left|center"
            android:spinnerMode="dialog" />
    </RelativeLayout>

    <!-- 自定义的绘画视图,需要使用全路径 -->
    <com.example.myapplication.widget.DrawRelativeLayout
        android:id="@+id/drl_content"
        android:layout_width="match_parent"
        android:layout_height="150dp">

        <Button
            android:id="@+id/btn_center"
            android:layout_width="wrap_content"
            android:layout_height="wrap_content"
            android:layout_centerHorizontal="true"
            android:padding="10dp"
            android:text="我在中间"
            android:textColor="@color/black"
            android:textSize="20sp"
            android:visibility="gone" />
    </com.example.myapplication.widget.DrawRelativeLayout>

</LinearLayout>
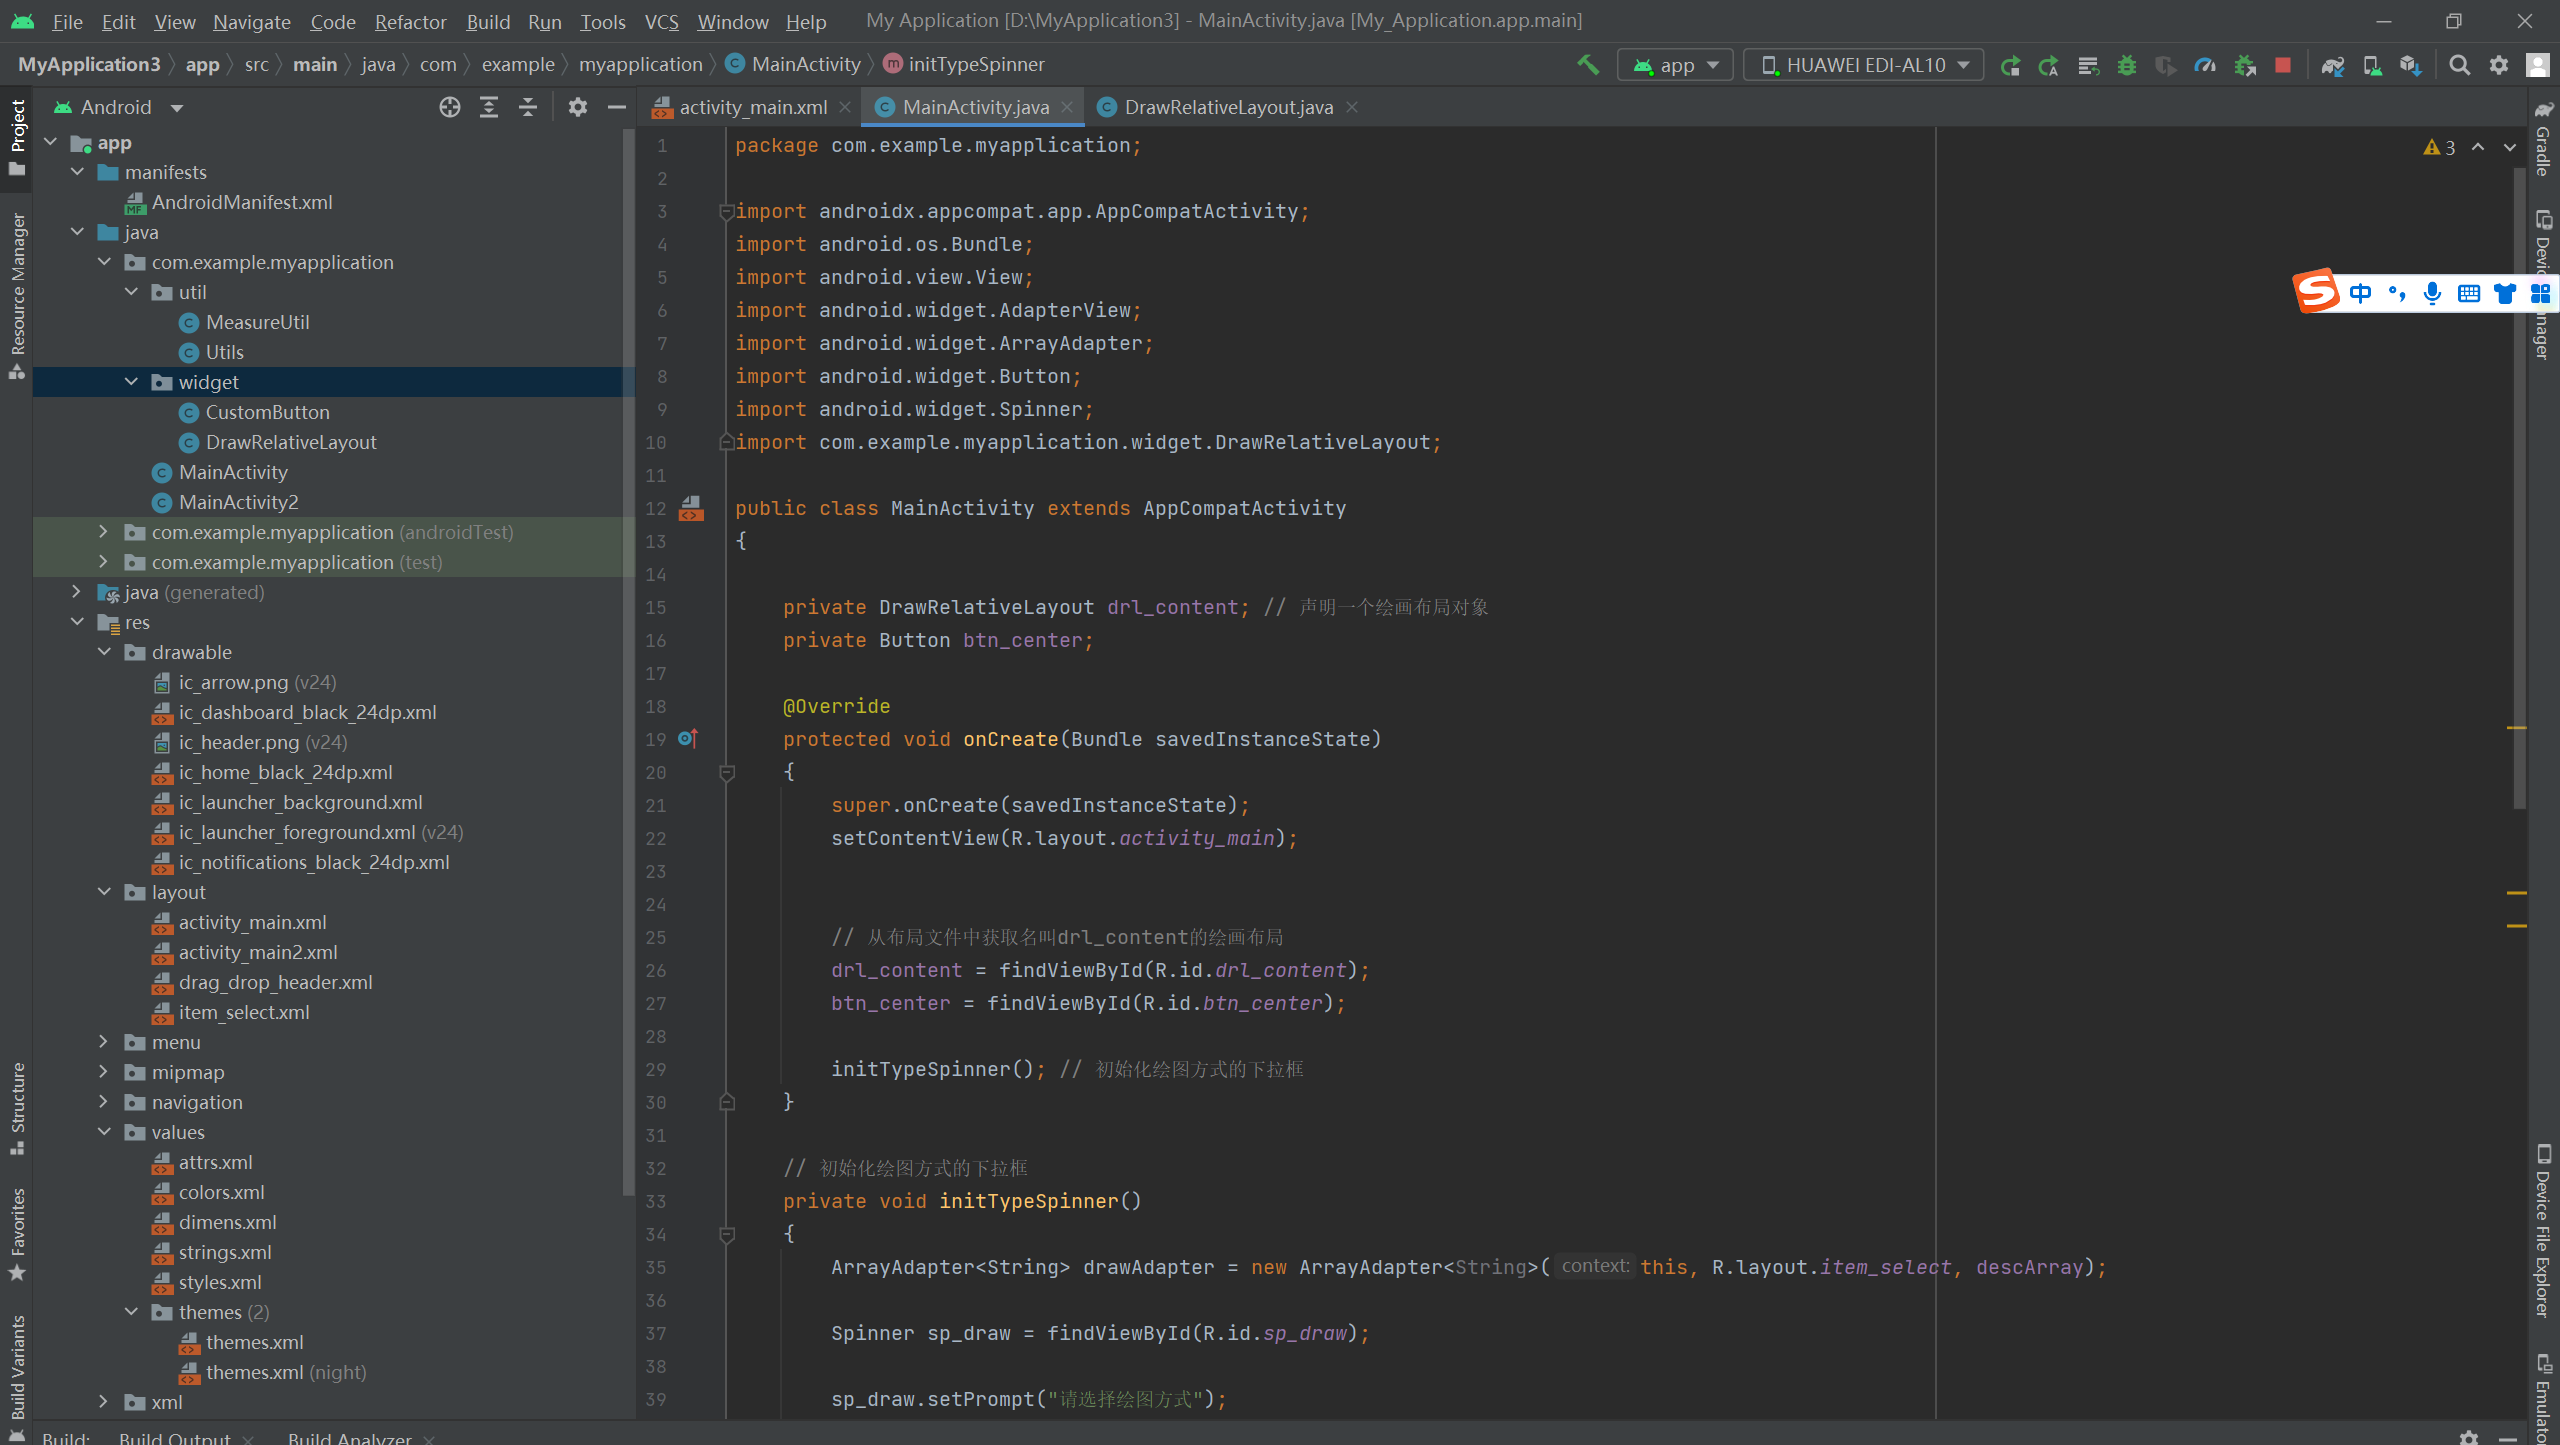
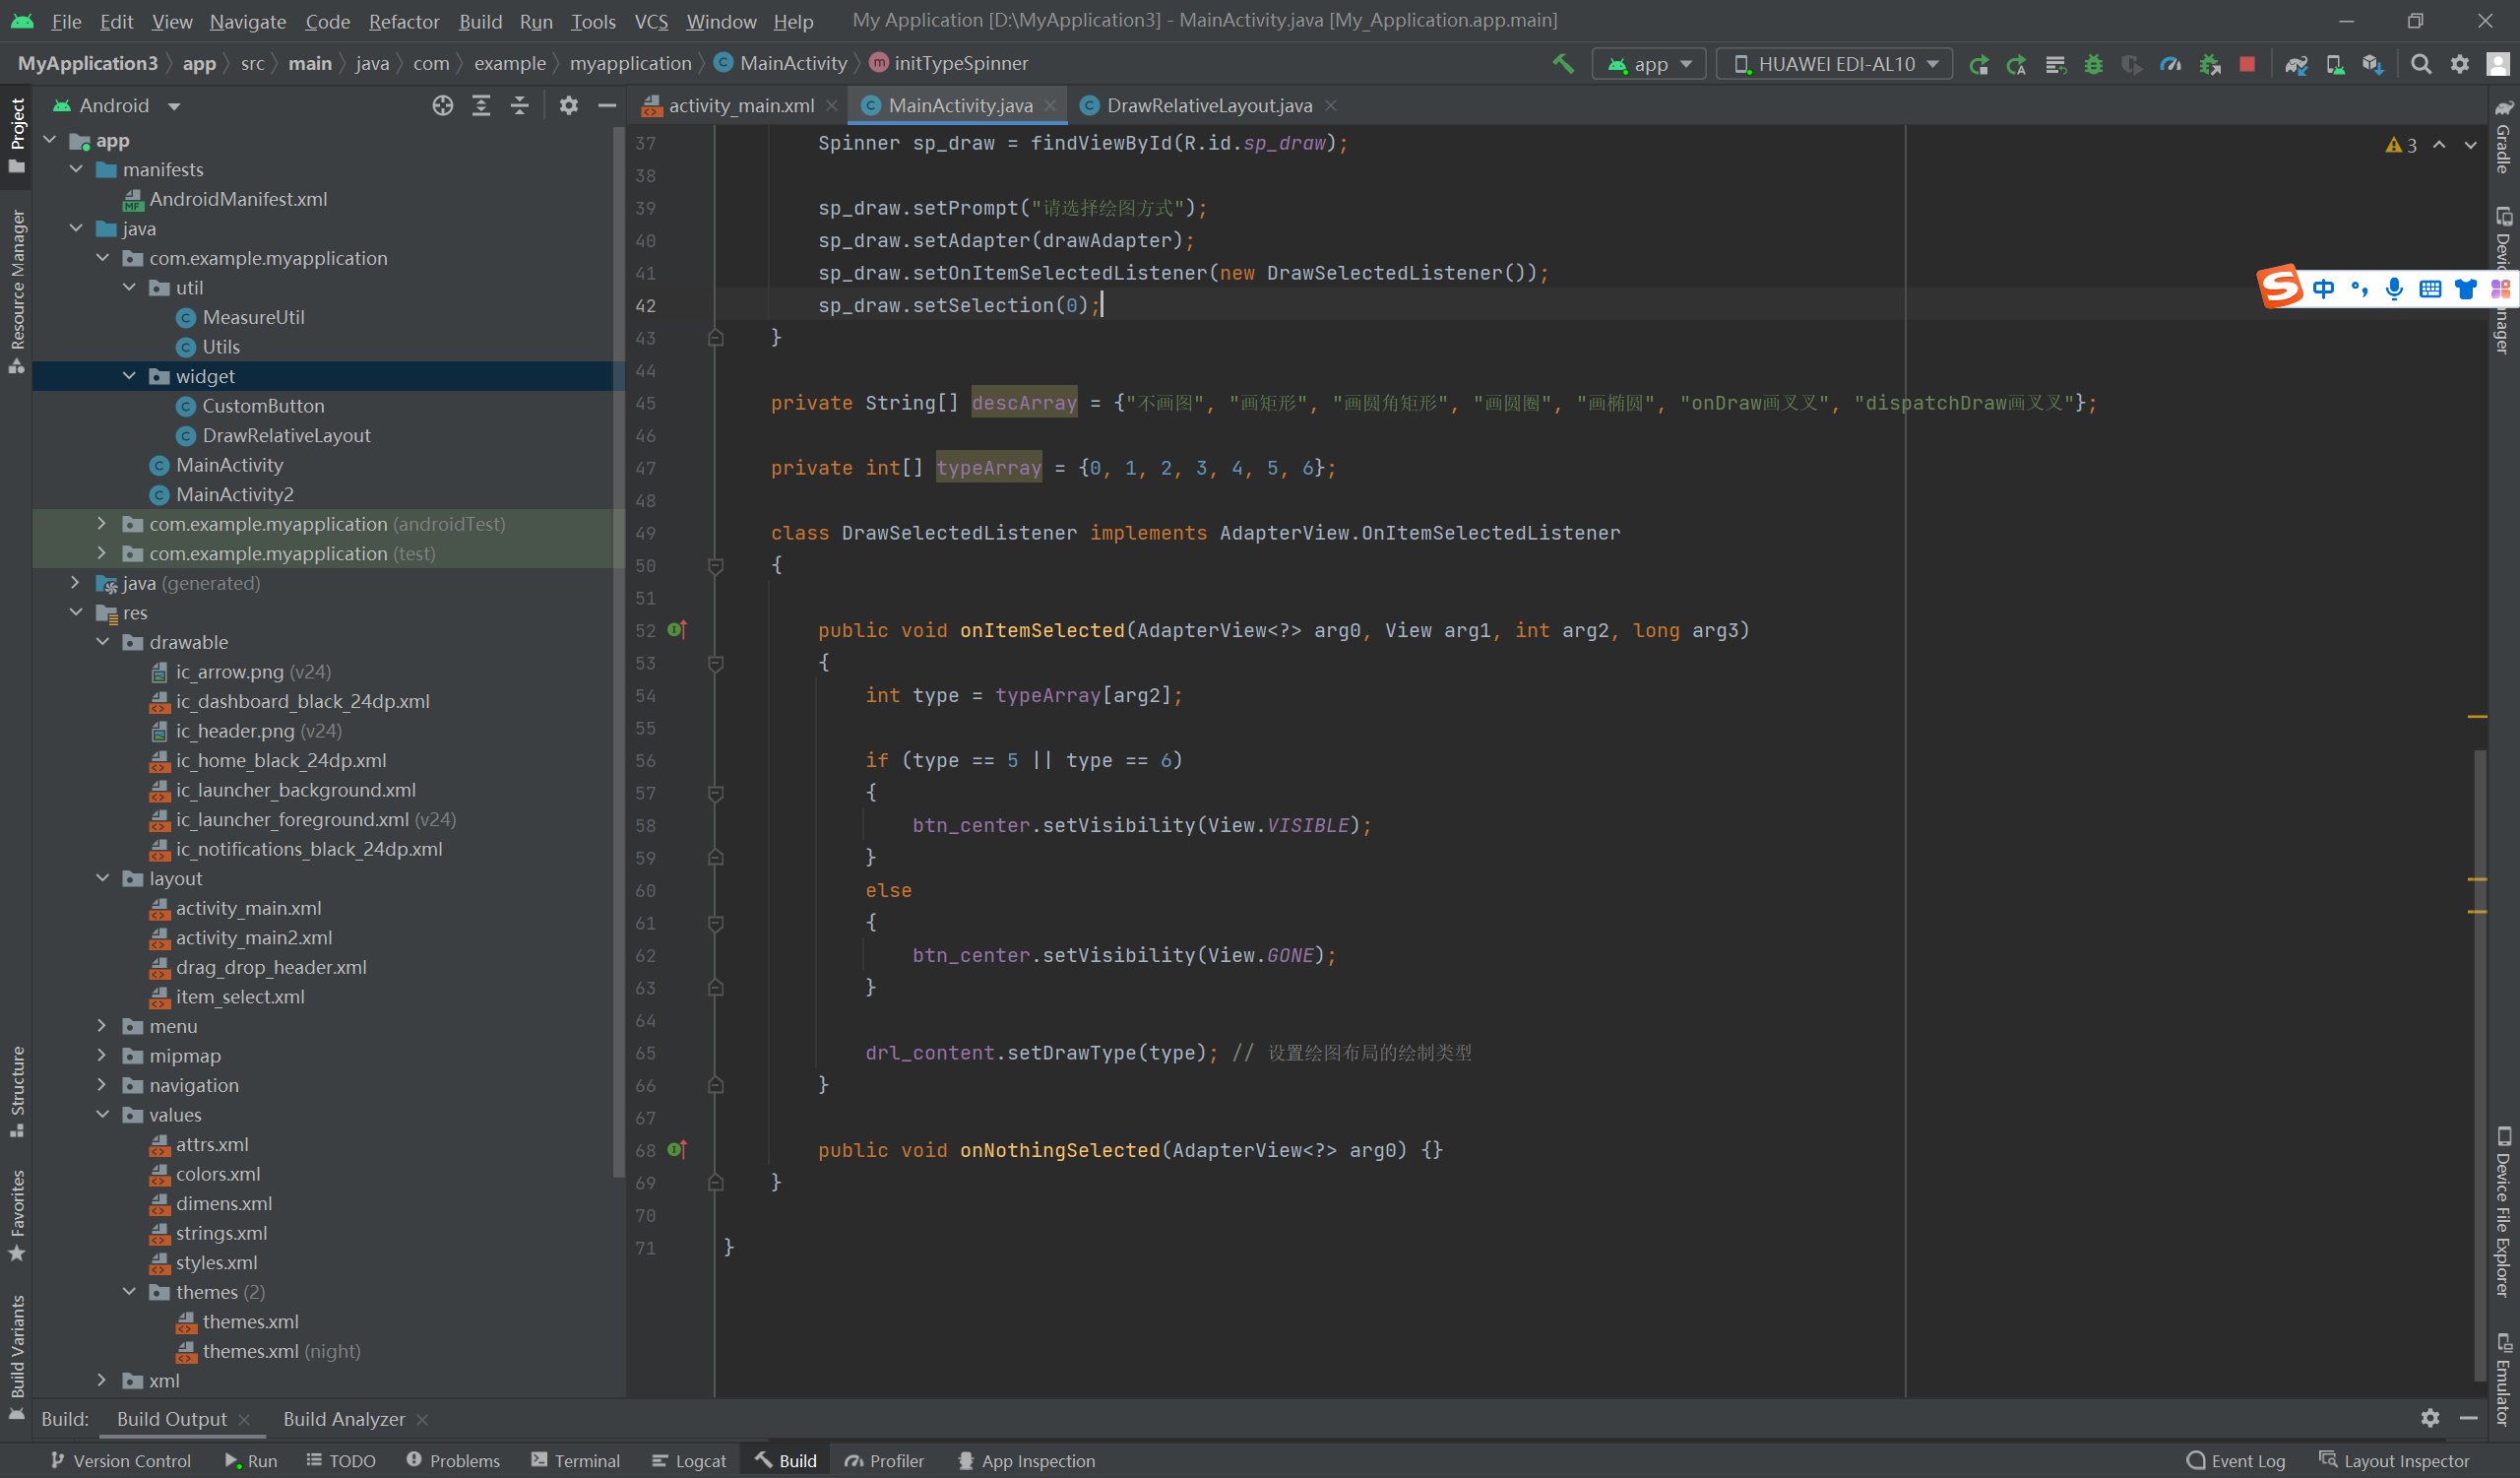
代码:
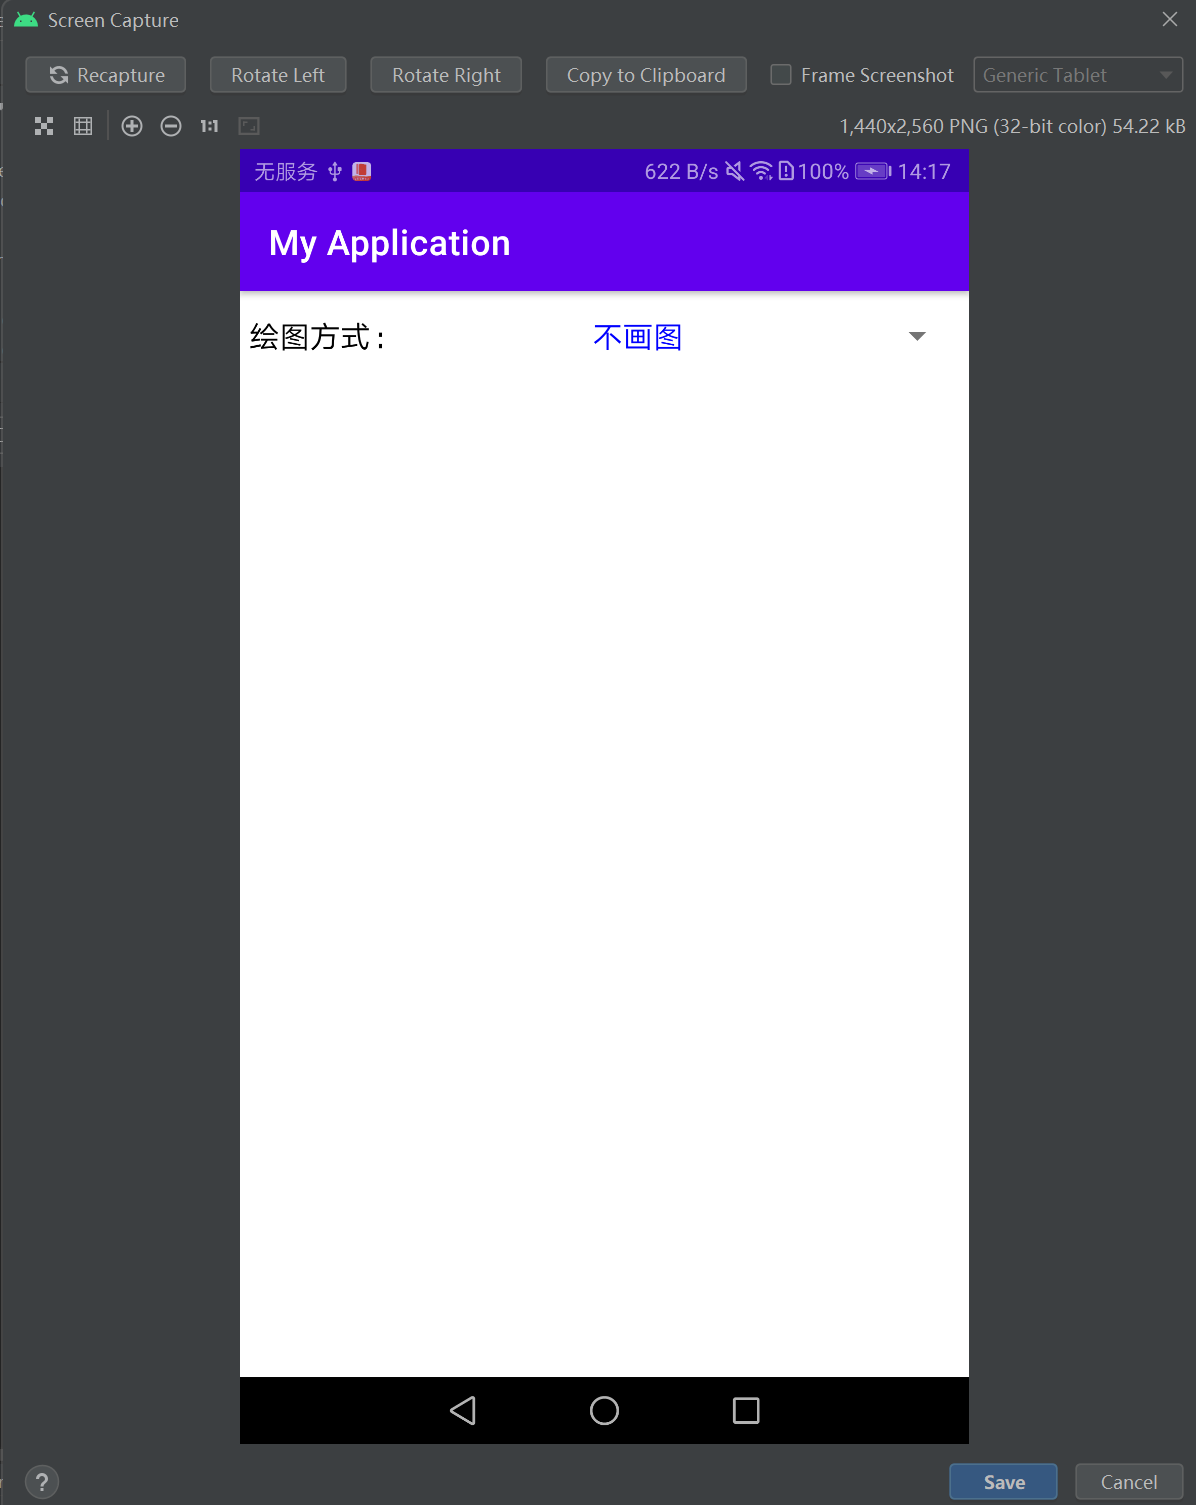
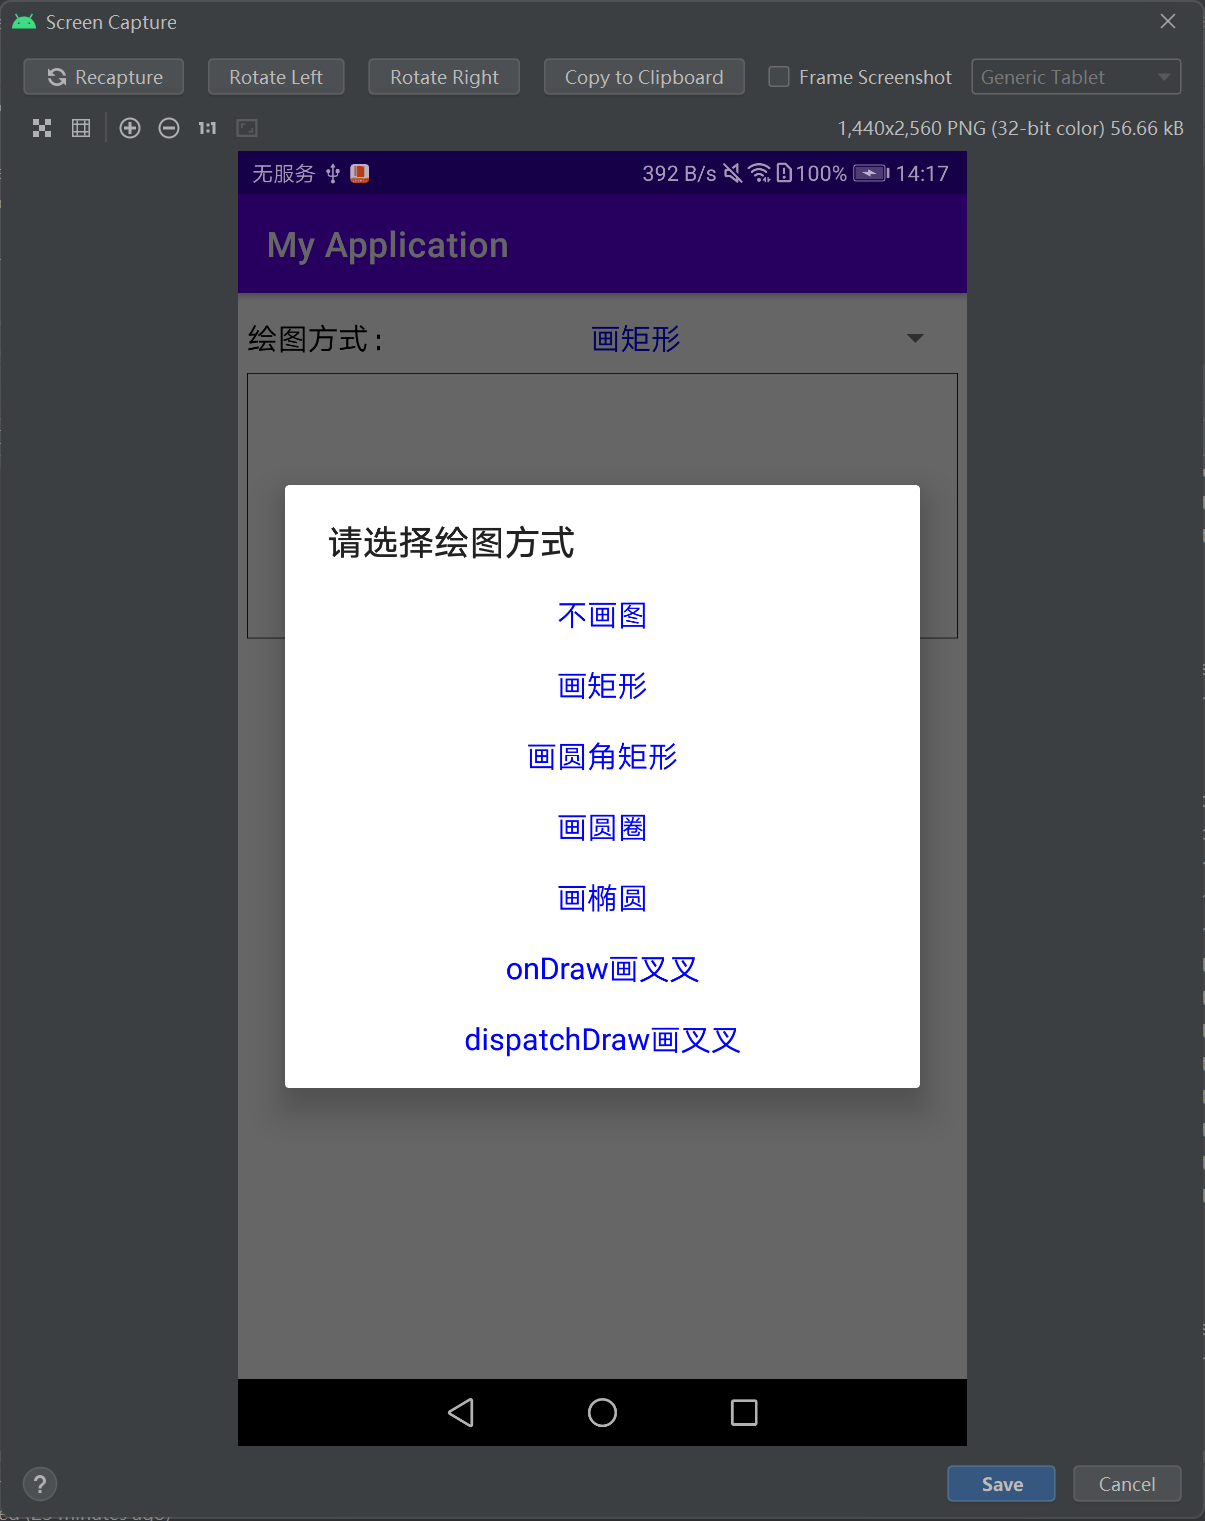
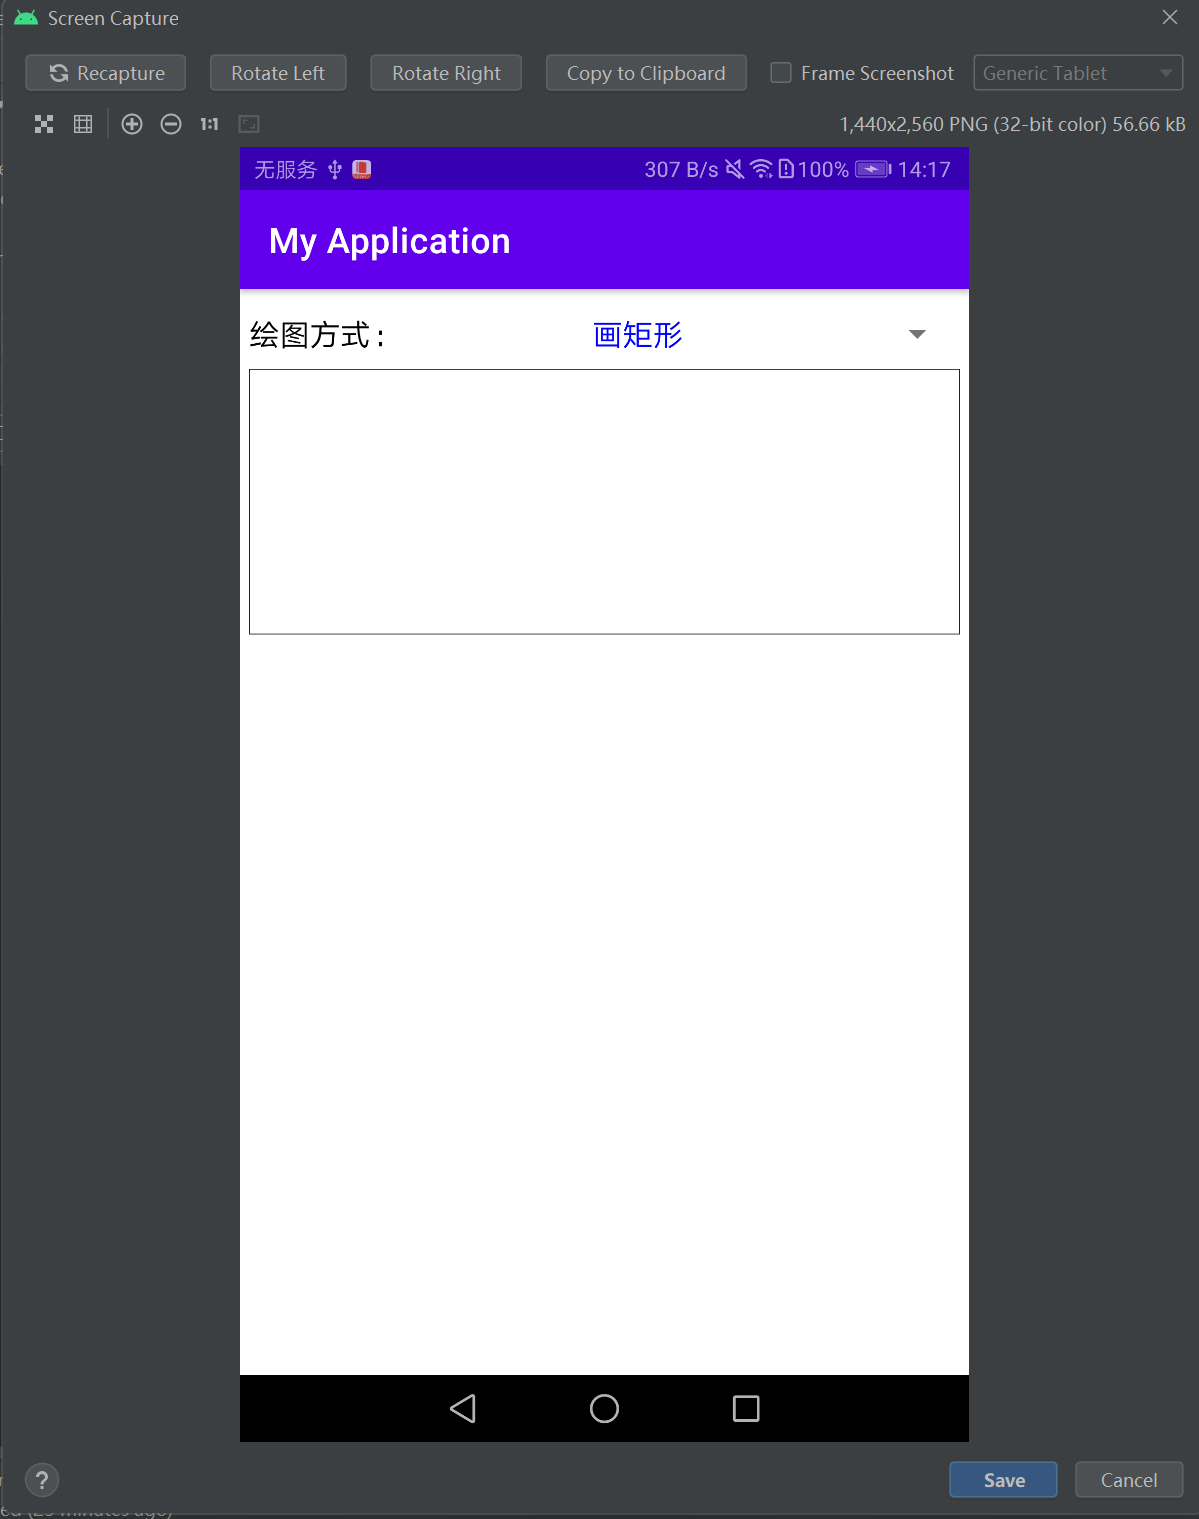
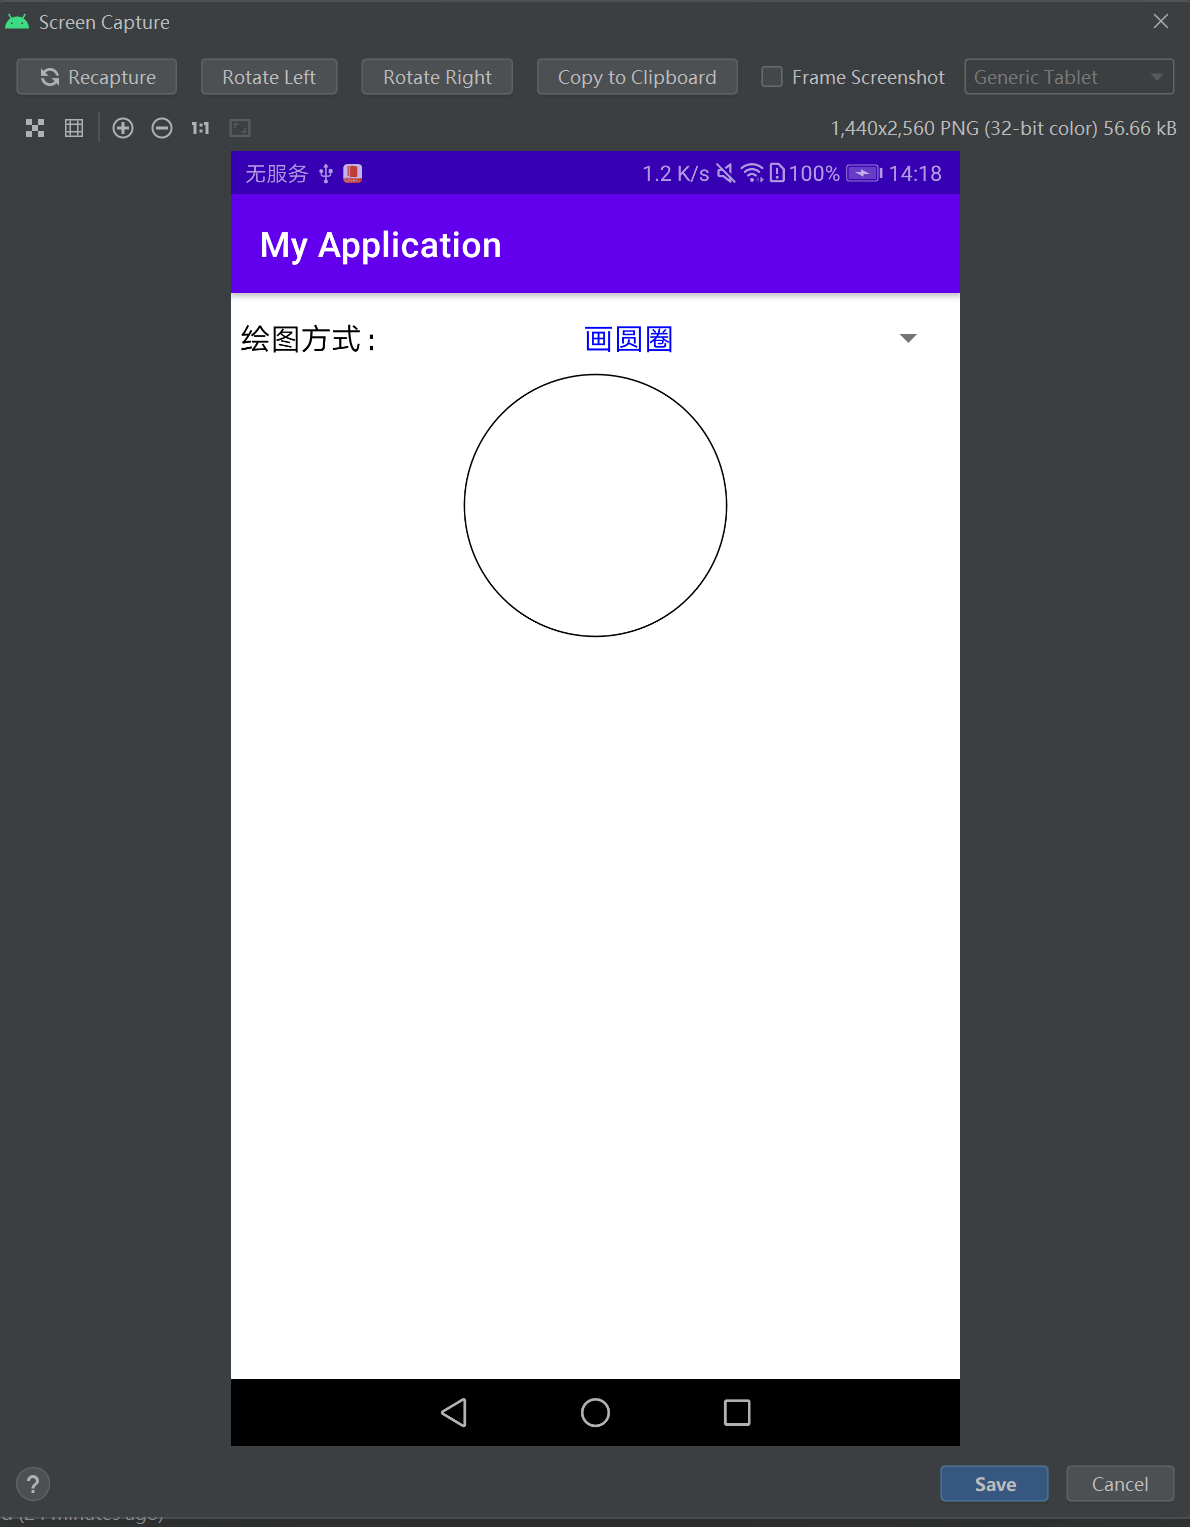
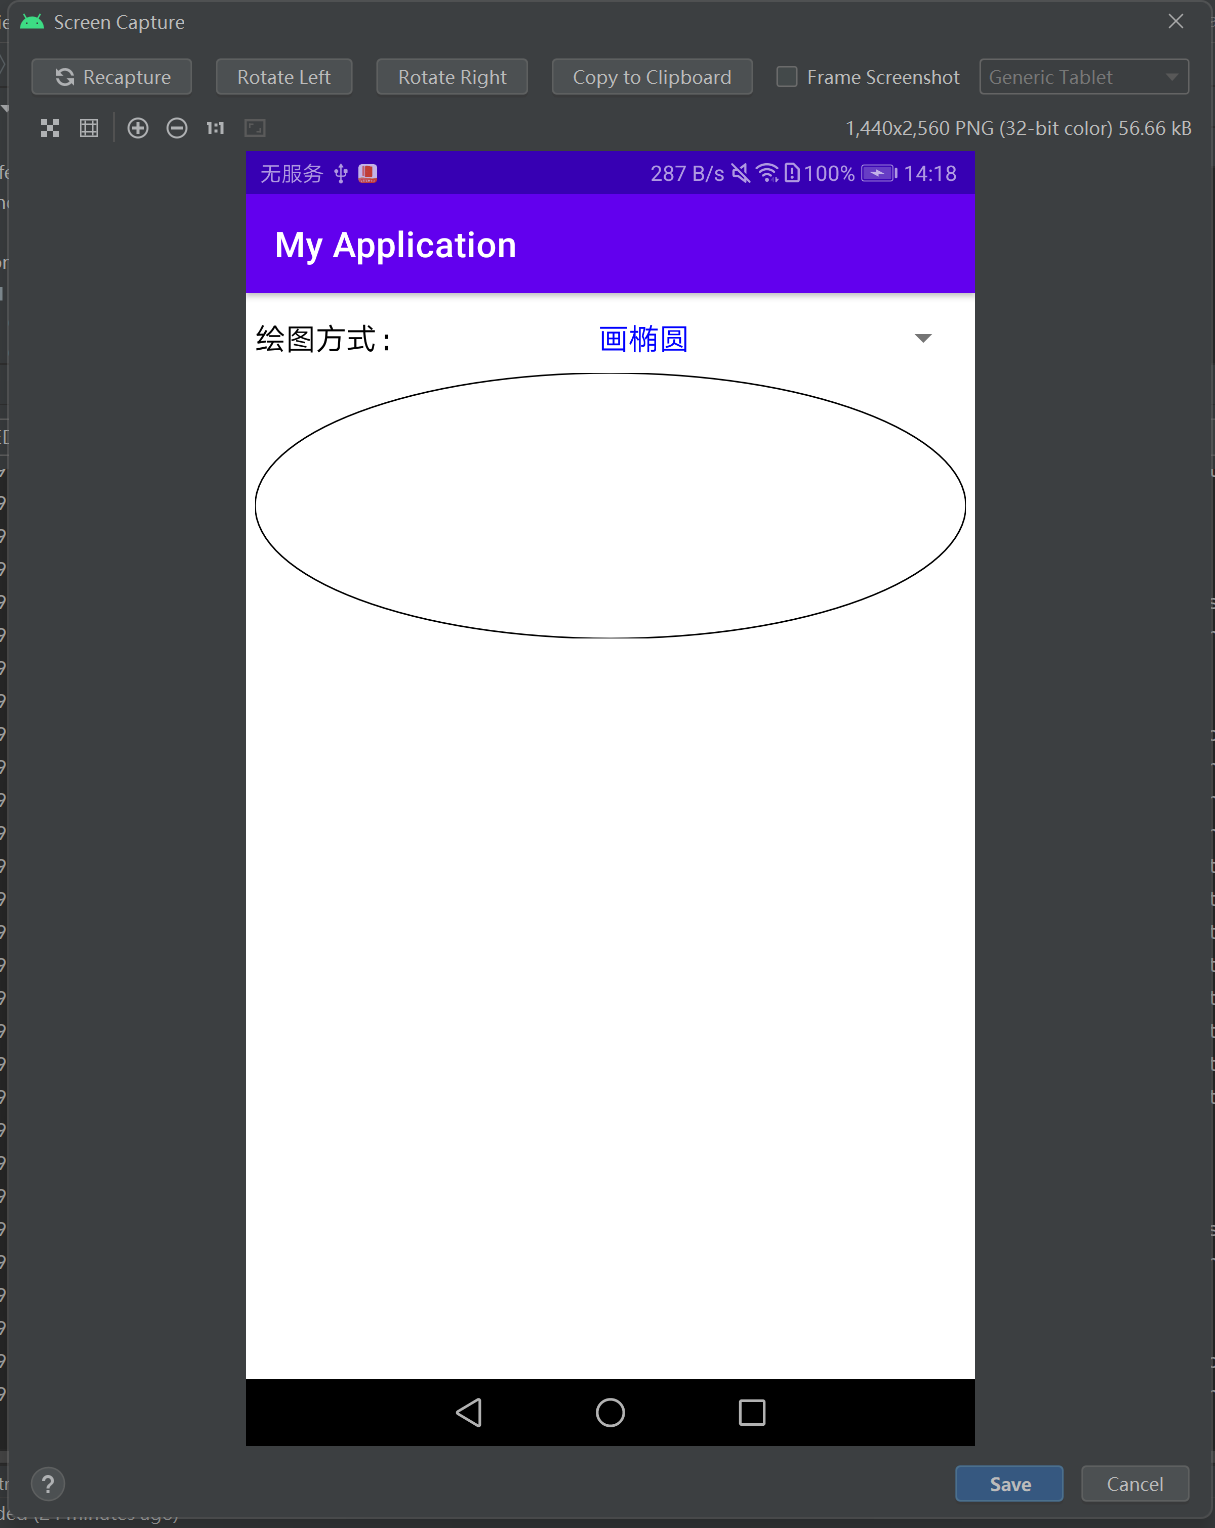
package com.example.myapplication;

import androidx.appcompat.app.AppCompatActivity;
import android.os.Bundle;
import android.view.View;
import android.widget.AdapterView;
import android.widget.ArrayAdapter;
import android.widget.Button;
import android.widget.Spinner;
import com.example.myapplication.widget.DrawRelativeLayout;

public class MainActivity extends AppCompatActivity
{

    private DrawRelativeLayout drl_content; // 声明一个绘画布局对象
    private Button btn_center;

    @Override
    protected void onCreate(Bundle savedInstanceState)
    {
        super.onCreate(savedInstanceState);
        setContentView(R.layout.activity_main);


        // 从布局文件中获取名叫drl_content的绘画布局
        drl_content = findViewById(R.id.drl_content);
        btn_center = findViewById(R.id.btn_center);

        initTypeSpinner(); // 初始化绘图方式的下拉框
    }

    // 初始化绘图方式的下拉框
    private void initTypeSpinner()
    {
        ArrayAdapter<String> drawAdapter = new ArrayAdapter<String>(this, R.layout.item_select, descArray);

        Spinner sp_draw = findViewById(R.id.sp_draw);

        sp_draw.setPrompt("请选择绘图方式");
        sp_draw.setAdapter(drawAdapter);
        sp_draw.setOnItemSelectedListener(new DrawSelectedListener());
        sp_draw.setSelection(0);
    }

    private String[] descArray = {"不画图", "画矩形", "画圆角矩形", "画圆圈", "画椭圆", "onDraw画叉叉", "dispatchDraw画叉叉"};

    private int[] typeArray = {0, 1, 2, 3, 4, 5, 6};

    class DrawSelectedListener implements AdapterView.OnItemSelectedListener
    {

        public void onItemSelected(AdapterView<?> arg0, View arg1, int arg2, long arg3)
        {
            int type = typeArray[arg2];

            if (type == 5 || type == 6)
            {
                btn_center.setVisibility(View.VISIBLE);
            }
            else
            {
                btn_center.setVisibility(View.GONE);
            }

            drl_content.setDrawType(type); // 设置绘图布局的绘制类型
        }

        public void onNothingSelected(AdapterView<?> arg0) {}
    }

}
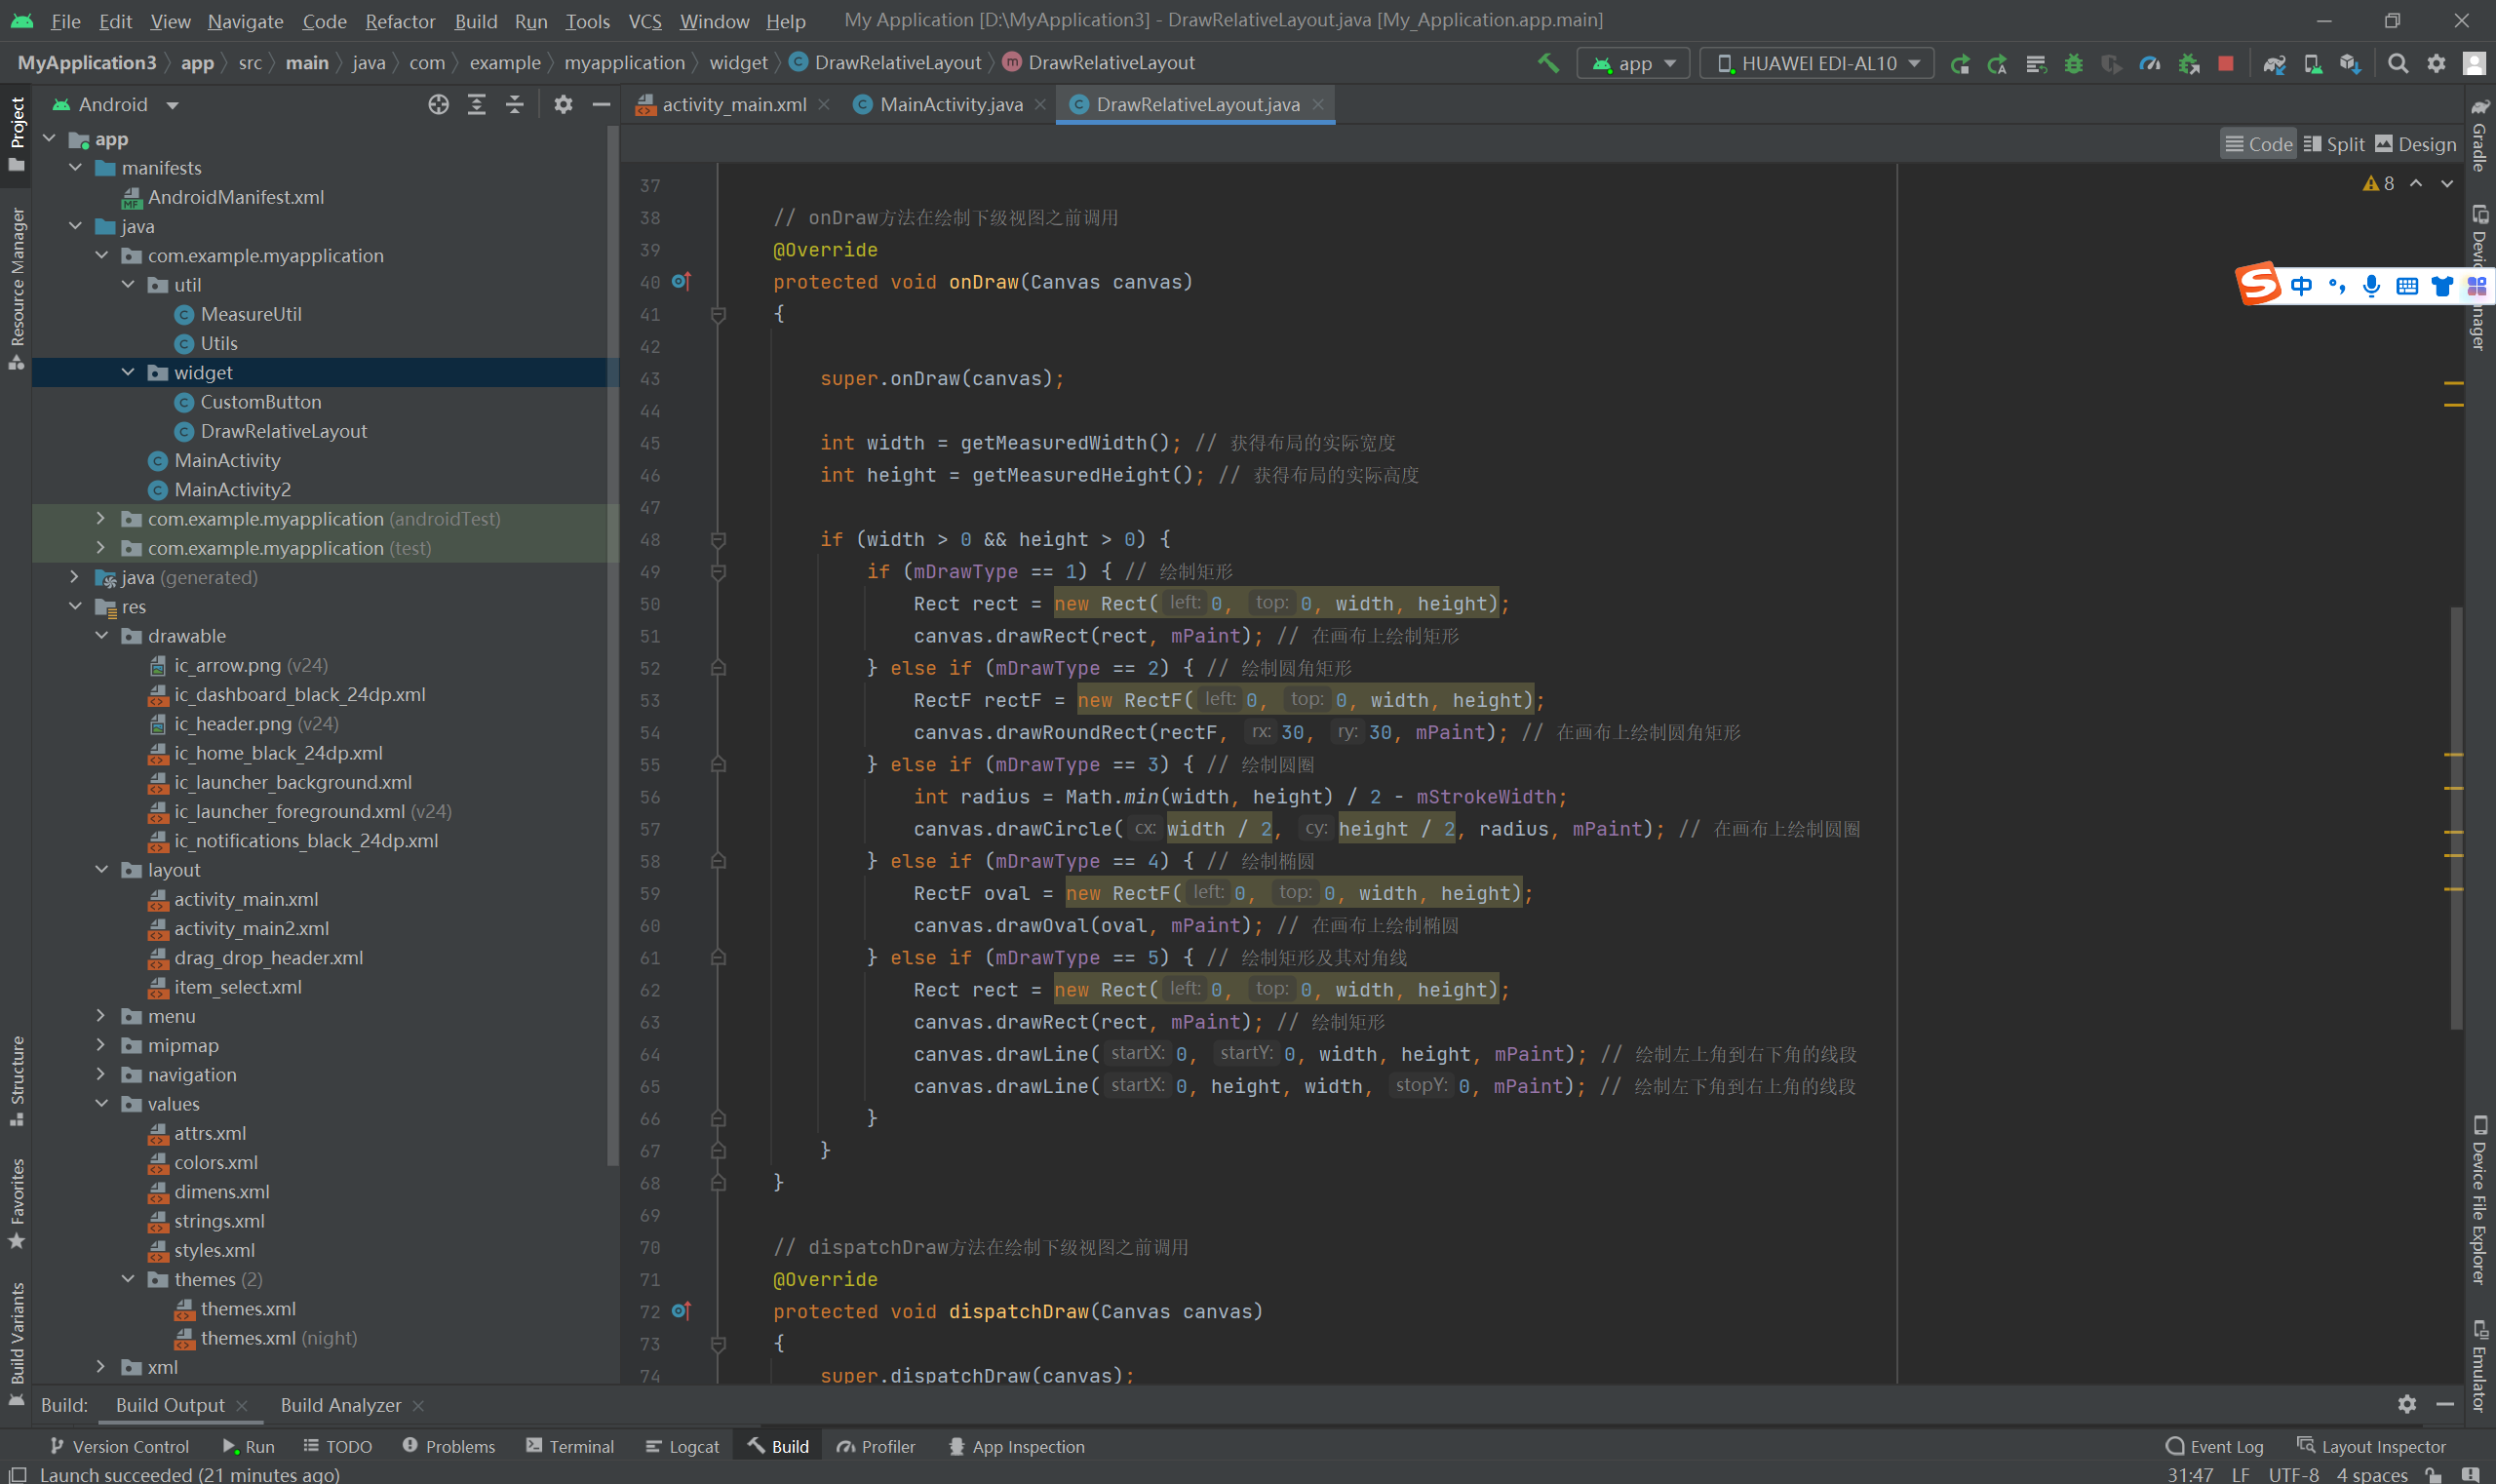
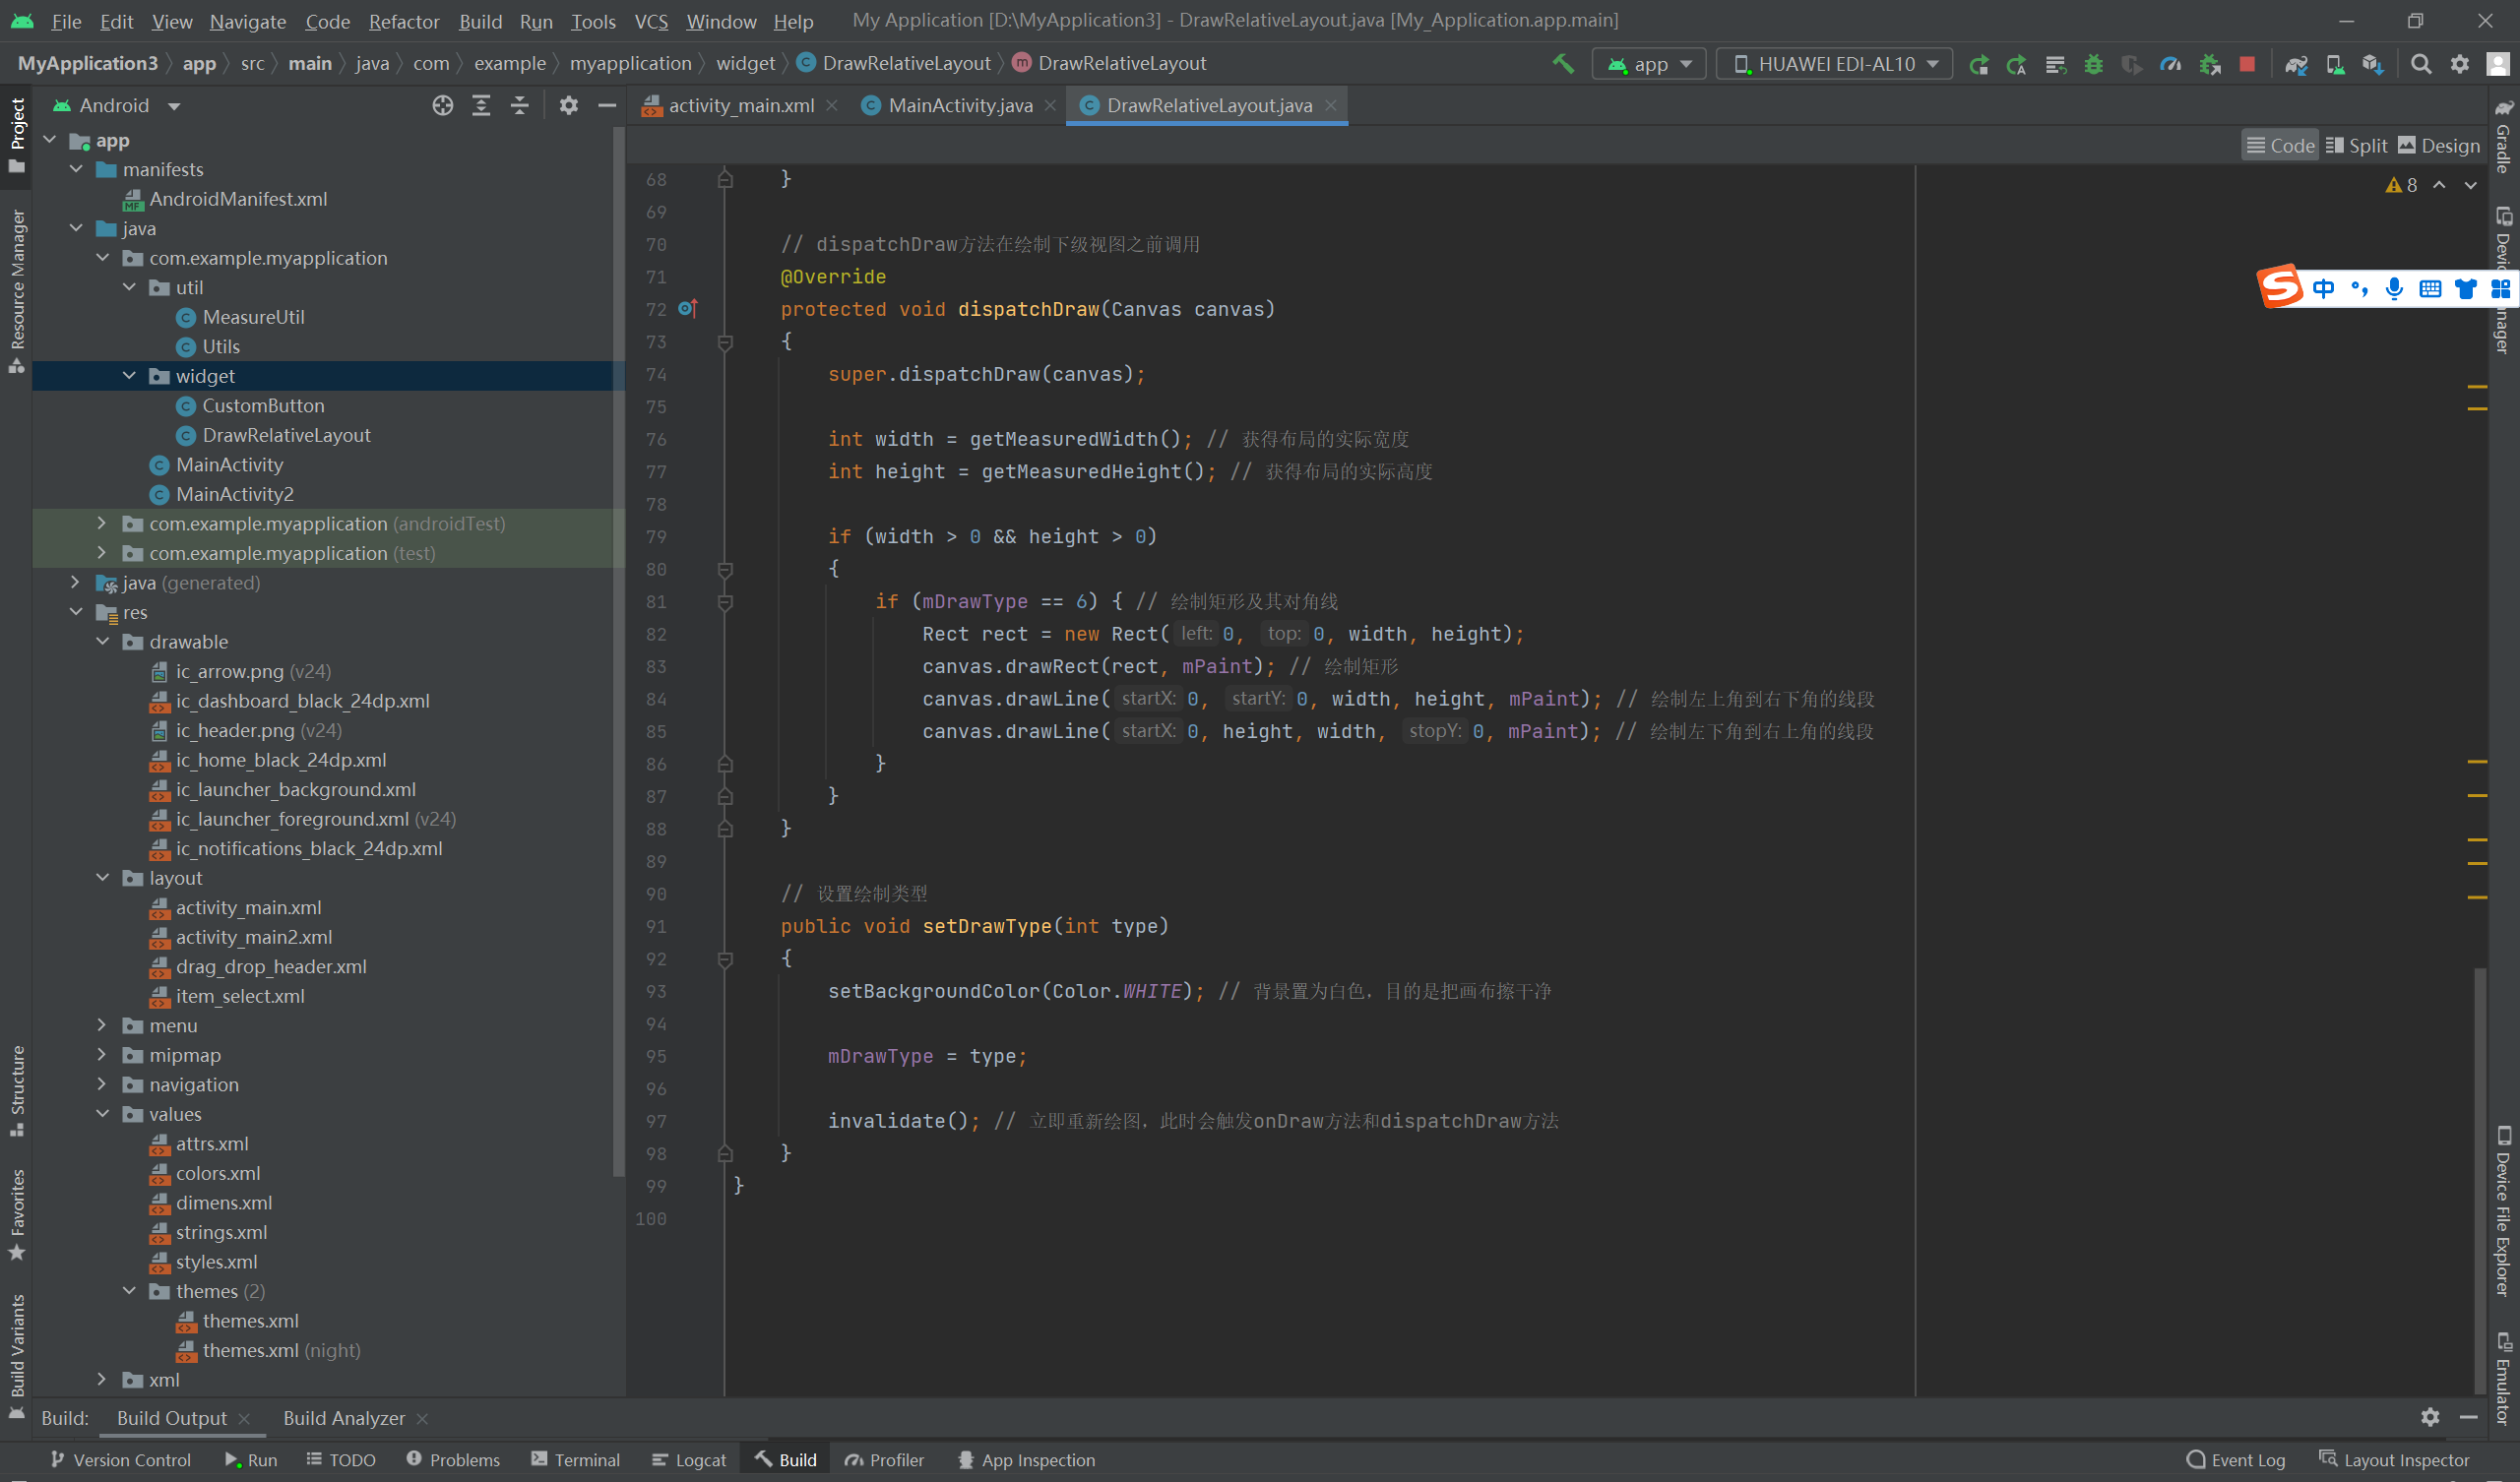
DrawRelativeLayout
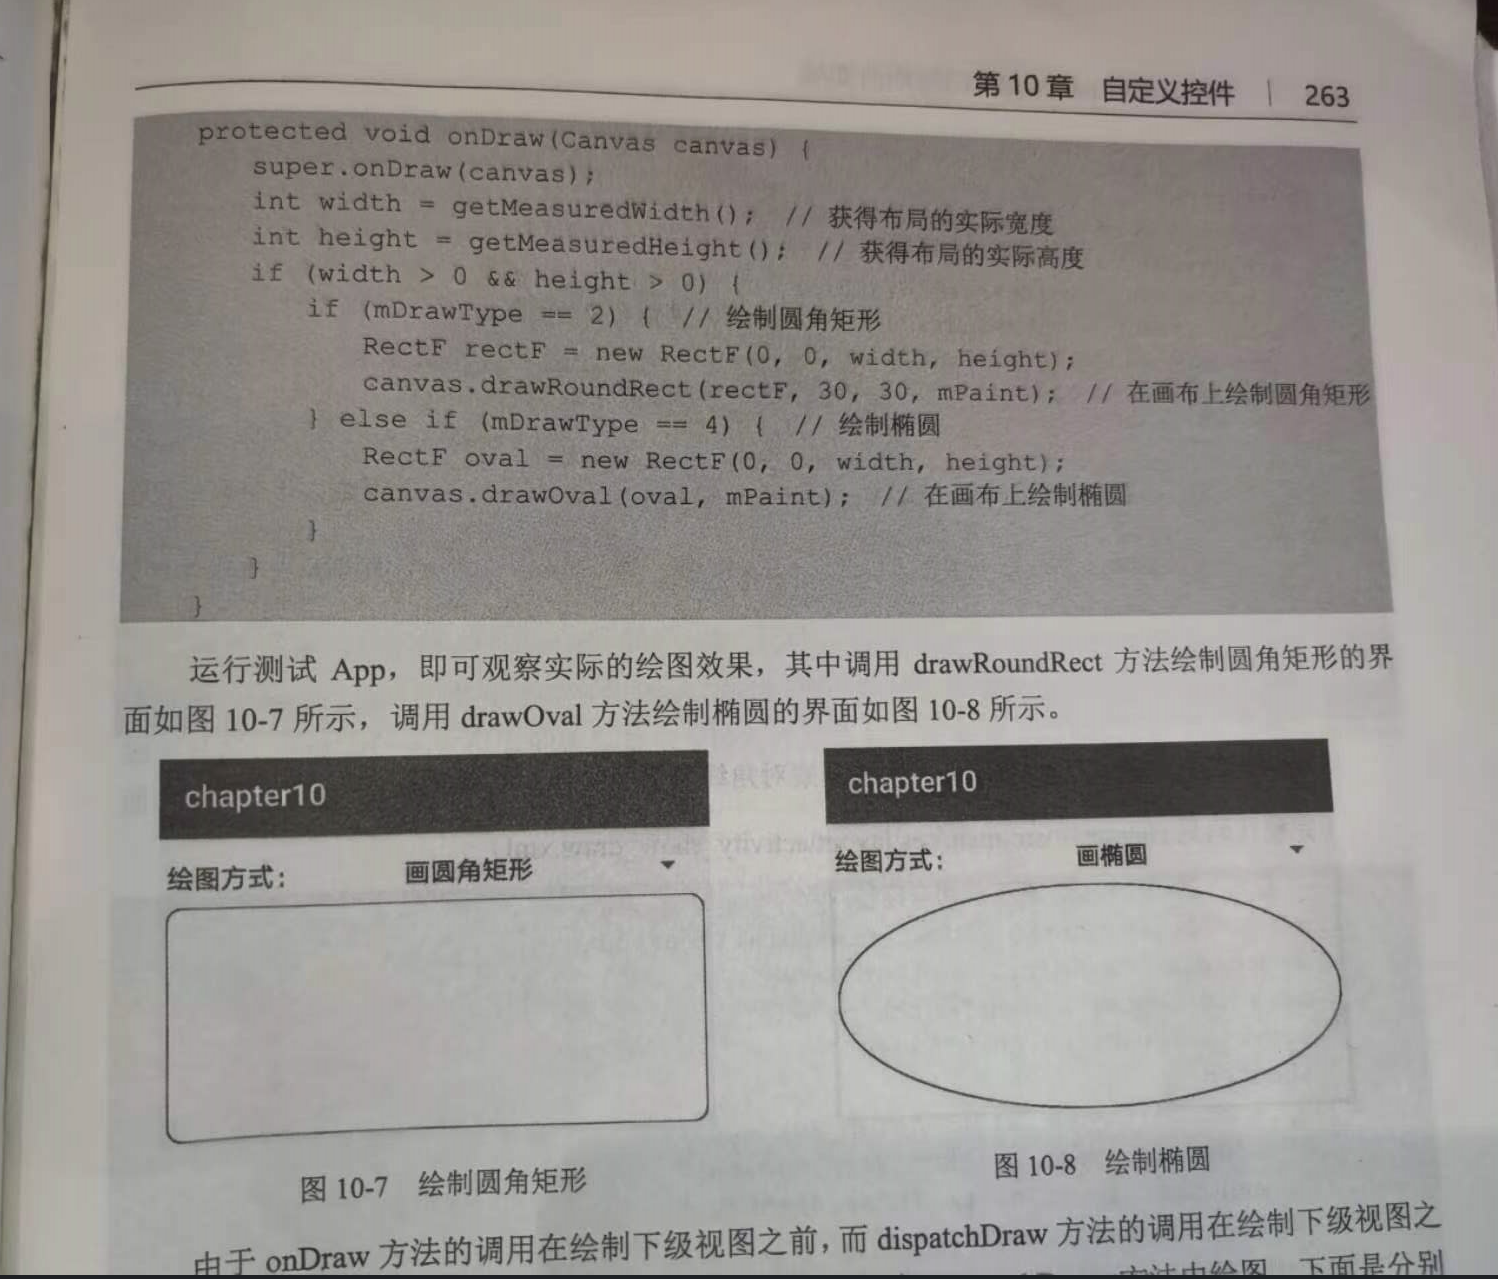
package com.example.myapplication.widget;

import android.content.Context;
import android.graphics.Canvas;
import android.graphics.Color;
import android.graphics.Paint;
import android.graphics.Paint.Style;
import android.graphics.Rect;
import android.graphics.RectF;
import android.util.AttributeSet;
import android.widget.RelativeLayout;

public class DrawRelativeLayout extends RelativeLayout
{
    private int mDrawType = 0; // 绘制类型

    private Paint mPaint = new Paint(); // 创建一个画笔对象

    private int mStrokeWidth = 3; // 线宽

    public DrawRelativeLayout(Context context)
    {

        this(context, null);
    }

    public DrawRelativeLayout(Context context, AttributeSet attrs)
    {

        super(context, attrs);
        mPaint.setAntiAlias(true); // 设置画笔为无锯齿
        mPaint.setDither(true); // 设置画笔为防抖动
        mPaint.setColor(Color.BLACK); // 设置画笔的颜色
        mPaint.setStrokeWidth(mStrokeWidth); // 设置画笔的线宽
        mPaint.setStyle(Style.STROKE); // 设置画笔的类型。STROKE表示空心,FILL表示实心
    }

    // onDraw方法在绘制下级视图之前调用
    @Override
    protected void onDraw(Canvas canvas)
    {

        super.onDraw(canvas);

        int width = getMeasuredWidth(); // 获得布局的实际宽度
        int height = getMeasuredHeight(); // 获得布局的实际高度

        if (width > 0 && height > 0) {
            if (mDrawType == 1) { // 绘制矩形
                Rect rect = new Rect(0, 0, width, height);
                canvas.drawRect(rect, mPaint); // 在画布上绘制矩形
            } else if (mDrawType == 2) { // 绘制圆角矩形
                RectF rectF = new RectF(0, 0, width, height);
                canvas.drawRoundRect(rectF, 30, 30, mPaint); // 在画布上绘制圆角矩形
            } else if (mDrawType == 3) { // 绘制圆圈
                int radius = Math.min(width, height) / 2 - mStrokeWidth;
                canvas.drawCircle(width / 2, height / 2, radius, mPaint); // 在画布上绘制圆圈
            } else if (mDrawType == 4) { // 绘制椭圆
                RectF oval = new RectF(0, 0, width, height);
                canvas.drawOval(oval, mPaint); // 在画布上绘制椭圆
            } else if (mDrawType == 5) { // 绘制矩形及其对角线
                Rect rect = new Rect(0, 0, width, height);
                canvas.drawRect(rect, mPaint); // 绘制矩形
                canvas.drawLine(0, 0, width, height, mPaint); // 绘制左上角到右下角的线段
                canvas.drawLine(0, height, width, 0, mPaint); // 绘制左下角到右上角的线段
            }
        }
    }

    // dispatchDraw方法在绘制下级视图之前调用
    @Override
    protected void dispatchDraw(Canvas canvas)
    {
        super.dispatchDraw(canvas);

        int width = getMeasuredWidth(); // 获得布局的实际宽度
        int height = getMeasuredHeight(); // 获得布局的实际高度

        if (width > 0 && height > 0)
        {
            if (mDrawType == 6) { // 绘制矩形及其对角线
                Rect rect = new Rect(0, 0, width, height);
                canvas.drawRect(rect, mPaint); // 绘制矩形
                canvas.drawLine(0, 0, width, height, mPaint); // 绘制左上角到右下角的线段
                canvas.drawLine(0, height, width, 0, mPaint); // 绘制左下角到右上角的线段
            }
        }
    }

    // 设置绘制类型
    public void setDrawType(int type)
    {
        setBackgroundColor(Color.WHITE); // 背景置为白色,目的是把画布擦干净

        mDrawType = type;

        invalidate(); // 立即重新绘图,此时会触发onDraw方法和dispatchDraw方法
    }
}