centos 7.5安装zabbix 4.4
一、安装环境
本环境,使用单机部署。
操作系统:centos 7.5 x64
zabbix-server,Mysql,php,nginx都在同一台服务器。都是使用Yum安装的!
官方安装文档:
https://www.zabbix.com/download?zabbix=4.4&os_distribution=centos&os_version=7&db=mysql
这里,主要使用Nginx来发布前端页面
二、安装Mysql
安装并且启动mysql5.6及初始化数据库信息
# rpm -ivh http://repo.mysql.com/yum/mysql-5.6-community/el/6/x86_64/mysql-community-release-el6-5.noarch.rpm
# yum install -y mysql-community-server
# systemctl start mysqld
# /sbin/chkconfig mysqld on #开机启动
# service mysqld start  # 启动数据库
初始化数据库信息
# mysql_secure_installation #初始化数据库信息
输出:

NOTE: RUNNING ALL PARTS OF THIS SCRIPT IS RECOMMENDED FOR ALL MySQL
      SERVERS IN PRODUCTION USE!  PLEASE READ EACH STEP CAREFULLY!

In order to log into MySQL to secure it, we'll need the current
password for the root user.  If you've just installed MySQL, and
you haven't set the root password yet, the password will be blank,
so you should just press enter here.

Enter current password for root (enter for none): #初次运行直接回车
OK, successfully used password, moving on...

Setting the root password ensures that nobody can log into the MySQL
root user without the proper authorisation.

Set root password? [Y/n] #是否设置root用户密码,输入y并回车或直接回车
New password: #设置root用户的密码
Re-enter new password: #再输入一次你设置的密码
Password updated successfully!
Reloading privilege tables..
 ... Success!


By default, a MySQL installation has an anonymous user, allowing anyone
to log into MySQL without having to have a user account created for
them.  This is intended only for testing, and to make the installation
go a bit smoother.  You should remove them before moving into a
production environment.

Remove anonymous users? [Y/n] #是否删除匿名用户,生产环境建议删除,所以直接回车
 ... Success!

Normally, root should only be allowed to connect from 'localhost'.  This
ensures that someone cannot guess at the root password from the network.

Disallow root login remotely? [Y/n] #是否禁止root远程登录,根据自己的需求选择Y/n并回车,建议禁止
 ... Success!

By default, MySQL comes with a database named 'test' that anyone can
access.  This is also intended only for testing, and should be removed
before moving into a production environment.

Remove test database and access to it? [Y/n] #是否删除test数据库,直接回车
 - Dropping test database...
ERROR 1008 (HY000) at line 1: Can't drop database 'test'; database doesn't exist
 ... Failed!  Not critical, keep moving...
 - Removing privileges on test database...
 ... Success!

Reloading the privilege tables will ensure that all changes made so far
will take effect immediately.

Reload privilege tables now? [Y/n] #是否重新加载权限表,直接回车
 ... Success!


All done!  If you've completed all of the above steps, your MySQL
installation should now be secure.

Thanks for using MySQL!
三、安装和配置zabbix服务器
安装Zabbix存储库
# rpm -Uvh https://repo.zabbix.com/zabbix/4.4/rhel/7/x86_64/zabbix-release-4.4-1.el7.noarch.rpm
# yum clean all
安装Zabbix服务器,前端,代理
# yum -y install epel-release
# yum -y install zabbix-server-mysql zabbix-web-mysql zabbix-agent zabbix-nginx-conf
# yum clean all
创建初始数据库
# mysql -uroot -p
password
mysql> create database zabbix character set utf8 collate utf8_bin;
mysql> grant all privileges on zabbix.* to zabbix@localhost identified by 'password';
mysql> quit;
注意:这里指定的zabbix用户密码为password,请根据实际情况修改。
导入初始架构和数据。系统将提示您输入新创建的密码。
# zcat /usr/share/doc/zabbix-server-mysql*/create.sql.gz | mysql -uzabbix -p zabbix
配置数据库
编辑文件 /etc/zabbix/zabbix_server.conf
DBPassword=password
配置php
编辑文件/etc/php.ini
date.timezone = Asia/Shanghai
配置nginx
编辑配置文件 /etc/nginx/nginx.conf
注释掉默认的配置
    #server {
    #    listen       80 default_server;
    #    listen       [::]:80 default_server;
    #    server_name  _;
    #    root         /usr/share/nginx/html;

    #    # Load configuration files for the default server block.
    #    include /etc/nginx/default.d/*.conf;

    #    location / {
    #    }

    #    error_page 404 /404.html;
    #        location = /40x.html {
    #    }

    #    error_page 500 502 503 504 /50x.html;
    #        location = /50x.html {
    #    }
    #}
启动zabbix服务器和代理进程
启动zabbix服务器和代理进程,并使其在系统启动时启动:
# systemctl restart zabbix-server zabbix-agent nginx php-fpm
# systemctl enable zabbix-server zabbix-agent nginx php-fpm
现在您的zabbix服务器已经启动并运行了!
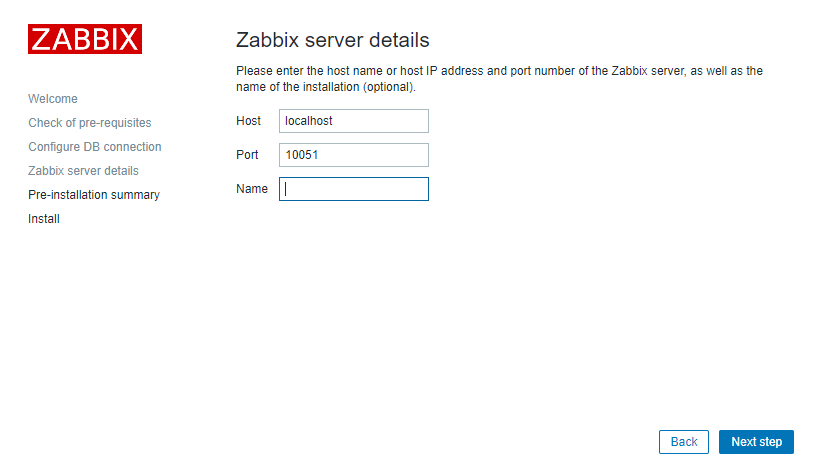
四、配置Zabbix前端
连接到新安装的zabbix前端:http://server ip
遵循zabbix文档中描述的步骤:安装前端

确保配置都通过了

输入zabbix用户的数据库密码

保持默认
五、开始使用zabbix
默认的用户名:Admin,密码:zabbix
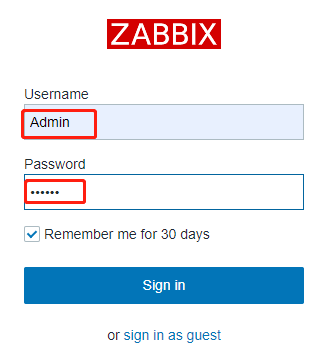
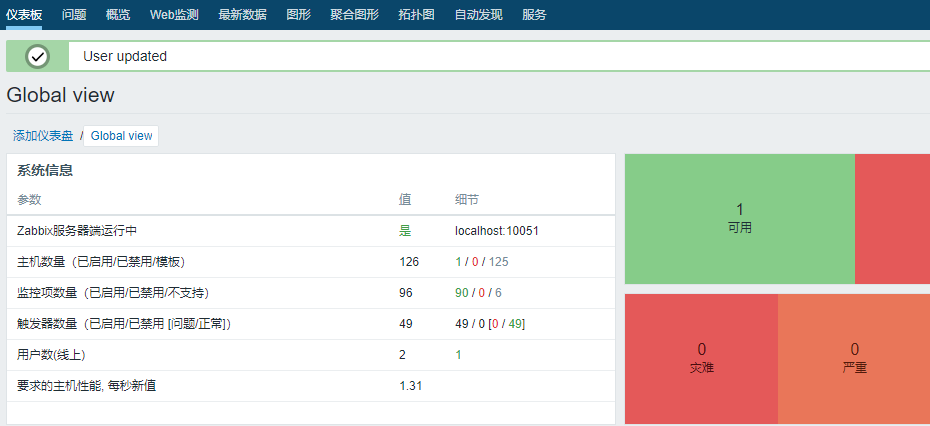
登录之后,效果如下:
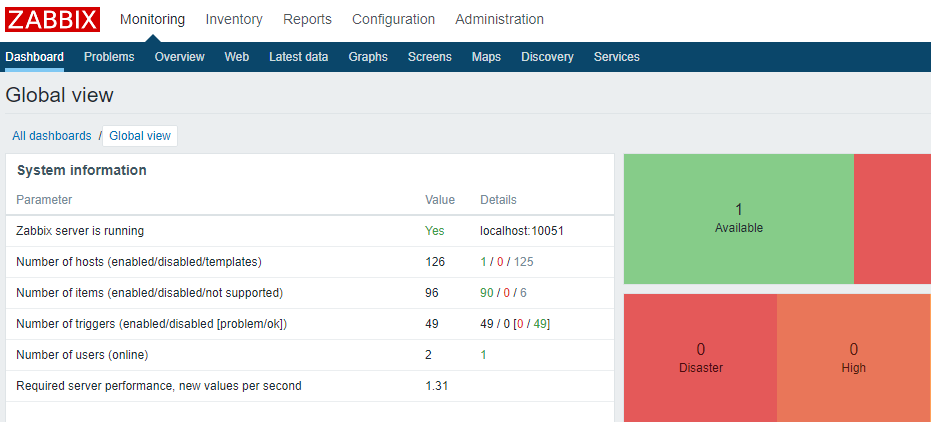
点击右侧的小人图标,设置语言为中文
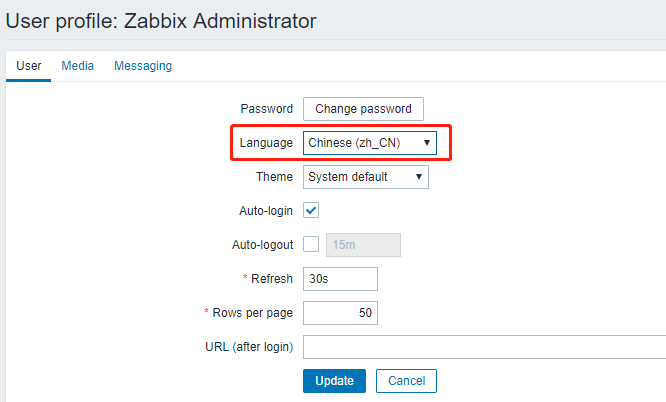
效果如下:
六、监控图表中文乱码的解决办法
# yum -y install wqy-microhei-fonts
# \cp /usr/share/fonts/wqy-microhei/wqy-microhei.ttc /usr/share/fonts/dejavu/DejaVuSans.ttf
重启zabbix-server和nginx
# systemctl restart zabbix-server
# systemctl restart nginx
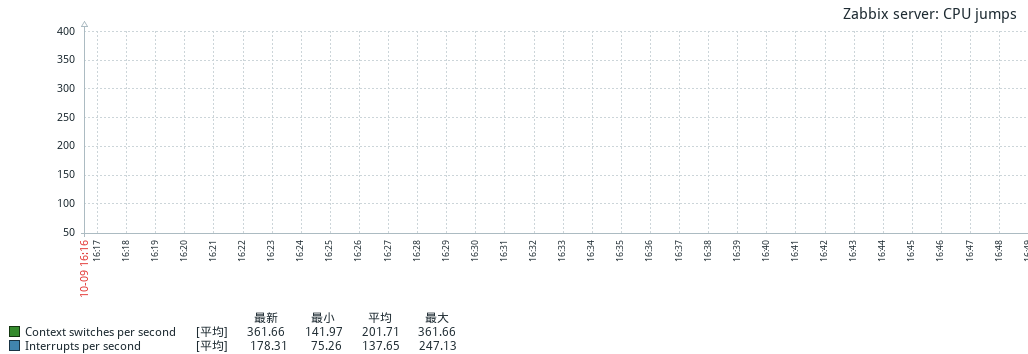
查看图表,中文是否正常
本文参考链接:
https://www.zabbix.com/download?zabbix=4.4&os_distribution=centos&os_version=7&db=mysql
https://blog.csdn.net/qq_32786873/article/details/78846008
https://blog.csdn.net/solaraceboy/article/details/84974363


【推荐】国内首个AI IDE,深度理解中文开发场景,立即下载体验Trae
【推荐】编程新体验,更懂你的AI,立即体验豆包MarsCode编程助手
【推荐】抖音旗下AI助手豆包,你的智能百科全书,全免费不限次数
【推荐】轻量又高性能的 SSH 工具 IShell:AI 加持,快人一步
· 开发者必知的日志记录最佳实践
· SQL Server 2025 AI相关能力初探
· Linux系列:如何用 C#调用 C方法造成内存泄露
· AI与.NET技术实操系列(二):开始使用ML.NET
· 记一次.NET内存居高不下排查解决与启示
· Manus重磅发布:全球首款通用AI代理技术深度解析与实战指南
· 被坑几百块钱后,我竟然真的恢复了删除的微信聊天记录!
· 没有Manus邀请码?试试免邀请码的MGX或者开源的OpenManus吧
· 园子的第一款AI主题卫衣上架——"HELLO! HOW CAN I ASSIST YOU TODAY
· 【自荐】一款简洁、开源的在线白板工具 Drawnix
2018-10-09 python 全栈开发,Day139(websocket原理,flask之请求上下文)