centos7安装gitlab并汉化
2020-07-06 02:29 天心PHP 阅读(509) 评论(0) 编辑 收藏 举报简介
gitlab是一个利用 Ruby on Rails 开发的开源应用程序,实现一个自托管的Git 项目仓库,可通过Web界面迚行访问公开的戒者私人项目。
Ruby on Rails 是一个可以使你开发、部署、维护 web 应用程序变得简单的框架。
GitLab 拥有与Github 类似的功能,能够浏览源代码,管理缺陷和注释。可以管理团队对仓库的访问,
它非常易于浏览提交过的版本并提供一个文件历史库。它还提供一个代码片段收集功能可以轻松实现代码
复用,便于日后有需要的时候迚行查找。
GitLab 中文网:https://www.gitlab.cc/installation/#centos-7
gitlab和github的区别

相同点: 二者都是基于web 的Git 仓库,在很大程度上GitLab 是仿照GitHub 来做的,它们都提供了分享开源项目的平台,为开发团队提供了存储、分享、发布和合作开发项目的中心化于存储的场所。
不同点:
1、GitHub 如果要使用私有仓库,是需要付费的。GitLab 可以在上面创建私人的免费仓库。
2、GitLab 让开发团队对他们的代码仓库拥有更多的控制,相比于GitHub,它有不少的特色:
允许免费设置仓库权限;
允许用户选择分享一个project 的部分代码;
允许用户设置project 的获取权限,进一步的提升安全性;
可以设置获取到团队整体的改进进度;通过innersourcing 让不在权限范围内的人访问不到该资源。
总结:从代码私有性方面来看,有时公司并不希望员工获取到全部的代码,这个时候GitLab 无疑是更好的选择。但对于开源项目而言,GitHub 依然是代码托管的首选。
git 相关概念:
git 是一种版本控制系统,是一个命令,是一种工具
gitlib 是用于实现git 功能的开发库
github 是一个基于git 实现的在线代码托管仓库,包含一个网站界面,向亏联网开放
gitlab 是一个基于git 实现的在线代码仓库托管软件,一般用亍在企业内部网络搭建git 私服
注: gitlab-ce 社区版 ; gitlab-ee 是企业版,收费
安装
首先确认部署gitlab机器硬件是否满足条件:cpu:2核和内存:8g (最低性能要求),如果不满足,该问题只能通过更换机器解决。
温馨提示:
本次gitlab的环境是:
操作系统:centos7
主机名:gitlab
IP: 192.168.192.131
内存: 8G(这里要重要的提示一下,内存最少4G,不然会出现访问超时的错误,譬如:502)
防火墙: 关闭状态(这里可以开,可以不开,下面有开防火墙的设置方法)
gitlab rpm安装包百度云下载:https://pan.baidu.com/s/1a57PWAvCQcxMBI2qwfyR2g
gitlab 汉化包百度云下载:https://pan.baidu.com/s/1DVZXrfH08JRYNuBw6zvLJQ
百度云链接永久有效,如果链接失效可以联系我
安装依赖
安装依赖包:
[root@gitlab ~]# yum install -y curl openssh-server openssh-clients postfix cronie policycoreutils-python
1.=======================
sudo systemctl enable sshd

sudo systemctl start sshd

sudo firewall-cmd --permanent --add-service=http

sudo systemctl reload firewalld


2.=======================

sudo yum install postfix

sudo systemctl enable postfix

sudo systemctl start postfix
yum安装
yum 安装gitlab:
使用这种方式安装的gitlab永远都是最新版的,也会比较慢
[root@gitlab ~]# curl https://packages.gitlab.com/install/repositories/gitlab/gitlab-ce/script.rpm.sh | sudo bash
[root@gitlab ~]# yum -y install gitlab-ce
rpm安装
rpm 安装gitlab:
这里采用了 清华大学开源软件镜像站 下载并安装(速度快),使用的是gitlab-ce-11.6.1的版本
下载gitlab安装包
这里采用了 清华大学开源软件镜像站(https://mirrors.tuna.tsinghua.edu.cn/gitlab-ce/yum/el7/) 下载并安装(速度快),使用的是gitlab-ce-11.6.1的版本

下载gitlab安装包(没有wget命令请自行使用yum -y install wget 安装)
[root@gitlab ~]# wget https://mirrors.tuna.tsinghua.edu.cn/gitlab-ce/yum/el7/gitlab-ce-11.6.1-ce.0.el7.x86_64.rpm

安装gitlab
[root@gitlab ~]# rpm -ivh gitlab-ce-11.6.1-ce.0.el7.x86_64.rpm

这里说一下rpm安装gitlab安装后的目录和文件的作用:
/opt/gitlab/                # gitlab的程序安装目录
/etc/gitlab/gitlab.rb       # gitlab的配置文件
/var/opt/gitlab             # gitlab目录数据目录
/var/opt/gitlab/git-data    # 存放仓库数据
/var/log/gitlab/            # 日志地址
/var/opt/gitlab/            # 各服务地址
安装包安装
下载软件比较慢的可以用提交的
gitlab rpm安装包百度云下载:https://pan.baidu.com/s/1a57PWAvCQcxMBI2qwfyR2g
gitlab 汉化包百度云下载:https://pan.baidu.com/s/1DVZXrfH08JRYNuBw6zvLJQ
自己下载安装包了解压安装
gitlab管理命令
gitlab‐ctl reconfigure      # 更改配置文件后需重新配置
gitlab‐ctl status           # 查看目前gitlab所有服务运维状态
gitlab‐ctl stop             # 停止gitlab服务
gitlab‐ctl stop nginx       # 单独停止某个服务
gitlab‐ctl tail             # 查看所有服务的日志
sudo gitlab-ctl restart     #重启
配置
gitlab配置
安装完成后,修改gitlab的配置文件(在/etc/gitlab/gitlab.rb)
更改URL地址为本地IP地址:
原参数:
external_url 'http://gitlab.example.com'
改为:
external_url 'http://192.168.1.104:9091'

若linux服务器的80和8080端口都已经被使用,则需修改gitlab监听的端口
unicorn['port'] = 9092 #默认8080端口 如果有其他程序占用了这个端口 就需要改端口
#以下设置 解决gitlab占用大量内存问题
unicorn['worker_processes'] = 4
postgresql['max_worker_processes'] = 4
nginx['worker_processes'] = 4
配置gitlab并启动(配置完成会自动启动)
[root@gitlab ~]# gitlab-ctl reconfigure #执行时间比较长
[root@gitlab ~]# gitlab-ctl start

=======启动/暂停/重启=======

gitlab-ctl start

gitlab-ctl stop

gitlab-ctl restart
查看启动状态: [root@gitlab ~]# netstat -lntup Active Internet connections (only servers) Proto Recv-Q Send-Q Local Address Foreign Address State PID/Program name tcp 0 0 0.0.0.0:25 0.0.0.0:* LISTEN 11178/master tcp 0 0 0.0.0.0:8060 0.0.0.0:* LISTEN 15433/nginx: master tcp 0 0 127.0.0.1:9121 0.0.0.0:* LISTEN 15622/redis_exporte tcp 0 0 127.0.0.1:9090 0.0.0.0:* LISTEN 15472/prometheus tcp 0 0 127.0.0.1:9187 0.0.0.0:* LISTEN 15450/postgres_expo tcp 0 0 127.0.0.1:9093 0.0.0.0:* LISTEN 15284/alertmanager tcp 0 0 127.0.0.1:9100 0.0.0.0:* LISTEN 15442/node_exporter tcp 0 0 127.0.0.1:9229 0.0.0.0:* LISTEN 15339/gitlab-workho tcp 0 0 127.0.0.1:8080 0.0.0.0:* LISTEN 15738/unicorn maste tcp 0 0 0.0.0.0:80 0.0.0.0:* LISTEN 15433/nginx: master tcp 0 0 127.0.0.1:9168 0.0.0.0:* LISTEN 15329/puma 3.12.0 ( tcp 0 0 127.0.0.1:8082 0.0.0.0:* LISTEN 15706/sidekiq 5.2.3 tcp 0 0 127.0.0.1:9236 0.0.0.0:* LISTEN 15302/gitaly tcp 0 0 0.0.0.0:22 0.0.0.0:* LISTEN 1005/sshd tcp6 0 0 :::25 :::* LISTEN 11178/master tcp6 0 0 :::9094 :::* LISTEN 15284/alertmanager tcp6 0 0 :::22 :::* LISTEN 1005/sshd udp 0 0 127.0.0.1:323 0.0.0.0:* 690/chronyd udp 0 0 0.0.0.0:56458 0.0.0.0:* 11209/local udp 0 0 0.0.0.0:68 0.0.0.0:* 759/dhclient udp6 0 0 ::1:323 :::* 690/chronyd udp6 0 0 :::9094 :::* 15284/alertmanager 看到一堆服务,但是那个是gitlab相关的呢,使用下面命令查看: [root@gitlab ~]# gitlab-ctl status run: alertmanager: (pid 15284) 2231s; run: log: (pid 13802) 2409s run: gitaly: (pid 15302) 2231s; run: log: (pid 13583) 2413s run: gitlab-monitor: (pid 15329) 2230s; run: log: (pid 13703) 2412s run: gitlab-workhorse: (pid 15339) 2230s; run: log: (pid 13526) 2415s run: logrotate: (pid 15354) 2230s; run: log: (pid 13543) 2414s run: nginx: (pid 15433) 2229s; run: log: (pid 13534) 2415s run: node-exporter: (pid 15442) 2229s; run: log: (pid 13606) 2412s run: postgres-exporter: (pid 15450) 2228s; run: log: (pid 13824) 2408s run: postgresql: (pid 15460) 2228s; run: log: (pid 13485) 2417s run: prometheus: (pid 15472) 2228s; run: log: (pid 13769) 2409s run: redis: (pid 15485) 2227s; run: log: (pid 13477) 2417s run: redis-exporter: (pid 15622) 2227s; run: log: (pid 13729) 2411s run: sidekiq: (pid 15706) 2202s; run: log: (pid 13503) 2416s run: unicorn: (pid 15719) 2201s; run: log: (pid 13494) 2417s
上面发现配置个gitlab竟然启动了一堆的东西,什么鬼。。。。
其实这些启动的都是gitlab服务需要的组件服务
Gitlab的服务有很多的组件构成的,如:
nginx:              静态web服务器
gitlab‐workhorse:   轻量级的反向代理服务器
logrotate:         日志文件管理工具
postgresql:        数据库
redis:             缓存数据库
sidekiq:           用于在后台执行队列任务(异步执行),(Ruby)
unicorn:           An HTTP server for Rack applications,GitLab Rails应用是托管在这个服务器上面的。(RubyWeb Server,主要使用Ruby编写)
防火墙设置
防火墙设置(防火墙也会引起502的错误)
关闭防火墙:
[root@gitlab ~]# systemctl stop firewalld.service
[root@gitlab ~]# iptables -F

设置防火墙:
[root@gitlab ~]# firewall-cmd --permanent --add-service=http
[root@gitlab ~]# systemctl reload firewalld
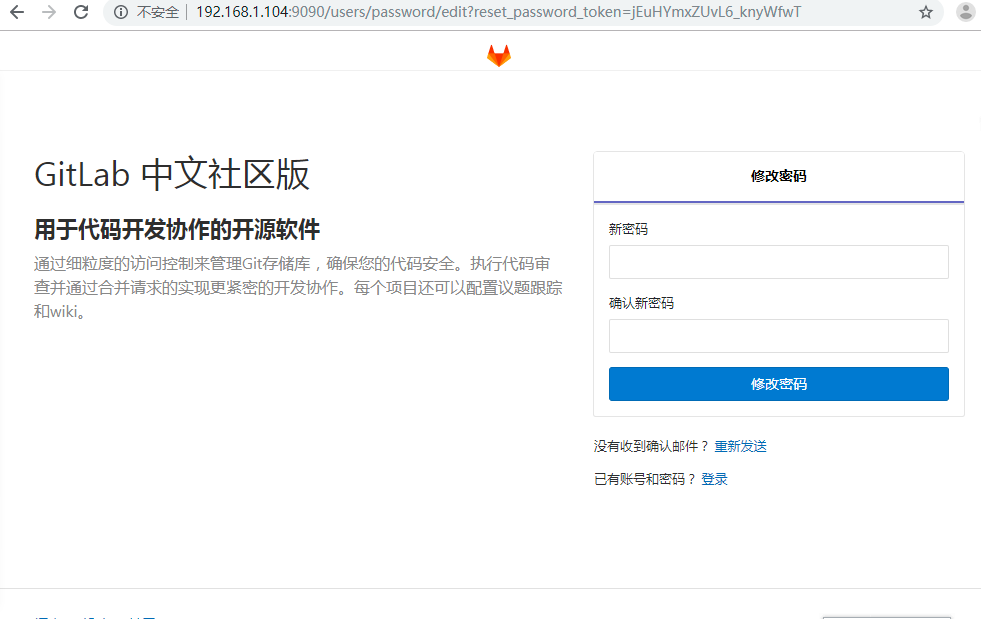
测试

汉化
说明:gitlab中文社区版的项目,v7-v8.8是由Larry Li发起的"GitLab 中文社区版项目"(https://gitlab.com/larryli/gitlab)
从 v8.9之后,@xhang开始继续该汉化项目(https://gitlab.com/xhang/gitlab)
具体汉化方式:
1) 停止gitlab服务
[root@gitlab ~]# gitlab-ctl stop

2) 安装git命令(有的可以不在次安装)
[root@gitlab ~]# yum -y install git

3) git clone 汉化包并打补丁
[root@gitlab ~]# git clone https://gitlab.com/xhang/gitlab.git

这里下载的速度会出现很慢的情况,下面提供了百度云盘的下载
百度云下载地址: https://pan.baidu.com/s/1DVZXrfH08JRYNuBw6zvLJQ (永久有效,如果链接失效可以联系我)
在百度云上下载后,上传到服务器上然后解压在执行下面的命令


我是从百度网盘下载的 存放路径为
/home/gitlab/*


[root@gitlab ~]# cd gitlab

# 比较汉化标签和原标签,导出 patch 用的 diff 文件到/home/gitlab下
[root@gitlab gitlab]# git diff v11.5.6 v11.5.6-zh > ../11.5.6-zh.diff

# 将11.5.6-zh.diff作为补丁更新到gitlab中
# 这里需要用到patch命令,需要安装一下
[root@gitlab gitlab]# yum -y install patch
[root@gitlab gitlab]# patch -d /opt/gitlab/embedded/service/gitlab-rails -p1 < /home/gitlab/11.5.6-zh.diff

温馨提示: 这里回车后,会提示是否要覆盖文件,一路回车就行

# 启动gitlab
[root@gitlab ~]# gitlab-ctl start