Docker容器化部署企业级应用集群
一、Docker容器化部署企业级应用
1.1 使用Docker容器化部署企业级应用必要性
有利于快速实现企业级应用部署
有利于快速实现企业级应用恢复
1.2 使用Docker容器化部署企业级应用参考资料
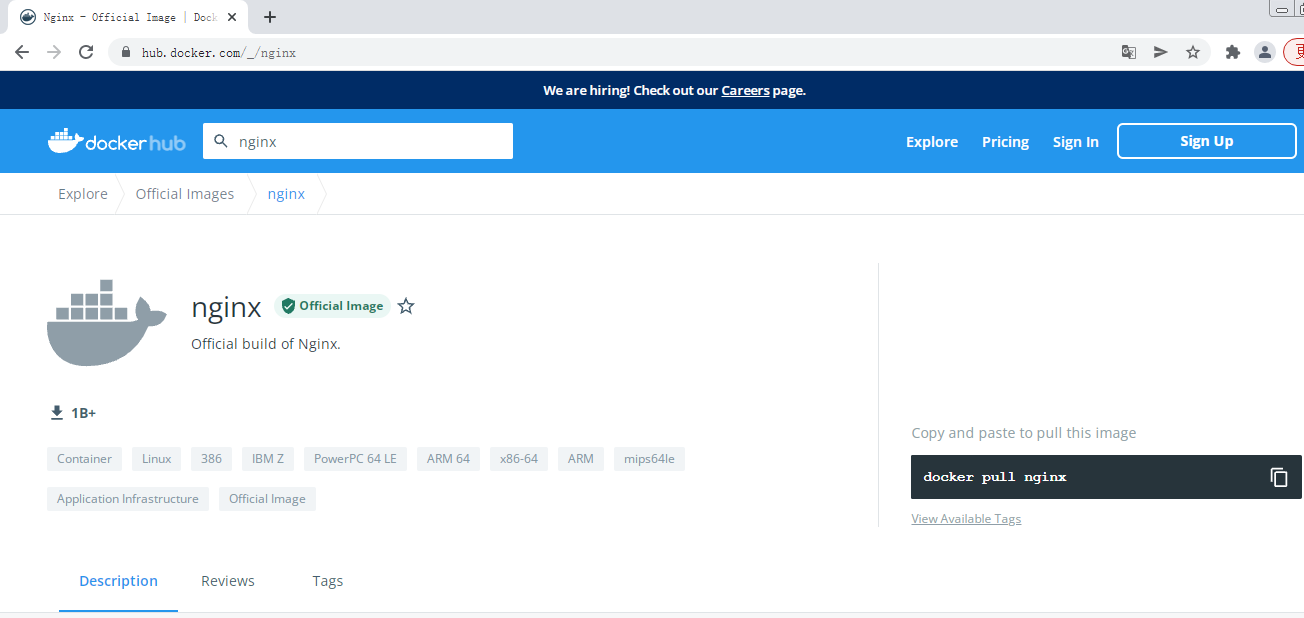
二、使用Docker容器实现Nginx部署
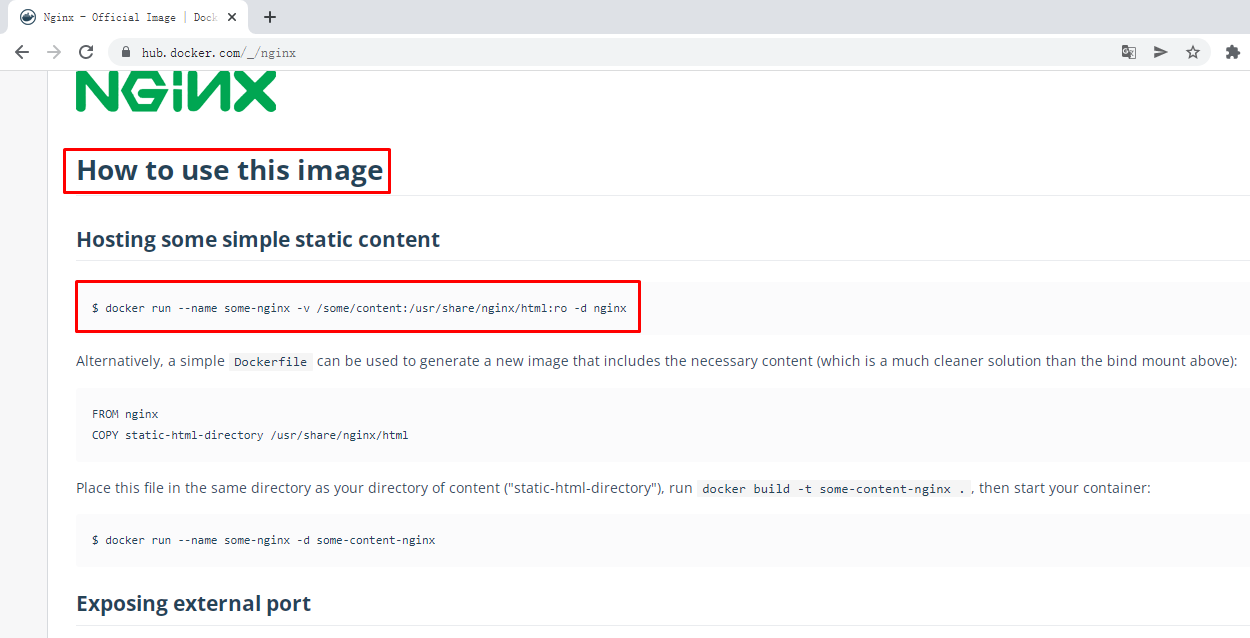
2.1 获取参考资料
2.2 运行Nginx应用容器
不在docker host暴露端口
664 cd1bbda4ad2a71cbd09f0c6baa9b34db80db2d69496670a960be07b9521cb
CONTAINER ID IMAGE COMMAND CREATED STATUS PORTS NAMES
664 cd1bbda4a nginx "/docker-entrypoint.…" 4 seconds ago Up 3 seconds 80 /tcp nginx-server
"SecondaryIPAddresses" : null,
"IPAddress" : "172.17.0.3" ,
"IPAddress" : "172.17.0.3" ,
<html>
<head><title>403 Forbidden</title></head>
<body>
<center><h1>403 Forbidden</h1></center>
<hr><center>nginx/1.21 .6 </center>
</body>
</html>
2.3 运行Nginx应用容器
在docker host暴露80端口
CONTAINER ID IMAGE COMMAND CREATED STATUS PORTS NAMES
74 dddf51983d nginx "/docker-entrypoint.…" 3 seconds ago Up 2 seconds 0.0 .0.0 :80 ->80 /tcp, :::80 ->80 /tcp nginx-server-port
nginx-server nginx-server-port
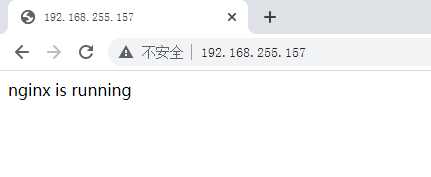
在宿主机上访问
UID PID PPID C STIME TTY TIME CMD
root 22195 22163 0 15 :08 ? 00 :00 :00 nginx: master process nginx -g daemon off;
101 22387 22195 0 15 :08 ? 00 :00 :00 nginx: worker process
2.4 运行Nginx应用容器
挂载配置文件,需要创建一个nginx容器,把配置文件复制出来修改后使用。
-p 82 :80 --name nginx-server-conf \
-v /opt/nginx-server-conf :/usr/share/nginx/html:ro \
-v /opt/nginxcon/nginx.conf:/etc/nginx/nginx.conf:ro \
nginx
76251 ec44e5049445399303944fc96eb8161ccb49e27b673b99cb2492009523c
UID PID PPID C STIME TTY TIME CMD
root 25005 24972 0 15 :38 ? 00 :00 :00 nginx: master process nginx -g daemon off;
101 25178 25005 0 15 :38 ? 00 :00 :00 nginx: worker process
101 25179 25005 0 15 :38 ? 00 :00 :00 nginx: worker process
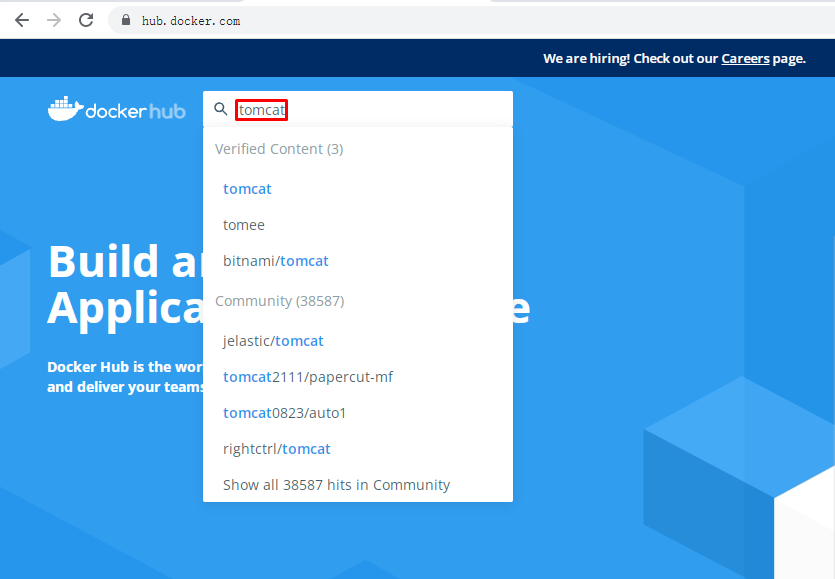
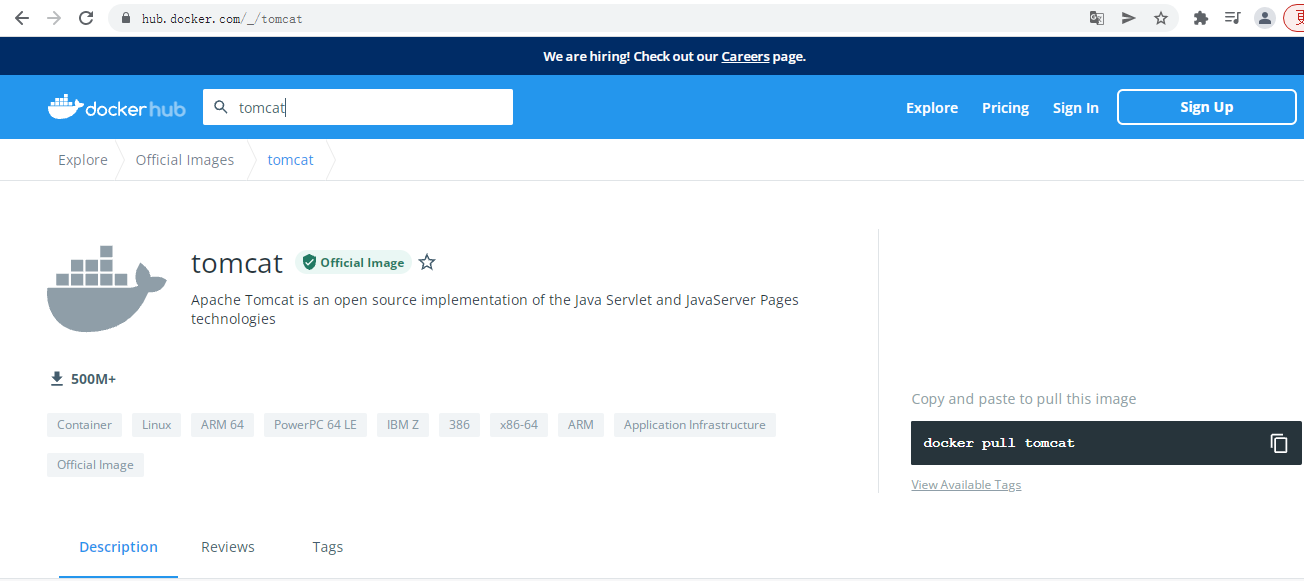
三、使用Docker容器实现Tomcat部署
3.1 获取参考资料
3.2 运行tomcat应用容器
3.2.1 不暴露端口运行
CONTAINER ID IMAGE COMMAND CREATED STATUS PORTS NAMES
c20a0e781246 tomcat:9.0 "catalina.sh run" 27 seconds ago Up 25 seconds 8080 /tcp heuristic_cori
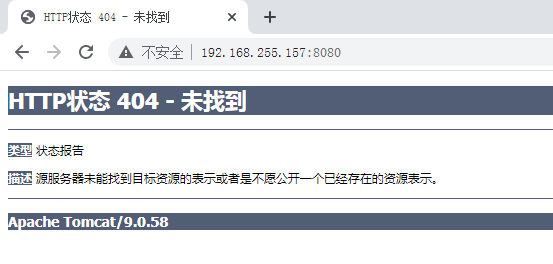
3.2.2 暴露端口运行
2 fcf5762314373c824928490b871138a01a94abedd7e6814ad5f361d09fbe1de
CONTAINER ID IMAGE COMMAND CREATED STATUS PORTS NAMES
2 fcf57623143 tomcat:9.0 "catalina.sh run" 3 seconds ago Up 1 second 0.0 .0.0 :8080 ->8080 /tcp, :::8080 ->8080 /tcp eloquent_chatelet
在宿主机访问
3.2.3 暴露端口及添加网站文件
f456e705d48fc603b7243a435f0edd6284558c194e105d87befff2dccddc0b63
CONTAINER ID IMAGE COMMAND CREATED STATUS PORTS NAMES
f456e705d48f tomcat:9.0 "catalina.sh run" 3 seconds ago Up 2 seconds 0.0 .0.0 :8081 ->8080 /tcp, :::8081 ->8080 /tcp cool_germain
在宿主机访问
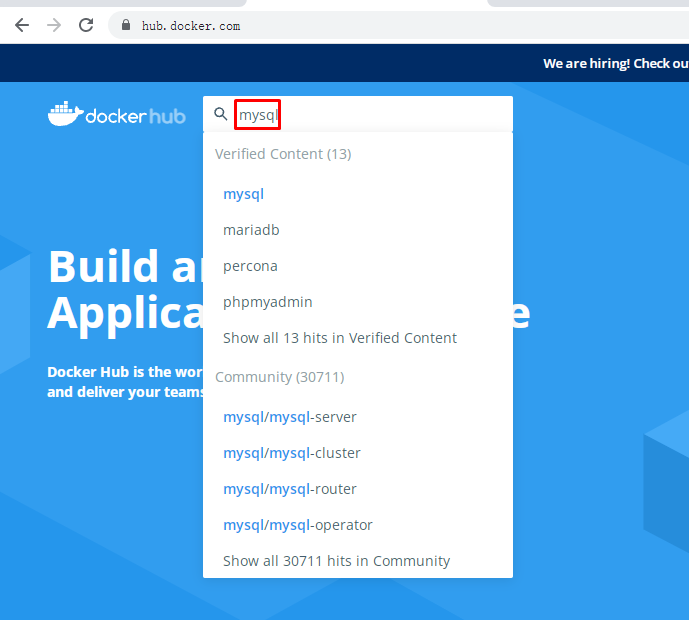
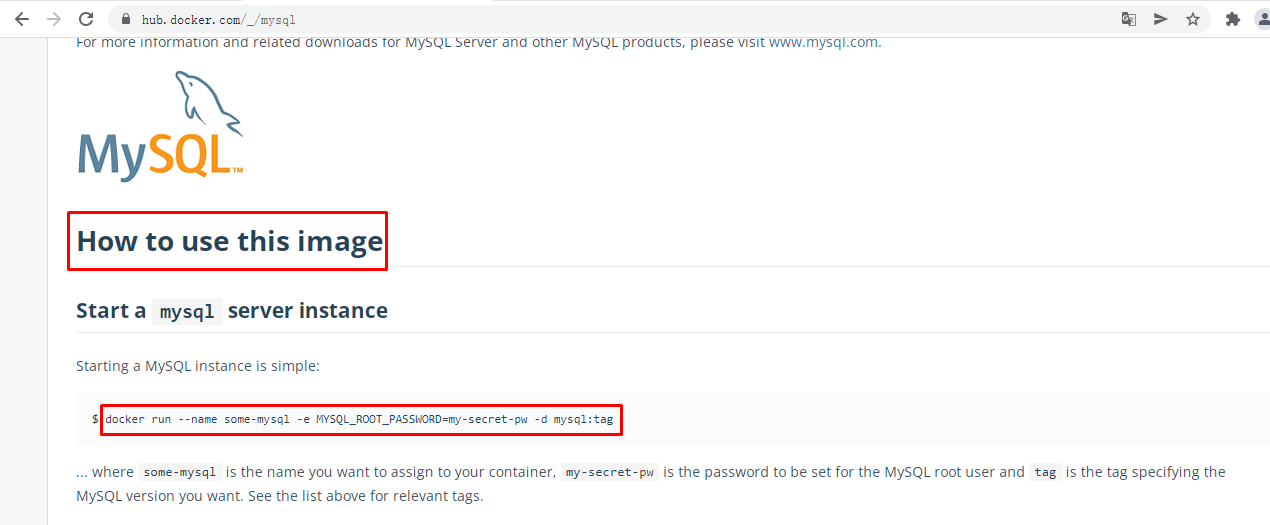
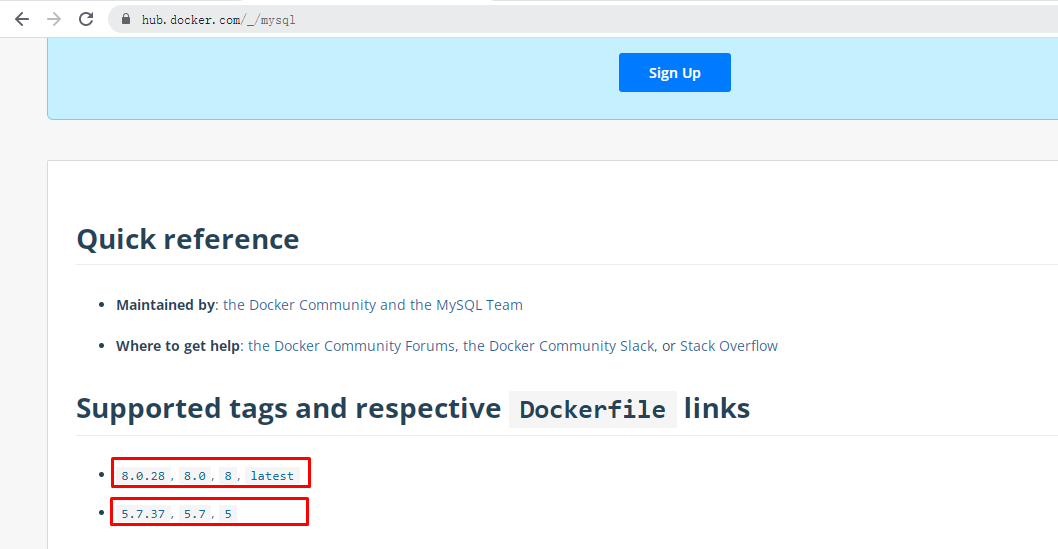
四、使用Docker容器实现MySQL部署
4.1 单节点MySQL部署
--name mysql \
-v /opt/mysql/log:/var/log/mysql \
-v /opt/mysql/data :/var/lib/mysql \
-v /opt/mysql/conf:/etc/mysql \
-e MYSQL_ROOT_PASSWORD=root \
-d \
mysql:5.7
CONTAINER ID IMAGE COMMAND CREATED STATUS PORTS NAMES
6 d16ca21cf31 mysql:5.7 "docker-entrypoint.s…" 32 seconds ago Up 30 seconds 0.0 .0.0 :3306 ->3306 /tcp, :::3306 ->3306 /tcp, 33060 /tcp mysql
通过容器中客户端访问
mysql: [Warning ] Using a password on the command line interface can be insecure.
Welcome to the MySQL monitor. Commands end with ; or \g.
Your MySQL connection id is 4
Server version: 5.7 .37 MySQL Community Server (GPL)
Copyright (c) 2000 , 2022 , Oracle and/or its affiliates.
Oracle is a registered trademark of Oracle Corporation and/or its
affiliates. Other names may be trademarks of their respective
owners.
Type 'help;' or '\h' for help. Type '\c' to clear the current input statement.
mysql>
在docker host上访问
Welcome to the MariaDB monitor. Commands end with ; or \g.
Your MySQL connection id is 7
Server version: 5.7 .37 MySQL Community Server (GPL)
Copyright (c) 2000 , 2018 , Oracle, MariaDB Corporation Ab and others.
Type 'help;' or '\h' for help. Type '\c' to clear the current input statement.
MySQL [(none )]> show databases;
+-------------------- +
| Database |
+-------------------- +
| information_schema |
| mysql |
| performance_schema |
| sys |
+-------------------- +
4 rows in set (0.00 sec)
4.2 MySQL主从复制集群部署
4.2.1 MySQL主节点部署
--name mysql-master \
-v /opt/mysql-master /log:/var/log/mysql \
-v /opt/mysql-master /data :/var/lib/mysql \
-v /opt/mysql-master /conf:/etc/mysql \
-e MYSQL_ROOT_PASSWORD=root \
-d mysql:5.7
CONTAINER ID IMAGE COMMAND CREATED STATUS PORTS NAMES
2 dbbed8e35c7 mysql:5.7 "docker-entrypoint.s…" 58 seconds ago Up 57 seconds 0.0 .0.0 :3306 ->3306 /tcp, :::3306 ->3306 /tcp, 33060 /tcp mysql-master
4.2.2 MySQL主节点配置
[client ]
default-character-set =utf8
[mysql ]
default-character-set =utf8
[mysqld ]
init_connect='SET collation_connection = utf8_unicode_ci'
init_connect='SET NAMES utf8'
character-set-server =utf8
collation-server =utf8_unicode_ci
skip-character -set-client-handshake
skip-name -resolve
server_id=1
log-bin =mysql-bin
read-only =0
binlog-do-db =kubemsb_test
replicate-ignore-db =mysql
replicate-ignore-db =sys
replicate-ignore-db =information_schema
replicate-ignore-db =performance_schema
4.2.3 MySQL从节点部署
--name mysql-slave \
-v /opt/mysql-slave /log:/var/log/mysql \
-v /opt/mysql-slave /data :/var/lib/mysql \
-v /opt/mysql-slave /conf:/etc/mysql \
-e MYSQL_ROOT_PASSWORD=root \
-d
--link mysql-master :mysql-master
mysql:5.7
CONTAINER ID IMAGE COMMAND CREATED STATUS PORTS NAMES
caf7bf3fc68f mysql:5.7 "docker-entrypoint.s…" 8 seconds ago Up 6 seconds 33060 /tcp, 0.0 .0.0 :3307 ->3306 /tcp, :::3307 ->3306 /tcp mysql-slave
4.2.4 MySQL从节点配置
[client ]
default-character-set =utf8
[mysql ]
default-character-set =utf8
[mysqld ]
init_connect='SET collation_connection = utf8_unicode_ci'
init_connect='SET NAMES utf8'
character-set-server =utf8
collation-server =utf8_unicode_ci
skip-character -set-client-handshake
skip-name -resolve
server_id=2
log-bin =mysql-bin
read-only =1
binlog-do-db =kubemsb_test
replicate-ignore-db =mysql
replicate-ignore-db =sys
replicate-ignore-db =information_schema
replicate-ignore-db =performance_schema
4.2.5 master节点配置
Welcome to the MariaDB monitor. Commands end with ; or \g.
Your MySQL connection id is 2
Server version: 5.7 .37 MySQL Community Server (GPL)
Copyright (c) 2000 , 2018 , Oracle, MariaDB Corporation Ab and others.
Type 'help;' or '\h' for help. Type '\c' to clear the current input statement.
MySQL [(none )]>
授权
MySQL [(none )]> grant replication slave on *.* to 'backup' @'%' identified by '123456';
查看状态
MySQL [(none )]> show master status\G
*************************** 1 . row ***************************
File: mysql-bin .000001
Position: 154
Binlog_Do_DB: kubemsb_test
Binlog_Ignore_DB:
Executed_Gtid_Set:
1 row in set (0.00 sec)
4.2.6 slave节点配置
Welcome to the MariaDB monitor. Commands end with ; or \g.
Your MySQL connection id is 2
Server version: 5.7 .37 MySQL Community Server (GPL)
Copyright (c) 2000 , 2018 , Oracle, MariaDB Corporation Ab and others.
Type 'help;' or '\h' for help. Type '\c' to clear the current input statement.
MySQL [(none )]>
MySQL [(none )]> change master to master_host='mysql-master' , master_user='backup' , master_password='123456' , master_log_file='mysql-bin.000001' , master_log_pos=154 , master_port=3306 ;
MySQL [(none )]> start slave;
MySQL [(none )]> show slave status\G
*************************** 1 . row ***************************
Slave_IO_State: Waiting for master to send event
Master_Host: mysql-master
Master_User: backup
Master_Port: 3306
Connect_Retry: 60
Master_Log_File: mysql-bin .000001
Read_Master_Log_Pos: 154
Relay_Log_File: e0872f94c377-relay-bin .000002
Relay_Log_Pos: 320
Relay_Master_Log_File: mysql-bin .000001
Slave_IO_Running: Yes
Slave_SQL_Running: Yes
Replicate_Do_DB:
Replicate_Ignore_DB: mysql,sys,information_schema,performance_schema
Replicate_Do_Table:
Replicate_Ignore_Table:
Replicate_Wild_Do_Table:
Replicate_Wild_Ignore_Table:
Last_Errno: 0
Last_Error:
Skip_Counter: 0
Exec_Master_Log_Pos: 154
Relay_Log_Space: 534
Until_Condition: None
Until_Log_File:
Until_Log_Pos: 0
Master_SSL_Allowed: No
Master_SSL_CA_File:
Master_SSL_CA_Path:
Master_SSL_Cert:
Master_SSL_Cipher:
Master_SSL_Key:
Seconds_Behind_Master: 0
Master_SSL_Verify_Server_Cert: No
Last_IO_Errno: 0
Last_IO_Error:
Last_SQL_Errno: 0
Last_SQL_Error:
Replicate_Ignore_Server_Ids:
Master_Server_Id: 1
Master_UUID: 0130 b415-8b21-11ec-8982-0242ac110002
Master_Info_File: /var/lib/mysql/master.info
SQL_Delay: 0
SQL_Remaining_Delay: NULL
Slave_SQL_Running_State: Slave has read all relay log; waiting for more updates
Master_Retry_Count: 86400
Master_Bind:
Last_IO_Error_Timestamp:
Last_SQL_Error_Timestamp:
Master_SSL_Crl:
Master_SSL_Crlpath:
Retrieved_Gtid_Set:
Executed_Gtid_Set:
Auto_Position: 0
Replicate_Rewrite_DB:
Channel_Name:
Master_TLS_Version:
1 row in set (0.00 sec)
4.2.7 验证MySQL集群可用性
在MySQL Master节点添加kubemsb_test数据库
MySQL [(none )]> create database kubemsb_test;
Query OK, 1 row affected (0.00 sec)
MySQL [(none )]> show databases;
+-------------------- +
| Database |
+-------------------- +
| information_schema |
| kubemsb_test | |
| mysql |
| performance_schema |
| sys |
+-------------------- +
6 rows in set (0.00 sec)
在MySQL Slave节点查看同步情况
MySQL [(none )]> show databases;
+-------------------- +
| Database |
+-------------------- +
| information_schema |
| kubemsb_test |
| mysql |
| performance_schema |
| sys |
+-------------------- +
5 rows in set (0.00 sec)
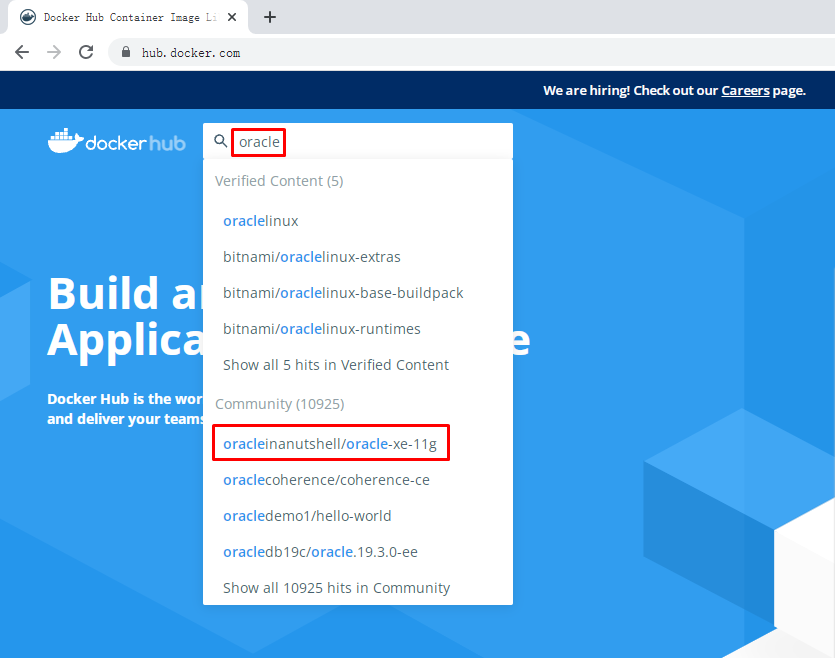
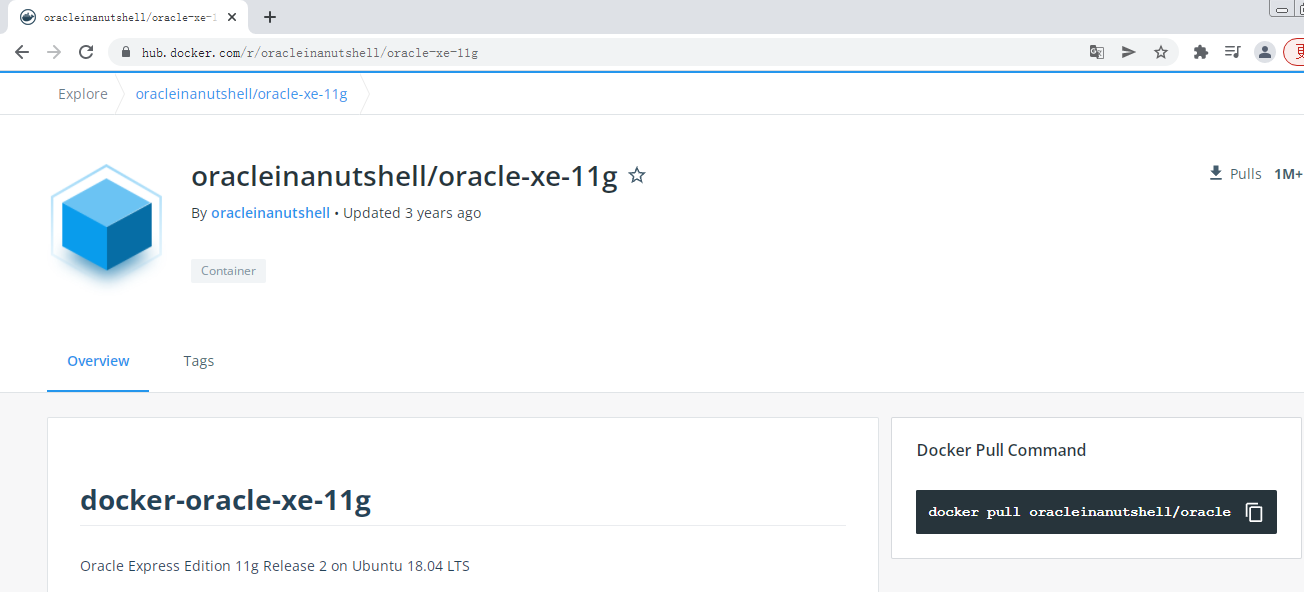
五、使用Docker容器实现Oracle部署
5.1 获取参考资料
5.2 运行oracle容器
237 db949020abf2cee12e3193fa8a34d9dfadaafd9d5604564668d4472abe0b2
CONTAINER ID IMAGE COMMAND CREATED STATUS PORTS NAMES
237 db949020a oracleinanutshell/oracle-xe-11g "/bin/sh -c '/usr/sb…" 7 seconds ago Up 4 seconds 0.0 .0.0 :49160 ->22 /tcp, :::49160 ->22 /tcp, 0.0 .0.0 :49161 ->1521 /tcp, :::49161 ->1521 /tcp, 0.0 .0.0 :49162 ->8080 /tcp, :::49162 ->8080 /tcp oracle
说明:
49160 为ssh端口
49161 为sqlplus端口
49162 为oem端口
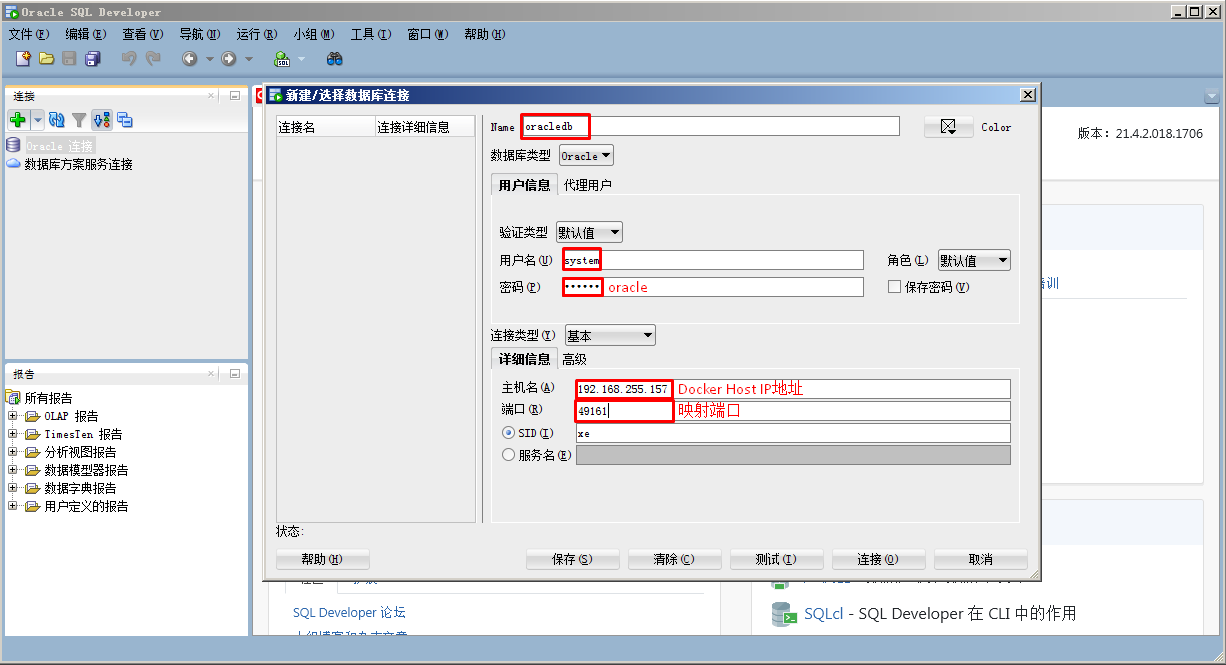
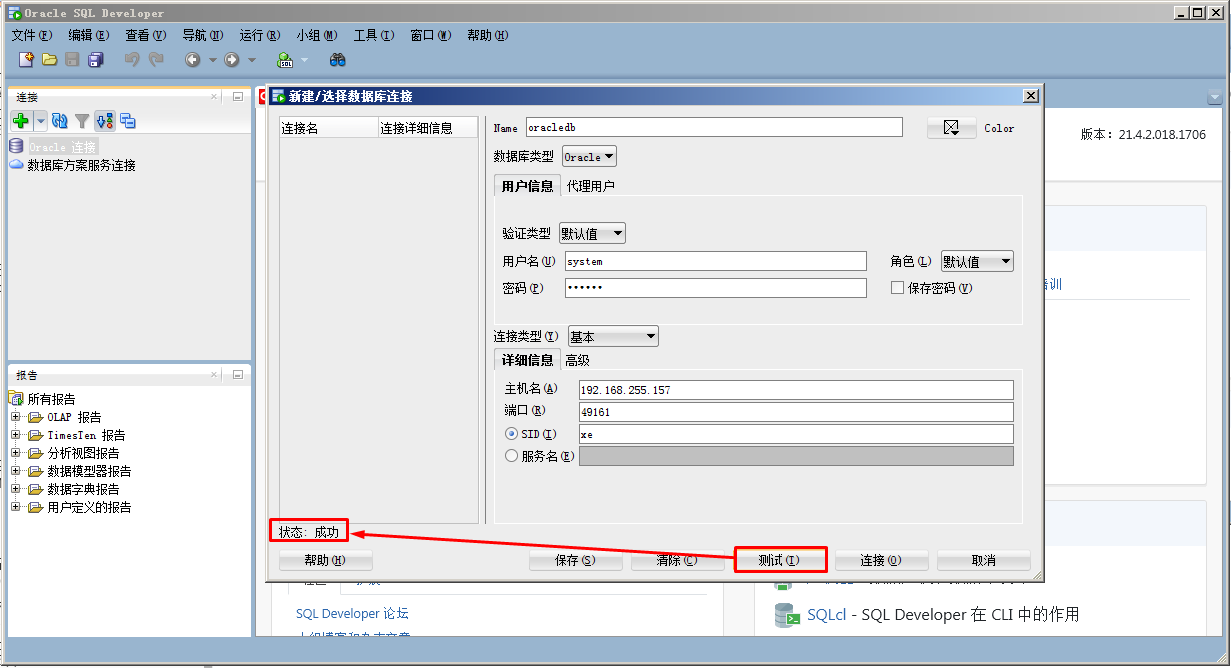
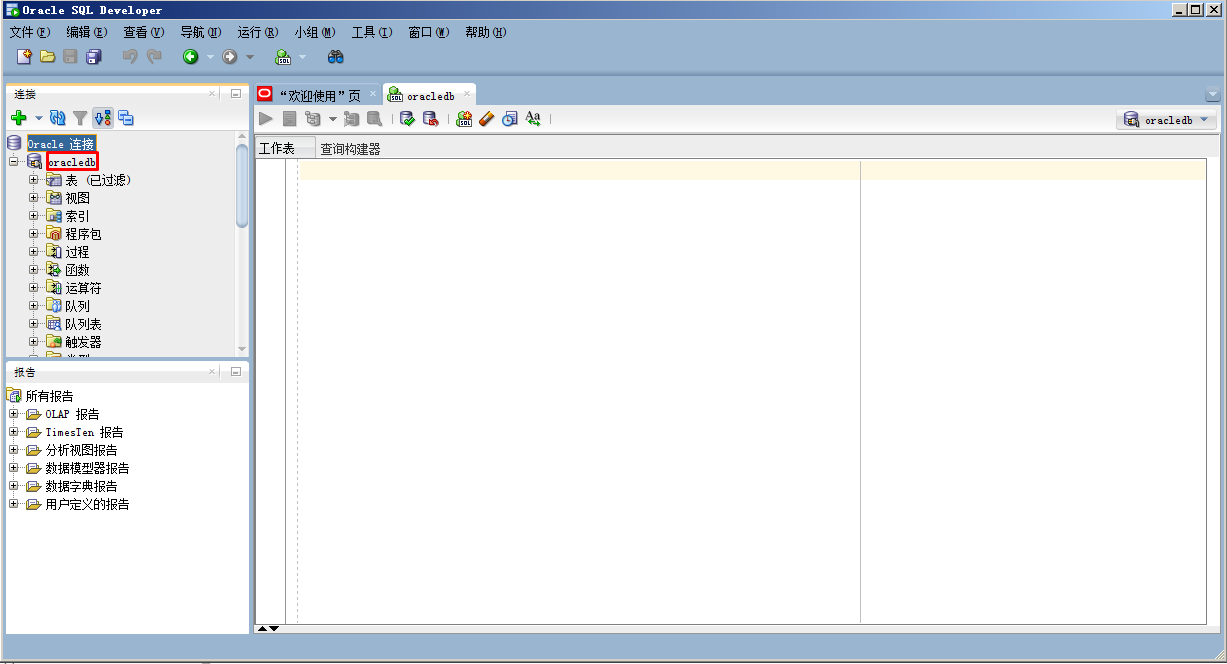
oracle数据库连接信息
port:49161
sid:xe
username:system
password:oracle
SYS用户密码为:oracle
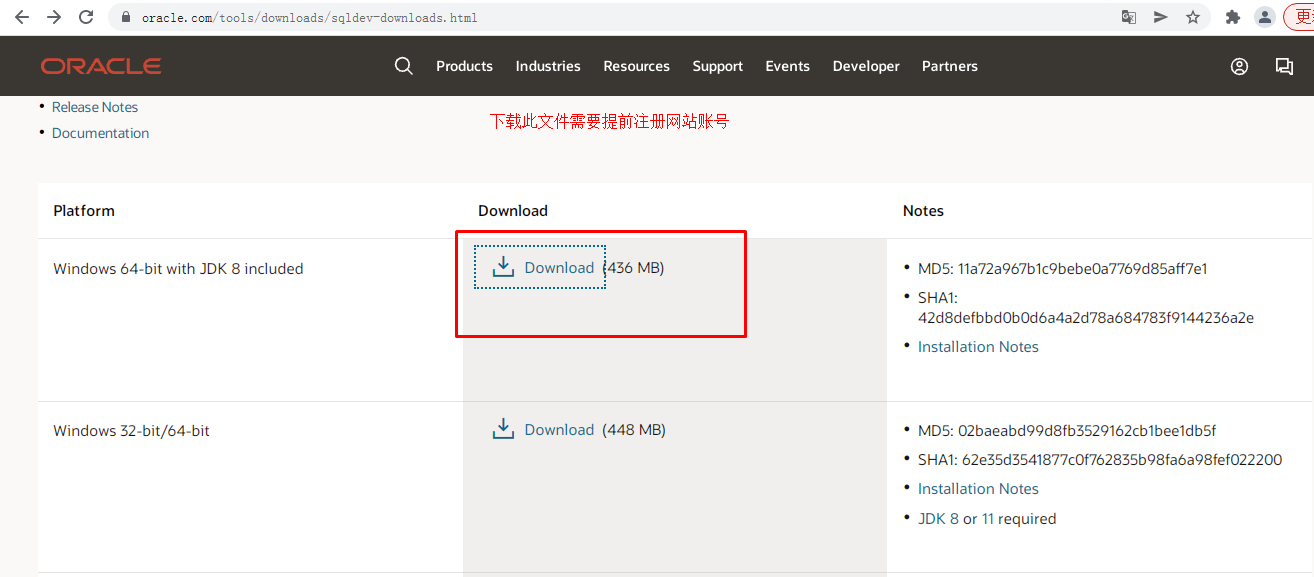
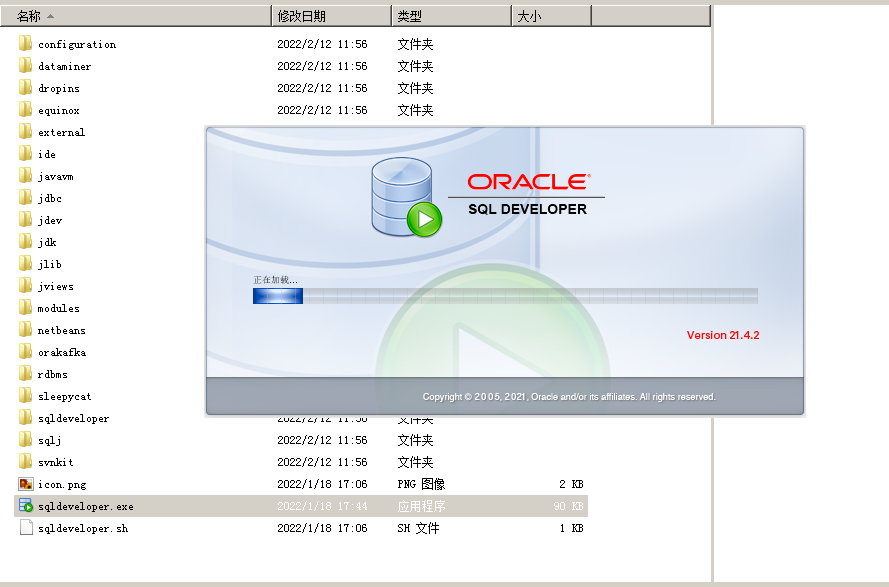
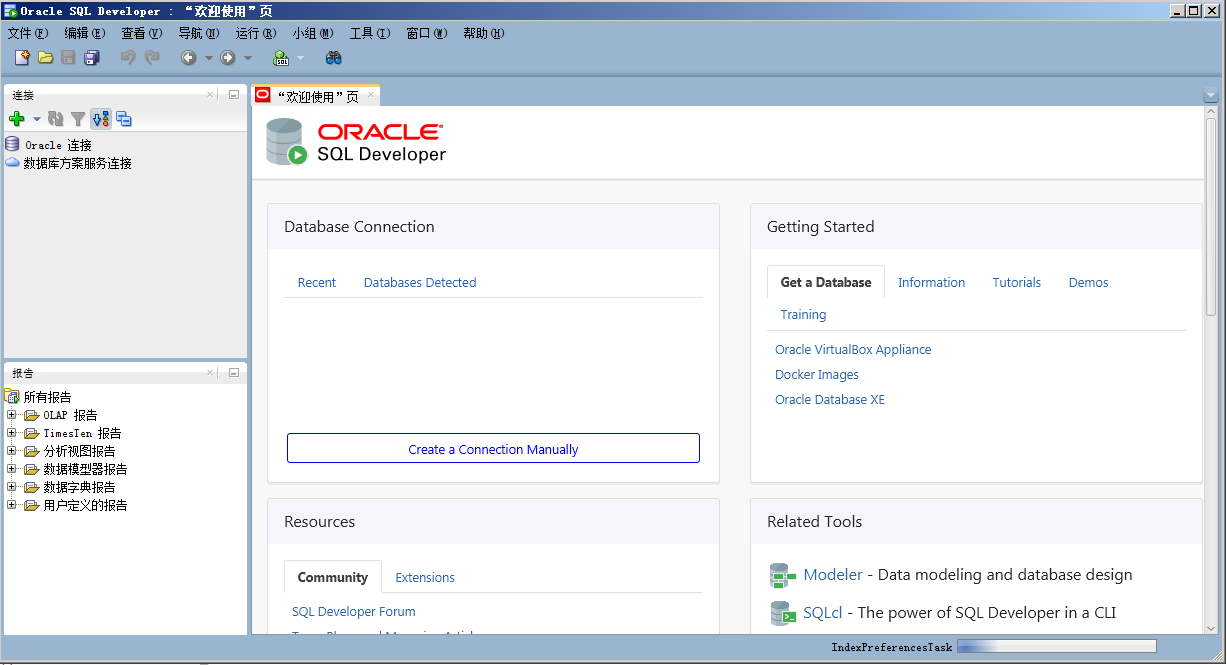
5.3 下载客户端连接工具
下载链接地址:https://www.oracle.com/tools/downloads/sqldev-downloads.html
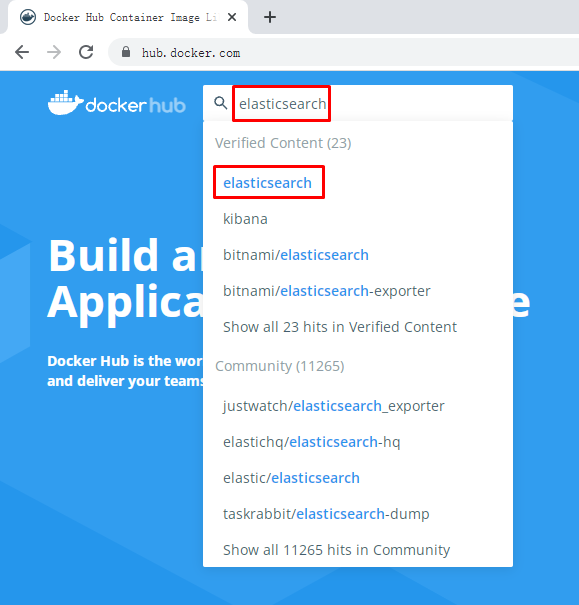
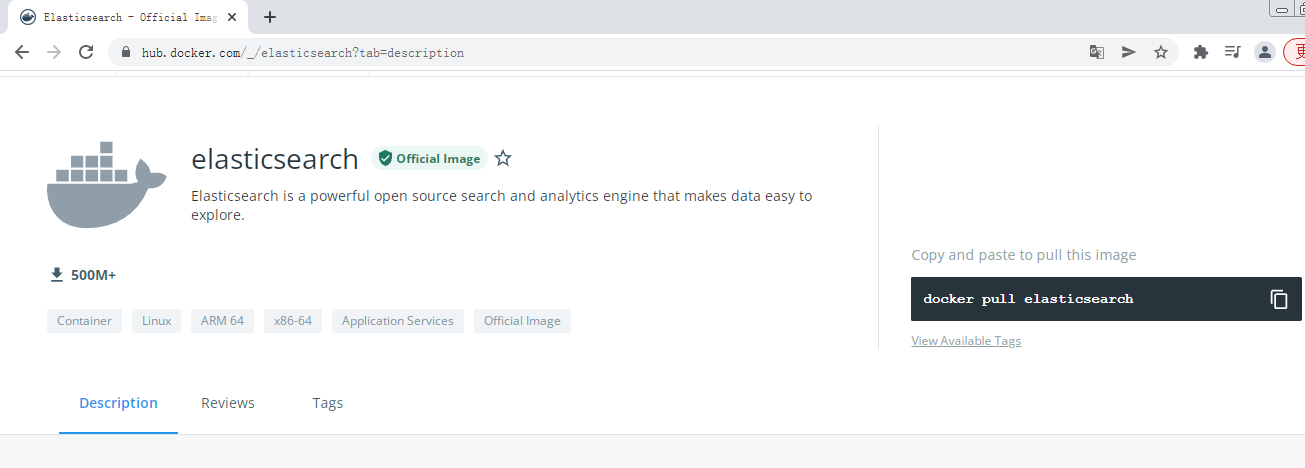
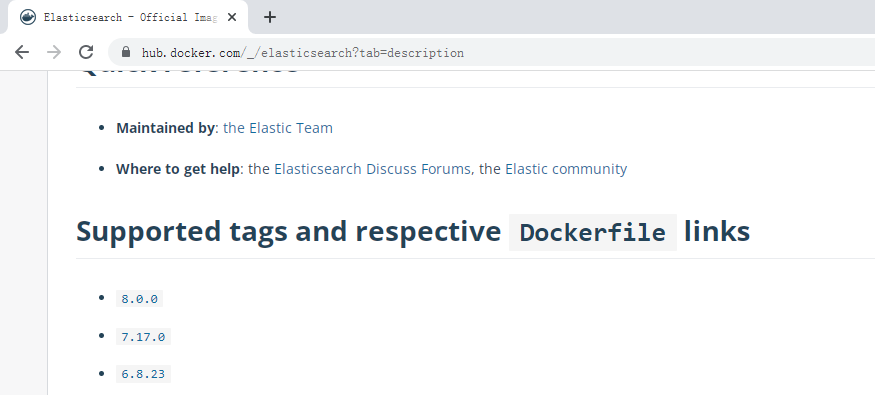
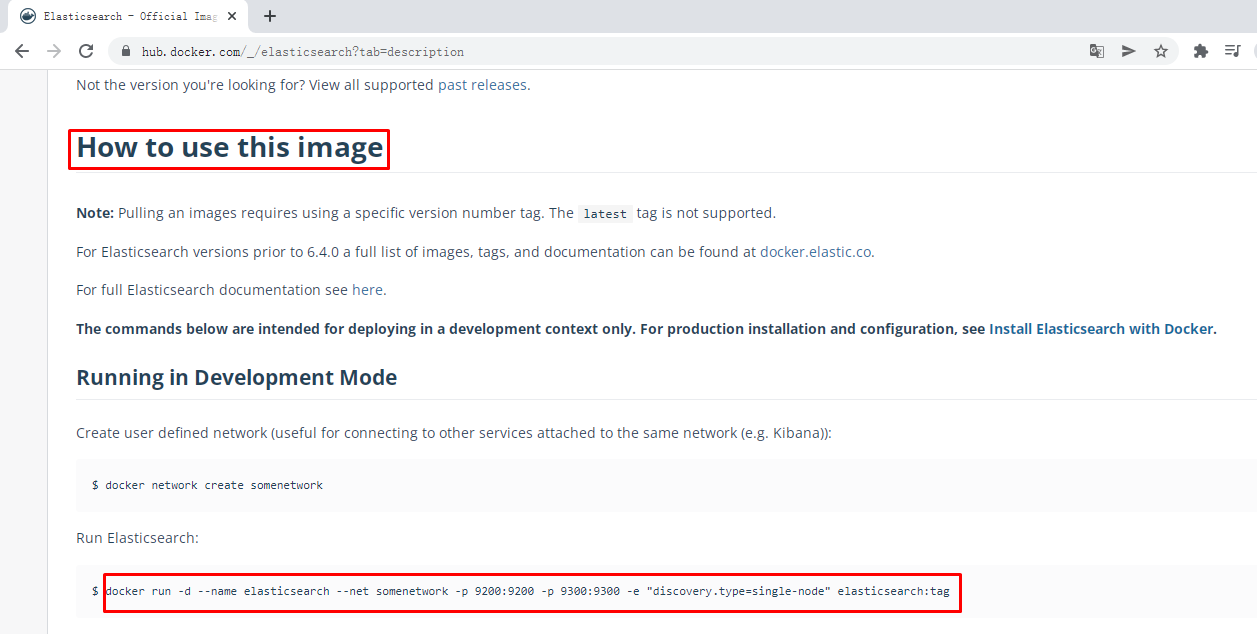
六、使用Docker容器实现ElasticSearch+Kibana部署
6.1 获取参考资料
6.1.1 ES部署参考资料
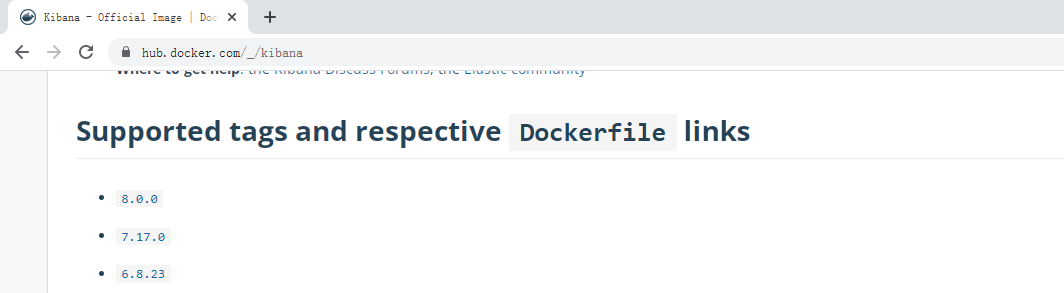
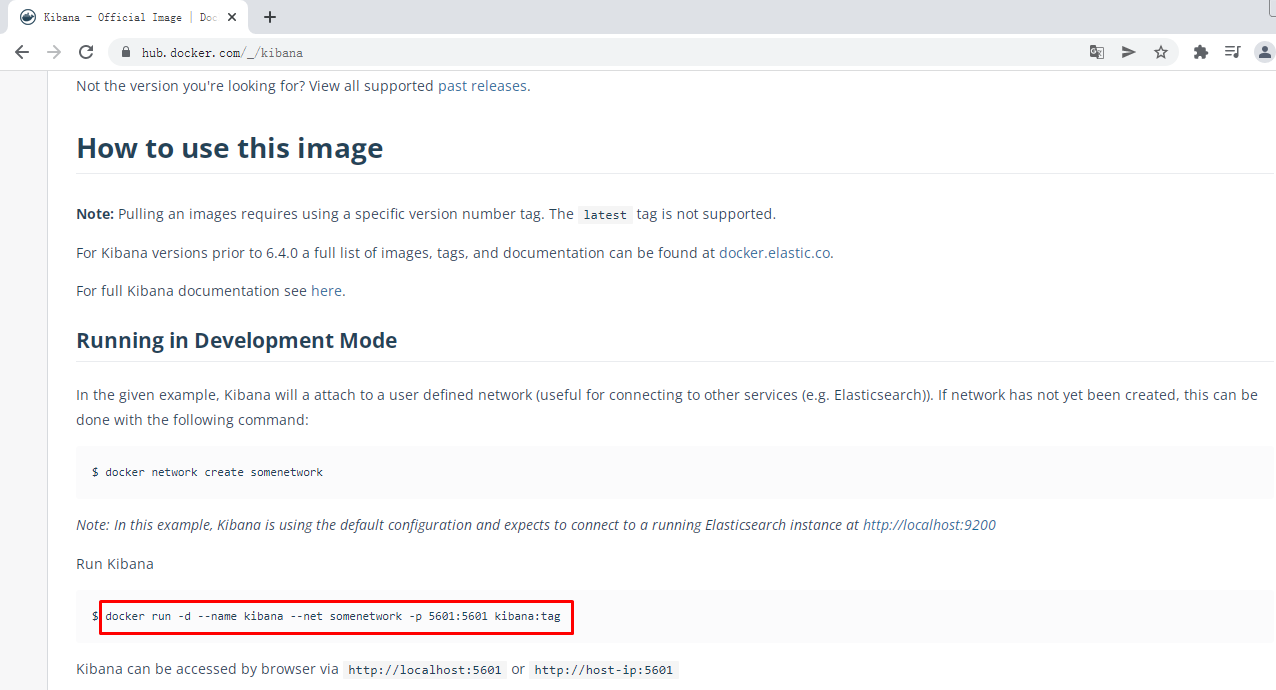
6.1.2 Kibana部署参考资料
6.2 ES部署
-e "discovery.type=single-node" \
-e ES_JAVA_OPTS="-Xms64m -Xmx512m" \
-v /opt/es/config/elasticsearch.yml:/usr/share/elasticsearch/config/elasticsearch.yml \
-v /opt/es/data :/usr/share/elasticsearch/data \
-v /opt/es/plugins:/usr/share/elasticsearch/plugins \
-d elasticsearch:7.17 .0
CONTAINER ID IMAGE COMMAND CREATED STATUS PORTS NAMES
e1c306e6e5a3 elasticsearch:7.17 .0 "/bin/tini -- /usr/l…" 22 seconds ago Up 20 seconds 0.0 .0.0 :9200 ->9200 /tcp, :::9200 ->9200 /tcp, 0.0 .0.0 :9300 ->9300 /tcp, :::9300 ->9300 /tcp elasticsearch
6.3 Kibana部署
CONTAINER ID IMAGE COMMAND CREATED STATUS PORTS NAMES
fb60e73f9cd5 kibana:7.17 .0 "/bin/tini -- /usr/l…" 2 minutes ago Up 2 minutes 0.0 .0.0 :5601 ->5601 /tcp, :::5601 ->5601 /tcp kibana
七、使用Docker容器实现Redis部署
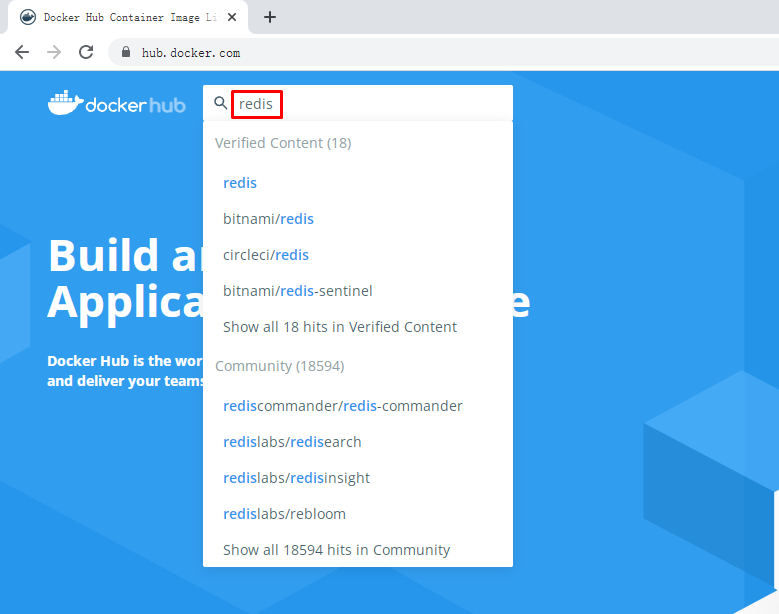
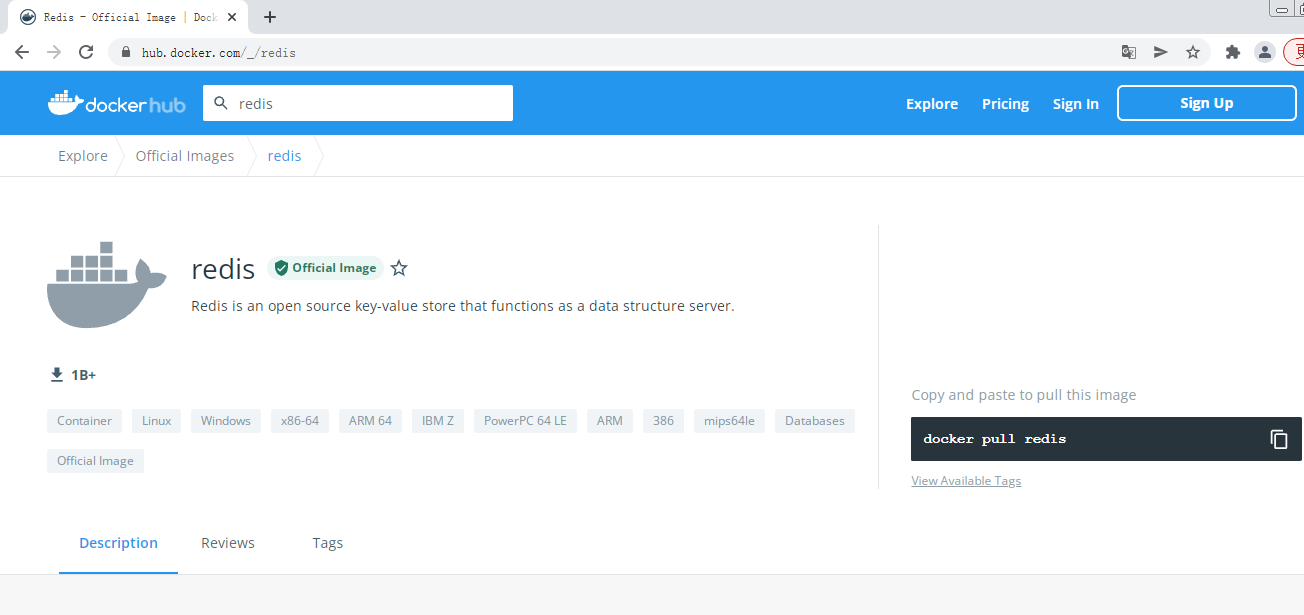
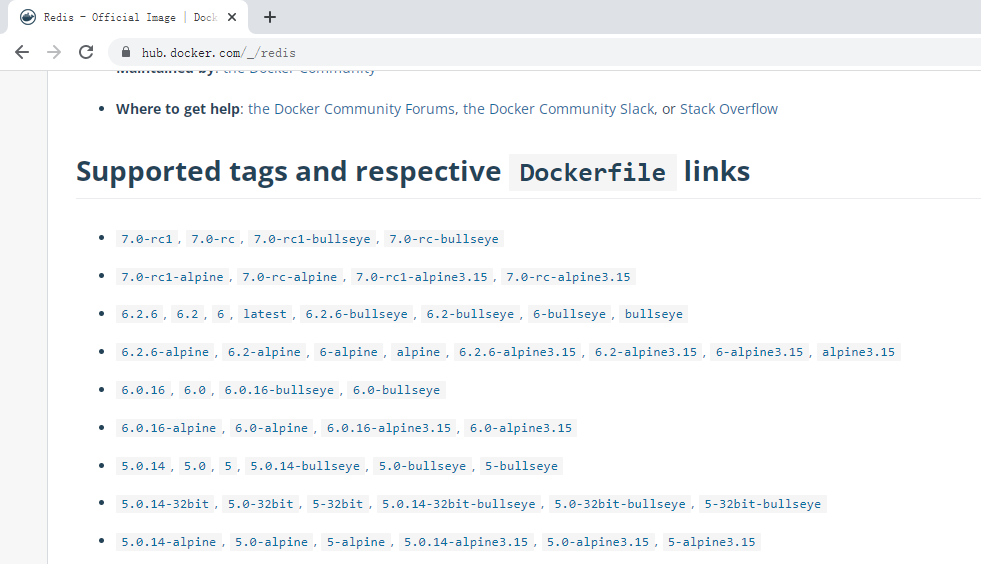
7.1 获取参考资料
7.2 运行Redis容器
-v /opt/redis/conf:/etc/redis \
-d redis redis-server /etc/redis/redis.conf
CONTAINER ID IMAGE COMMAND CREATED STATUS PORTS NAMES
9 bd2b39cd92a redis "docker-entrypoint.s…" 44 seconds ago Up 42 seconds 0.0 .0.0 :6379 ->6379 /tcp, :::6379 ->6379 /tcp redis
7.3 验证
192.168 .255.157 :6379 > set test1 a
OK
192.168 .255.157 :6379 > get test1
"a"
7.4 Redis集群
安装redis-cluster;3主3从方式,从为了同步备份,主进行slot数据分片
编辑运行多个redis容器脚本文件
for port in $ (seq 8001 8006 ); \
do \
mkdir -p /mydata/redis/node-$ {port}/conf
touch /mydata/redis/node-$ {port}/conf/redis.conf
cat << EOF >/mydata/redis/node-$ {port}/conf/redis.conf
port $ {port}
cluster-enabled yes
cluster-config-file nodes.conf
cluster-node-timeout 5000
cluster-announce-ip 192.168 .255.157
cluster-announce-port $ {port}
cluster-announce-bus-port 1 $ {port}
appendonly yes
EOF
docker run -p $ {port}:$ {port} -p 1 $ {port}:1 $ {port} --name redis-$ {port} \
-v /mydata/redis/node-$ {port}/data :/data \
-v /mydata/redis/node-$ {port}/conf/redis.conf:/etc/redis/redis.conf \
-d redis:5.0 .7 redis-server /etc/redis/redis.conf; \
done
查看已运行容器
CONTAINER ID IMAGE COMMAND CREATED STATUS PORTS NAMES
8 d53864a98ce redis:5.0 .7 "docker-entrypoint.s…" About a minute ago Up About a minute 0.0 .0.0 :8006 ->8006 /tcp, :::8006 ->8006 /tcp, 6379 /tcp, 0.0 .0.0 :18006 ->18006 /tcp, :::18006 ->18006 /tcp redis-8006
e2b5da0f0605 redis:5.0 .7 "docker-entrypoint.s…" 2 minutes ago Up About a minute 0.0 .0.0 :8005 ->8005 /tcp, :::8005 ->8005 /tcp, 6379 /tcp, 0.0 .0.0 :18005 ->18005 /tcp, :::18005 ->18005 /tcp redis-8005
70 e8e8f15aea redis:5.0 .7 "docker-entrypoint.s…" 2 minutes ago Up 2 minutes 0.0 .0.0 :8004 ->8004 /tcp, :::8004 ->8004 /tcp, 6379 /tcp, 0.0 .0.0 :18004 ->18004 /tcp, :::18004 ->18004 /tcp redis-8004
dff8e4bf02b4 redis:5.0 .7 "docker-entrypoint.s…" 2 minutes ago Up 2 minutes 0.0 .0.0 :8003 ->8003 /tcp, :::8003 ->8003 /tcp, 6379 /tcp, 0.0 .0.0 :18003 ->18003 /tcp, :::18003 ->18003 /tcp redis-8003
c34dc4c423ef redis:5.0 .7 "docker-entrypoint.s…" 2 minutes ago Up 2 minutes 0.0 .0.0 :8002 ->8002 /tcp, :::8002 ->8002 /tcp, 6379 /tcp, 0.0 .0.0 :18002 ->18002 /tcp, :::18002 ->18002 /tcp redis-8002
b8cb5feffb43 redis:5.0 .7 "docker-entrypoint.s…" 2 minutes ago Up 2 minutes 0.0 .0.0 :8001 ->8001 /tcp, :::8001 ->8001 /tcp, 6379 /tcp, 0.0 .0.0 :18001 ->18001 /tcp, :::18001 ->18001 /tcp redis-8001
登录redis容器
root@b8cb5feffb43:/data
创建redis-cluster
root@b8cb5feffb43:/data
输出:
>>> Performing hash slots allocation on 6 nodes...
Master[0 ] -> Slots 0 - 5460
Master[1 ] -> Slots 5461 - 10922
Master[2 ] -> Slots 10923 - 16383
Adding replica 192.168 .255.157 :8005 to 192.168 .255.157 :8001
Adding replica 192.168 .255.157 :8006 to 192.168 .255.157 :8002
Adding replica 192.168 .255.157 :8004 to 192.168 .255.157 :8003
>>> Trying to optimize slaves allocation for anti-affinity
[WARNING ] Some slaves are in the same host as their master
M: abd07f1a2679fe77558bad3ff4b7ab70ec41efa5 192.168 .255.157 :8001
slots:[0 -5460 ] (5461 slots) master
M: 40 e69202bb3eab13a8157c33da6240bb31f2fd6f 192.168 .255.157 :8002
slots:[5461 -10922 ] (5462 slots) master
M: 9 a927abf3c2982ba9ffdb29176fc8ffa77a2cf03 192.168 .255.157 :8003
slots:[10923 -16383 ] (5461 slots) master
S: 81 d0a4056328830a555fcd75cf523d4c9d52205c 192.168 .255.157 :8004
replicates 9 a927abf3c2982ba9ffdb29176fc8ffa77a2cf03
S: 8121 a28519e5b52e4817913aa3969d9431bb68af 192.168 .255.157 :8005
replicates abd07f1a2679fe77558bad3ff4b7ab70ec41efa5
S: 3 a8dd5343c0b8f5580bc44f6b3bb5b4371d4dde5 192.168 .255.157 :8006
replicates 40 e69202bb3eab13a8157c33da6240bb31f2fd6f
Can I set the above configuration? (type 'yes' to accept): yes 输入yes
>>> Nodes configuration updated
>>> Assign a different config epoch to each node
>>> Sending CLUSTER MEET messages to join the cluster
Waiting for the cluster to join
.....
>>> Performing Cluster Check (using node 192.168.255.157:8001)
M: abd07f1a2679fe77558bad3ff4b7ab70ec41efa5 192.168 .255.157 :8001
slots:[0 -5460 ] (5461 slots) master
1 additional replica(s)
S: 81 d0a4056328830a555fcd75cf523d4c9d52205c 192.168 .255.157 :8004
slots: (0 slots) slave
replicates 9 a927abf3c2982ba9ffdb29176fc8ffa77a2cf03
M: 40 e69202bb3eab13a8157c33da6240bb31f2fd6f 192.168 .255.157 :8002
slots:[5461 -10922 ] (5462 slots) master
1 additional replica(s)
S: 8121 a28519e5b52e4817913aa3969d9431bb68af 192.168 .255.157 :8005
slots: (0 slots) slave
replicates abd07f1a2679fe77558bad3ff4b7ab70ec41efa5
M: 9 a927abf3c2982ba9ffdb29176fc8ffa77a2cf03 192.168 .255.157 :8003
slots:[10923 -16383 ] (5461 slots) master
1 additional replica(s)
S: 3 a8dd5343c0b8f5580bc44f6b3bb5b4371d4dde5 192.168 .255.157 :8006
slots: (0 slots) slave
replicates 40 e69202bb3eab13a8157c33da6240bb31f2fd6f
[OK ] All nodes agree about slots configuration.
>>> Check for open slots...
>>> Check slots coverage...
[OK ] All 16384 slots covered.
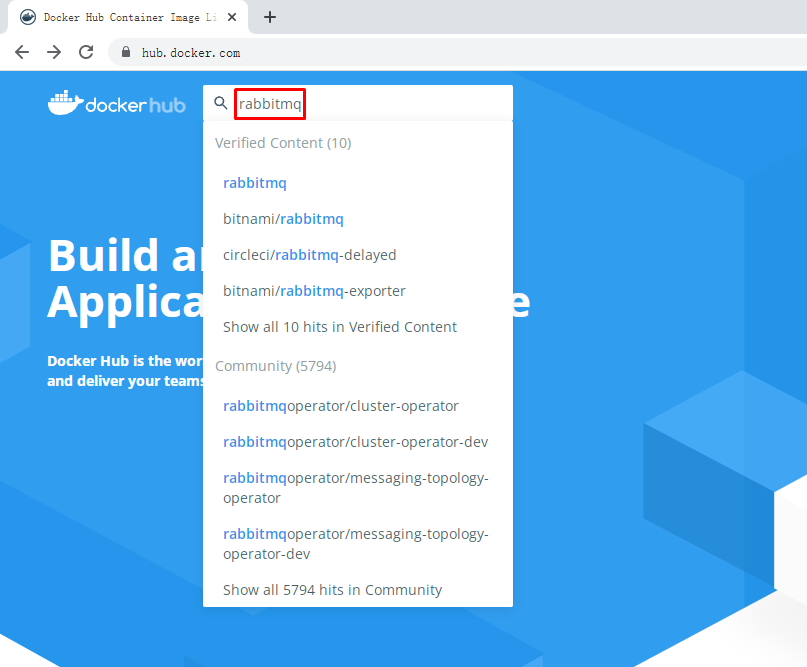
八、使用Docker容器实现RabbitMQ部署
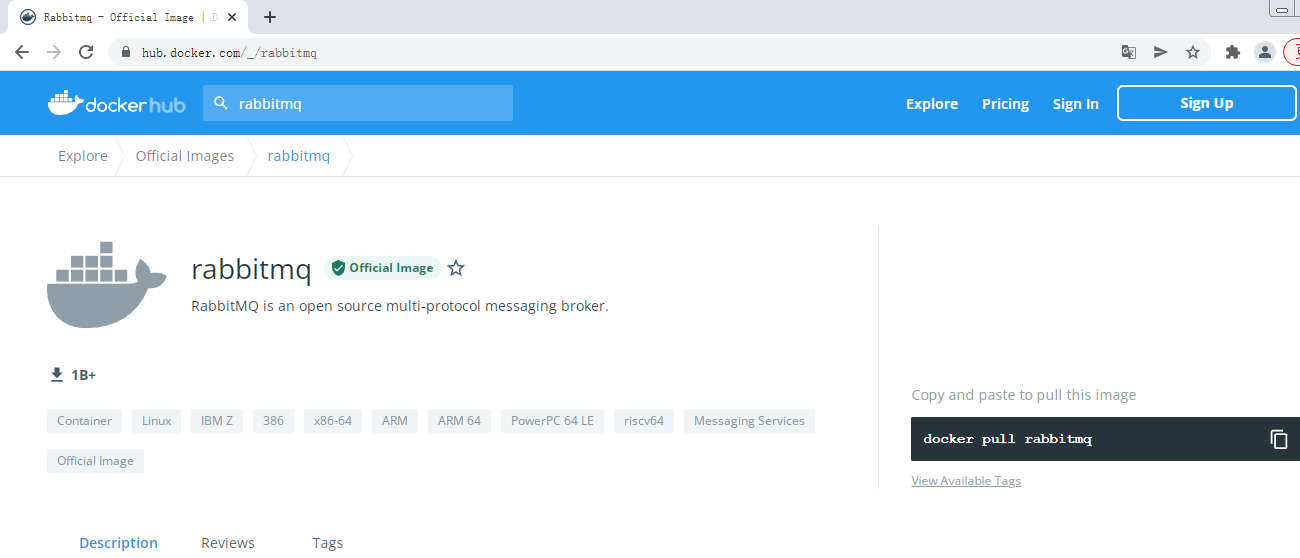
8.1 获取参考资料
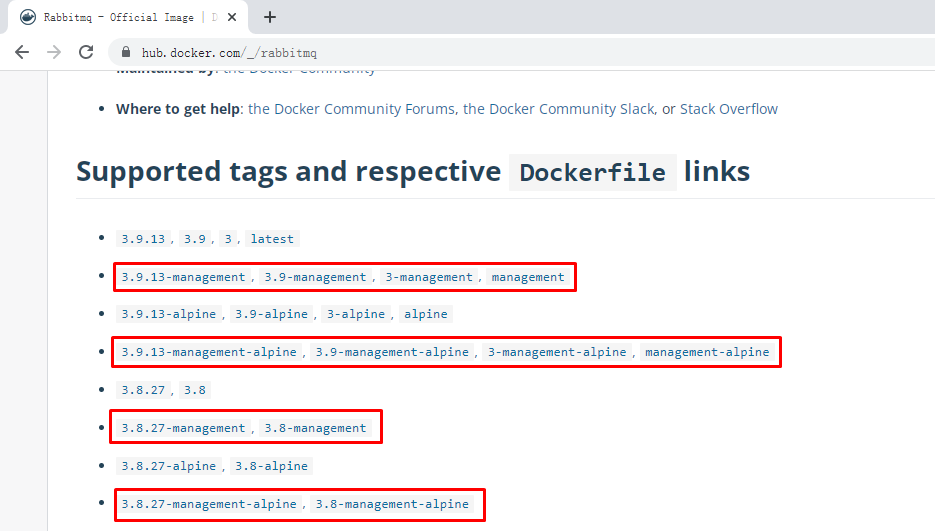
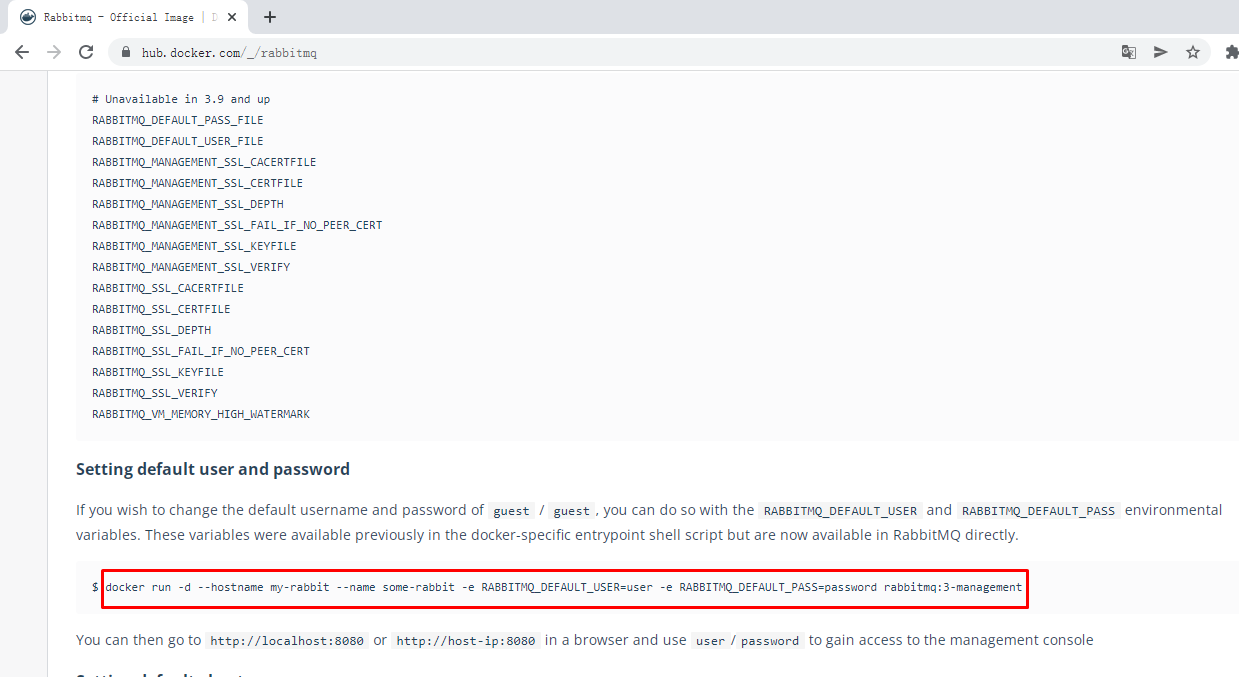
8.2 部署RabbitMQ
部署带管理控制台的RabbitMQ
CONTAINER ID IMAGE COMMAND CREATED STATUS PORTS NAMES
97 d28093faa4 rabbitmq:management "docker-entrypoint.s…" 11 seconds ago Up 6 seconds 0.0 .0.0 :4369 ->4369 /tcp, :::4369 ->4369 /tcp, 0.0 .0.0 :5671 -5672- >5671 -5672 /tcp, :::5671 -5672- >5671 -5672 /tcp, 0.0 .0.0 :15671 -15672- >15671 -15672 /tcp, :::15671 -15672- >15671 -15672 /tcp, 0.0 .0.0 :25672 ->25672 /tcp, :::25672 ->25672 /tcp, 15691 -15692 /tcp rabbitmq
端口说明:
4369 , 25672 (Erlang发现&集群端口)
5672 , 5671 (AMQP端口)
15672 (web管理后台端口)
61613 , 61614 (STOMP协议端口)
1883 , 8883 (MQTT协议端口)


【推荐】国内首个AI IDE,深度理解中文开发场景,立即下载体验Trae
【推荐】编程新体验,更懂你的AI,立即体验豆包MarsCode编程助手
【推荐】抖音旗下AI助手豆包,你的智能百科全书,全免费不限次数
【推荐】轻量又高性能的 SSH 工具 IShell:AI 加持,快人一步
· 被坑几百块钱后,我竟然真的恢复了删除的微信聊天记录!
· 没有Manus邀请码?试试免邀请码的MGX或者开源的OpenManus吧
· 【自荐】一款简洁、开源的在线白板工具 Drawnix
· 园子的第一款AI主题卫衣上架——"HELLO! HOW CAN I ASSIST YOU TODAY
· Docker 太简单,K8s 太复杂?w7panel 让容器管理更轻松!