
RHEL5.2 64 Bit install oracle 10g
【前言】
目的:安装64 bIT Oracle10g
环境:RHEL 5.2 64 bit 操作系统
【步骤】:
1、安装RHEL操作系统,下载并上传介质
2、创建软件安装环境
3、安装依赖包
4、检查修改系统参数
5、安装Oracle软件
6、创建数据库实例
1、安装RHEL操作系统,下载并上传介质
RHEL安装过程可以参考我的另一篇文章,详细这里不做叙述,安装并上传介质后,如下:
[root@Fantasy install]# uname -a
Linux Fantasy 2.6.18-92.el5 #1 SMP Tue Apr 29 13:16:15 EDT 2008 x86_64 x86_64 x86_64 GNU/Linux
[root@Fantasy install]# ls -l
total 783592
-rw-r--r-- 1 root  root  801603584 Oct 14  2009 10201_database_linux_x86_64.cpio
[root@Fantasy install]# cpio -idmv < 10201_database_linux_x86_64.cpio
解压后:
drwxr-xr-x 6 94110 42424      4096 Oct 23  2005 database
-rw-r--r-- 1 root  root  801603584 Oct 14  2009 10201_database_linux_x86_64.cpio
2、创建软件安装环境
2.1、创建Oracle相关账号以及目录:
[root@Fantasy ~]# groupadd oinstall
[root@Fantasy ~]# groupadd dba
[root@Fantasy ~]# useradd -g oinstall -G dba oracle
[root@Fantasy ~]# passwd oracle
Changing password for user oracle.
New UNIX password:
BAD PASSWORD: it is based on a dictionary word
Retype new UNIX password:
passwd: all authentication tokens updated successfully.[root@Fantasy opt]# id oracle
uid=501(oracle) gid=501(oinstall) groups=501(oinstall),502(dba)
[root@Fantasy ~]# mkdir -p /opt/oracle/10g/db_1
[root@Fantasy ~]# cd /opt
[root@Fantasy opt]# ls -lrt
total 4
drwxr-xr-x 3 root root 4096 May 15 23:32 oracle
[root@Fantasy opt]# chown -R oracle:oinstall oracle/
2.1、增加Oracle相关的环境变量,修改/home/oracle/.bash_profile文件,增加下面内容:
export ORACLE_BASE=/opt/oracle
export ORACLE_HOME=$ORACLE_BASE/10g/db_1
export ORACLE_SID=orc
export LD_LIBRARY_PATH=$ORACLE_HOME/bin:/bin:/usr/bin:/usr/local/bin:/usr/X11R6/bin/
export CLASSPATH=$ORACLE_HOME/JRE:$ORACLE_HOME/jlib:$ORACLE_HOME/rdbms/jlib
export TEMP=/tmp
export TMP=/tmp
export TMPDIR=/tmp
export umask=022
export LANG=en_US
PATH=$PATH:$HOME/bin:$ORACLE_HOME/bin
export PATH
  if [ $USER = "oracle" ]; then
       if [ $SHELL = "/bin/ksh" ]; then
             ulimit -p 16384
             ulimit -n 65536
       else
             ulimit -u 16384 -n 65536
       fi
fi
3、安装依赖包
libaio-0.3.103-3.i386.rpm
compat-db-4.1.25-9.x86_64.rpm
control-center-2.8.0-12.x86_64.rpm
gcc-3.4.3-22.1.x86_64.rpm
gcc-c++-3.4.3-22.1.x86_64.rpm
glibc-2.3.4-2.x86_64.rpm
glibc-common-2.3.4-2.x86_64.rpm
gnome-libs-1.4.1.2.90-44.1.x86_64.rpm
libstdc++-3.4.3-22.1.x86_64.rpm
libstdc++-devel-3.4.3-22.1.x86_64.rpm
make-3.80-5.x86_64.rpm
pdksh-5.2.14-30.x86_64.rpm
sysstat-5.0.5-1.x86_64.rpm
xscreensaver-4.18-5.rhel4.2.x86_64.rpm
compat-libstdc++-33-3.2.3-47.3.x86_64.rpm
glibc-kernheaders-2.4-9.1.87.x86_64.rpm
glibc-headers-2.3.4-2.9.x86_64.rpm
libaio-0.3.103-3.x86_64.rpm
glibc-devel-2.3.4-2.9.x86_64.rpm
glibc-devel-2.3.4-2.9.i386.rpm
libXp-1.0.0-8.1.el5.rpm
4、检查修改系统参数
4.1、检查内存和交换分区的大小,如果内存大于1G,交换分区一般是内存的2倍
[root@Fantasy /]# grep MemTotal /proc/meminfo
MemTotal:      1027060 kB
[root@Fantasy /]# grep SwapTotal /proc/meminfo
SwapTotal:     2097144 kB
[root@Fantasy /]#
4.2、 修改内核参数,修改文件:/etc/sysctl.conf,增加下面内容:
kernel.shmmni = 4096
kernel.sem = 250 32000 100 128
fs.file-max = 65536
net.ipv4.ip_local_port_range = 1024 65000
net.core.rmem_default = 262144
net.core.rmem_max = 262144
net.core.wmem_default = 262144
net.core.wmem_max = 262144
执行命令:/sbin/sysctl -p,令修改生效,
4.3、查看/etc/pam.d/login文件是否有下面选项(如果没有则添加):
session required /lib/security/pam_limits.so
pam_limits.so是linux 中的一个PAM(插入式认证模块,Pluggable Authentication Modules),
其配置文件是/etc/sysctl.conf,用于分配用户登录后的权限
4.4、修改文件/etc/security/limits.conf,增加下面内容:
oracle              soft    nproc   2047
oracle              hard    nproc   16384
oracle              soft    nofile  1024
oracle              hard    nofile  65536
4.5、运行命令:setup,关闭防火墙和SELinux
4.6、Oracle10目前貌似是不支持RHEL5,所以要修改文件/etc/redhat-release,将原来的注释,添加redhat-4:
#Red Hat Enterprise Linux Server release 5.2 (Tikanga)
redhat-4
安装的时候,如果提示操作系统版本不匹配的错误,则将/etc/redhat-release的内容改为:redhat-3
4.7、修改/etc/hosts文件,将127.0.0.1注释,并加入自己主机的地址,如下:
# that require network functionality will fail.
#127.0.0.1              localhost.localdomain localhost
192.168.79.133   Fantasy
5、安装Oracle软件
[root@Fantasy ~]# export DISPLAY=:0.0
[root@Fantasy ~]# xhost +
access control disabled, clients can connect from any host
[root@Fantasy ~]# su - oracle
[oracle@Fantasy ~]$ cd /ext/install/database/
[oracle@Fantasy database]$ ls
doc  install  response  runInstaller  stage  welcome.html
[oracle@Fantasy database]$ ./runInstaller
Starting Oracle Universal Installer...

Checking installer requirements...

Checking operating system version: must be redhat-3, SuSE-9, redhat-4, UnitedLinux-1.0,
asianux-1 or asianux-2
Passed


All installer requirements met.

Preparing to launch Oracle Universal Installer from /tmp/OraInstall2010-05-16_01-40-31AM. Please wait ...
[oracle@Fantasy database]$
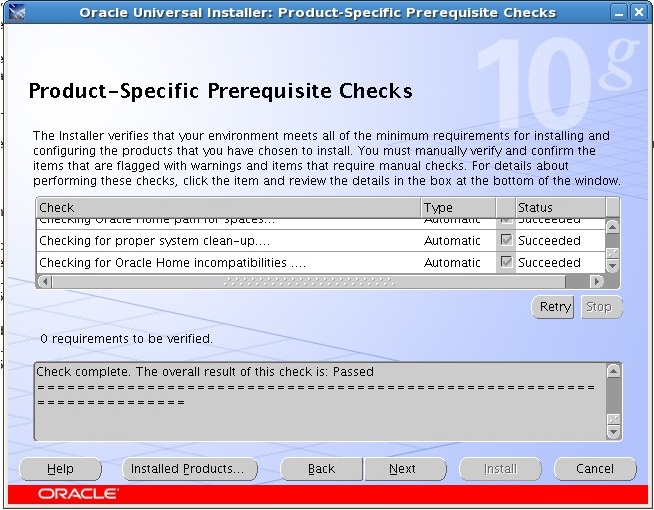
在环境检查的时候,如果有错误,赶快去修改,然后retry吧,如果有warning,
强烈建议你赶快去修改,然后retry,一直到所有的检测项都successed了,然后你可以安心的按“next"了

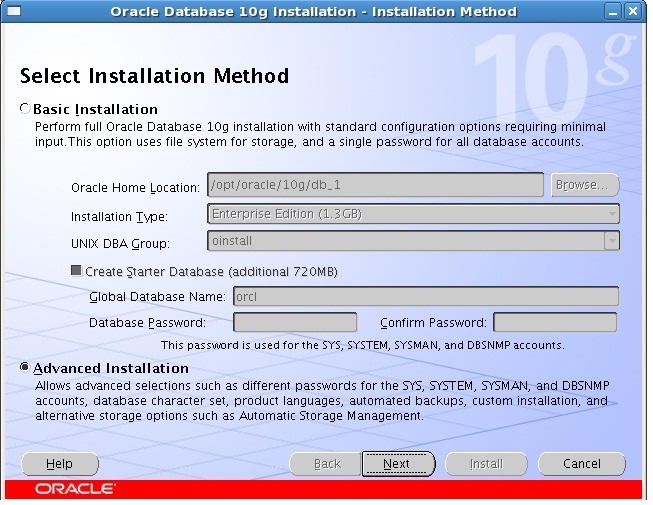
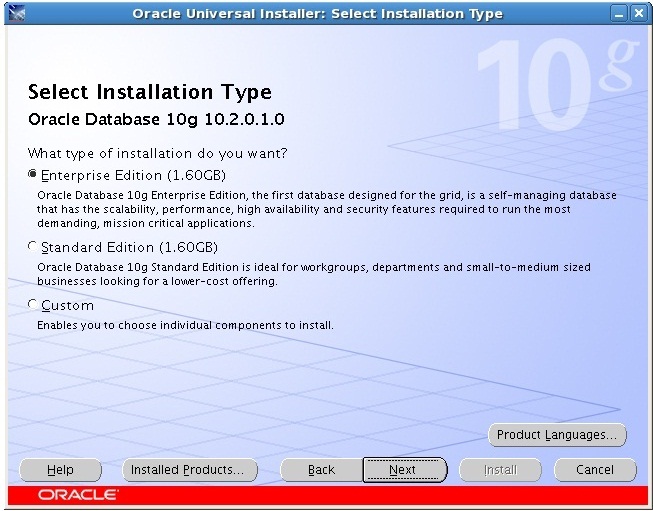
这里只安装Oracle软件,安装结束之后再安装实例,下面开始安装:
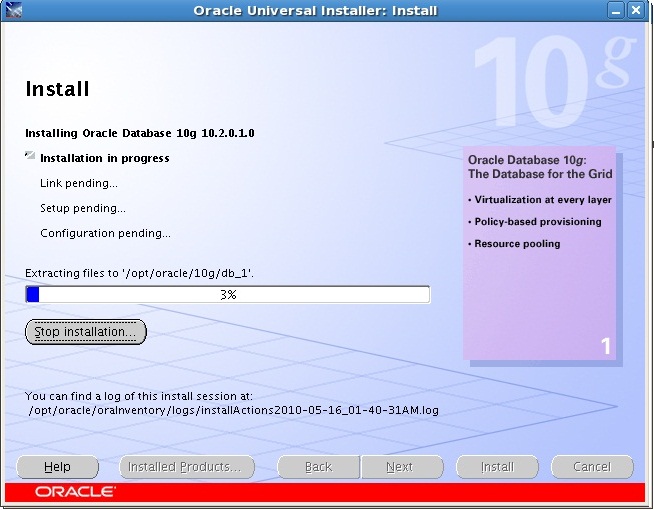
安装过程中,记得守在旁边,这不是无人值守的winXP,安装到末期,会有如下要求:

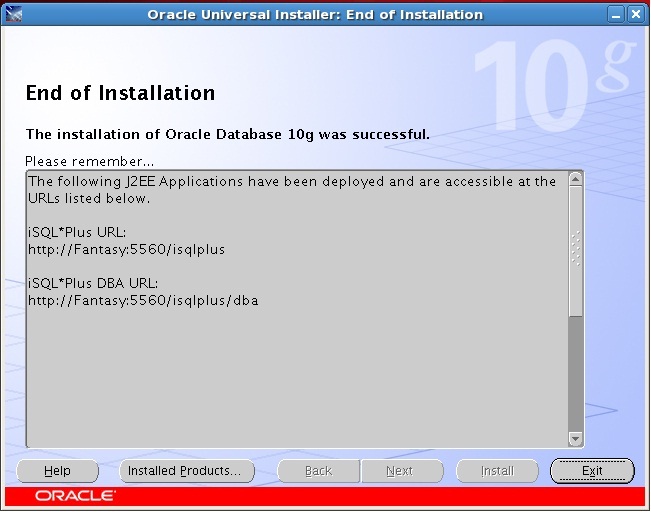
执行如下:
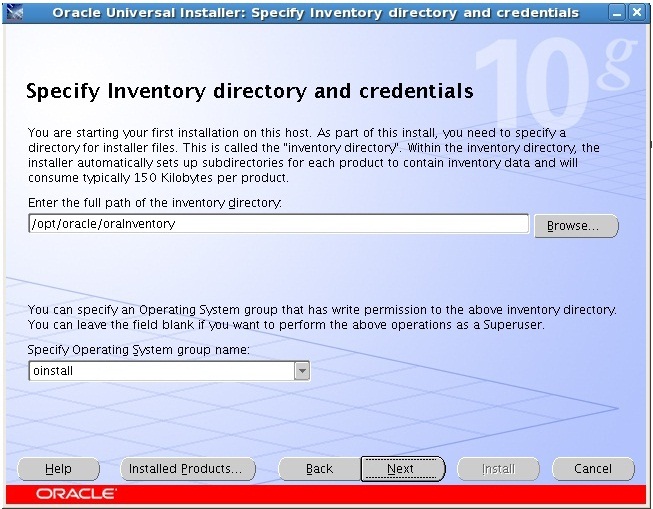
[root@Fantasy /]# /opt/oracle/oraInventory/orainstRoot.sh
Changing permissions of /opt/oracle/oraInventory to 770.
Changing groupname of /opt/oracle/oraInventory to oinstall.
The execution of the script is complete
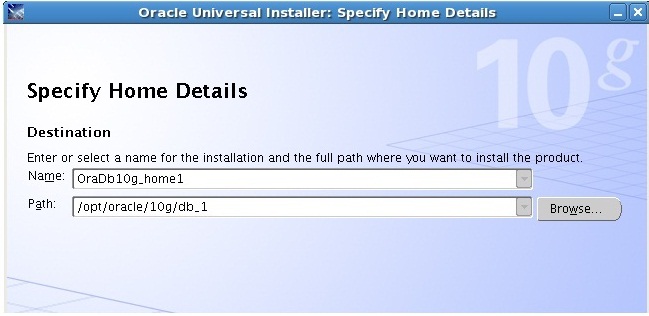
[root@Fantasy /]# /opt/oracle/10g/db_1/root.sh
Running Oracle10 root.sh script...
The following environment variables are set as:
ORACLE_OWNER= oracle
ORACLE_HOME= /opt/oracle/10g/db_1
Enter the full pathname of the local bin directory: [/usr/local/bin]:
Copying dbhome to /usr/local/bin ...
Copying oraenv to /usr/local/bin ...
Copying coraenv to /usr/local/bin ...
Creating /etc/oratab file...
Entries will be added to the /etc/oratab file as needed by
Database Configuration Assistant when a database is created
Finished running generic part of root.sh script.
Now product-specific root actions will be performed.
[root@Fantasy /]#
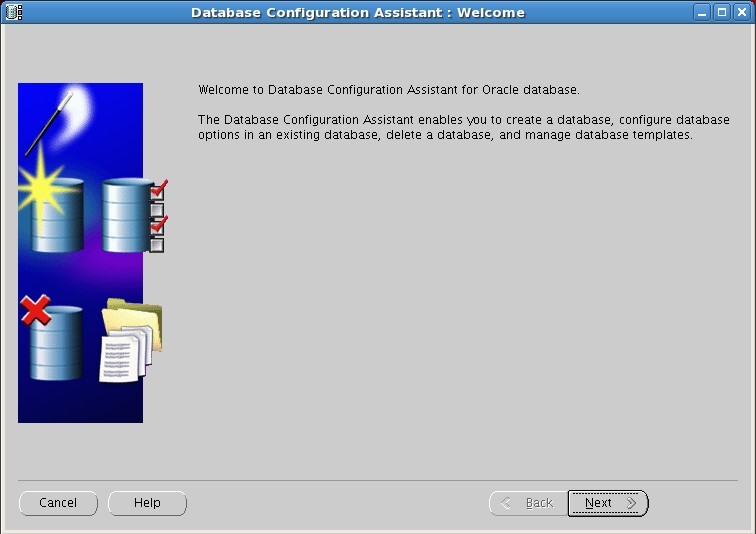
6、创建数据库实例
安装数据库之后,可以在任意时间创建实例,如下:
[root@Fantasy ~]# export DISPLAY=:0.0
[root@Fantasy ~]# xhost +
access control disabled, clients can connect from any host
[root@Fantasy ~]# su - oracle
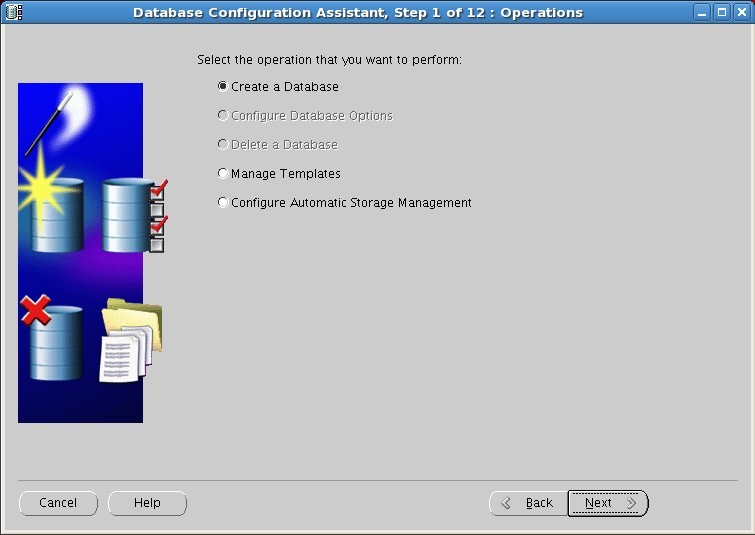
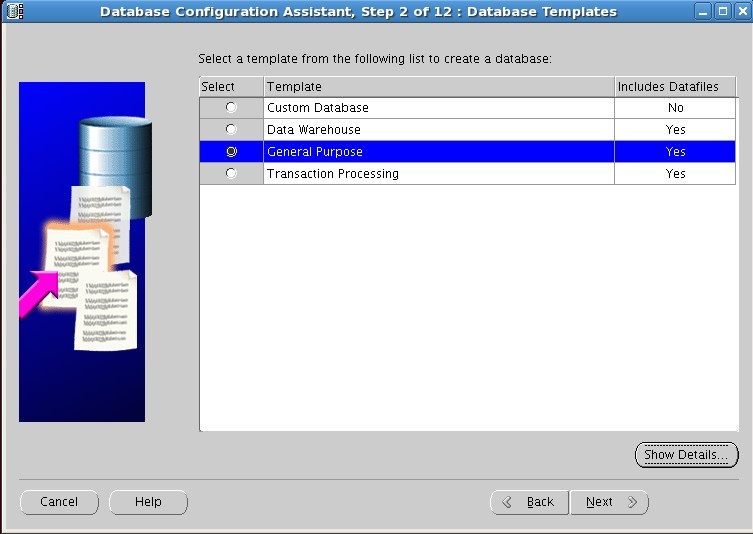
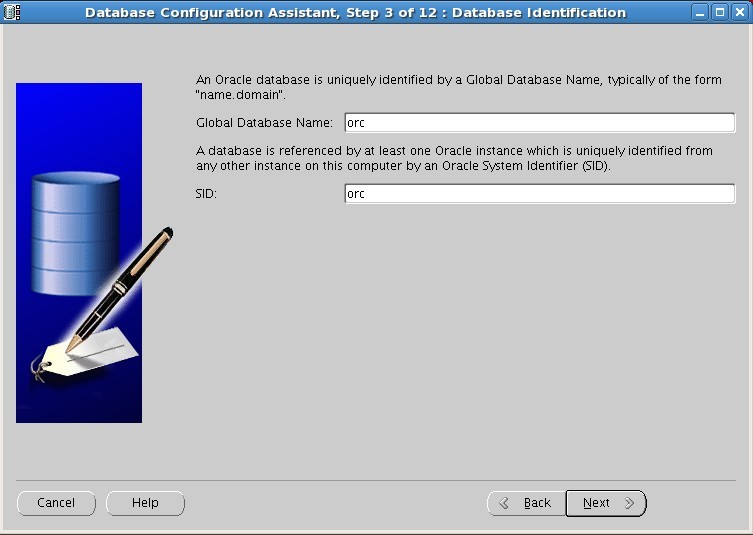
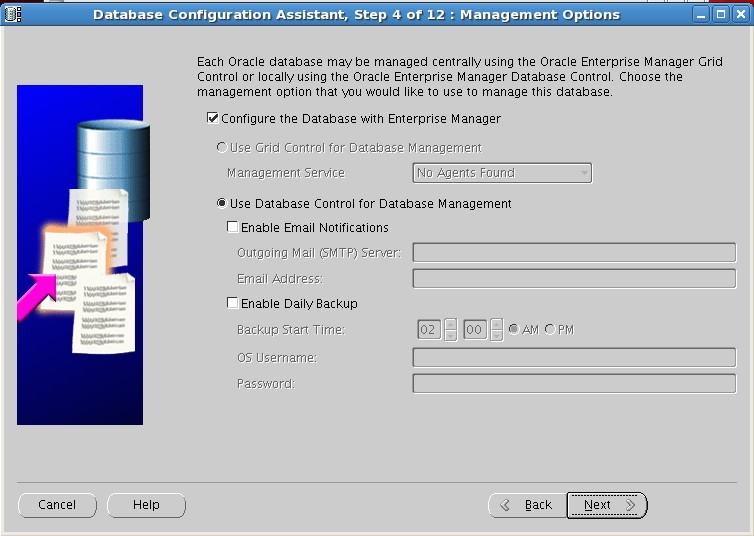
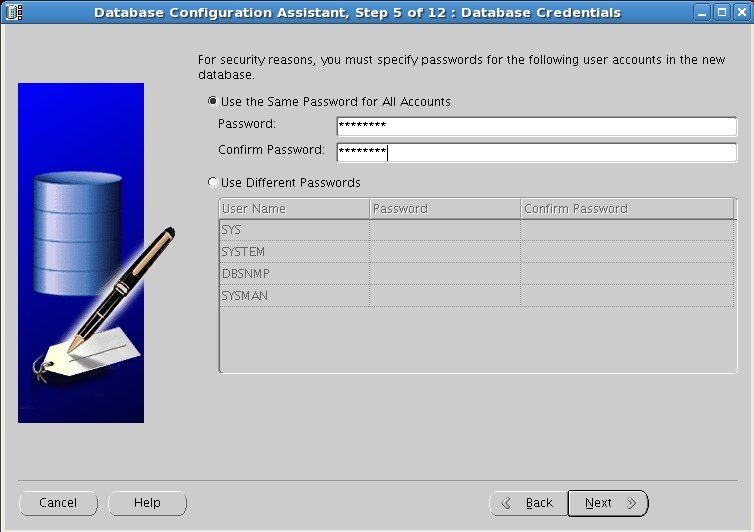
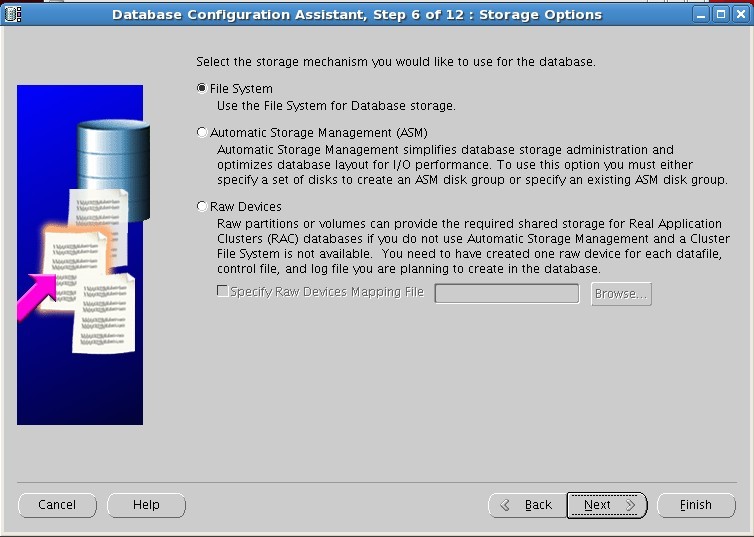
[oracle@Fantasy ~]$ dbca


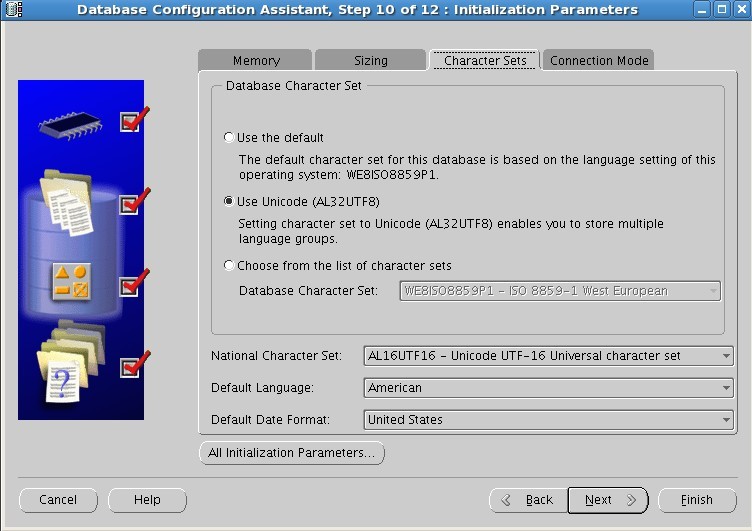

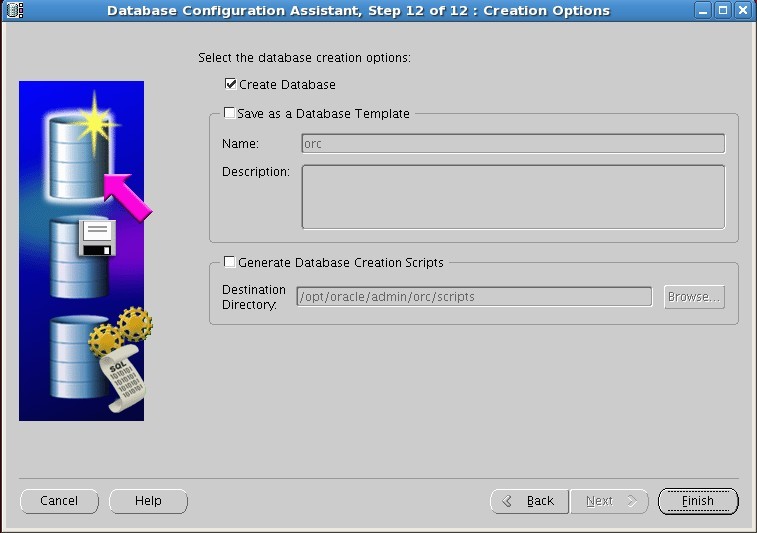
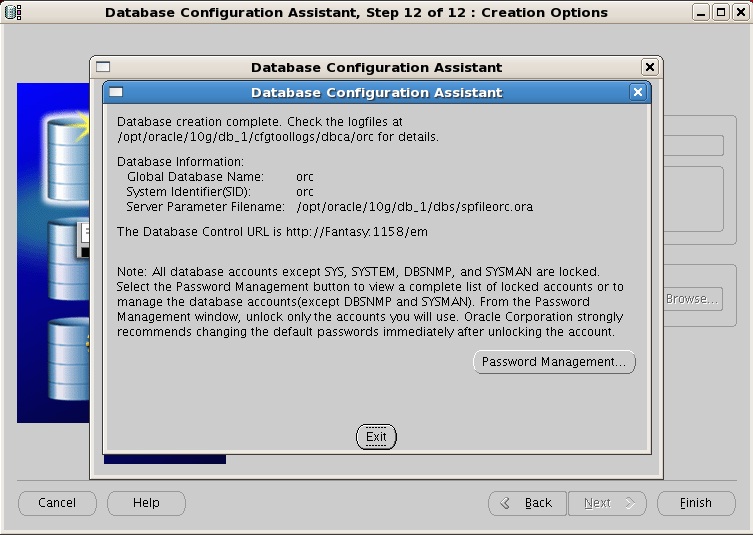
创建实例完成。
登陆数据库:
Last login: Sun May 16 23:11:31 2010 from 192.168.79.1
[root@Fantasy ~]# su - oracle
[oracle@Fantasy ~]$ sqlplus / as sysdba

SQL*Plus: Release 10.2.0.1.0 - Production on Sun May 16 23:19:17 2010

Copyright (c) 1982, 2005, Oracle.  All rights reserved.


Connected to:
Oracle Database 10g Enterprise Edition Release 10.2.0.1.0 - 64bit Production
With the Partitioning, OLAP and Data Mining options

SQL> set line 200
查询数据库名:
SQL> select name from v$database;

NAME
---------
ORC
查询实例名:
SQL> SELECT host_name, instance_name, version FROM v$instance;

HOST_NAME                                                        INSTANCE_NAME    VERSION
---------------------------------------------------------------- ---------------- -----------------
Fantasy                                                          orc              10.2.0.1.0
查询service name:
SQL> show parameter service_names;

NAME                                 TYPE        VALUE
------------------------------------ ----------- ------------------------------
service_names                        string      orc

