VueCLI3 创建vue项目
关于旧版本
Vue CLI 的包名称由 vue-cli 改成了 @vue/cli。
如果你已经全局安装了旧版本的 vue-cli (1.x 或 2.x),你需要先通过 npm uninstall vue-cli -g 或 yarn global remove vue-cli 卸载它。
Node 版本要求
Vue CLI 4.x 需要 Node.js v8.9 或更高版本 (推荐 v10 以上)。你可以使用 n,nvm 或 nvm-windows 在同一台电脑中管理多个 Node 版本。
安装新的安装包:npm install -g @vue/cli
安装完后,查看版本:vue -version
开始搭建项目:vue create xxx(这里的xxx是文件名,可以根据需求来命名)
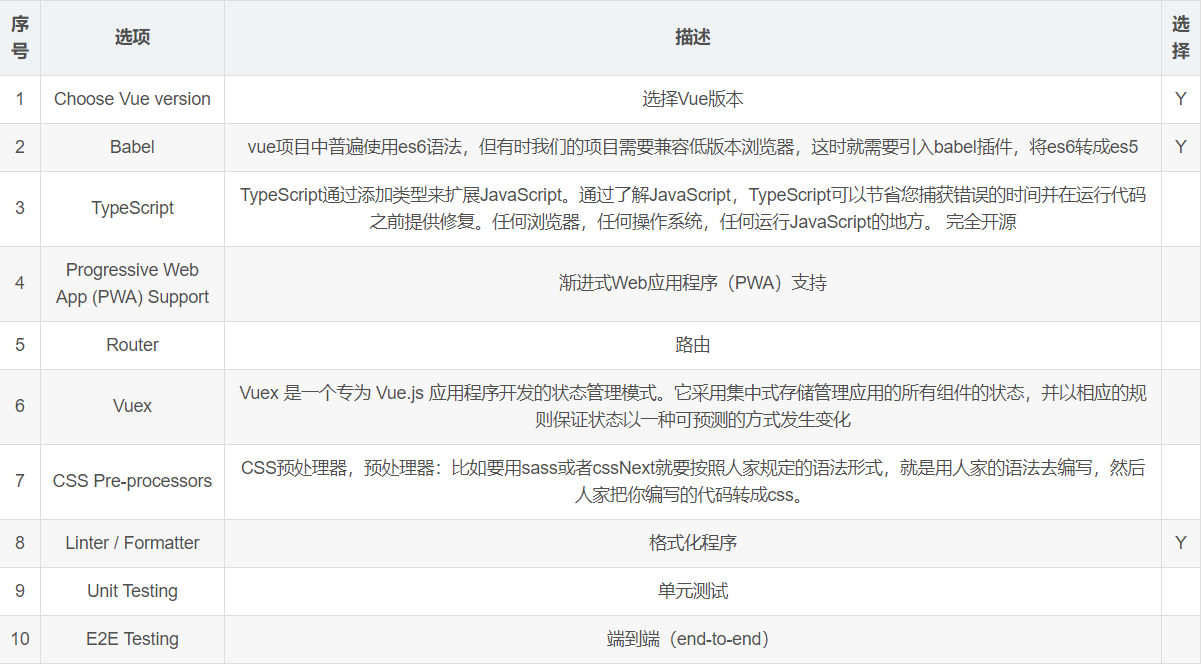
选择预设:Default ([Vue 2] babel, eslint)
Default (Vue 3 Preview) ([Vue 3] babel, eslint)
Manually select features (自定义选择,默认选择三个)

选择版本:2.x
3.x (Preview)
编码规则:ESLint with error prevention only (只使用官网的推荐规则)
ESLint + Airbnb config
ESLint + Standard config
ESLint + Prettier
Pick additional lint features: (Press <space> to select, <a> to toggle all, <i> to invert selection)
(*) Lint on save (默认选择)
( ) Lint and fix on commit
配置文件选择存储位置:Where do you prefer placing config for Babel, ESLint, etc.?
In dedicated config files (在专用配置文件中)
In package.json
将此保存为预设以供将来的项目使用
Save this as a preset for future projects? (y/N)(默认Y)
选择保存位置:Save preset as:
等待安装完成
运行项目:npm run serve
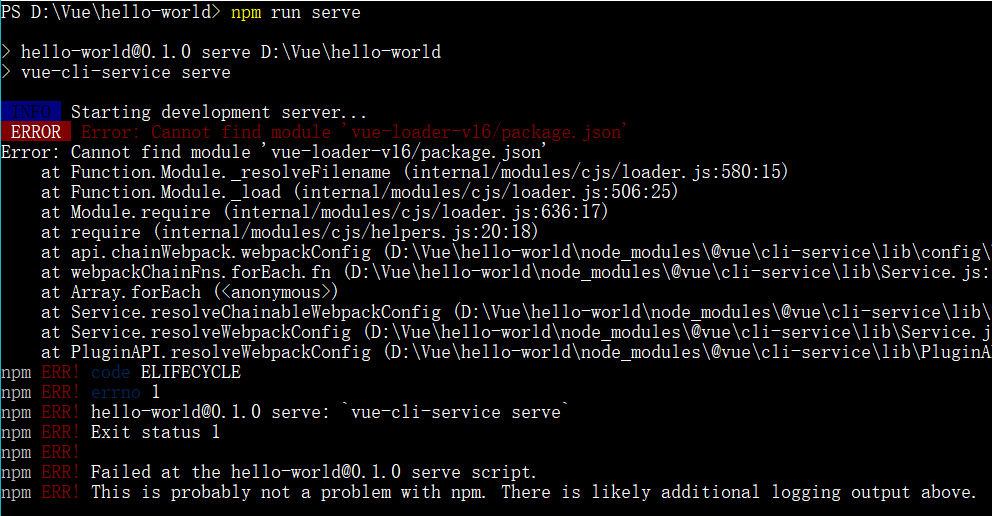
出了一个错误

应该是依赖没有安装上,安装一下依赖:npm i --save-dev vue-loader-v16

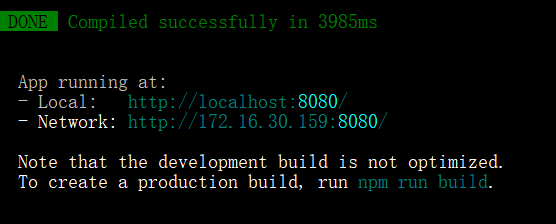
启动成功


