

vue3.0使用axios 解决跨域问题
走了很多弯路,总结出来的,保姆级别教学
直接带你使用,跟着我走,不会报错,如果不行,你来打我。
在请求时,如果出现了以下情况中的任意一种,那么它就是跨域请求:
跨域问题是指在浏览器环境下,当一个网页的脚本试图访问不同源(域名、协议或端口)的资源时,会发生跨域请求。这种问题主要是由于浏览器的同源策略导致的,该策略是为了防止恶意网站获取用户的敏感信息或进行攻击1。跨域问题出现的具体原因包括:
1. 域名不同:浏览器会限制不同域名之间的资源访问。
2. 端口不同:同源策略也包括端口号,因此不同端口的访问也会导致跨域问题。
3. 协议不同:如http和https之间的协议不同也会引发跨域问题2。
一、首先创建vue脚手架
1、打开cmd窗口,将npm包换为淘宝镜像。
1 | npm config set registry https://registry.npm.taobao.org |
2、执行npm install -g @vue/cli命令,全局安装脚手架。
3、切换到你要创建项目的目录,然后使用命令创建项目,运行vue create xxx(xxx代表你要创建的项目的名字)。
4、在创建文件的目录下运行npm run serve,得到网址后打开即可看到类似hello world的案例。
二、安装和使用axios
1、安装 : win+R 打开终端或命令行窗口,输入命令npm install axios
2、使用:
用WebStorm或者Visual Studio Code打开项目 找到main.js

加入 红色部分
1 import { createApp } from 'vue'
2 import App from './App.vue'
3 import axios from 'axios'
4
5 const app = createApp(App);
6
7 app.config.globalProperties.$http = axios
8 app.mount('#app')
配置前端跨域
然后找到项目的 vue.config.js
加入 红色部分

 1 const { defineConfig } = require('@vue/cli-service')
 2 module.exports = defineConfig({
 3   transpileDependencies: true,
 4   devServer: {
 5     host: '127.0.0.1',  // 此前端项目的IP地址
 6     port: 8081,  // 此前端项目的端口号
 7     open: true,  //表示在启动开发服务器时,会自动打开浏览器并访问指定的地址
 8     proxy: {
 9       '/api': {
10         target: 'http://127.0.0.1:8080/', //接口域名
11         changeOrigin: true,       //是否跨域
12         ws: true,            //是否代理 websockets
13         secure: true,          //是否https接口
14         pathRewrite: {
15           '^/api': ''  //假如我们的地址是 /api/member/getToken 会转化为 /member/getToken
16         }
17       }
18     }
19   }
20
21 })
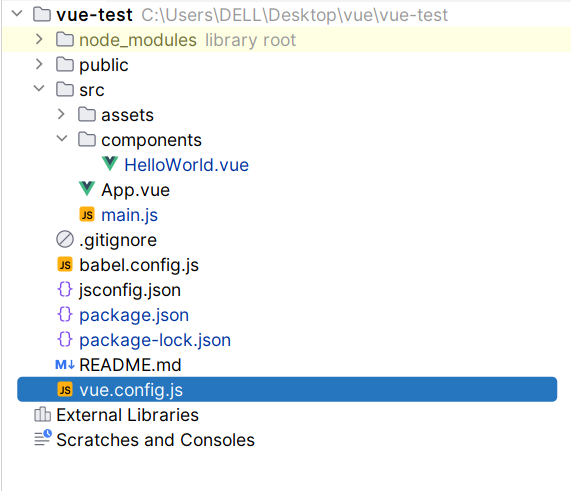
找到 HelloWorld.vue
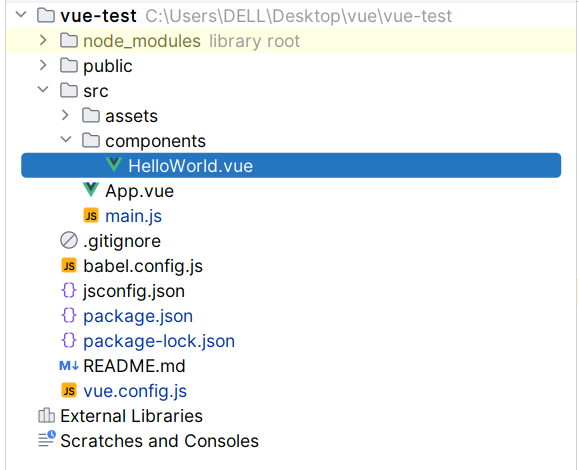
把<template>里面的其余的都删掉,就留这么点用来测试
1 2 3 4 5 | <template> <div class="hello"> <h1 @click="getName()">{{ msg }}</h1> </div></template> |
script部分
1 2 3 4 5 6 7 8 9 10 11 12 13 14 15 16 17 18 19 | <script>export default { name: 'HelloWorld', props: { msg: String }, methods:{ async getName(){ this.$http.get('/api/member/getToken').then(response => { // 请求成功处理 console.log(response.data); }).catch(error => { // 请求失败处理 console.log(error); }); } }}</script> |
扩展: 配置后端跨域 springboot
1 2 3 4 5 6 7 8 9 10 11 12 13 14 15 16 17 18 19 20 21 22 23 24 25 26 27 | import org.springframework.context.annotation.Bean;import org.springframework.context.annotation.Configuration;import org.springframework.web.servlet.config.annotation.CorsRegistry;import org.springframework.web.servlet.config.annotation.WebMvcConfigurer;/** * @Author: xhj * @Date: 2023/10/24/13:47 * @Description: */@Configurationpublic class CustomCorsConfig { @Bean public WebMvcConfigurer corsConfigurer(){ return new WebMvcConfigurer() { @Override public void addCorsMappings(CorsRegistry registry) { registry.addMapping("/**") .allowedOrigins("http://localhost:8081") // 允许的来源域名,* 表示允许所有域名 .allowedMethods("GET", "POST", "PUT", "DELETE") // 允许的请求方法// .allowedHeaders("Content-Type", "X-Requested-With") // 允许的请求头 .maxAge(3600); // 允许的缓存时间,单位为秒 } }; }} |
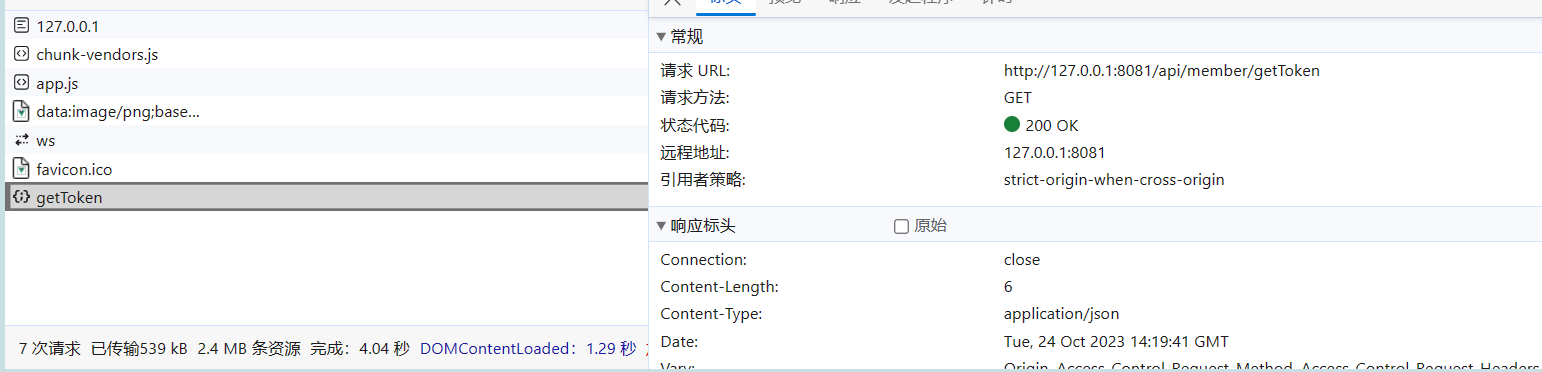
最后运行 成功发送请求
1 | npm run serve |


【推荐】国内首个AI IDE,深度理解中文开发场景,立即下载体验Trae
【推荐】编程新体验,更懂你的AI,立即体验豆包MarsCode编程助手
【推荐】抖音旗下AI助手豆包,你的智能百科全书,全免费不限次数
【推荐】轻量又高性能的 SSH 工具 IShell:AI 加持,快人一步
· 25岁的心里话
· 闲置电脑爆改个人服务器(超详细) #公网映射 #Vmware虚拟网络编辑器
· 零经验选手,Compose 一天开发一款小游戏!
· 因为Apifox不支持离线,我果断选择了Apipost!
· 通过 API 将Deepseek响应流式内容输出到前端