Elasticsearch集群安装教程
Elasticsearch集群安装教程
1)下载安装包
本教程使用版本:6.2.1
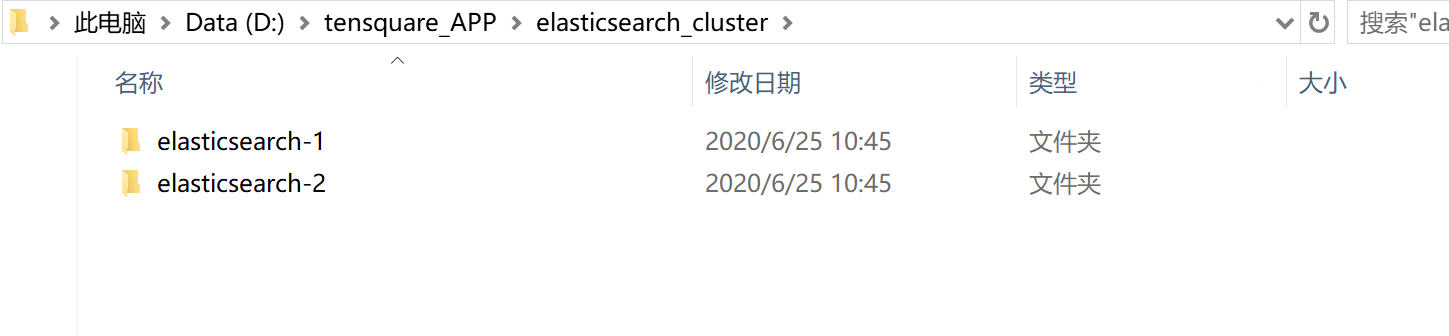
下载之后,解压到集群目录,复制一份,分别修改名字为节点1和2
2)修改配置
在D:\tensquare_APP\elasticsearch_cluster\elasticsearch-1\config的elasticsearch.yml文件最后面添加
#集群名称
cluster.name: xuecheng
#当前节点名称
node.name: xc_node_1
#IP地址
network.host: 0.0.0.0
#端口
http.port: 9200
#内部交互端口
transport.tcp.port: 9300
#主节点
node.master: true
#数据节点
node.data: true
#集群IP+端口
discovery.zen.ping.unicast.hosts: ["0.0.0.0:9300", "0.0.0.0:9301"]
#最小主节点数量(计算公式:节点数量/2+1)
discovery.zen.minimum_master_nodes: 1
#协调节点
node.ingest: true
#内存锁定,是否将内存锁定只提供给es使用
bootstrap.memory_lock: false
#最大存储节点
node.max_local_storage_nodes: 2

#索引目录
path.data: D:\tensquare_APP\elasticsearch_cluster\elasticsearch-1\data
#日志目录
path.logs: D:\tensquare_APP\elasticsearch_cluster\elasticsearch-1\logs

#跨域设置
http.cors.enabled: true
http.cors.allow-origin: /.*/
在D:\tensquare_APP\elasticsearch_cluster\elasticsearch-2\config的elasticsearch.yml文件最后面添加
#集群名称
cluster.name: xuecheng
#当前节点名称
node.name: xc_node_2
#IP地址
network.host: 0.0.0.0
#端口
http.port: 9201
#内部交互端口
transport.tcp.port: 9301
#主节点
node.master: true
#数据节点
node.data: true
#集群IP+端口
discovery.zen.ping.unicast.hosts: ["0.0.0.0:9300", "0.0.0.0:9301"]
#最小主节点数量(计算公式:节点数量/2+1)
discovery.zen.minimum_master_nodes: 1
#协调节点
node.ingest: true
#内存锁定,是否将内存锁定只提供给es使用
bootstrap.memory_lock: false
#最大存储节点
node.max_local_storage_nodes: 2

#索引目录
path.data: D:\tensquare_APP\elasticsearch_cluster\elasticsearch-2\data
#日志目录
path.logs: D:\tensquare_APP\elasticsearch_cluster\elasticsearch-2\logs

#跨域设置
http.cors.enabled: true
http.cors.allow-origin: /.*/
master:主节点,增删改查
data:数据节点,存储数据
client:客户端节点,转发请求
组合方式:
master=true,data=true:即是主节点,也是数据节点
master=false,data=true:数据节点
master=true,data=false:主节点
master=false,data=false:即不是主节点,也不是数据节点,此时ingest=true表示是一个客户端
3)启动测试
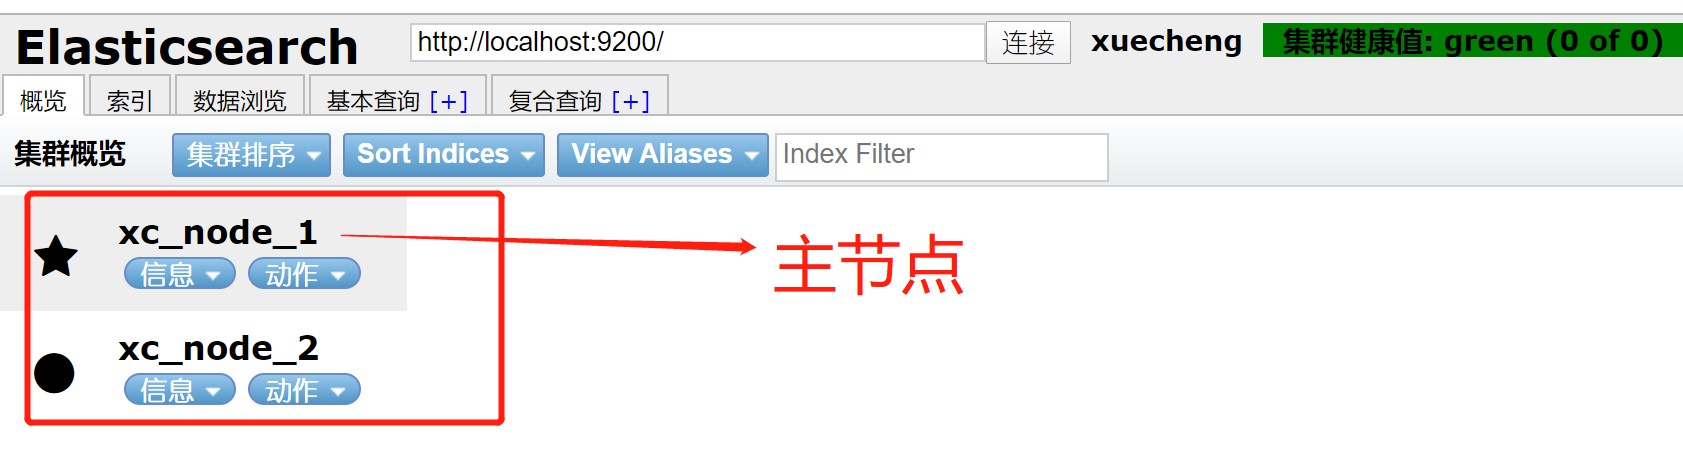
分别启动D:\tensquare_APP\elasticsearch_cluster\elasticsearch-1\bin的elasticsearch.bat文件和D:\tensquare_APP\elasticsearch_cluster\elasticsearch-2\bin的elasticsearch.bat文件,通过head可视化工具查看:http://localhost:9100/
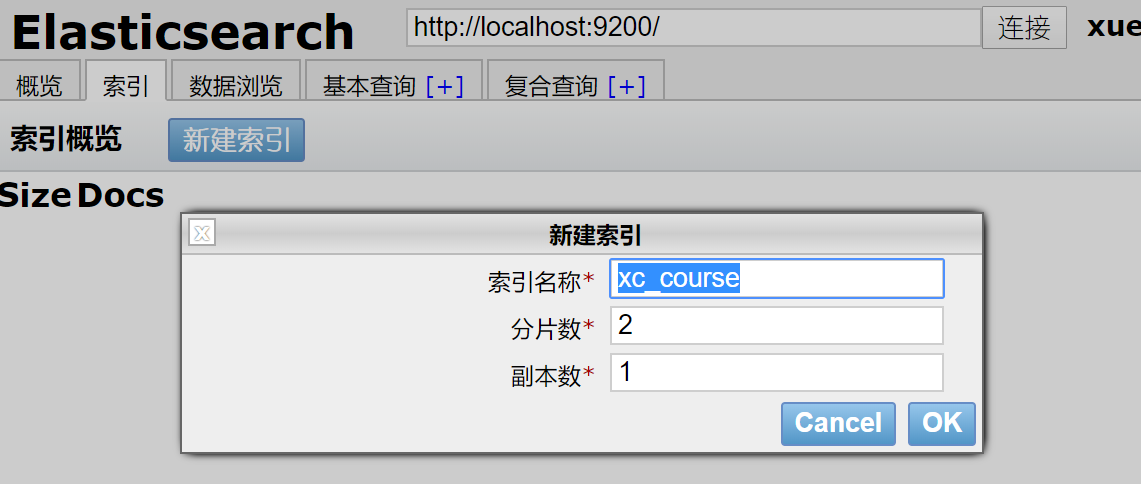
创建索引库,分成2片
通过postman创建映射
http://localhost:9200/xc_course/doc/_mapping
{
    "properties": {
        "description": {
            "type": "text",
            "analyzer": "ik_max_word",
            "search_analyzer": "ik_smart"
        },
        "name": {
            "type": "text",
            "analyzer": "ik_max_word",
            "search_analyzer": "ik_smart"
        },
        "pic":{
            "type":"text",
            "index":false
        },
        "price": {
            "type": "float"
        },
        "studymodel": {
            "type": "keyword"
        },
        "timestamp": {
            "type": "date",
            "format": "yyyy-MM-dd HH:mm:ss||yyyy-MM-dd||epoch_millis"
        }
    }
}
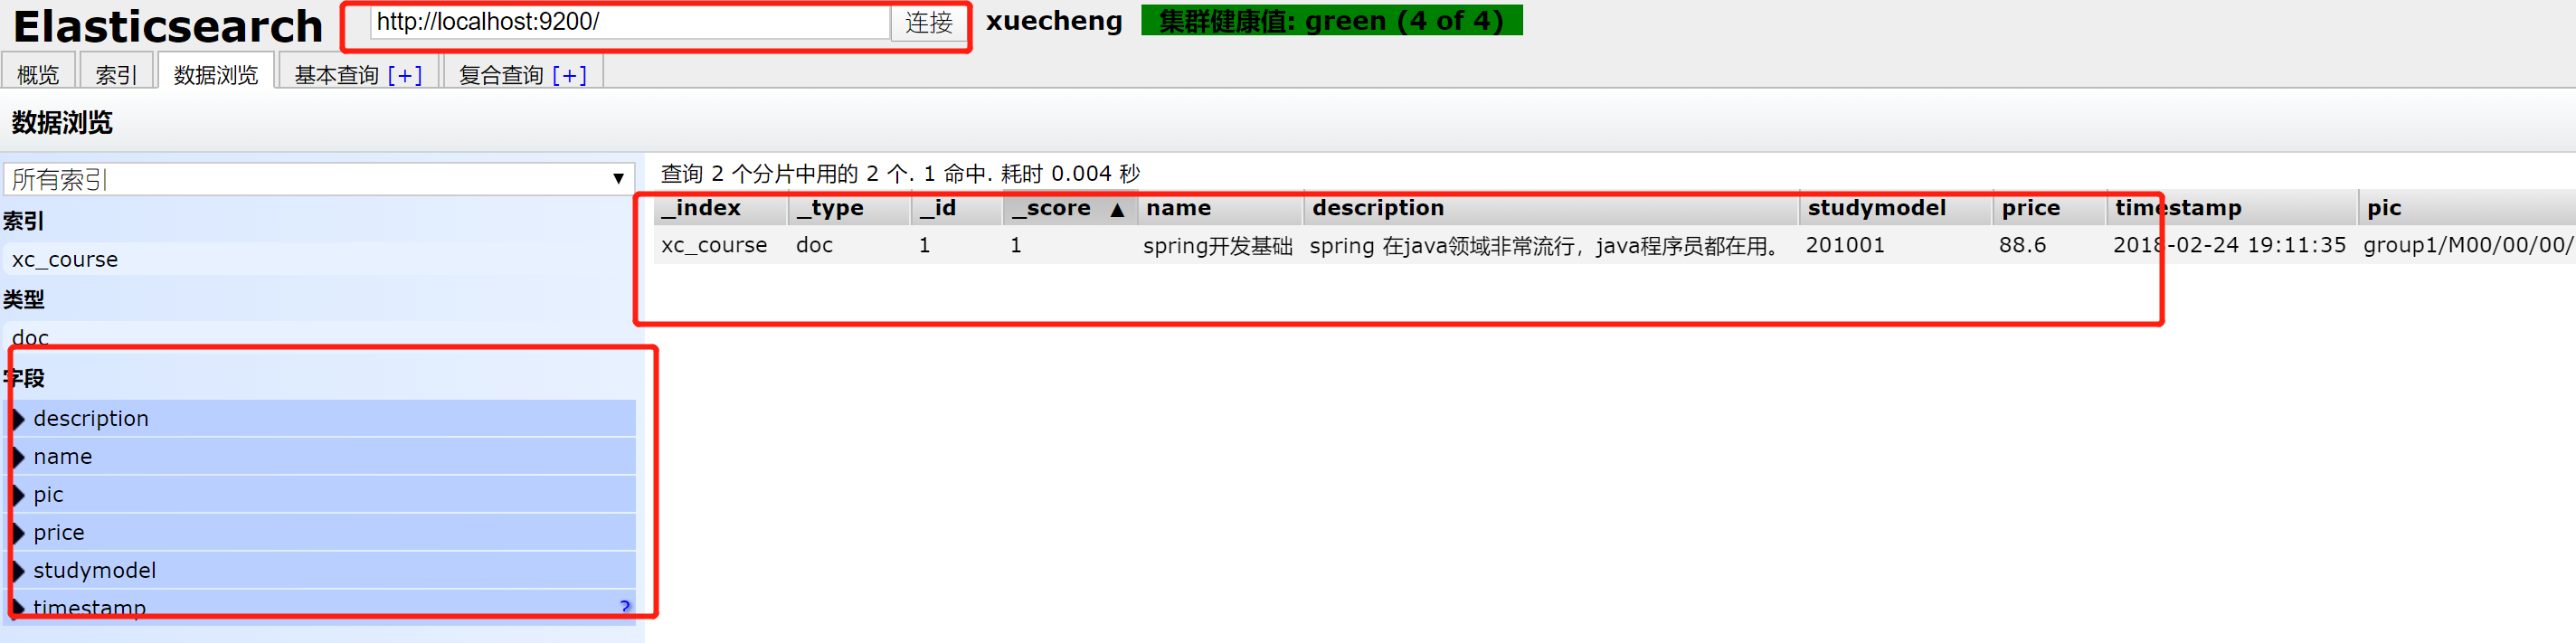
通过postman创建文档
http://localhost:9200/xc_course/doc/1
{
    "name": "spring开发基础",
    "description": "spring 在java领域非常流行,java程序员都在用。",
    "studymodel": "201001",
    "price":88.6,
    "timestamp":"2018-02-24 19:11:35",
    "pic":"group1/M00/00/00/wKhlQFs6RCeAY0pHAAJx5ZjNDEM428.jpg"
}
再次查看,会发现数据已经添加,并且切换连接后,会发现数据已经备份
注意:通过上面的配置,如果主节点宕机,从节点会升级为主节点;主节点再次上线,无法变成主节点,会变成从节点。

 浙公网安备 33010602011771号