
跟踪分析Linux内核5.0系统调用处理过程
学号404原创作品转载请注明出处
本实验来源 https://github.com/mengning/linuxkernel/
实验要求
- 编译内核5.0
- qemu -kernel linux-5.0.1/arch/x86/boot/bzImage -initrd rootfs.img
- 选择系统调用号后两位与您的学号后两位相同的系统调用进行跟踪分析
- https://github.com/mengning/menu
- 给出相关关键源代码及实验截图,撰写一篇博客(署真实姓名或学号最后3位编号),并在博客文章中注明“原创作品转载请注明出处 + https://github.com/mengning/linuxkernel/ ”,博客内容的具体要求如下:
- 题目自拟,内容围绕系统调用进行;
- 博客中需要使用实验截图
- 博客内容中需要仔细分析系统调用、保护现场与恢复现场、系统调用号及参数传递过程
- 总结部分需要阐明自己对系统调用工作机制的理解
实验环境
编译内核5.0
下载linux5.0.1.zip 然后解压,进入解压的文件夹执行make ,期间可能会报错,注意看提示,根据提示缺少什么依赖,就安装什么依赖,具体代码如下:
wget https://mirrors.edge.kernel.org/pub/linux/kernel/v5.x/linux-5.0.1.tar.xz
xz -d linux-5.0.1.tar.xz
tar -xvf linux-5.0.1.tar
cd linux-5.0.1
make i386_defconfig
sudo apt-get install libncurses-dev # 缺少该环境依赖
make menuconfig
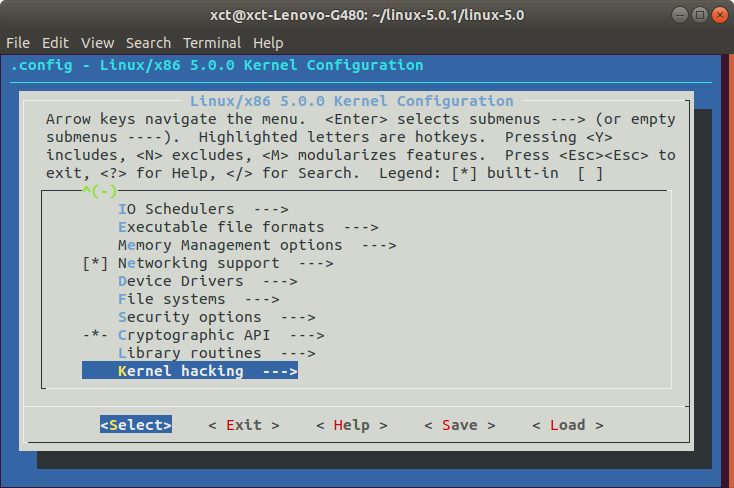
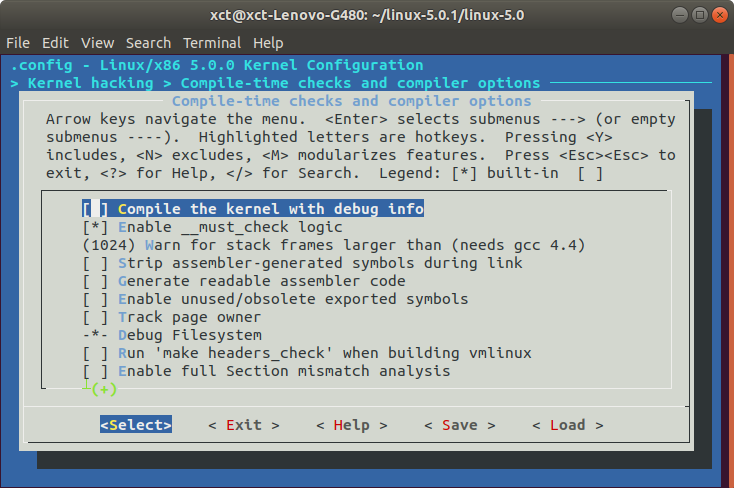
执行完后,进入如下界面,如图进行选择,然后退出并保存配置信息。
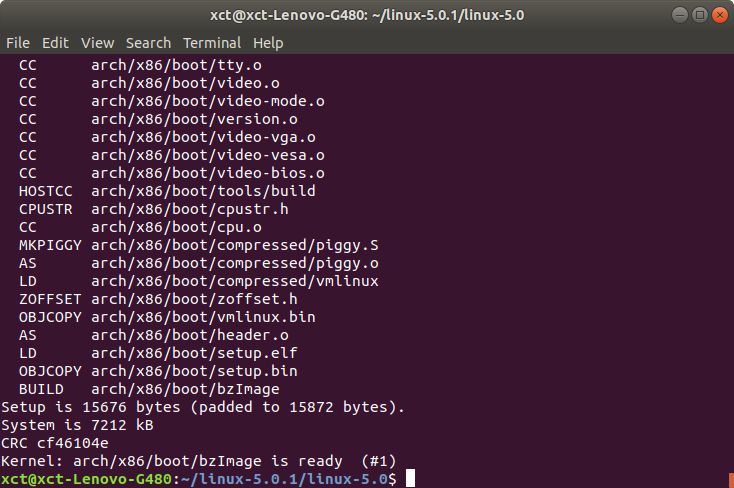
执行make -j4,编译内核,期间遇到了缺少openssl/bio.h,执行sudo apt install libssl-dev解决。
制作根文件系统
期间,在执行时,如果缺少依赖,需要安装对应的包。
cd ..
mkdir rootfs
sudo apt install git
git clone https://github.com/mengning/menu.git
cd menu
sudo apt install gcc-multilib
gcc -pthread -o init linktable.c menu.c test.c -m32 -static
cd ../rootfs
cp ../menu/init ./
find . | cpio -o -Hnewc | gzip -9 > ../rootfs.img
注意进入对应的文件夹后执行。
qemu-system-i386 -kernel bzImage -initrd rootfs.img

选择write函数系统调用进行跟踪分析
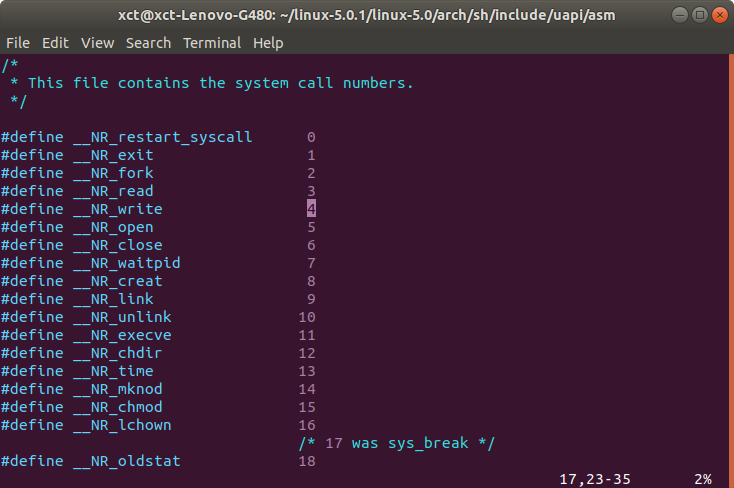
先在系统的 /home/xct/linux-5.0.1/linux-5.0/arch/sh/include/uapi/asm/unisted_32.h 文件中找到自己学号后两位对应的相同的系统调用,我的学号为404,所以选择04号系统调用,也就是write函数进行跟踪分析。
write函数
函数定义如下:
> #include <unistd>
> ssize_t write(int filedes, void *buf, size_t nbytes);
> // 返回:若成功则返回写入的字节数,若出错则返回-1
> // filedes:文件描述符
> // buf:待写入数据缓存区
> // nbytes:要写入的字节数
函数描述:
write()函数尝试从缓冲器中向文件描述符所代表的文件中的偏移量后写入buf中的nbyte字节。
如果write()在写任何数据之前被一个信号中断将以errno设置为EINTR。
如果write()在成功写入某些信息后被一个信号中断数据,它将返回写入的字节数。
如果nbyte的值大于ssizemax,结果就会出现mentation-defined。
如果文件有数据,而且文件偏移量不在文件尾部,这时候调用write时会覆盖文件中的内容。
使用系统调用
在menu文件夹中的新建404.c,写入如下代码:
#include <unistd.h>
#include <stdio.h>
#include <stdlib.h>
#include <fcntl.h>

#include <string.h>

int main(void)
{
        int handle = open("404.txt", O_RDWR);
        char string[20];
        int length, res;/* Create a file named "TEST.$$$" in the current directory and write a string to it. If "TEST.$$$" already exists, it will be overwritten. */
        strcpy(string, "Hello, world!\n");
        length = strlen(string);
        res = write(handle, string, length);
        printf("Wrote %d bytes to the file.\n", res);
        close(handle);
        return 0;
}
使用 gcc -o 404 404.c 编译,再使用 ./404 执行,可以发现String 已经被写入到404.txt,文件中。


在menu文件夹中的新建writeasm.c,写入如下嵌入式汇编代码:
#include <unistd.h>
#include <stdio.h>
#include <stdlib.h>
#include <fcntl.h>

#include <string.h>

int main(void)
{
        int handle = open("writeasm.txt", O_RDWR);
        char string[20];
        int length, res;/* Create a file named "TEST.$$$" in the current directory and write a string to it. If "TEST.$$$" already exists, it will be overwritten. */
        strcpy(string, "Hello, world,ASM!\n");
        length = strlen(string);
        asm volatile(
        "mov $0,%%ebx\n\t"
        "mov $0x04,%%eax\n\t"
        "int $0x80\n\t"
        "mov %%eax,%0\n\t"
        :"=m"(res)
         );
        printf("Wrote %d bytes to the file.\n", res);
        close(handle);
        return 0;
}
执行后的相同结果。

分析系统调用
这里使用gdb进行调试。
gdb
file 404
i r
disass

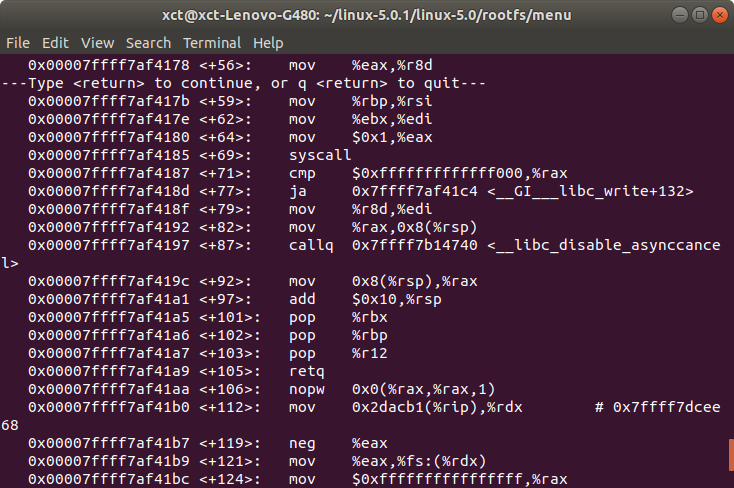
系统执行到int 0x80触发中断,然后进入中断处理程序保存现场,进程陷入内核态。
实验总结
由操作系统实现提供的所有系统调用所构成的集合就是API,API会涉及与内核空间进行交互,这些API内部会封装系统调用。当系统执行到这些系统调用时,然后触发int $0x80中断,系统保存现场后进入内核态,对应system_call内核代码的起点,即中断向量$0x80对应的中断服务程序入口,根据eax寄存器中的调用号指明的相应的系统调用处理函数完成中断处理,结束后再返回,恢复现场后,系统继续执行。

