
【下载virtualbox】
https://mirror.tuna.tsinghua.edu.cn/help/virtualbox/
【下载centos镜像】
https://mirrors.aliyun.com/centos/7/isos/x86_64/
选择dvd版
【centos网络配置】
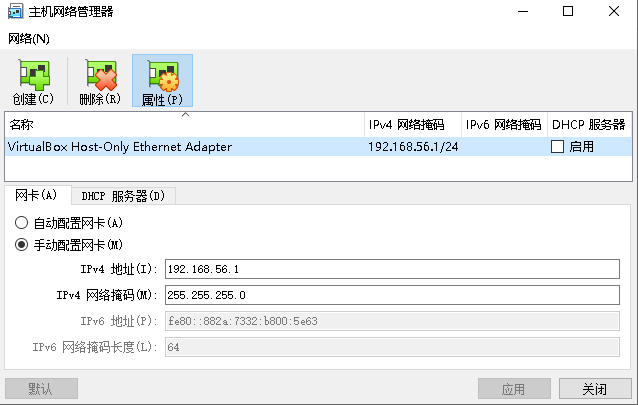
1.virtualbox窗口----管理----主机网络管理器:默认会有配置host-only网卡,没有则创建。
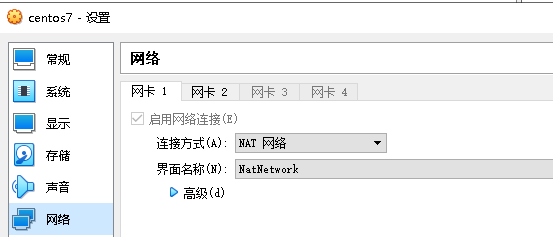
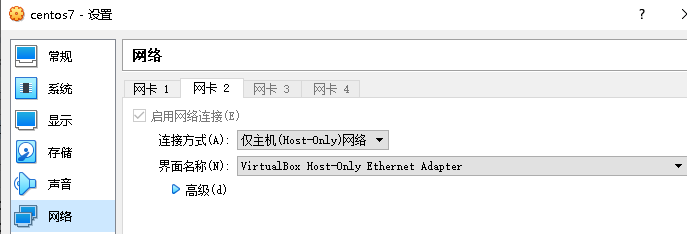
2.virtualbox窗口----选中虚拟机----设置----网络:添加两个网卡,host-only和NAT。
如果连接方式选择NAT网络没有界面名称选项:virtualbox窗口----管理----全局设定中添加
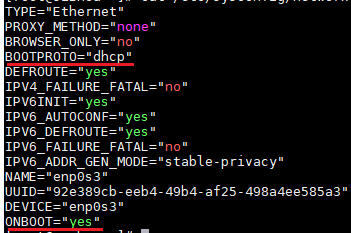
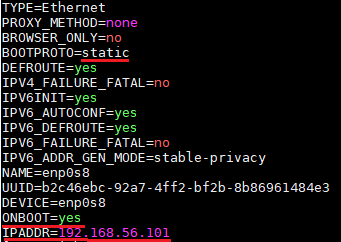
3.在/etc/sysconfig/network-scripts/下有两个网卡配置和网卡1、网卡2对应。
和NAT对应的配置为dhcp即自动获取ip。
和host-only对应的配置为固定ip,ip要求和主机网络管理器中ip在同一网段。
最后重启网络服务:service network restart

【centos yum源修改为阿里源】
1.备份旧源
mv /etc/yum.repos.d/CentOS-Base.repo /etc/yum.repos.d/CentOS-Base.repo_bak
2.设置新源
wget -O /etc/yum.repos.d/CentOS-Base.repo http://mirrors.aliyun.com/repo/Centos-7.repo
我本地执行wget失败,所以通过浏览器将阿里源下载下来,然后新建/etc/yum.repos.d/CentOS-Base.repo,将内容复制进取保存即可。
也可以使用网易源:http://mirrors.163.com/.help/CentOS7-Base-163.repo
获取用清华大学源:https://mirror.tuna.tsinghua.edu.cn/help/centos/
3.更新yum缓存
yum clean all
yum makecache
