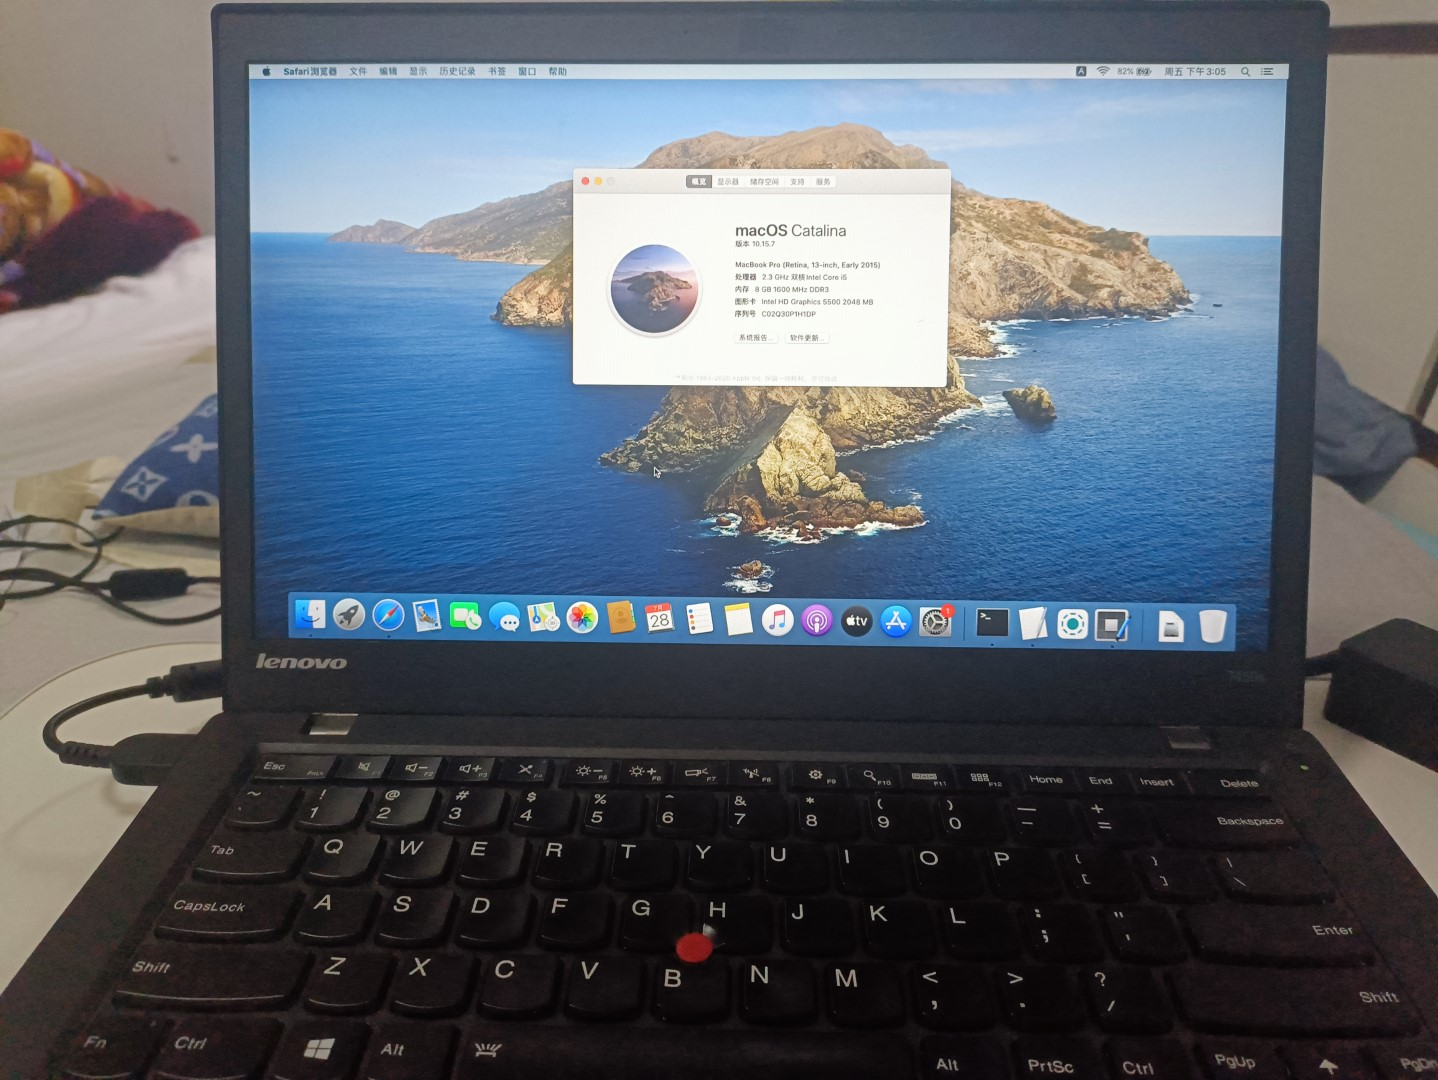
ThinkPad T450s 安装黑苹果 (macOS Catalina)
原文:https://www.cnblogs.com/xaoc/p/17590826.html
主要参考来源,下文中统称「项目」
https://github.com/CLAY-BIOS/Lenovo-ThinkPad-T450s-Hackintosh-OpenCore/
过程小记
-
电脑硬盘重新分区,要有
ESP和MSR。主分区先NTFS,后面步骤会再调整 -
参照 Making the installer in Windows 用 macrecovery.py 下载 mac的恢复镜像
-
用 Rufus 格式化 u盘,注意要FAT32
-
把第一步下好的
com.apple.recovery.boot文件夹丢到u盘根目录 -
下载 项目,将里面的
EFI文件夹丢到u盘根目录 -
下载个 ProperTree,修改u盘里的
EFI/OC/config.plist,将Kernel->Add下的 (16,17,18) 按照要安装的系统版本开启
-
进BIOS,还原BIOS设置后按照项目里的BIOS设置进行修改
-
参考 issue62#issuecomment-948646956,把这两个BIOS设置成Disabled,不然后面会有一步走不下去
Solved by disabling in bios the following:
- Intel (R) Rapid...: Disabled (under Power);
- Virtualization: Disabled both options, instead of just Vt-d.
-
u盘启动,进入mac recovery模式 (在Catalina的安装过程,如果上一步的那两项没改会导致这一步进mac recovery后黑屏没动静)
-
进入后选择【磁盘工具】,调整主分区格式为
APFS(大小写不敏感) -
调整完返回macOS实用工具,选择【重新安装macOS】,接着一路下一步
-
安装完成进入系统后先需要将EFI分区挂上,用 MountEFI 选择主分区将挂载上系统的EFI分区,然后在访达将u盘里的
EFI文件夹拷贝到EFI分区中,拔了u盘重启试下效果 -
然后WIFI和耳机口可能有问题
-
WIFI参考 issues103#issuecomment-1144434082,修改 EFI分区下的
EFI/OC/config.plist无须更改其他配置项,将原Force配置项
<key>Force</key>
<array/>
更改为以下内容即可
<key>Force</key> <array> <dict> <key>Arch</key> <string>Any</string> <key>BundlePath</key> <string>System/Library/Extensions/corecapture.kext</string> <key>Comment</key> <string></string> <key>Enabled</key> <true/> <key>ExecutablePath</key> <string>Contents/MacOS/corecapture</string> <key>Identifier</key> <string>com.apple.driver.corecapture</string> <key>MaxKernel</key> <string>19.99.99</string> <key>MinKernel</key> <string>17.0.0</string> <key>PlistPath</key> <string>Contents/Info.plist</string> </dict> <dict> <key>Arch</key> <string>Any</string> <key>BundlePath</key> <string>System/Library/Extensions/IOSkywalkFamily.kext</string> <key>Comment</key> <string></string> <key>Enabled</key> <true/> <key>ExecutablePath</key> <string>Contents/MacOS/IOSkywalkFamily</string> <key>Identifier</key> <string>com.apple.iokit.IOSkywalkFamily</string> <key>MaxKernel</key> <string>19.99.99</string> <key>MinKernel</key> <string>17.0.0</string> <key>PlistPath</key> <string>Contents/Info.plist</string> </dict> <dict> <key>Arch</key> <string>Any</string> <key>BundlePath</key> <string>System/Library/Extensions/IO80211Family.kext</string> <key>Comment</key> <string></string> <key>Enabled</key> <true/> <key>ExecutablePath</key> <string>Contents/MacOS/IO80211Family</string> <key>Identifier</key> <string>com.apple.iokit.IO80211Family</string> <key>MaxKernel</key> <string>19.99.99</string> <key>MinKernel</key> <string>17.0.0</string> <key>PlistPath</key> <string>Contents/Info.plist</string> </dict> </array> -
耳机口杂音问题通过项目中的 ALCPlugFix 下的脚本可以解决
-
可以把项目中的 ThinkpadAssistant 装上,具体功能见项目中的介绍
成果展示


