

SpringBoot中使用SpringCache整合redis缓存
SpringBoot中使用SpringCache整合redis缓存
今天闲暇之余研究了一下SpringCache的一些基础功能, 发SpringBoot已经进行相关整合, 使用起来特别方便, 但是在进行配置的时候也是遇到一点问题, 所以最后决定写点东西,也当是做一下笔记,以便后续查看参考
1. 首先, 导入相关依赖
        <dependency>
            <groupId>org.springframework.boot</groupId>
            <artifactId>spring-boot-starter-data-redis</artifactId>
        </dependency>
        <dependency>
            <groupId>org.springframework.boot</groupId>
            <artifactId>spring-boot-starter-cache</artifactId>
        </dependency>
spring-boot-starter-data-redis 是springboot整合得redis得自动配置类的starter, 引入之后只需要在properties或者yml中配置redis的服务器信息便可以在项目中使用,如项目中常用的redisTemplate, SpringSession以及目前的SpringCache
2. 配置服务信息
redis配置如下
spring:
  redis:
    host: 127.0.0.1
    password:
spring-boot-starter-cache是整合的SpringCache的自动配置类的starter, 引入之后,只需要在配置文件中申明相关信息即可自动配置
cache相关配置如下
spring:
  cache:
    type: redis
    redis:
      time-to-live: 3600000
这里指定缓存类型使用的是redis, 以及缓存的过期时间是一小时
3. 编写测试案例
@SpringBootApplication
@EnableCaching
@MapperScan(basePackages = "com.example.redis.demo.dao")
public class RedisDemoApplication {

    public static void main(String[] args) {
        SpringApplication.run(RedisDemoApplication.class, args);
    }

}
@Cacheable(value = "sysUserPo", key = "#id")
@Override
public SysUserPo selectById(Integer id) {
    SysUserPo sysUserPo = sysUserDao.selectById(id);
    return sysUserPo;
}
启动类上加上@EnableCaching注解, 在需要进行缓存的地方加上@Cacheable, 指定缓存key, 这里的key可以使用SpEL表达式,
4. 启动项目,访问接口侧试
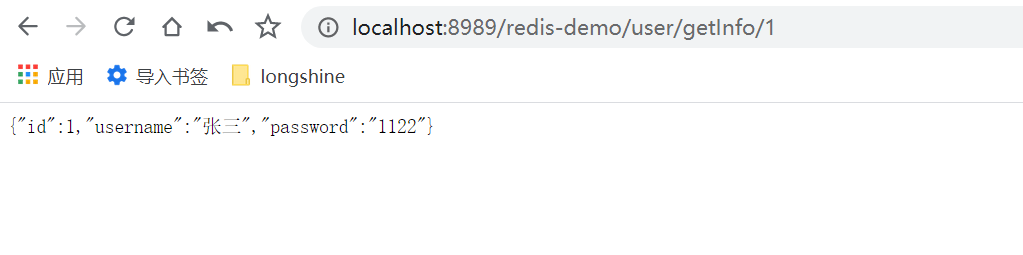
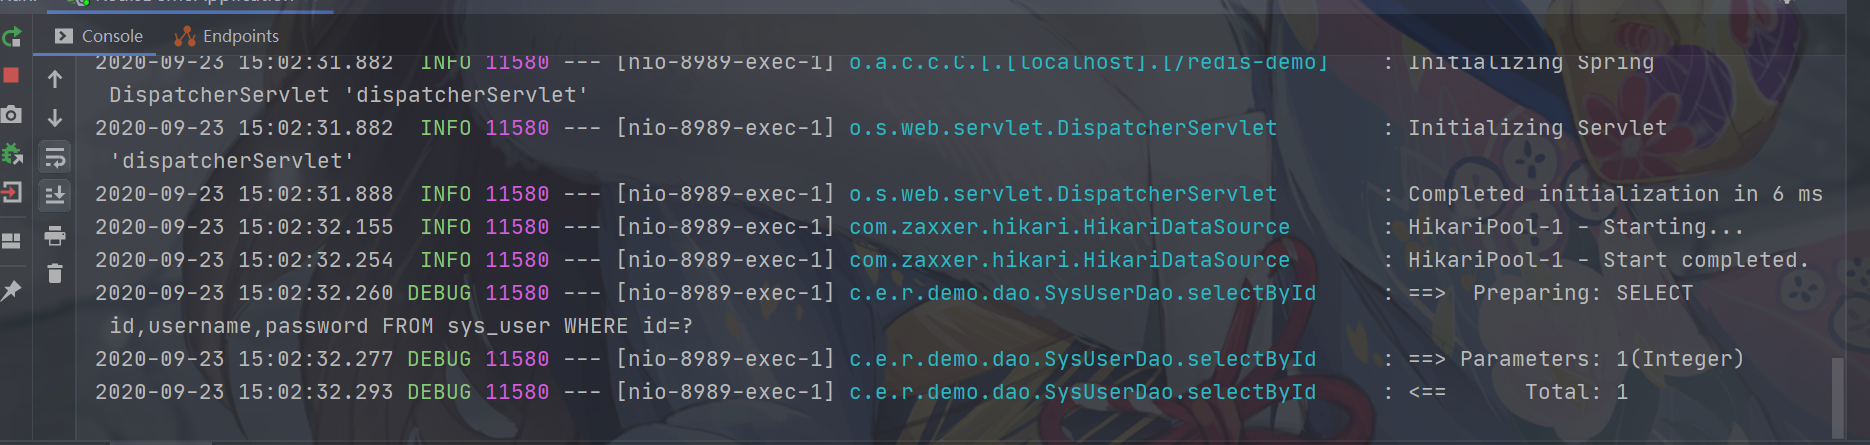
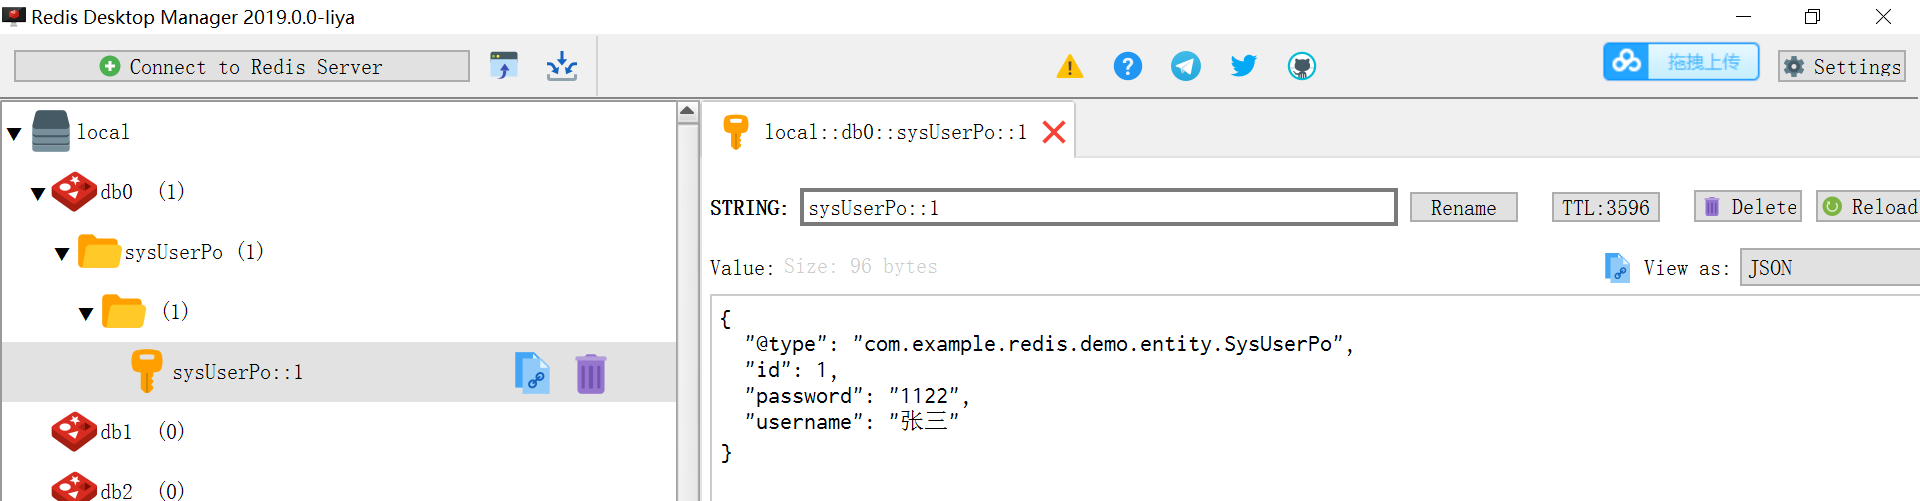
看看redis

可以看到,数据已经成功缓存到redis, 而后我们清空控制台, 再次访问接口,可以发现控制台并没有打印日志, 接口也成功返回数据, 说明数据已成功从redis取得.但是目前来讲, 我们看redis中的数据可读性很差, 基本上不知道里面存的对不对, 只是因为SpringCache默认采用了jdk的序列化方式, 导致数据看起来不直观, 接着我们来进行一下改造, 让SpringCache以json的方式进行序列化, 从而更加直观地看到redis里面的内容.
5. 导入FastJson依赖
        <dependency>
            <groupId>com.alibaba</groupId>
            <artifactId>fastjson</artifactId>
            <version>1.2.60</version>
        </dependency>
编写配置类
@EnableConfigurationProperties(CacheProperties.class)
@Configuration
@EnableCaching
public class RedisCacheConfig {
    @Bean
    public RedisCacheConfiguration redisCacheConfiguration(CacheProperties cacheProperties) {
        CacheProperties.Redis redisProperties = cacheProperties.getRedis();
        RedisCacheConfiguration config = RedisCacheConfiguration.defaultCacheConfig();
        config =         config.serializeKeysWith(RedisSerializationContext.SerializationPair.fromSerializer(new StringRedisSerializer()));
        //使用json序列化
        config = config.serializeValuesWith(RedisSerializationContext.SerializationPair.fromSerializer(new GenericFastJsonRedisSerializer()));
        if (redisProperties.getTimeToLive() != null) {
            config = config.entryTtl(redisProperties.getTimeToLive());
        }
        if (redisProperties.getKeyPrefix() != null) {
            config = config.prefixCacheNameWith(redisProperties.getKeyPrefix());
        }
        if (!redisProperties.isCacheNullValues()) {
            config = config.disableCachingNullValues();
        }
        if (!redisProperties.isUseKeyPrefix()) {
            config = config.disableKeyPrefix();
        }
        return config;
    }
}
重启应用, 清除redis中的缓存数据, 访问接口
可以看到, redis中也能正常显示json数据
SpringCache共有四个注解驱动, @Cacheable, @CachePut,@CacheEvict,@Caching,
@Cacheable 用于将数据加入缓存
@CachePut 用于更新缓存, 不影响方法执行
@CacheEvict 用于删除指定的缓存
@Caching 用于以上三种注解组合使用
